You just found out that you will be teaching art from a cart next year. You may be wondering how you will be able to paint in classrooms without drying racks or sinks. Painting lessons can be a messy business. Nervous? Don’t be. You can do this!
Here are 8 essential tips for teaching painting from a cart.
1. Talk to the classroom teachers.
Explain your situation to the classroom teachers. Discuss ideas about how to approach painting in their classroom. They may have ideas and suggestions to help make it easier for you. For example, they may paint with their students and already have a system in place. If that is the case, you may want to use their system when working with their class.
Communicating will also help to build a relationship of collaboration. Remember, you are in their space when you teach their class. Ensuring that you are communicating from day one can help avoid tension later on.
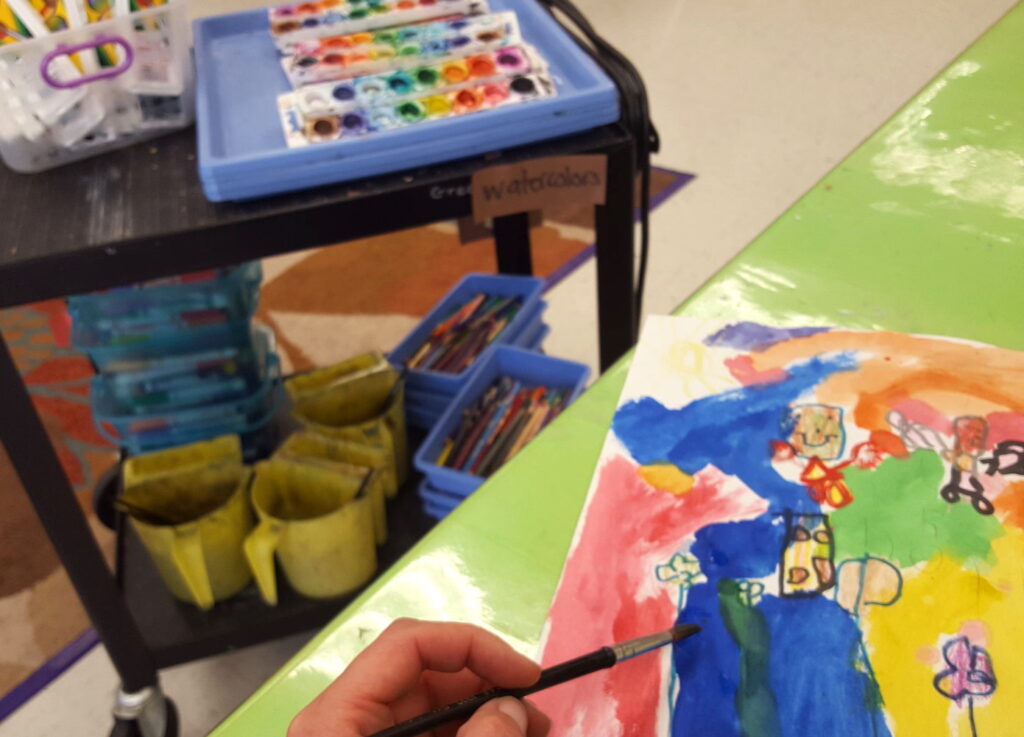
2. Work small.
I love to make large paintings with my students. Although they are fun to make, large paper can be a challenge when teaching from a cart. With the limited space on the cart, as well as the absence of a drying rack, bigger paintings can be cumbersome. Cutting down the size of the paper can make everything a bit more manageable.
3. Use pan watercolors and tempera cakes.
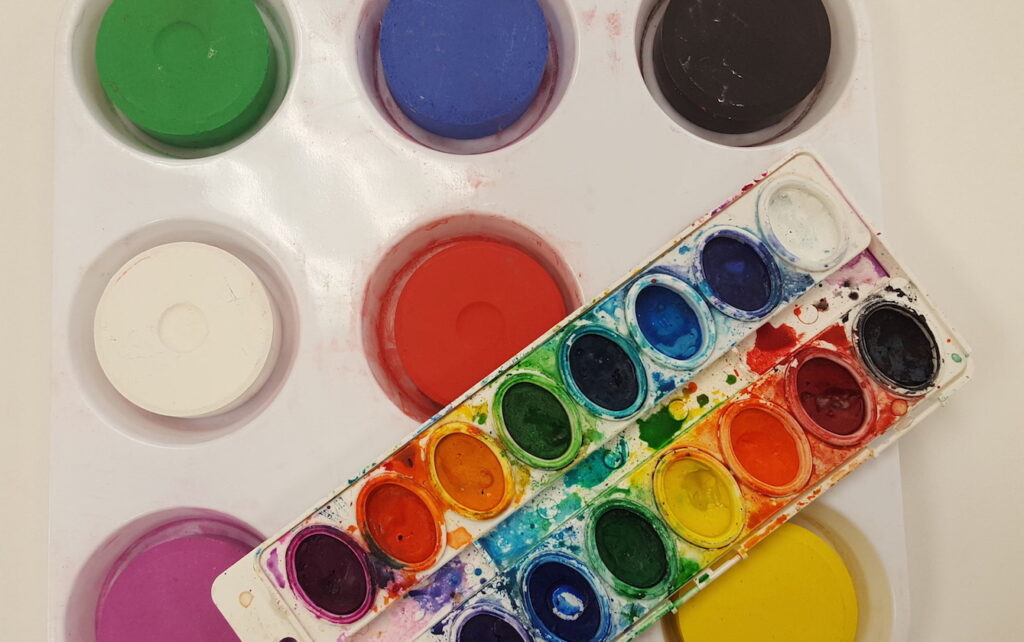
Don’t get me wrong, I love liquid watercolors and wet tempera. When teaching from a cart, though, these materials can sometimes be too messy. Dry paints allow for easier portability, storage, and cleanup.
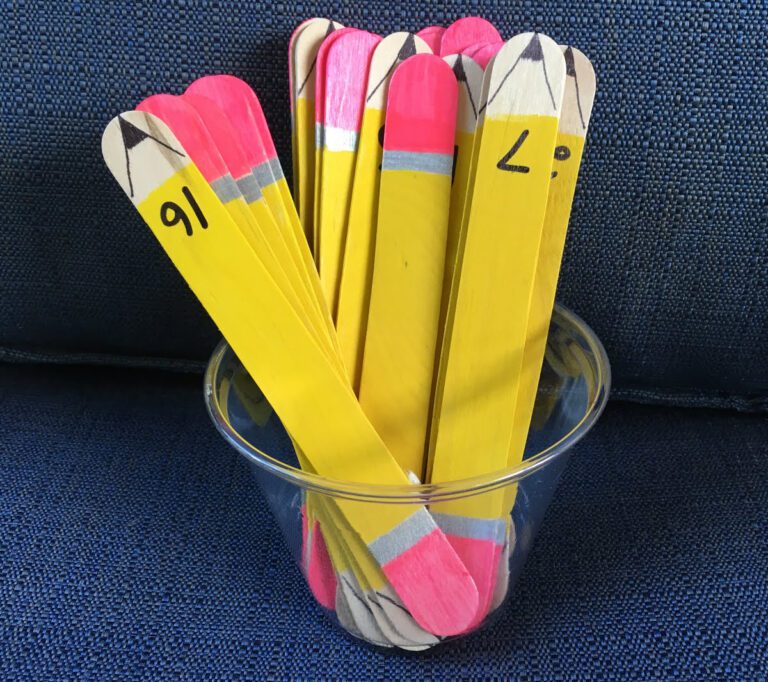
4. Use condiment cups for liquid paints.
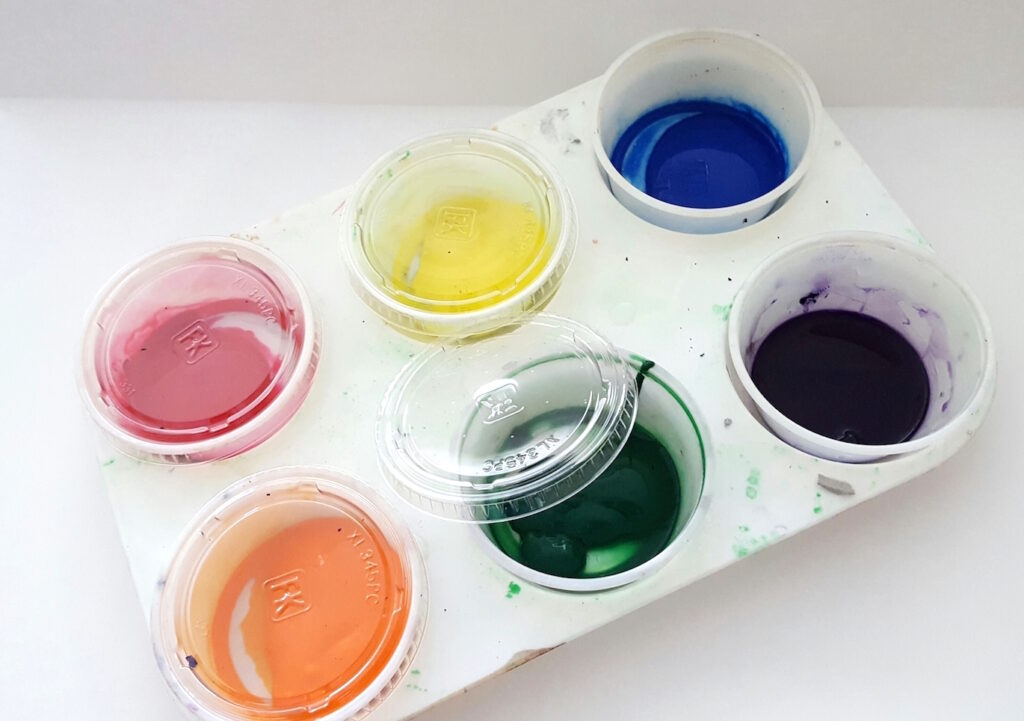
If you must use wet paint, this little tip can be a lifesaver. Small condiment cups, when used with the matching tops, can cut the mess and stress of transporting paint on a cart. Another easy option is cups of paint in plastic storage bins.
5. Store water cups in covered containers.
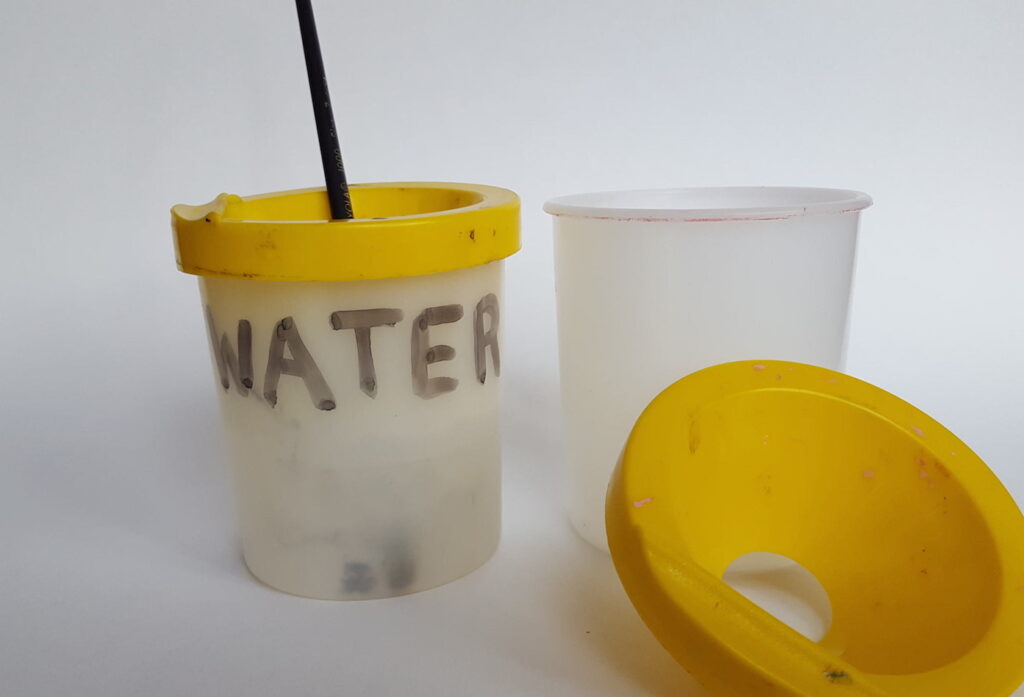
When working in classrooms without sinks, you will have to bring your own water. Open water containers and bumpy carts do not mix well. I can’t tell you how many times I had to deal with splashing and spills before I started storing the water cups in covered containers for transport. There are many ways to do this. My favorite solution is to use spill proof paint cups for water.
6. No sink? No worries!
When teaching art on a cart, cleanup can be stressful. Many of the rooms may not have sinks. I have found that baby wipes are a perfect solution. I give each student a baby wipe at the end of the class period. They work great, and students can clean both their hands and their tables with one wipe. Parents are always happy to send a box in if I ask.
You might also consider bringing a larger, covered bucket of water with you where students can put their brushes at the end of class. That way, you can clean brushes at an alternate sink location later in the day.
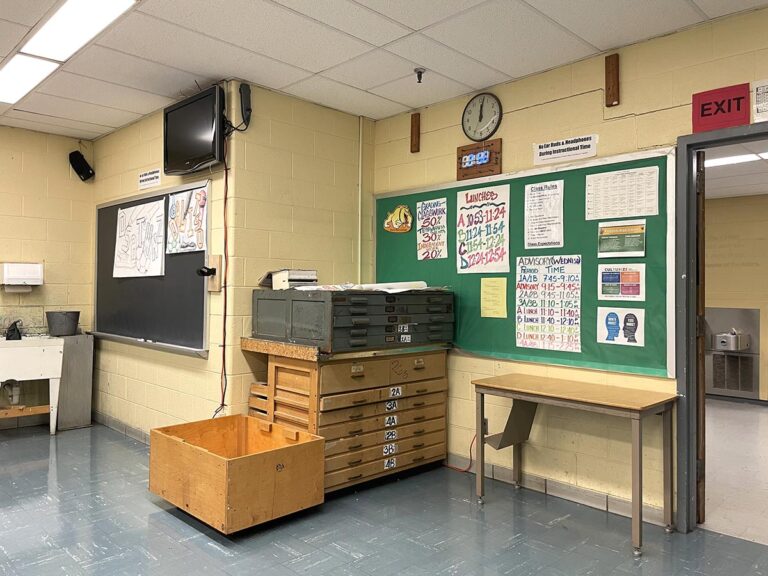
7. Explore alternatives to traditional drying racks.
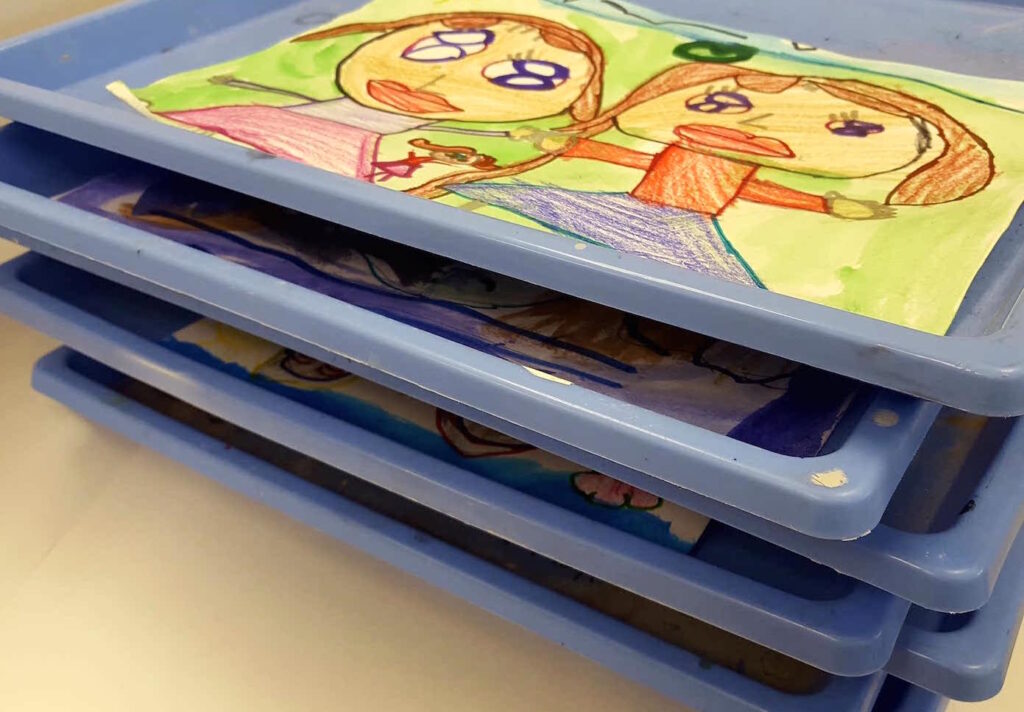
When teaching painting from the cart, one of the biggest challenges is finding a place to put all those beautiful wet paintings. If you have access to a small wire drying rack that can be placed on your cart and transported, that is ideal. If not, are there countertops or shelves available in the classroom? Can you hang a cord across the room to hang wet paintings? Do you have trays you can stack where students can place artworks to dry? I’ve even laid paintings against the wall in the hallway to dry when there were no other options. As an art teacher, creativity is one of your strengths. Find a creative solution!
8. Remain flexible.
There will be days when you will enter a classroom to find that the desks have all been moved. Other days, the sink will not be working, or the table you usually use as a drying space will not be available. Staying flexible and open to change is a quality that will make teaching from a cart much easier. Remember, there is always a solution.
Teaching art on a cart is challenging, to be sure. By following these simple tips you will be able to teach even the messiest painting lessons with ease. Now it’s time to start planning those fabulous painting lessons for next year!
If you’re looking for even more ways to stay sane while painting, be sure to check out Laura Lohman’s presentation, Don’t Stress Over the Mess- 10 Helpful Tips for Keeping You Organized, Calm and Happy While Teaching Art, at the 2016 Summer Art Ed Now Online Conference. Walk away armed with strategies to manage loads of messy supplies with ease!
What stories do you have about teaching painting from a cart?
What advice would you give to make the process easier?
Magazine articles and podcasts are opinions of professional education contributors and do not necessarily represent the position of the Art of Education University (AOEU) or its academic offerings. Contributors use terms in the way they are most often talked about in the scope of their educational experiences.