As art teachers, we all have favorite techniques to teach. One of mine is gyotaku, the Japanese art of fish printing. I like printing from an organic surface. I like the creativity used to create a unique background. But, I especially like to see the reaction my students have to the rubber fish. It has been a staple lesson and a student favorite in my third-grade curriculum for almost a decade.
But, when you have taught something repeatedly, over the course of many years, it becomes necessary to reflect and fine-tune your instructional practice.
Here is a Look at Gyotaku: Revisited, Researched, and Revamped!
Gyotaku Revisited
What is Gyotaku?
Gyotaku is the Japanese art of fish printing. “Gyo” means fish, and “taku” means rubbing. As the story goes, fishermen in Japan invented this art form as a way to record the size of their catch. After all, there were no cameras! Ink was applied directly to the fish, and the image was printed on rice paper to memorialize the moment.
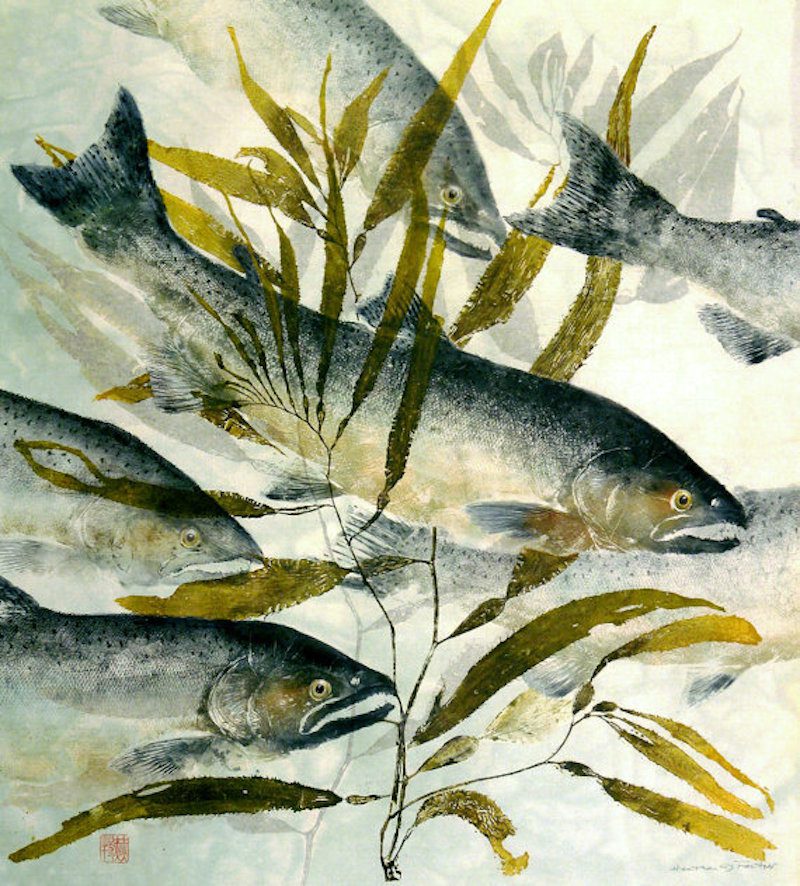
Contemporary artists have elevated this practice to an art form, adding beautiful backgrounds, colorful inks, and other embellishments.
How do you make a gyotaku print?
Supplies
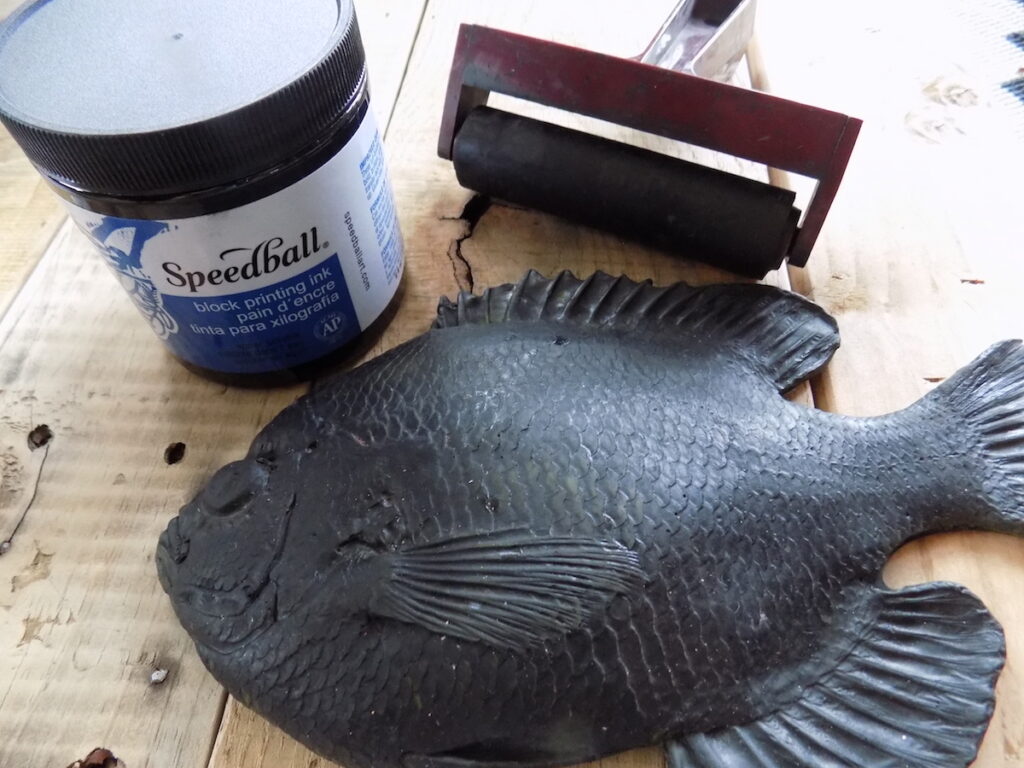
To implement a gyotaku lesson, you will need basic printmaking supplies you probably already have such as:
- Printing ink
- Brayers or brushes
- An inking plate or other flat surface
- Paper (Try rice paper for a fun twist.)
- Newspaper or another method to keep the tables clean.
You will also need rubber fish reproductions. Or, if you’re feeling especially brave, you can try real fish!
Method
The process is not unlike other printmaking experiences, except your printing plate has a lot of relief… because it is a fish! Here are the basic steps.
- Charge the brayer with ink.
- Place the fish on newspaper and apply ink with the brayer, going in several directions to ensure full coverage.
- Move the fish to a clean surface.
- Place the rice paper over the fish and gently press down, molding the paper to the fish.
- Slowly pull the paper back, revealing the print.
- Once dry, add embellishment if you wish.
What resources are available?
Gyotaku printing is a beautiful niche in the printmaking world. Since it represents a more specific printmaking practice, most of the quality resources I have found are electronic.
Here are my favorites…
- An excellent video clip from Ted Ed.
- A lesson plan from the Kennedy Center complete with possible cross-curricular resources for science.
- A basic video demo of gyotaku, in Japanese.
- A clip of a gyotaku workshop with many artists working side by side.
- A comprehensive overview with subtitles by Heather Fortner. (This one is especially worth a look.)
- A PDF of the process, also by Heather Fortner.
- The Nature Printing Society.
Gyotaku Researched
To learn more about this art form, I contacted Heather Fortner, the origin of my favorite Gyotaku “how to” resources. Heather is a contemporary gyotaku artist and teacher. She also runs the Sea Fern Studio, a nature printing studio in Toledo, Oregon. Heather provided some excellent insights into gyotaku, only a seasoned artist can.
On the History of Gyotaku
I first asked Heather about the history of gyotaku. She told me, “A very common misconception is that gyotaku is an ancient art form…not at all! The first known gyotaku dates from 1862 in Japan.” She went on to explain while it does owe its origins to ancient Chinese stone rubbings, the reality is it’s a relatively new practice.
Another misconception, says Heather, is that gyotaku is some sort of cute craft instead of a fine art. She continued to explain plant printing has been around as an art form for thousands of years.
On Using Real vs Fake Fish
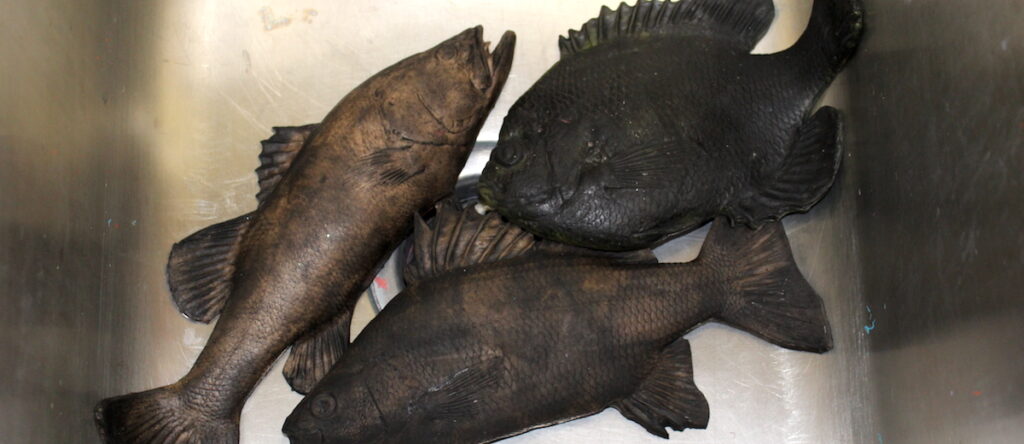
Since Heather teaches a variety of nature printing workshops, I asked her about her opinion of the rubber reproduction fish used in my classroom. Unsurprisingly, Heather always uses the real thing! She said, “Nothing has the impact of real fish for kids, although some teachers have told me they were criticized for using dead things in the classroom. That seems silly to me as there is so much to be learned from the body of a fish. The rubber fish allows kids to experience the printing/art aspect. However, it’s totally without the lessons of natural history, biology, physics, and math of the art form.” Clearly, Heather’s gyotaku practice is a beautiful combination of art and biology.
If you decide to use real fish in your classroom, be prepared for the kids to really get into it. Do a bit of research so you can talk about the different parts of the fish. Heather told me, “Kids love it when I talk about plugging orifices to keep the fish from oozing or bleeding. I also like to point out their tongue and nose (nares), and the function of each type of fin.”
Gyotaku Revamped
After a lot of research and my correspondence with Heather, I am excited to revamp my classic gyotaku project. Here are four new twists you might want to try in your classroom, too.

1. Use a brush instead of a brayer.
For years, I’ve had my students apply ink with a brayer because I believed it was a foundational printmaking skill. However, my research uncovered using a brush is a much more effective application strategy when dealing with fish. Not only will it be easier to apply the ink evenly, but it will afford students the opportunity to use multiple colors. As you can see in many of the resources, colored inks give the fish prints a lot of added beauty and dimension.
2. Play with ghost images to add dimension.
In a traditional classroom gyotaku project, students are often able to print a fish only once, creating a fairly flat composition. Many of the gyotaku artists I discovered were printing from the same fish multiple times, letting the reduction in ink add to the atmospheric perspective of overlapping fish. I can’t wait to let my students explore this idea this fall, adding more depth to their finished pieces.
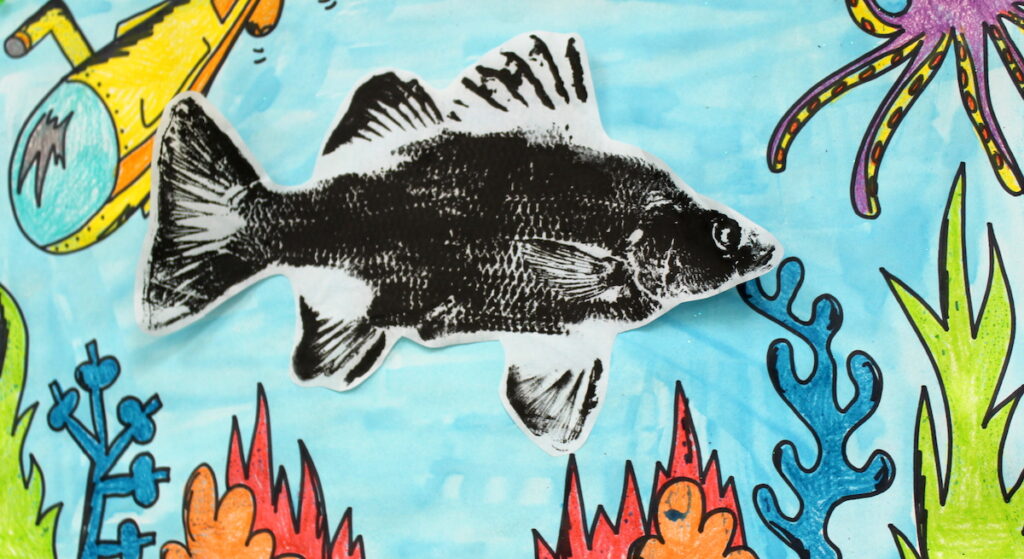
3. Include a printed background.
Many of the most beautiful prints I found incorporate the printing of botanicals, creating an environment for the fish. I was fascinated to see the combination of sea life and plants. Whether it is through crayon rubbings or traditional printmaking, the addition of vegetation can only strengthen the compositions.
4. Use real fish.
Heather’s arguments about using real fish are persuasive. After a decade of rubber sea creatures, I am ready to “dip my toe” with a real fish. Realistically, I cannot provide all of my students with a real fish printmaking experience. But, I can support authenticity by doing a whole class demonstration with a fish from the local market.
Heather’s commitment to the biology of her subjects also caught my attention. I plan to invite some of my science-minded colleagues to provide moral support and supply correct anatomical terminology as the demo progresses. It is the perfect cross-curricular collaboration.
Finally, after revisiting, researching, and revamping, my decade old “favorite lesson” will look very different the next time I teach it. I am excited to bring new techniques, a deeper understanding, and a greater authenticity to our nature printing explorations.
What tips, tricks, and resources do you use for teaching gyotaku?
Do you have an “old stand-by” that needs to be revisited, researched, and revamped? What is it?
Magazine articles and podcasts are opinions of professional education contributors and do not necessarily represent the position of the Art of Education University (AOEU) or its academic offerings. Contributors use terms in the way they are most often talked about in the scope of their educational experiences.