It’s September, and I don’t know about you, but my students are always hungry for a creative spin on their lessons about this time of year. I am pretty serious about having them work on their technical skills, but I also think it’s important to feed my students with creative lessons they enjoy!
If you’re in the same boat, try this large-scale food study lesson! It’s a fun, motivating project with delicious results!
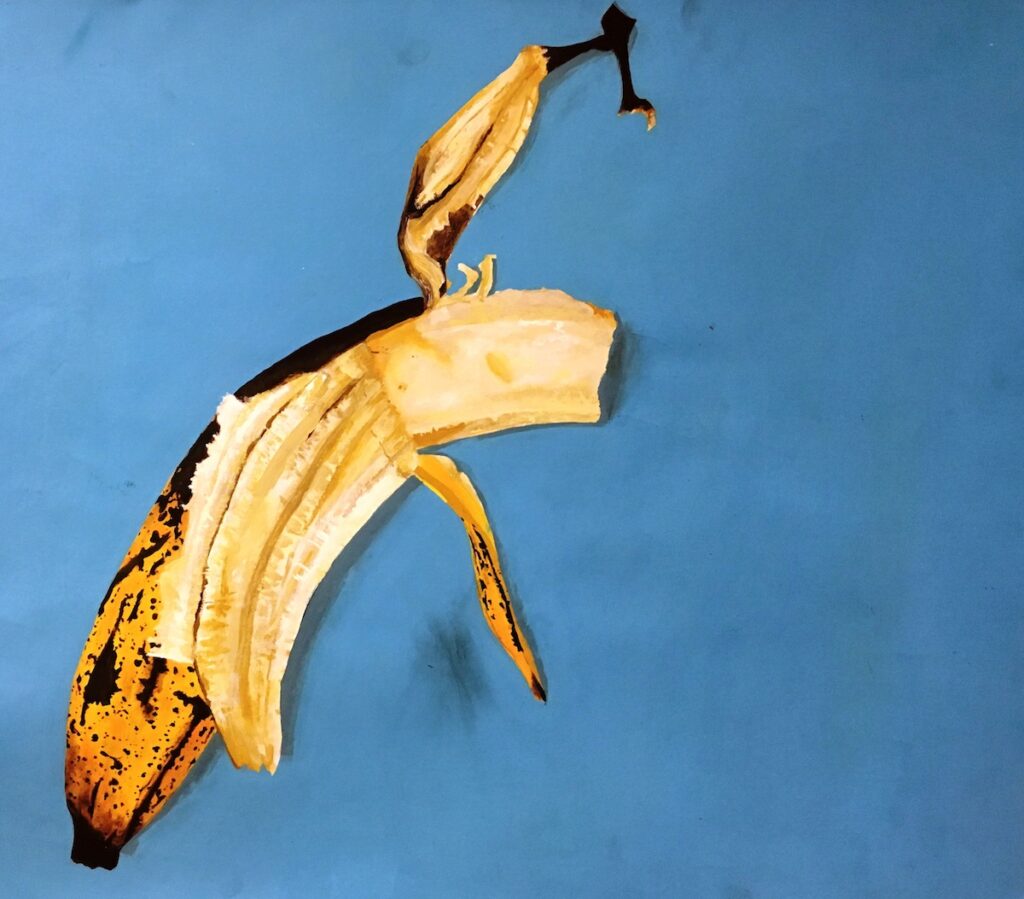
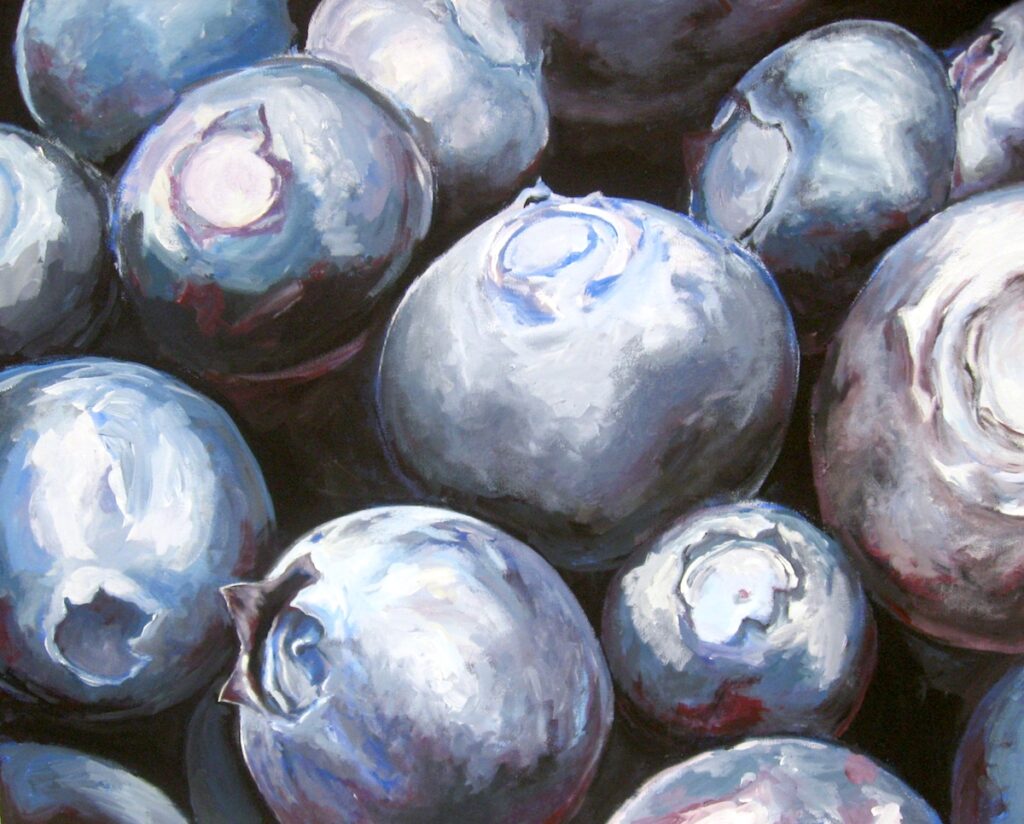
For this project, students are asked to create a large-scale food painting. Although it’s a challenge, it’s often one of their favorites. This lesson teaches the importance of observation and also helps students work on their painting skills. When I present this lesson in my classroom, students have already learned about line, shape, and color harmonies. They have worked on creating successful compositions, too. So, they are more than ready to paint large!
Step 1: Play a Guessing Game
Begin this lesson by asking your students to consider their favorite foods. As they ponder this, tell them not to divulge this information immediately. Instead, have them describe the food using their senses. Ask them what it smells like, what it feels like, what it tastes like. Again, Be sure they’re not telling anyone what the actual food item is. This way, it becomes a guessing game. Your students might find this to be rather difficult, but after a lot of laughs and a lot of deep critical thinking, the food items begin to reveal themselves.
Step 2: Doodle from Memory
As the discussion continues, have them begin to doodle small thumbnail sketches of their food items in their visual journals based on memory. In my room, Steps 1 and 2 take up the first day of the lesson. It’s a good place to stop because the next step is to have students paint their food items from observation!
Step 3: Find the Food
It’s imperative for students to bring their food item to class the following day if they can. Most foods will be OK, but if the student wants to draw something like ice cream, ask them to snap a photo to bring along instead.
Step 4: Draw from Observation
Give your students a large piece of poster board. Using their food or photo as a reference, have them lightly sketch their food onto the poster board. Students can either use graphite or create a light underpainting.
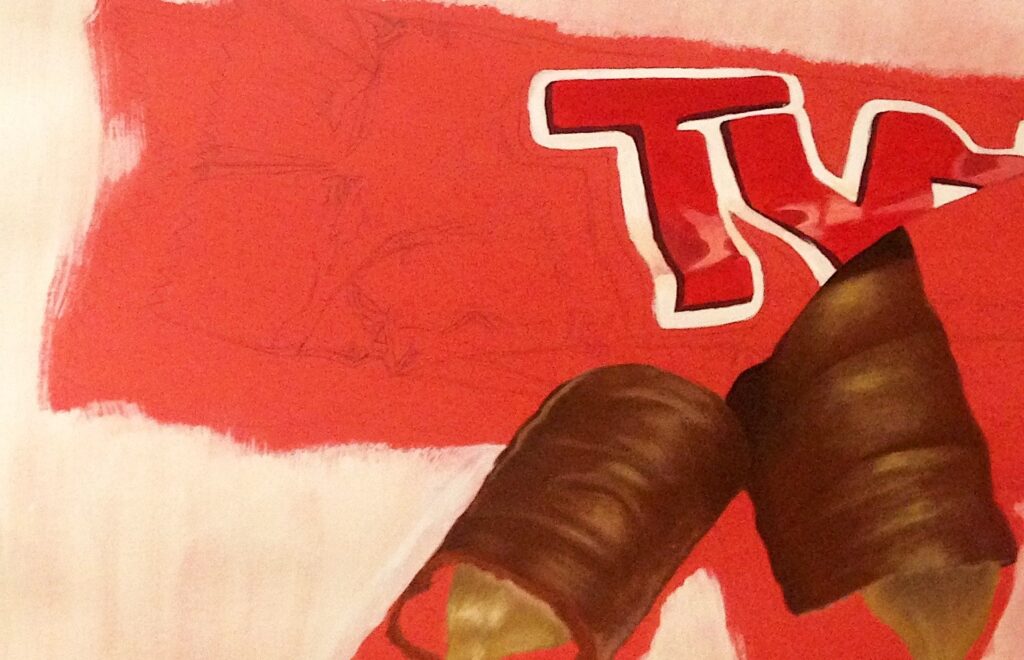
Step 5: Layer Paint
From here, have your students begin layering their acrylic paint. Remind them to play with a variety of painting techniques and color harmonies, always measuring and looking closely at their food sitting in front of them. I do allow students to take photos of their food, although I prefer they paint from the actual food and use the photo as an extra tool to help them see subtle shadows and color changes.
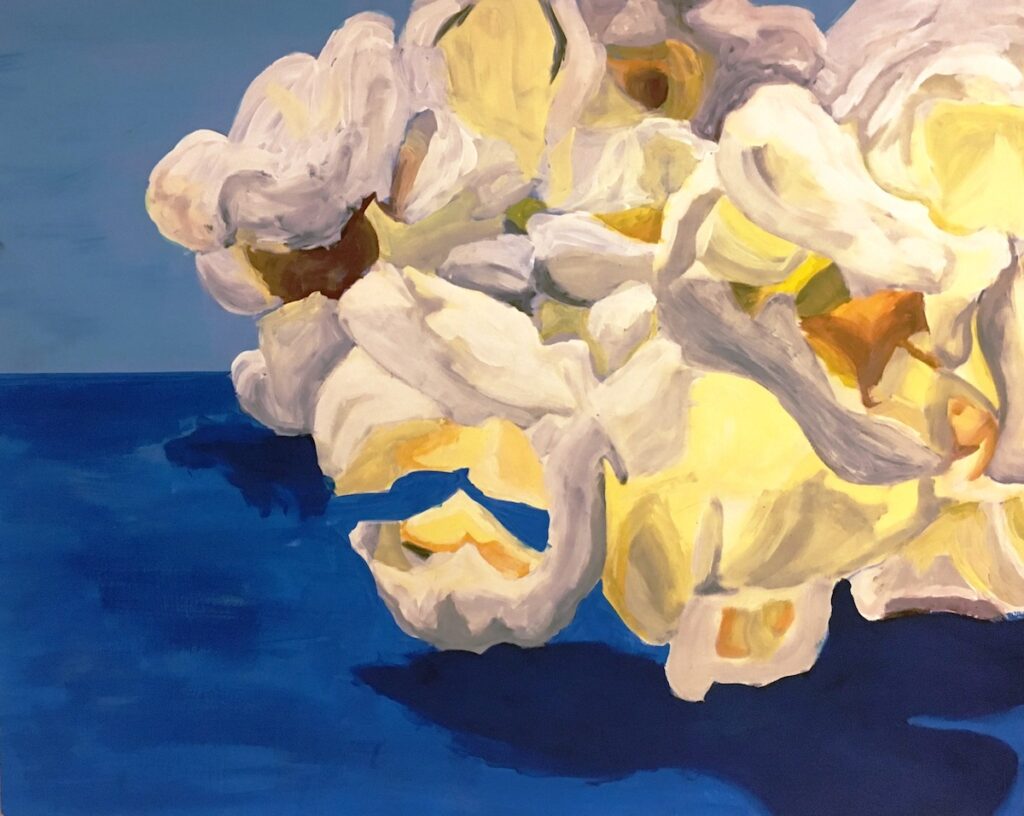
Step 6: Continue Adding Details
In the later phases of painting, students enjoy experimenting. They can play with the paint, the various brushes you have available, using their fingers to blend, and working on their negative space. This sense of freedom often takes their food study to the next level. This is a lesson that emphasizes the importance of compositional arrangements and negative space.
Step 7: Add Oil Pastel
My students usually finish these in about a week and a half. When the works are complete, give your students the option of adding small touches of oil pastel. Often this step finishes the work off perfectly!
Step 8: Celebrate!
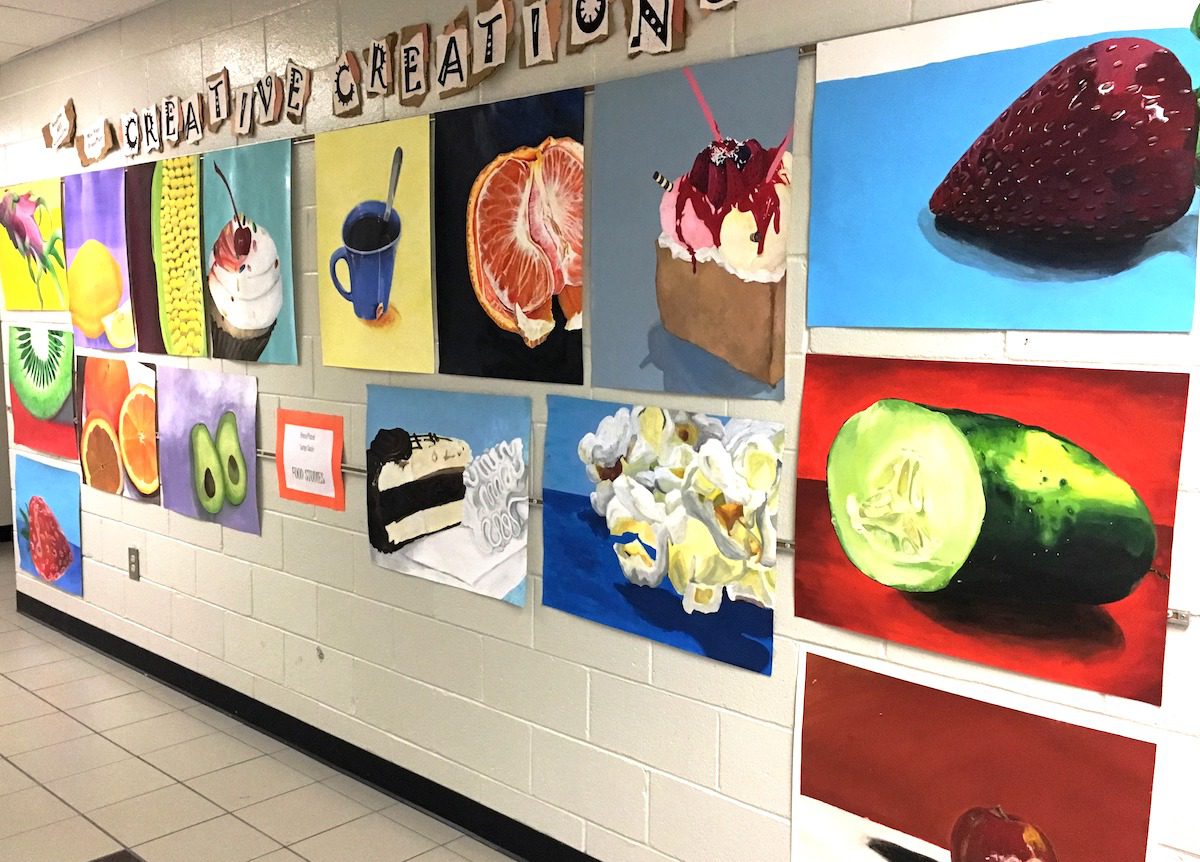
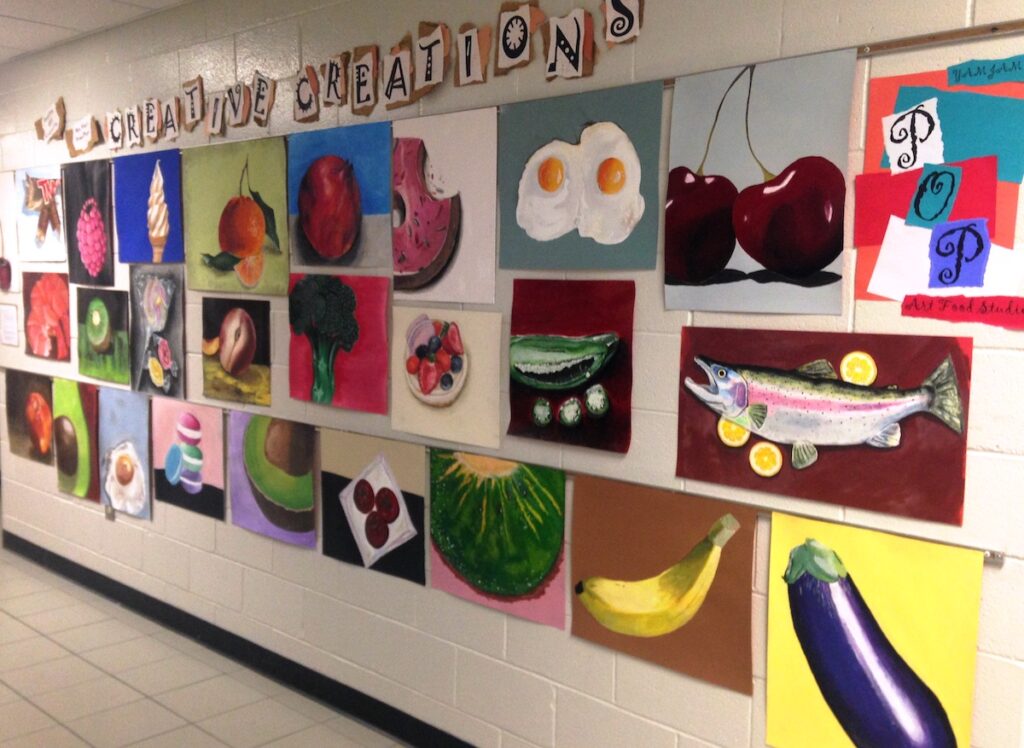
In my room, I have the students present their paintings to the class. We make this a “food allowed” day, as students can also bring in samples of their food to share with their classmates. And then, of course, we hang this work in a class exhibit for the school to enjoy!
If you’re looking for a lesson that engages your students with fantastic results, give this one a try! I guarantee your students will be on-task and will love experimenting with all acrylic paint has to offer. And that’s why I call this lesson a YUM-Fun learning experience!
How do you make typical art lessons more exciting and engaging for your students?
Have you considered using food as a subject matter for an art lesson?
Magazine articles and podcasts are opinions of professional education contributors and do not necessarily represent the position of the Art of Education University (AOEU) or its academic offerings. Contributors use terms in the way they are most often talked about in the scope of their educational experiences.