As art teachers, we are in a unique position to help our students develop all kinds of new skills. For example, not only can we foster their creativity, but we can also help them develop their language skills.
When we encourage our students to engage in the functions of language like listening, reading, writing, and speaking, we are building their communication skills. This will serve them well beyond the art room.
Mask making is a wonderful and surprisingly easy vehicle to connect artmaking to language. And, as a bonus, it’s a favorite among students and teachers.
Try out the lesson below to help your students build both creativity and language skills in the art room.
The Basics
Objective: Inspired by the portraiture of Pablo Picasso and traditional African masks, students will use a variety of art techniques to assemble a unique mask and use it to perform an original written and spoken dialogue for their peers.
Level: Best for 2nd-6th grade
Skills: Coloring, painting, cutting, writing, and speaking
Suggested Minimal Timeframe: Three, 40-minute class periods
Suggested Materials: Cardboard, paper scraps cut into strips, paint, brushes, oil pastels, markers, pipe cleaners, puff balls, scissors, glue, and pencils
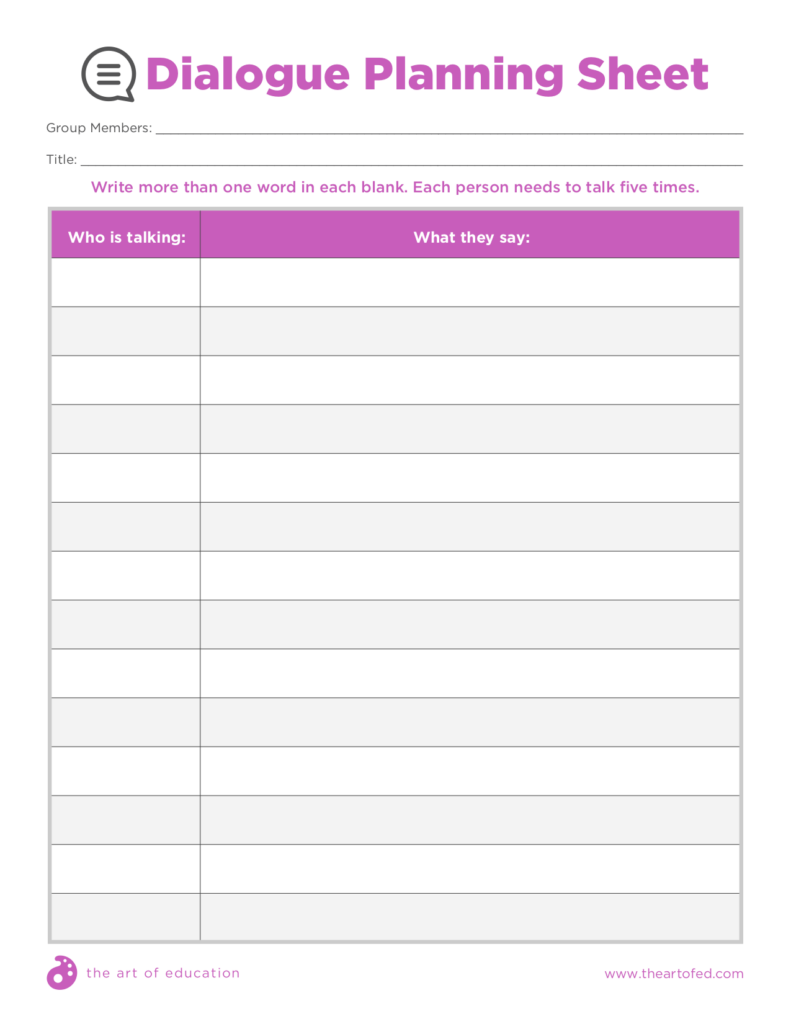
Extra Materials: Dialogue framework for students to fill in (see download)
Lesson Procedures
Making the Masks
1. Introduce the Portrait Work of Pablo Picasso
Picasso is famous for his use of exaggerated features and colors, especially in his portraits of women. Talk about the extra long noses, the eyes looking at the viewer and to the side at the same time, and the fish face lips. Also, discuss how he can represent someone without painting a picture that looks exactly like them.
2. Discuss the Various Roles Masks Play
Masks are not just for Halloween. They can represent a character in a play or a special dance. Show some examples of the Mende masks from Sierra Leone and the Butterfly and Plank masks of the Bobo Tribe in Burkina Faso. Do students see any connections with the African masks and Picasso’s portraiture?
3. Make a Cardboard Base
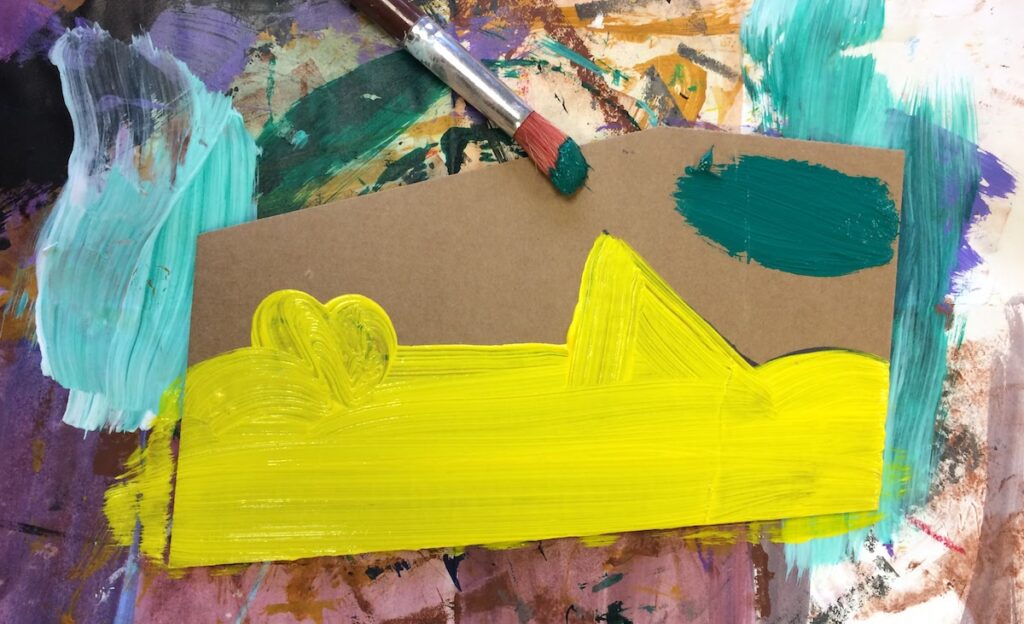
If working with younger learners, it’s nice to have pre-cut pieces of scrap cardboard. Each piece does not need to be the same. If students are creating their own shapes, consider allowing more time for this step. Add a base color with paint or oil pastel to help camouflage the scrap cardboard.
4. Add Facial Features
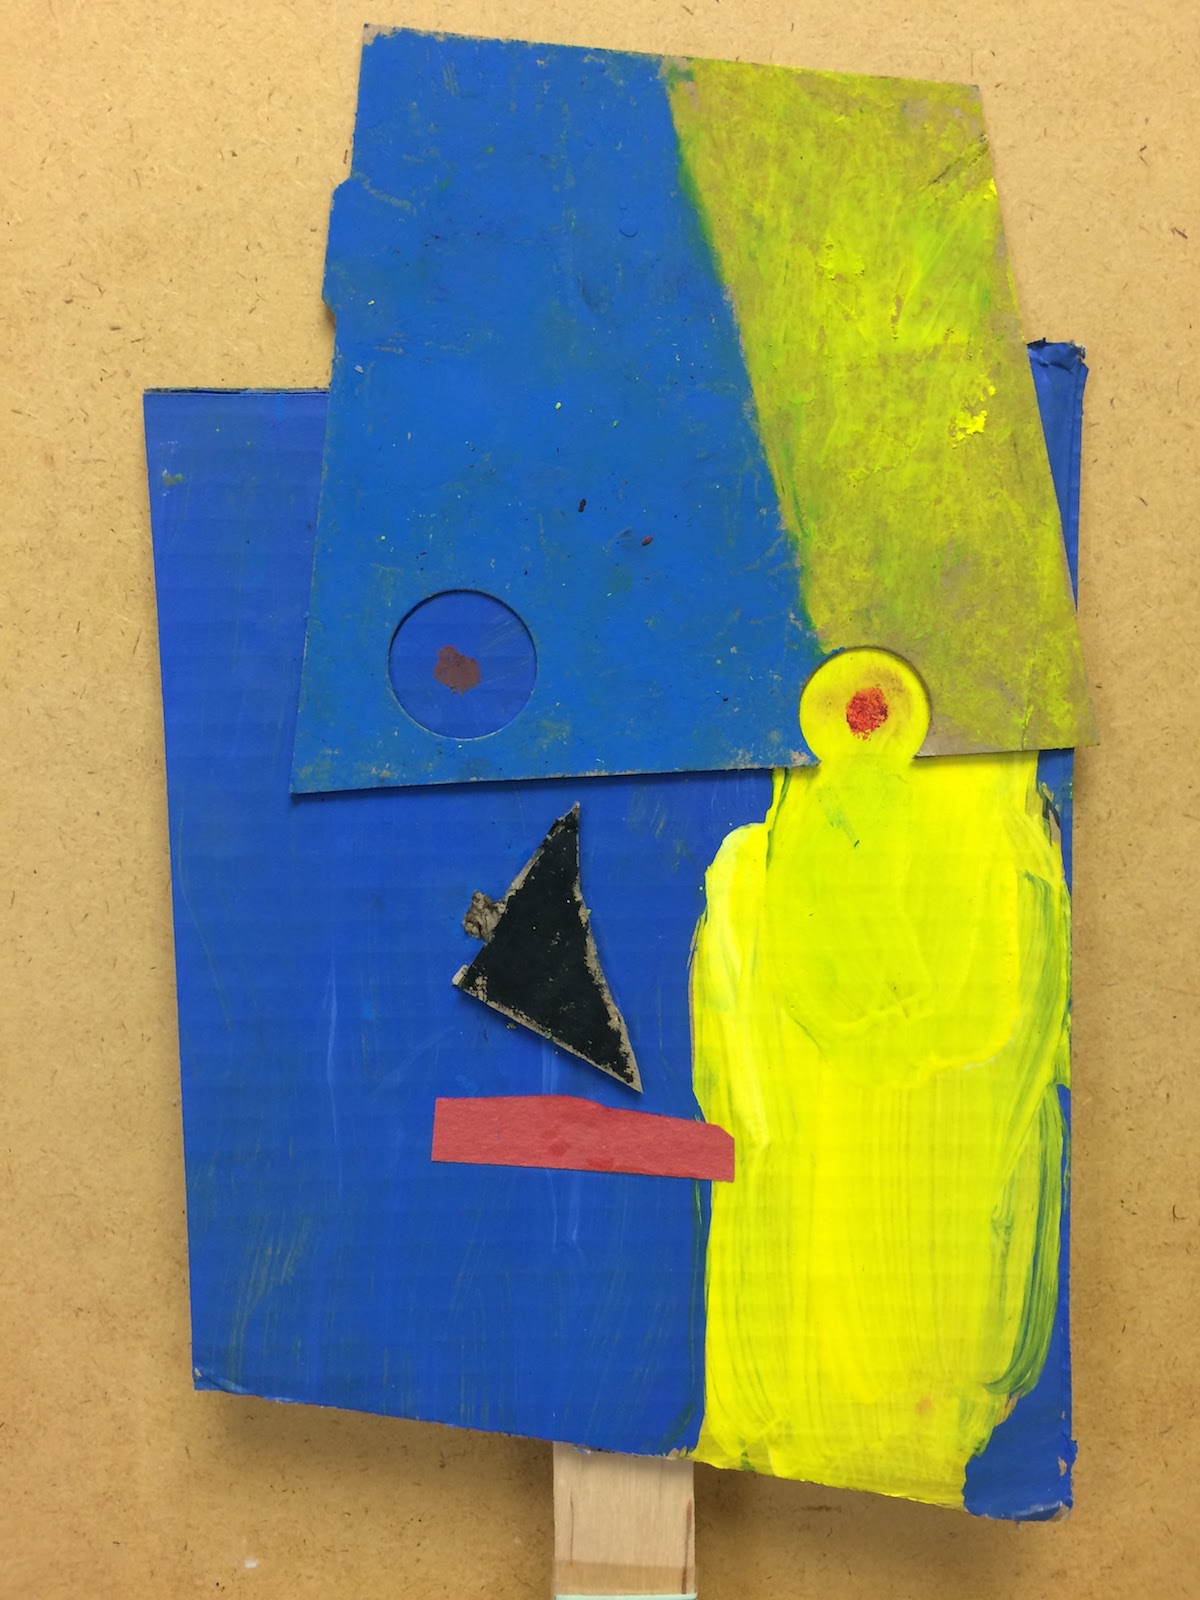
Require students to have all the necessary face parts (eyes, nose, mouth, ears, hair, and eyebrows) in some way. This will prevent students from adding one feature and suggesting they are finished with their mask. Use glue, tape, and paint to help it all come together.
5. Take Time to Add Details
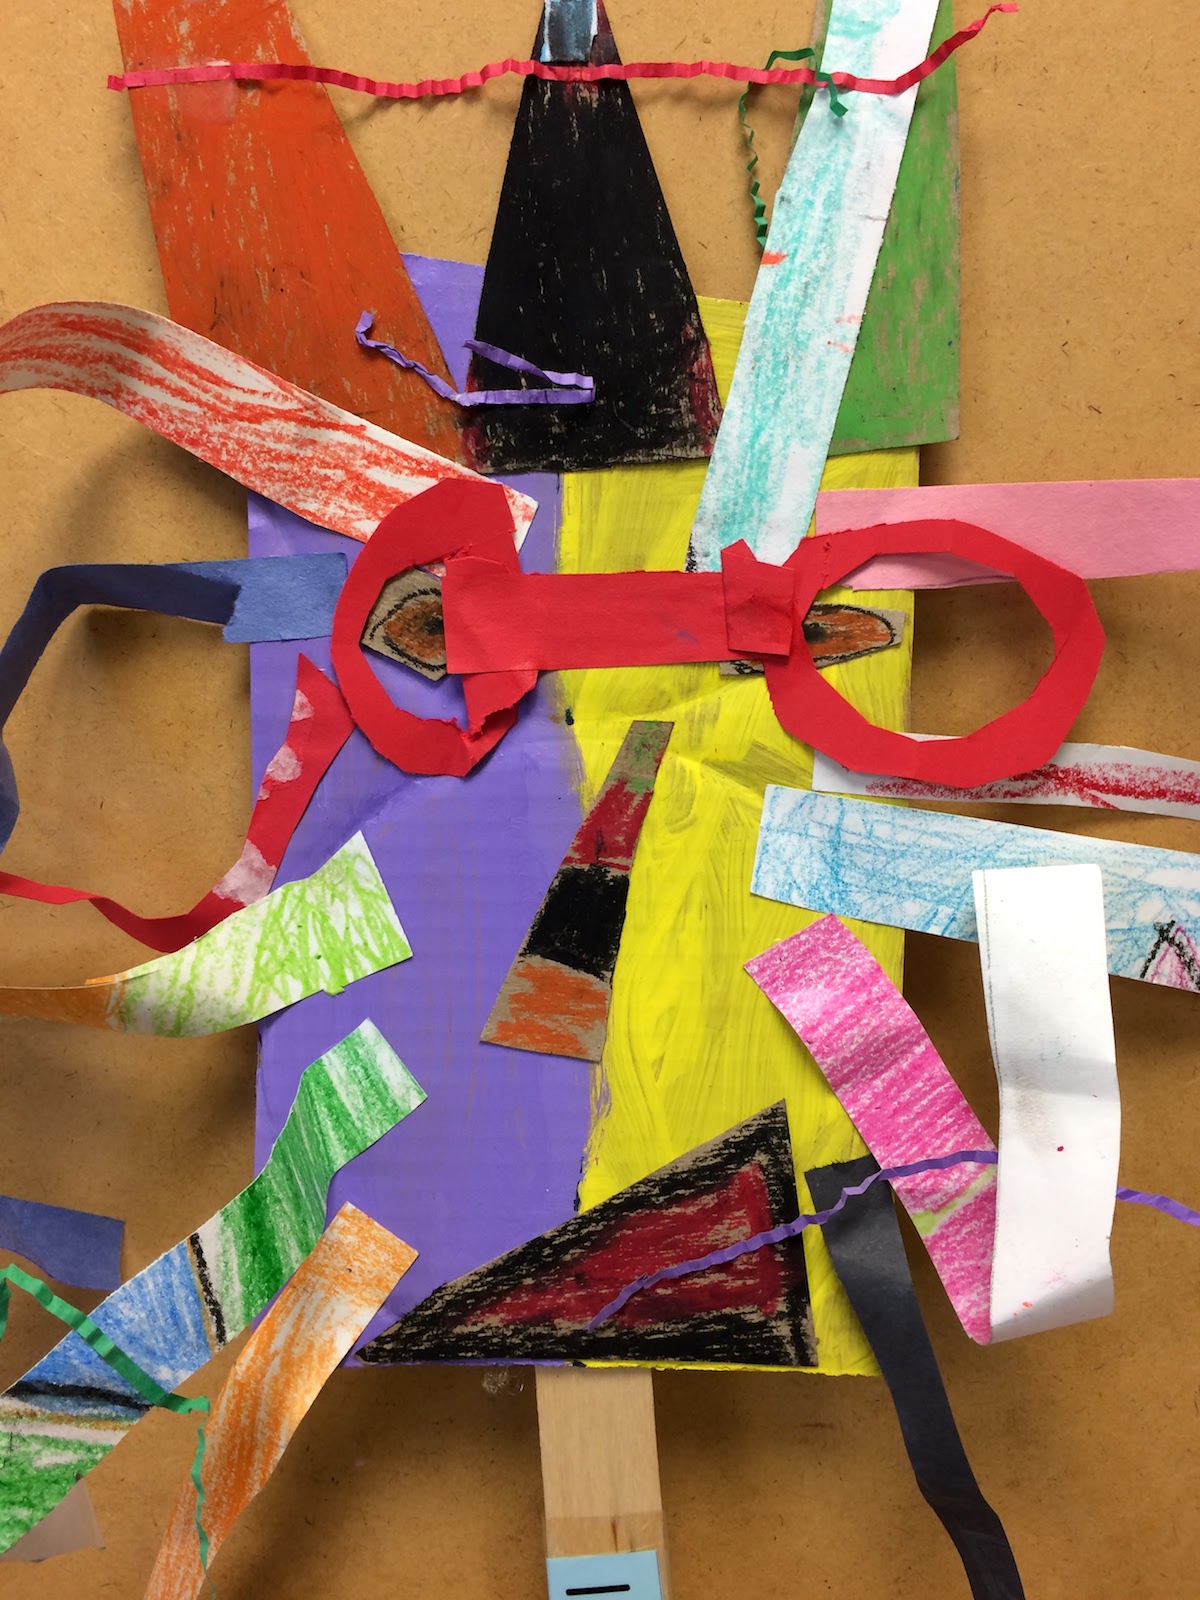
The most successful, standout masks are usually made by students who had an idea and repeated it or added something unexpected. For example, elaborate hairstyles, oversized hats, or wild patterns are great details that make the masks unique. If you can, take advantage of some extra time and keep telling students to “add more.” Show students some options like how to fold, curl, and manipulate paper.
If you’re interested in learning more about using art and literacy together in dynamic ways, do not miss the Literacy Strategies in the Art Room PRO Learning Pack. You’ll be able to watch Megan demo this entire lesson start to finish, plus explore many more ideas to bring literacy and language arts components into all different aspects of your instruction.
Working with Language
As students finish their masks, it’s time to add the language component of this lesson.
1. Create dialogue.
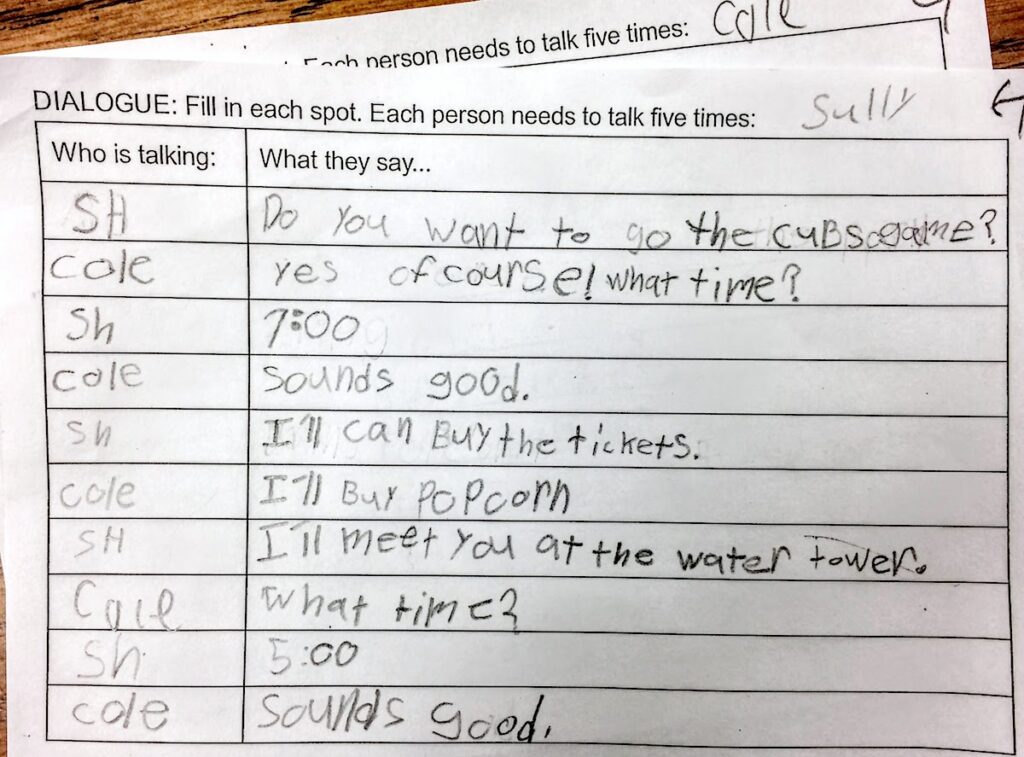
Teachers can take many approaches to writing dialogue Students can work independently, in pairs, or a combination of the two. Keep in mind the more interaction students have; the more language practice is taking place. Be sure students understand what dialogue is before they begin. A simple definition will help. Saying something like, “Dialogue means a back and forth conversation between two or more people” works well. Show a clear example.
You can use the handy download below to have your students create their script.
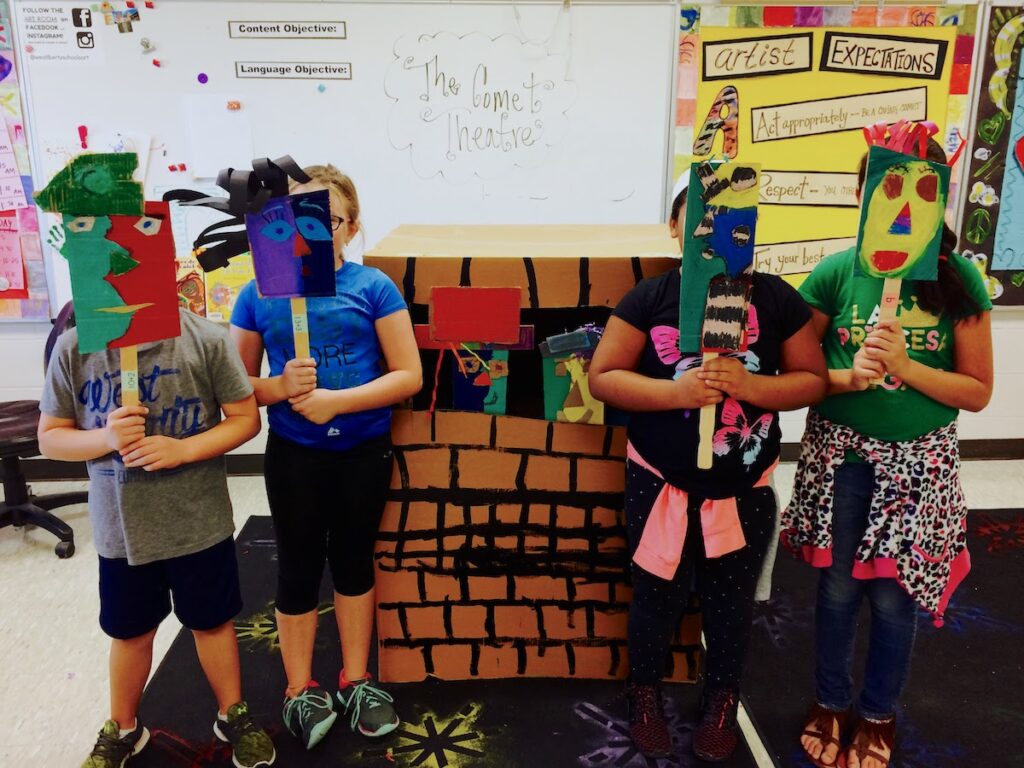
2. Perform!

After a few rounds of practice, it is time to perform! Lay out clear expectations for both the presenters and the students in the audience. You might talk about things like projecting your voice when on stage or clapping after a performance when in the audience. Don’t be surprised if students want to perform more than once or even have the enthusiasm to create another dialogue altogether.
4 Reasons this Lesson Rocks
No Special Materials Required
Masks are so adaptable, and this particular version can be changed to fit the needs of any classroom. All you need are cardboard pieces large enough to cover students’ faces! It encourages both you and your students to get creative with what you have!
Easy Buy-In
Students latch onto and love mask making. You will not have to do much convincing, just a lot of creating and encouraging. Furthermore, regardless of language or skill level, every student can feel and be successful.
2-D to 3-D in a Flash
By collecting a variety of 2-D materials and transforming them into a 3-D artwork, your students will see how magical their creativity can be!
Opportunity for Advocacy
Students will be pumped to show off their masks. Find as many people for your audience as possible. If you can’t find staff or students to come to your performance, think about arranging a quick masquerade parade for a younger grade.
Insider Tips
Finally, here are four insider tips to make this lesson run as smoothly as possible.
- Students love the “special” materials like puff balls. Limit them per student if necessary.
- Delay talking about the dialogue creation and performance until students are farther along in the project and have become animated about their masks. Otherwise, students can become preoccupied with the dialogue portion. They can get overly enthusiastic or anxious and not give the mask the visual attention it deserves.
- Glue the paper dialogue to the back of the masks so students can read them for their lines during the performance.
- Invite their classroom teacher or administrator to see a few performances. Students will be so proud to share.
This particular lesson checks all the art educator boxes; it’s standards-based, cross-curricular, and students LOVE their work. As a bonus, the masks showcase the ingenuity of students through the connectivity of language, performance, and art. Moreover, as the teacher, it is so fun to see the creativity and variety in your students’ work.
Have you ever created masks in your classroom?
What other projects do your students make to encourage their language development?
Magazine articles and podcasts are opinions of professional education contributors and do not necessarily represent the position of the Art of Education University (AOEU) or its academic offerings. Contributors use terms in the way they are most often talked about in the scope of their educational experiences.