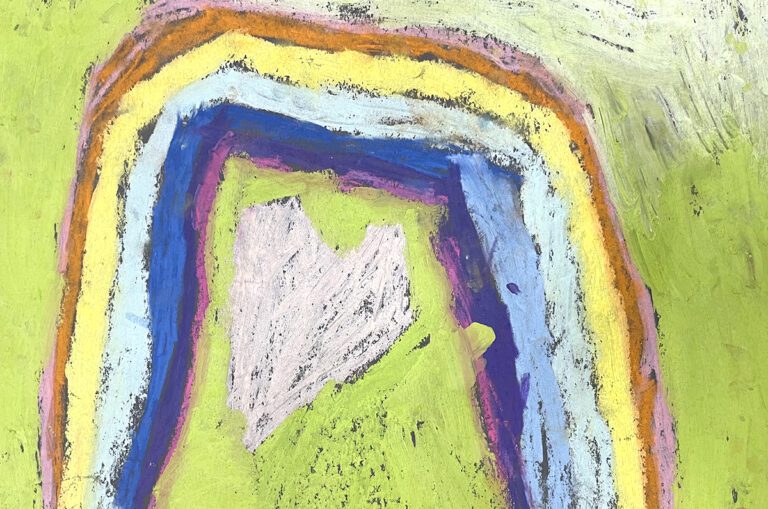
One of the best characteristics of being an educator is seeing the latest fads and trends from our students. Our students aren’t afraid to come into our classrooms sporting the new viral trend, dance move, or must-have item. Honestly, students make us cooler. It’s even more fun when students start reviving trends that were popular when you were younger. While this might make you feel old at first, it’s an excellent way to authentically connect with your students.
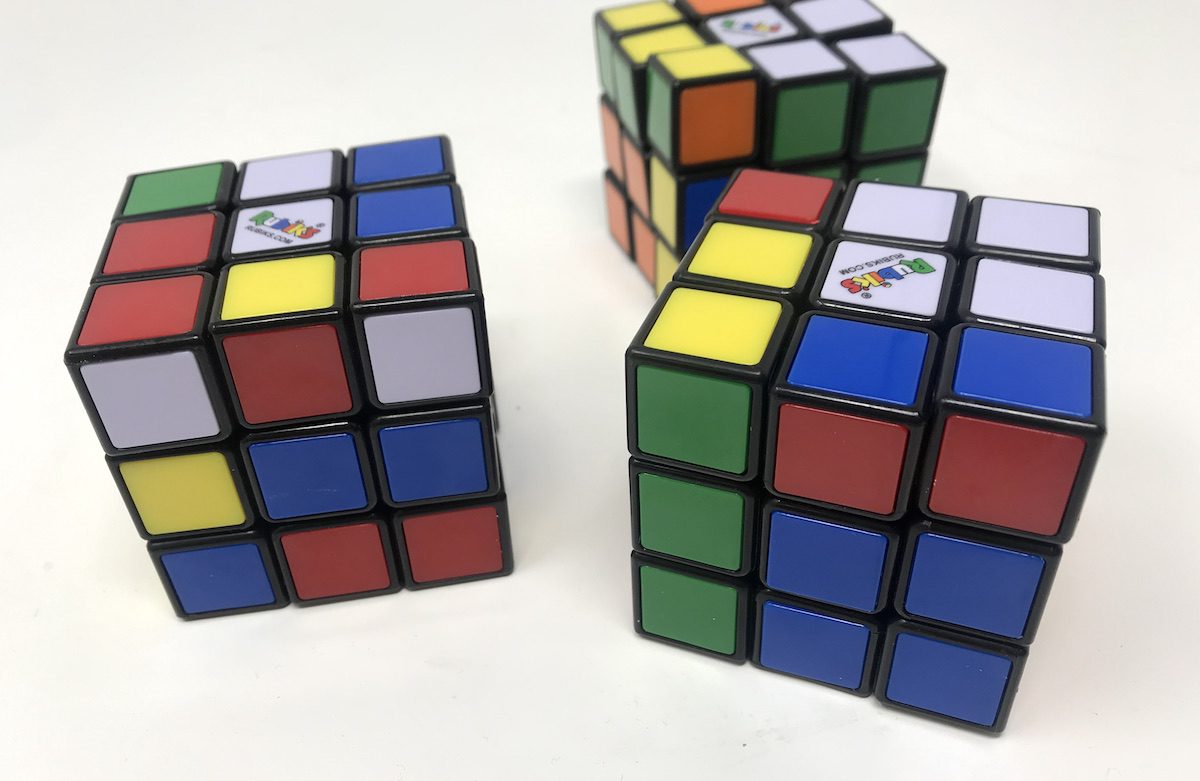
One of the items that seem to stand the test of time and cycles through with every generation is the Rubik’s Cube. The popular puzzle always finds a way to creep back into our classrooms. So why not use it as an educational problem-solving tool? There’s no better way to connect the teachers, students, and staff in your school than using a common toy.
Learn how you can use the Rubik’s Cube to connect your school community while creating a lasting portraiture lesson in the art room.
Getting Started with Rubik’s Cube Portraits
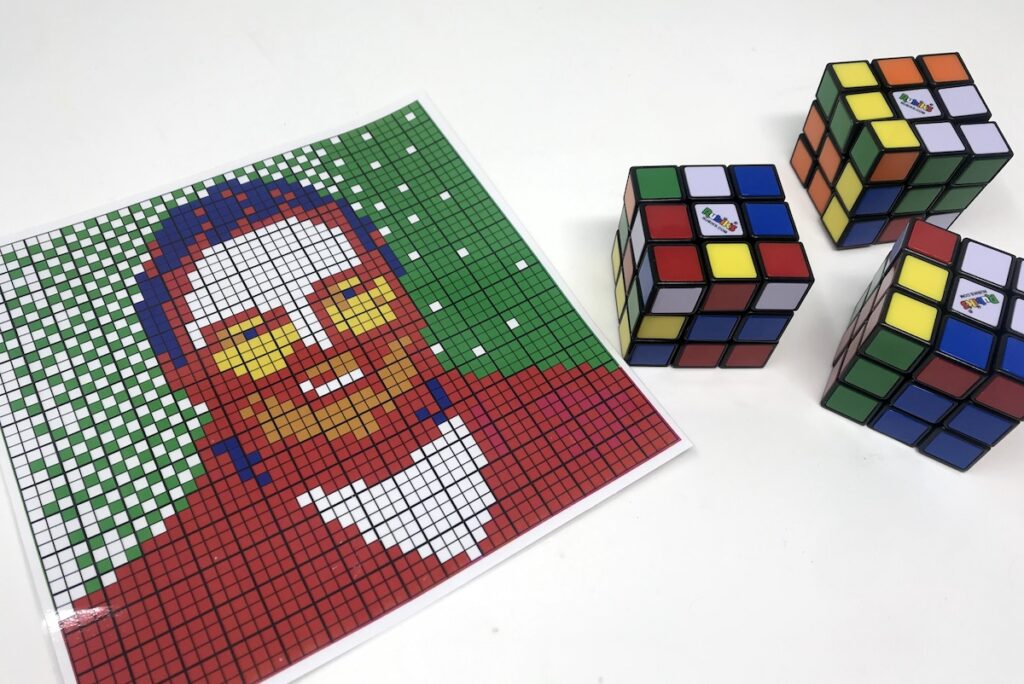
Get the Rubik’s Cubes

In this guide to creating your own Rubik’s Cube mosaics, 225 cubes will be used. You might be thinking, “How am I going to purchase that many Rubik’s Cubes?!” Don’t worry, you don’t have to. Rubik’s Cube has a “Cube Lending Program” that allows you to borrow a set for six weeks. The lending program has a variety of kits and sizes you can choose from to best fit your needs.
If you’re not sure if you want to purchase a large number of cubes for your classroom, start by borrowing them. After trying them out, you might find yourself writing a grant as you find so many opportunities to infuse math, science, and art concepts.
Design the Mosaic Portraits
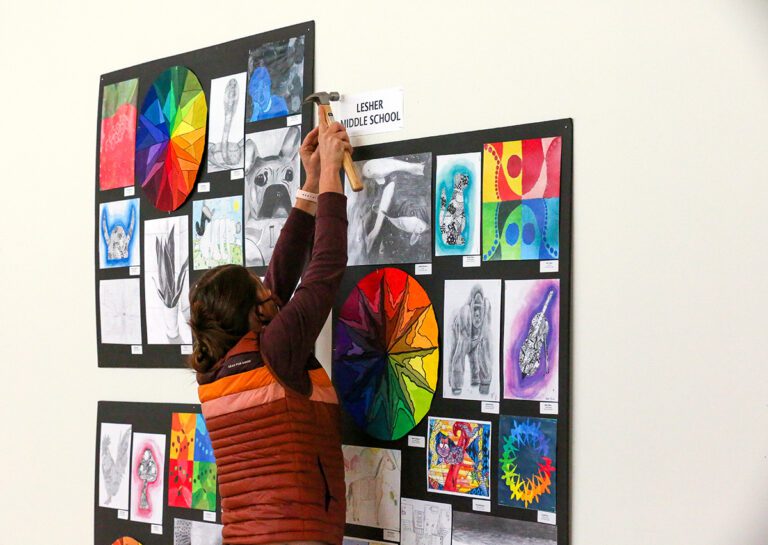
Before you even receive your class set of cubes, your students can start creating a mosaic template on paper. The most difficult part of this process for students is to choose a subject. That’s why I have my students choose another teacher in the building as their subject. Students usually pick a teacher they have a strong connection with. It is a great way for students to show gratitude and build community as well. Beyond solving the Rubik’s Cube, it creates a guessing game for the entire school to identify the teacher in the mosaic.
The only thing your students will need to get started is a picture. Students could certainly go around the school and take photos of teachers. An easier way would be to connect with the sponsor of your school’s yearbook. More than likely, they will have access to all of the staff photos from picture day.
Here are three ways your students can design their mosaics.
1. Mosaic Twist the Web Website
Twist The Web is the easiest way to convert a photograph into a mosaic, making it perfect for younger students. However, it doesn’t take much thinking in the design process as the website does it all for you. It’s a nice starting point but doesn’t provide students with the choice to manipulate the color of the images as much as they’d like.
2. Photoshop
For your more tech-savvy students creating your mosaic template in Photoshop will be optimal. By using Photoshop, students will have more control over their design choices. You can find a step-by-step guide to use with your students here. If you plan on using Photoshop with your students, use this Photoshop file that is set up to accommodate for 225 cubes. Alternately, if you don’t have access to Photoshop, you can use this GIMP tutorial.
3. Create Pixel Art
If designing your mosaics digitally isn’t an option, try coloring in squares on graph or grid paper to create pixel art images and fill in using colored pencil or maker. Create a grid for the desired number of Rubik’s Cubes you would like to use, and fill in the squares accordingly. Alternately you could also use the Photoshop file and print it out.
Setting Up the Rubik’s Cubes to Solve
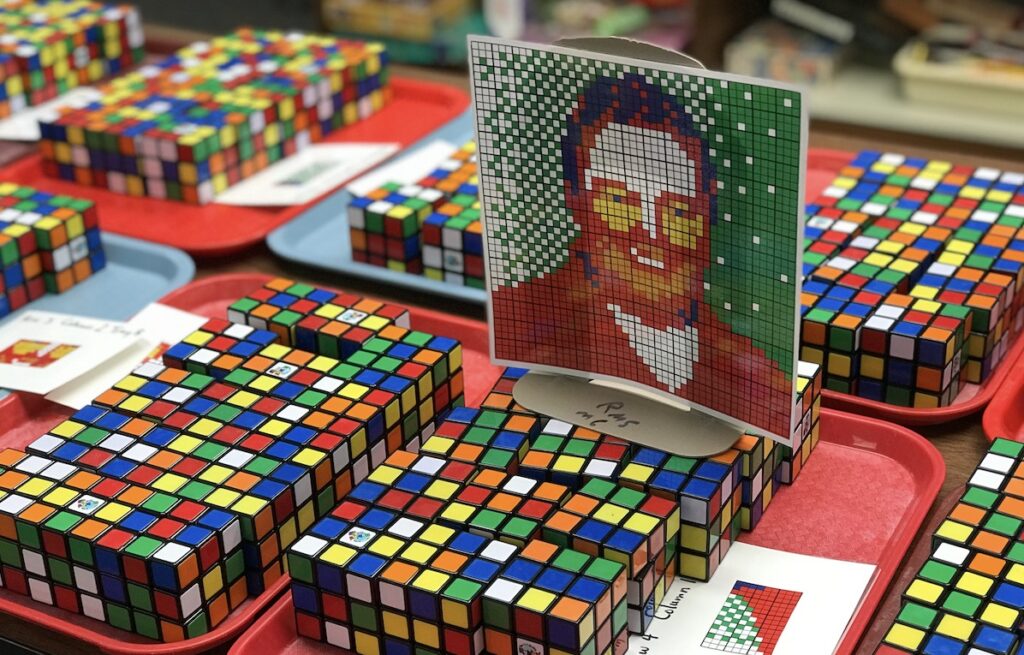
After the mosaic template is complete students will be ready to solve, but a little prep will need to take place. It’s best if you can set up your Rubik’s Cubes in a communal space. Team up with your media specialist or librarian as this is a great space for everyone to participate.
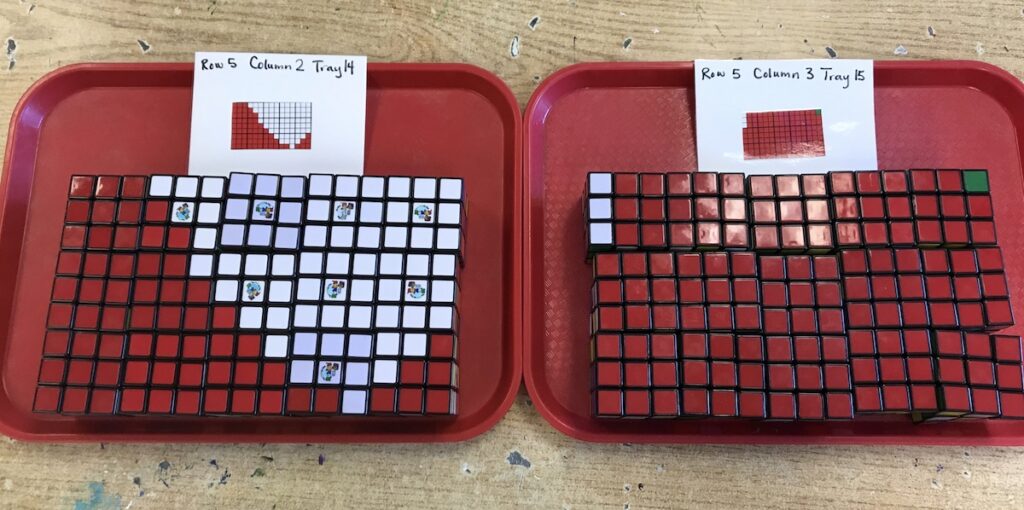
To organize the solving process, you will want to cut apart the mosaic template into smaller pieces. For example, in the above image, a section of the original design has been cut apart only to have fifteen cubes. Place fifteen Rubik’s Cubes on a tray with the image; this will help break down what the students are trying to solve. Once the cubes on the tray match the template, they’ve successfully solved that piece of the puzzle.
Display the Solved Puzzle
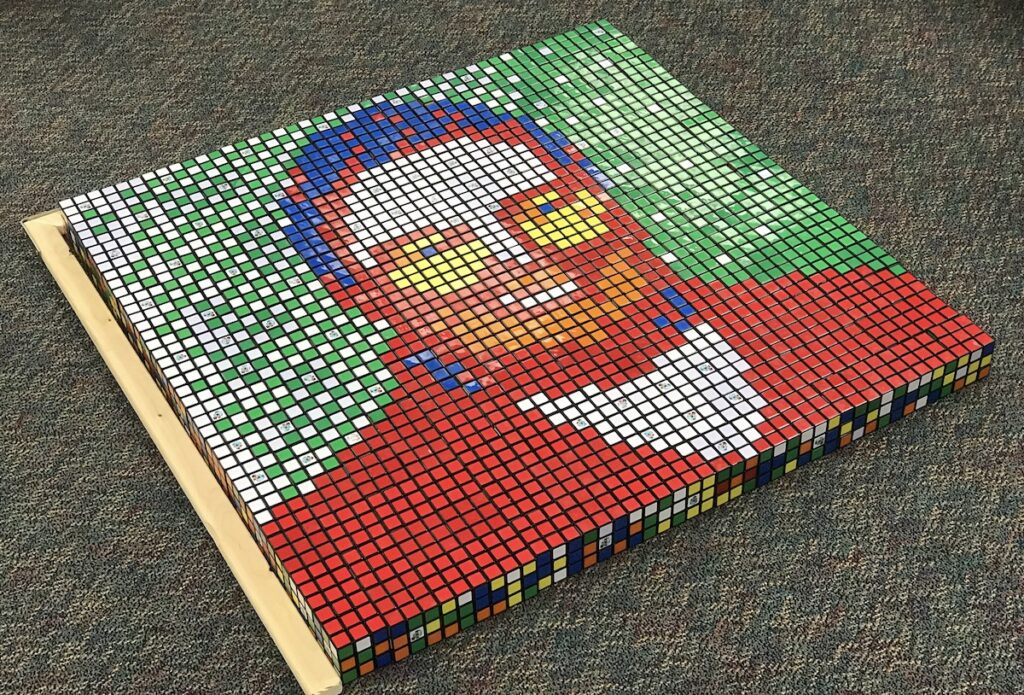
Be prepared for the solving of the mosaic puzzle to take a bit of time. Students might only pop in to solve a few cubes and then go on their way. But, when the puzzle is solved, it’s important to show off the final results. With a mosaic piece this large you’ll probably need to use the floor. It’s best to find a straight edge or corner you can line up the Rubik’s Cubes evenly. Once the puzzle is put together, you will be amazed by the results and the teamwork of your students.
Creating Rubik’s Cube mosaics is a fantastic activity that shows the problem-solving process of art. Students must develop their own creative solutions during the design phase of the template and as they start to solve the Rubik’s Cubes. Besides teaching important concepts like algorithms, geometry, spatial relations, color theory, and optical mixing, your students can work together as a school community. The results are simply incredible!
Join Abby at the Art Ed Now Conference on July 25th for even more information about the Rubik’s Cube mosaic portrait process.
Have you ever used Rubik’s Cubes in the art room?
What other questions do you have about this process?
Magazine articles and podcasts are opinions of professional education contributors and do not necessarily represent the position of the Art of Education University (AOEU) or its academic offerings. Contributors use terms in the way they are most often talked about in the scope of their educational experiences.