For the past several years, art educators, Marla Seibold and Petra Maton at Evanston Township High School in Evanston, Illinois, have collaborated with scientists from a local university to create truly original artwork with the most unique subject matter. The result? Student-artists learned a little more about science, collegiate-scientists learned a little more about art, and together they put on a great exhibit. This collaboration highlights many of the benefits that can come out of partnering with other content areas, groups of students, and organizations.
How does it work?
Step 1

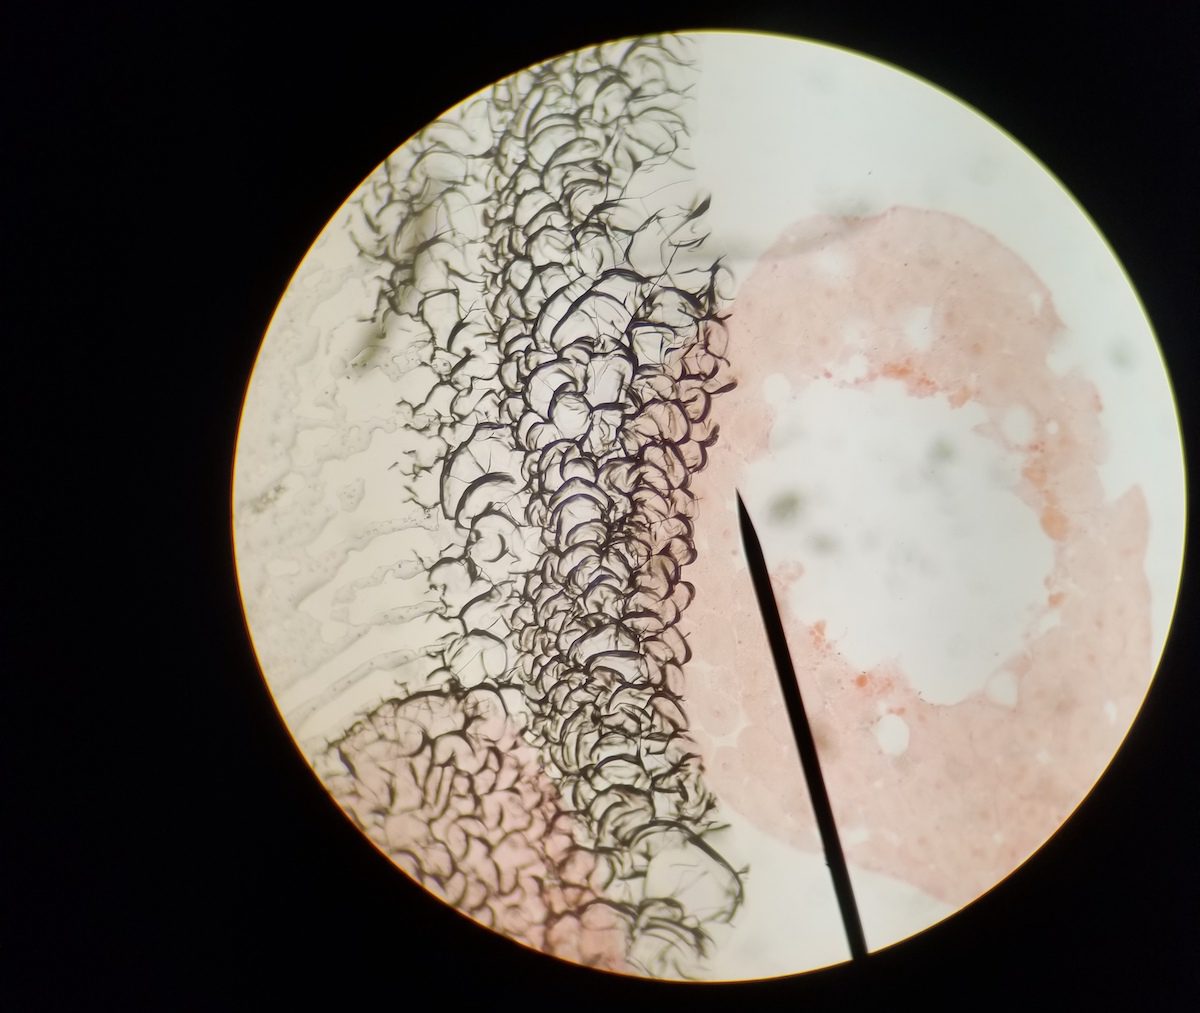
The process starts with college students using microscope cameras to capture photographs of their material. While these students are normally accustomed to analyzing their subjects for scientific purposes, they are now thinking artistically and looking for a good photo. In this process, they are learning about things like composition, focal point, and the elements and principles of art and design. After capturing their images, they can use editing software to add color and effects. When completed, the images are handed off to the art students.
Hundreds of school districts across the country utilize PRO to give their visual arts team training, hands-on tutorials, and resources. Get PRO In Your District
Step 2
The art students review the images and look for one that resonates with them, for whatever reason. Sometimes it can be the image that connects with the student’s style. Or perhaps it’s the vibrancy of the colors in the image. And sometimes, an image can be selected because of the subject matter. For example, an image of cancer cells can connect with a student’s life. But throughout the review process, art students are analyzing the images and subject matter, processing words like cells, mitosis, etc.
Step 3
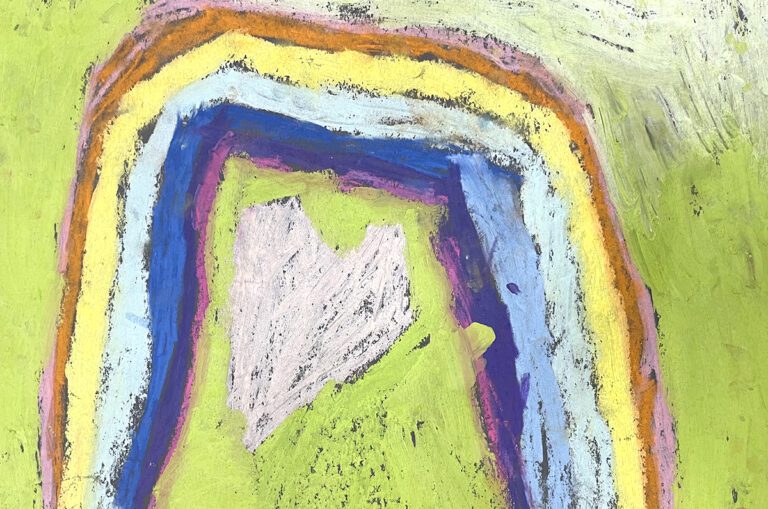
After students have selected an image, they go to work creating their own visual response. Students can work in a variety of mediums, and their piece can reflect a variety of approaches.
Step 4
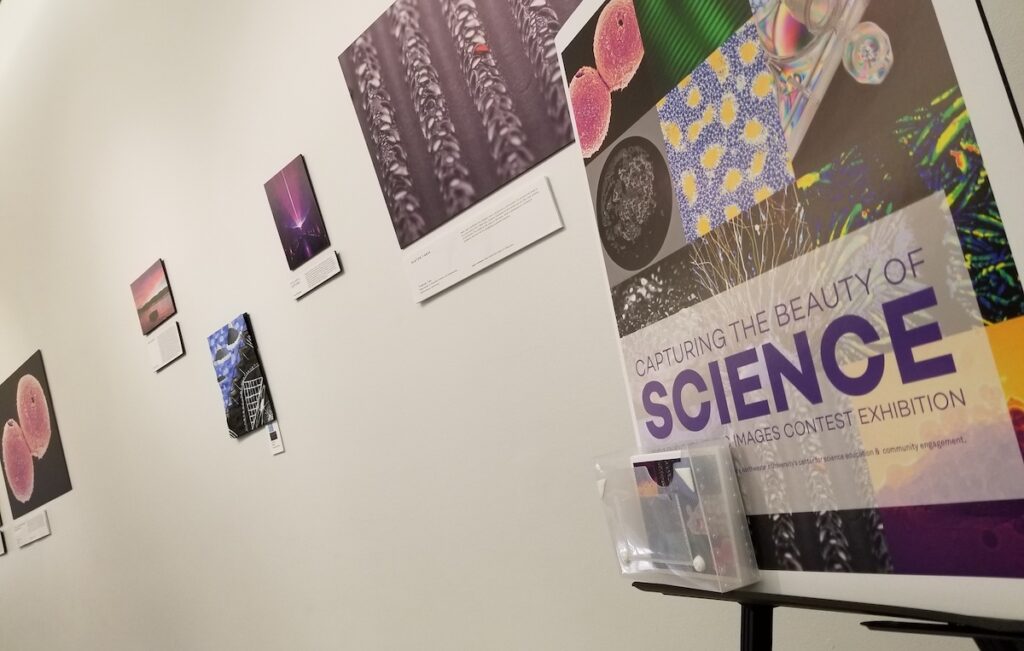
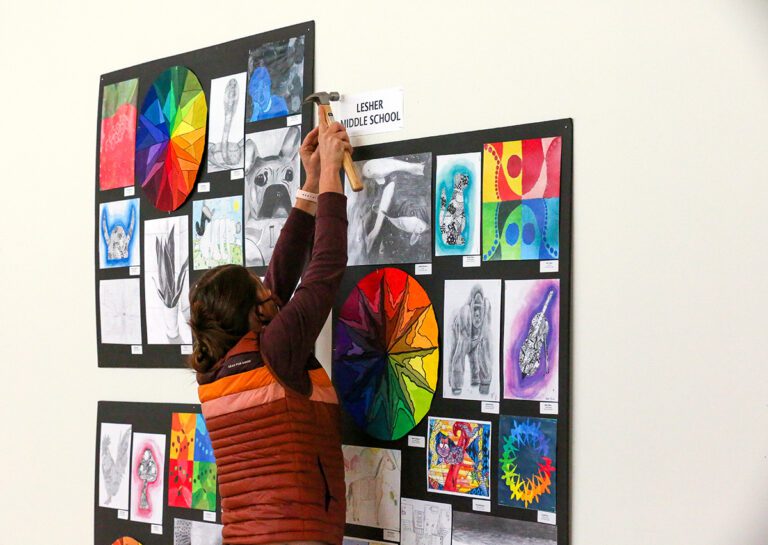
Once all the artwork is completed, it’s time to put everything on display. The two groups host an annual exhibit displaying the scientific images and artwork together. Students from both schools are on-site to meet for the first time and talk about their work. Marla and Petra have both learned this is one of the most special parts of the collaboration. Art students get to learn from the scientist how the scientific image represents a much bigger body of work and study. Scientists get to learn the student’s creative process with the work and are excited to see their work in an art piece. Doing a joint exhibit also allows viewers to make connections between the art and science pieces and see the inspiration.
How can you do this at your school?
Partnering with an outside organization can always result in unique benefits, like generational collaborations, that are tough to replicate within your building. But not having access to an outside group shouldn’t prevent you from doing something. All of the benefits outlined above can be achieved within your school.
First, find a science teacher who is willing to collaborate and see when they would be doing a unit with microscopes. At the high school level, these are usually your life science classes like biology. Teachers are more open to collaborating when it aligns with their current curriculum. Then, think about how this could weave into your curriculum. Some connections could include abstract art, a specific medium or technique, or visual interpretation.


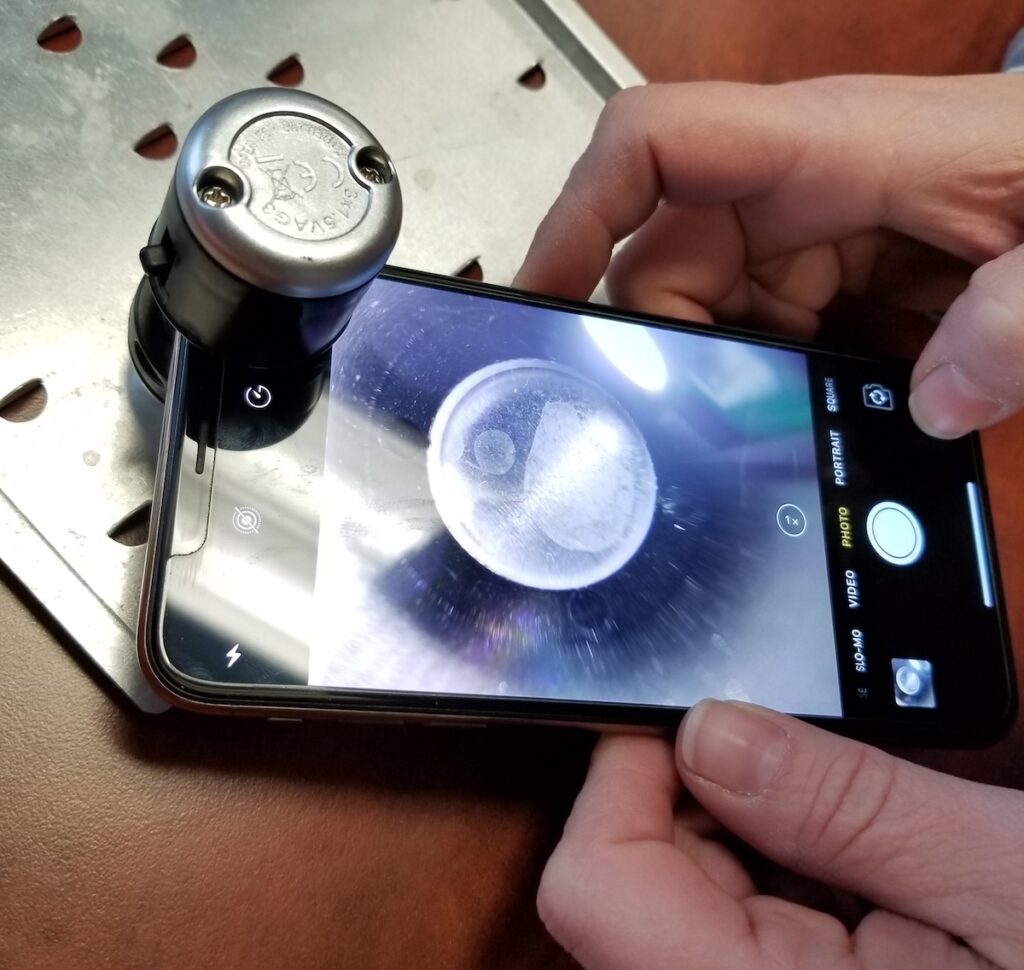
Similar to the college students, have the science students start the process. If your school doesn’t have microscopic cameras, that’s not a problem! You can easily use a cell phone camera. Simply put the camera up to the microscope lens, use auto-focus, and click. Remember, these images can be further cropped and edited to create a more interesting piece. Then, share the images with the art class and have those students pick their favorite piece from which to work.
One of the benefits of this project is that students are exposed to the new subject matter they might never have thought to use. Petra has learned that some students need guidance in moving beyond replicating the photograph. Using questions like, “What does this image remind you of?” can help students think of other ideas. Marla also shared knowing the subject matter of the image can give students ideas on what to add. If you’re looking for more collaboration, have the art and science students collect samples together for their microscope slides.
Additionally, this can also be a great time to introduce art students to careers in art like medical illustration. Once all the artwork is completed, think about the best way to showcase the work. If an art show isn’t possible, think about doing a display case or hanging the artwork in the school’s central office or outside the science facility (where there is likely no art).
Why is collaboration important?
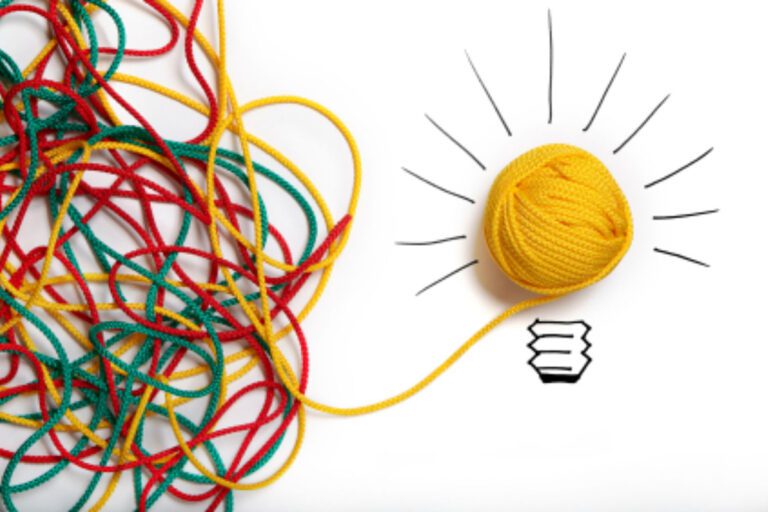
Bringing together two groups of people, especially groups that would have otherwise never connected, can create a special learning opportunity. Students have the experience of learning from someone else who might represent someone unlike themselves. Additionally, collaborations like this can help non-artists take a step into the art world and flex their brain muscles differently. It takes time to set up the right collaboration and work out all of the kinks. But establishing a good foundation from solid planning and communication can set up a positive experience for several years.
How else might science and art teachers collaborate?
How can this lesson be furthered for art students to learn more about science?
Magazine articles and podcasts are opinions of professional education contributors and do not necessarily represent the position of the Art of Education University (AOEU) or its academic offerings. Contributors use terms in the way they are most often talked about in the scope of their educational experiences.