Return to Learn with The Art of Education University
Whether you are a pro at using Canvas (Learning Management System) or have just been tossed into it now, you will know how frustrating it can be at first glance. Canvas does not feel intuitive, especially for art teachers. It will get easier the more you use it and figure out how to make it work for you and your teaching style. Using Canvas with Google products seems tricky at first. However, with a few adjustments, this duo can enhance organization and student learning.
10 tips (with videos!) to make Canvas and Google work together for you:
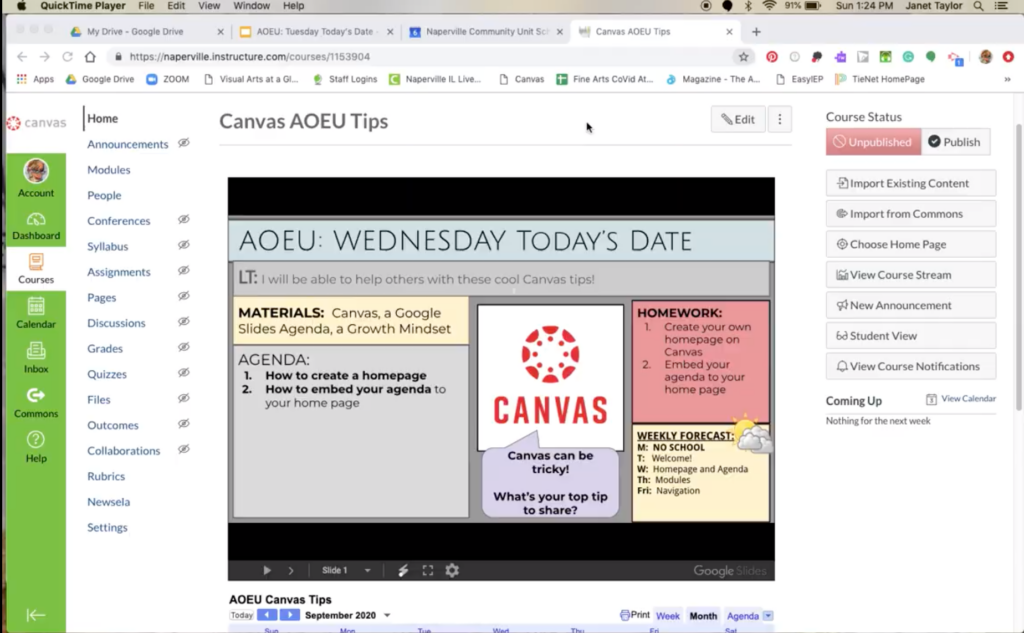
1. Embed your agenda or calendar on the home screen.
Use Google Slides to create daily agendas and Google Calendar to help students keep track of their overall schedule.
When making a Slides Agenda, make sure to put the most current date at the top of the slide deck. This way, today’s agenda slide will always be what students see first, and then they can scroll through to the next date to see what they missed during an absence.
To create a homepage:
- Click on your Canvas Course.
- Click on “Pages” on the left sidebar.
- Click on the + in the top right to add a page.
- Title your Page and click “Save and Publish” at the bottom right.
- Click on “Pages” on the left sidebar; you should now see a list of your pages.
- Click on the three vertical dots on the right side of your “Welcome” page.
- Click “Use as Front Page.”
- Click on “Home” on the left sidebar.
- On the right side, you will now see options, including “Choose Home Page.”
- Click on “Choose Home Page” and select “Pages Front Page.”
- When you go back to “Home,” you should now see your “Welcome Page” as your “Home Page.”
To embed Google Slides on your home page:
- Click on your “Home Page.”
- Click on “Edit” at the top right.
- In another tab, access your Google Slides presentation.
- Click on “File” > “Publish to Web.”
- Choose the “Embed” tab option (you will see “Link” and “Embed” as tabs).
- Click “Publish;” an HTML code will appear.
- Copy the HTML code.
- Go back to your Canvas Page Tab in your browser.
- Click on “HTML Editor” on the right side.
- Paste your copied HTML code from your published slides here.
- Click on “Rich Content Editor,” and you should now see your slides.
- Click “Save.”
To embed a Google Calendar on your home page:
- Create a new calendar (Click on the + after “Other Calendars” in the left toolbar), title it, and “Create Calendar.”
- Click the back arrow at the top right (next to “Settings”); you will return to the calendar page and see your newly created calendar in the left-side toolbar.
- Click on the three vertical dots on your calendar and choose “Settings and sharing.”
- Scroll down to (or click in the left sidebar) the topic “Integrate calendar.”
- Click on “Embed code” and copy the code.
- Move back to your Canvas “Home Page.”
- Click on “Edit” at the top right.
- Click on “HTML Editor” on the right side.
- Paste your copied HTML code from your chosen calendar here.
- Click on “Rich Content Editor,” and you should now see your calendar.
- Click “Save.”
Now, every time you add a slide, change or modify the content, or update your calendar, your Canvas home page will automatically be updated in real-time.
2. Think of “modules” as units or sections of time.
Label each module with a unit name or length of time, so students know where you are in the learning process. For example, “Unit 1: Shading with Value” can have assignments, tasks, quizzes, etc. in one module that relate to your unit on value. You can set up your units (modules) ahead of time and lock them, so students only see the unit or units you are working on at any given time.
3. Copy or move content from a previous course.
Don’t reinvent the wheel each semester. Instead, import content from the previous year and modify it as needed. You can move unused content to the bottom for later or delete it altogether.
To import content from a previous course:
- Click on your Canvas Course.
- Click on “Import Existing Content.”
- Click on the dropdown menu under “Content Type” and choose “Copy a Canvas Course.”
- Select a course from the dropdown menu.
- Select “All content” if you want to completely duplicate your previous course, or “Select specific content” if you want to pick and choose what you import.
- Click “Adjust events and due dates” and then select “Remove dates.” You can modify dates for each task later.
- Click “Import.”
- If you clicked “Select specific content,” you can click “Select Content” on the right and choose whatever you want to import. That content will be queued to import.
- After your content has been “completed,” you will see all content available in your Canvas Course.
4. Create an unpublished course and use it as a template.
When building a course, it can be very helpful to make a “fake course” to create a skeleton or framework of where you want to go. By creating this unpublished course, you can always come back to add more—creating a storage location for the course. You can also share this course with your team and collaboratively add material to share.
5. Get rid of the excess.
Help students navigate where you want them to by hiding excess tools. If you leave “Assignments” or “Discussions” in the sidebar, students will click on those to access their tasks. Instead, have students navigate through and within the unit (module) to get to their tasks. This will ensure they read all the required content instead of jumping to the task.
To modify your side toolbar:
- Click on your Canvas Course.
- Click on “Settings” on the bottom left of your sidebar.
- Click on “Navigation” along the top tabs.
- Drag and drop your options to the top (what you want visible to students, and in what order) or to the bottom (what you want to be hidden).
6. Front-load material and check for understanding.
In each module, provide video tutorials or review content by linking YouTube videos or Google Slides. Once they have watched your lesson, you can use Canvas Quizzes or Discussion Boards to check they not only accessed the content but also understood it. You can also make all items required within a module so students must navigate through each task in the unit.
7. Link real-time, editable Google Slides or Docs instead of uploading files.
We are constantly updating our content, fixing a typo, or clarifying our expectations. Why not do this in real-time instead of re-uploading files constantly? When you share content from Google, make sure the link is set to “view only,” so students don’t accidentally change your content.
8. Ask students to submit links instead of files.
When students place a finished artwork in a Google Slides Portfolio or Google Doc, they can add all sorts of key information such as reflection comments and annotations to their work. Using a link allows you to access that shared document and provide feedback through comments directly on the slide or document. Ensure privacy settings allow others to view or edit; otherwise, you will have to request access each time a student submits.
9. Encourage collaboration by using a template.
When you create a template in Google, you can ensure all students have the content you are asking from them. Using this real-time document, students can collaborate or you can delegate the expectations, so students teach each other.
Students can use a copy of your template to answer questions, for example. When you copy the link, make sure to change the extension to “/copy.” This will automatically prompt students to make a copy, so they won’t accidentally edit your class template document.
Students can also add to your collaborative document or slide. In Google Slides, you can make your expectation slide a template where students can copy and paste to create their own slide in the deck. Or, you can create different slides for students to choose from or assign, so each student contributes to a larger learning document.
10. Personalize your Dashboard with colors and images.
When you change the color or image that appears in your dashboard for each of your classes, your students will see it as well. This is a great way to personalize your course and give students a visual cue when they have six other classes on their dashboard.
To change the color of your course in the dashboard, click on the three vertical dots on the right side of your course, then check the color you want.
To add a personalized image to your dashboard courses:
- Click on your course.
- Click on “Settings” in the lower-left corner of the sidebar menu.
- Click on “Course Details.”
- Upload an image from the “Choose Image” option.
There are many different ways to organize your content using Canvas. When you get more adept at using this Learning Management System, you can create cohorts and groupings to help you manage students in hybrid and at home. However, these basic tips will get you headed in the right direction to help you build your Canvas confidence!
Return to Learn with The Art of Education University
How do you set up your Canvas site to support student learning?
What questions do you have about Canvas as you plan for the new school year?
What tips or tricks have been helpful to you when using Google and Canvas combined?
Magazine articles and podcasts are opinions of professional education contributors and do not necessarily represent the position of the Art of Education University (AOEU) or its academic offerings. Contributors use terms in the way they are most often talked about in the scope of their educational experiences.