Have you ever thought about writing or illustrating a children’s book?
If so, you’re not alone. Many art teachers and creatives are often drawn to the expressive art of writing or illustrating a book. Maybe it’s a dream of yours, too.
Art teachers often use children’s books as sources of inspiration for students, art lessons, and conversations. We are surrounded by children daily and know the importance of sharing stories with our students. We are uniquely equipped to write because we know what our students need, what they like, and what will engage them.

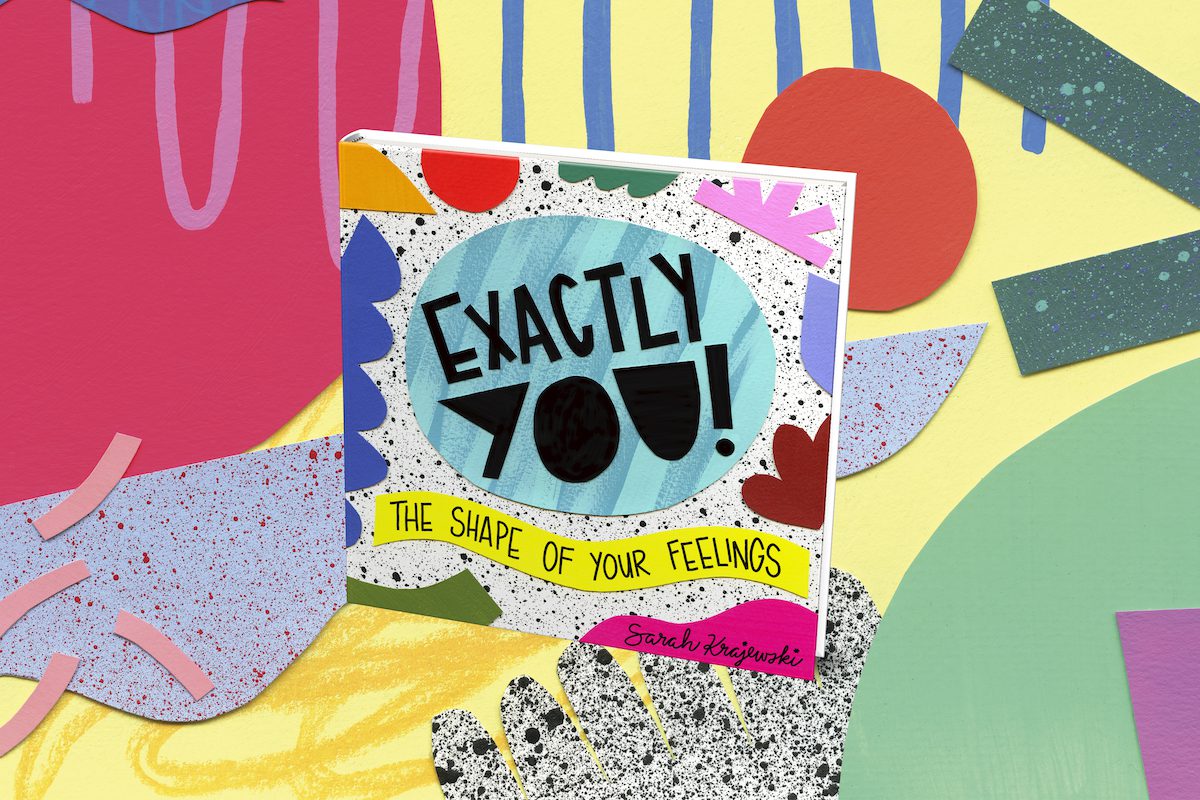
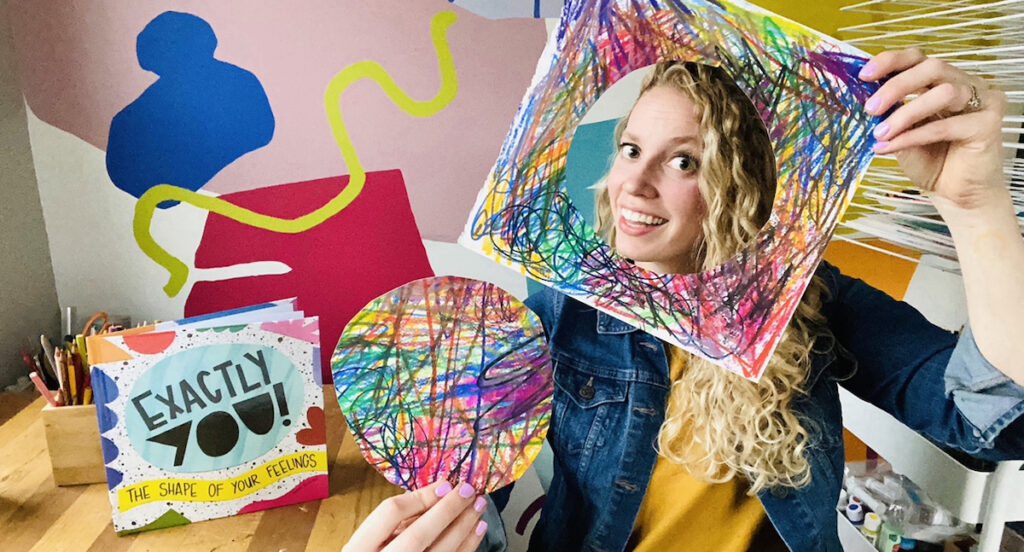
After recently writing, illustrating, and publishing my first children’s book, Exactly You! The Shape of Your Feelings, I learned a great deal about the process. After I read the book to them, one of my students’ main questions was, “What made you want to write this book?” I’ll be honest. I’ve always wanted to write and illustrate a children’s book, but when the COVID-19 pandemic hit in the Spring of 2020, I knew it was the right time. I was trying to manage and understand my own emotions about the state of the world. I knew I was not alone in my feelings of anxiety, fear, confusion, and depression. I wanted to write a book that addressed and normalized these big feelings in a beautifully accepting way.
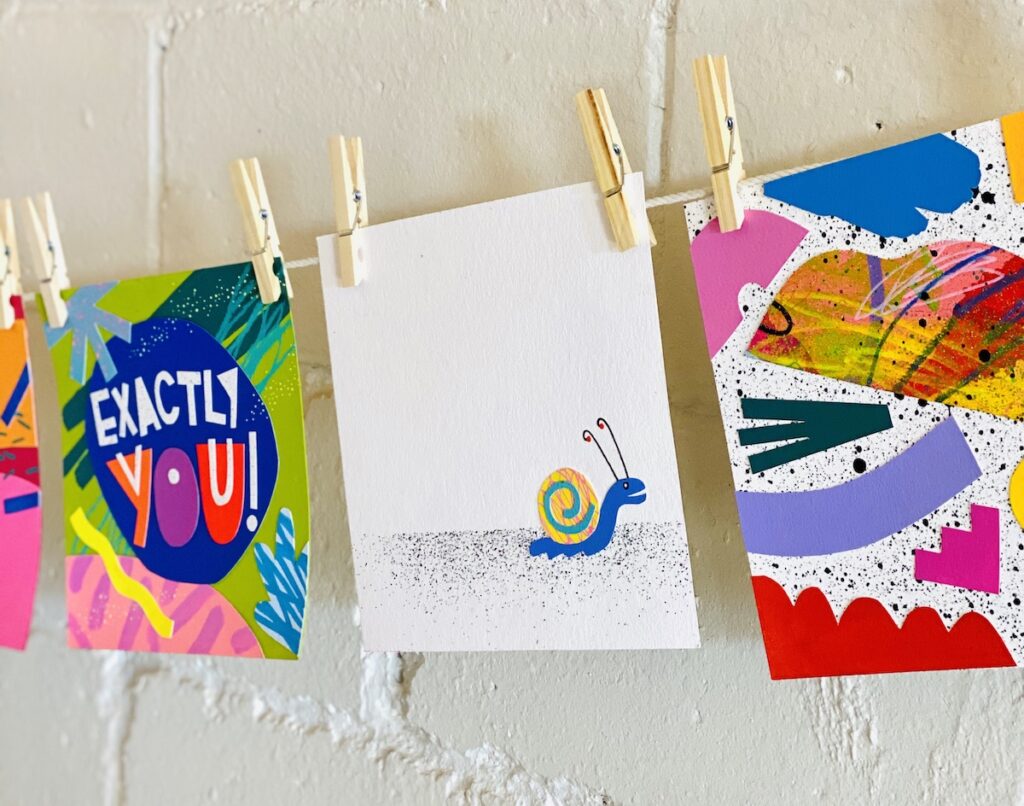
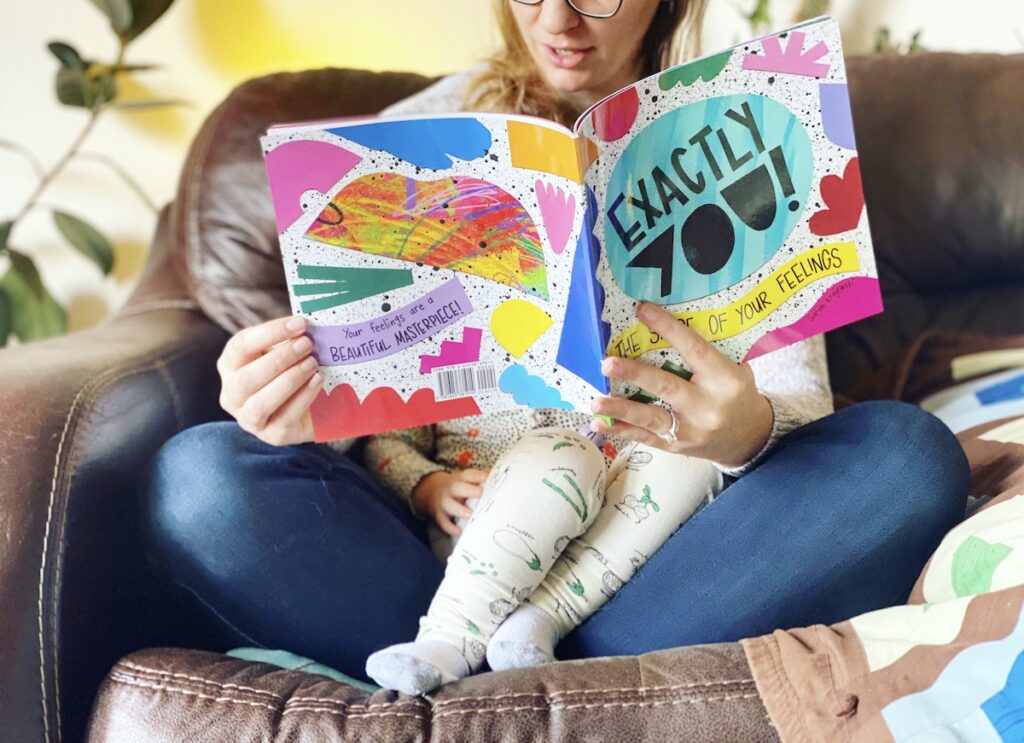
The book is filled with colorful and brightly collaged abstract illustrations. This self-affirming book discusses big feelings such as anxiety, self-esteem, depression, comparison, confidence, and more. The book is a conversation starter about how these feelings are completely normal and valid, perfect for social-emotional learning.
Like my students, you might be wondering what it might be like. Well, here are 9 important takeaways to share:
1. Identify the “Why.”
This question is especially important to consider if you plan to write and illustrate your book. You’ll want to consider why you are creating your book. For artistic expression? To teach a lesson? To tell a silly story? To model art careers? It doesn’t have to be a complicated reason, but it’s good to consider your motivation. Hear more about my personal motivation on the Art Ed Radio Podcast and the Everyday Art Room Podcast. This will help you keep perspective during the creation of your book. Overall, it comes down to this, “Are you excited to create your book?” and if the answer is yes, you’re good to go!
2. Decide on a publishing plan.
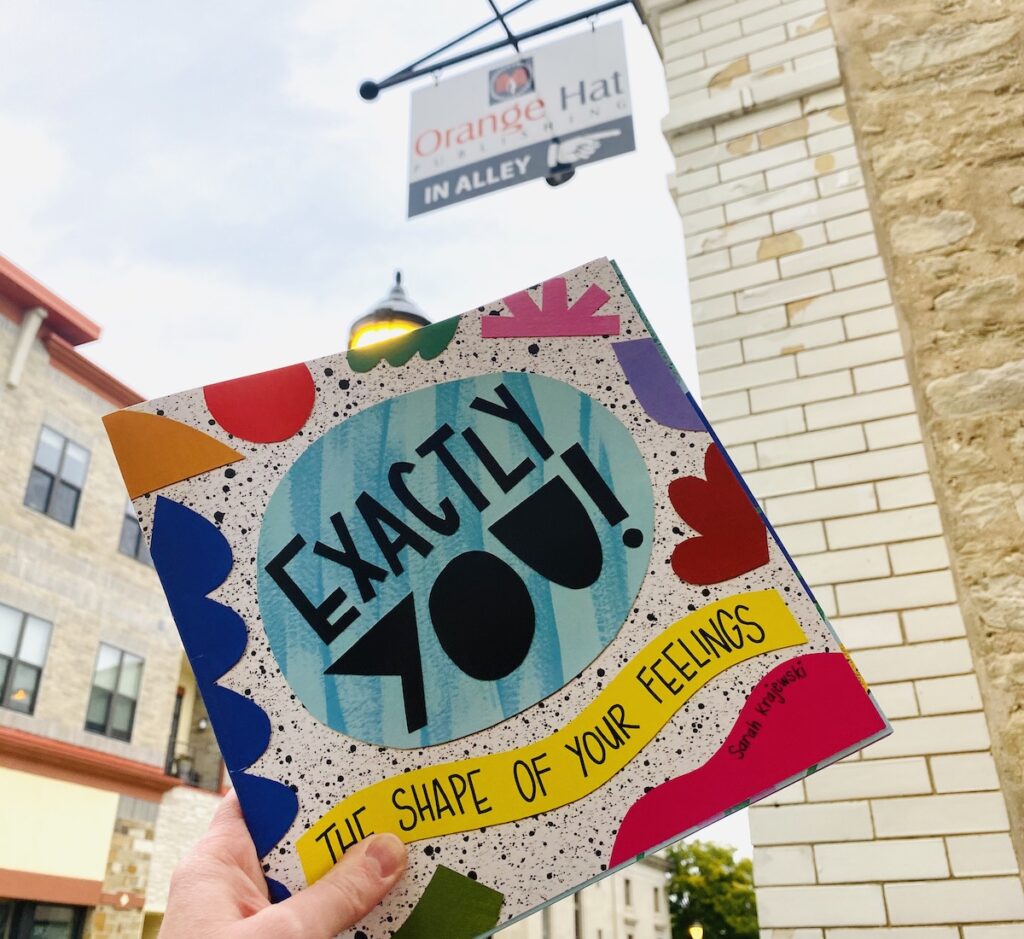
What publishing method is going to work best for you? I knew I wanted to work with a small, local publisher and was lucky enough to connect with the amazing team at Orange Hat Publishing through Instagram. Orange Hat Publishing is a local family-owned, independent publisher based in Waukesha, WI. You may want to start by searching for publishers local to you, finding another publisher to contact online, or researching how to self-publish.
3. Storyboard the idea.
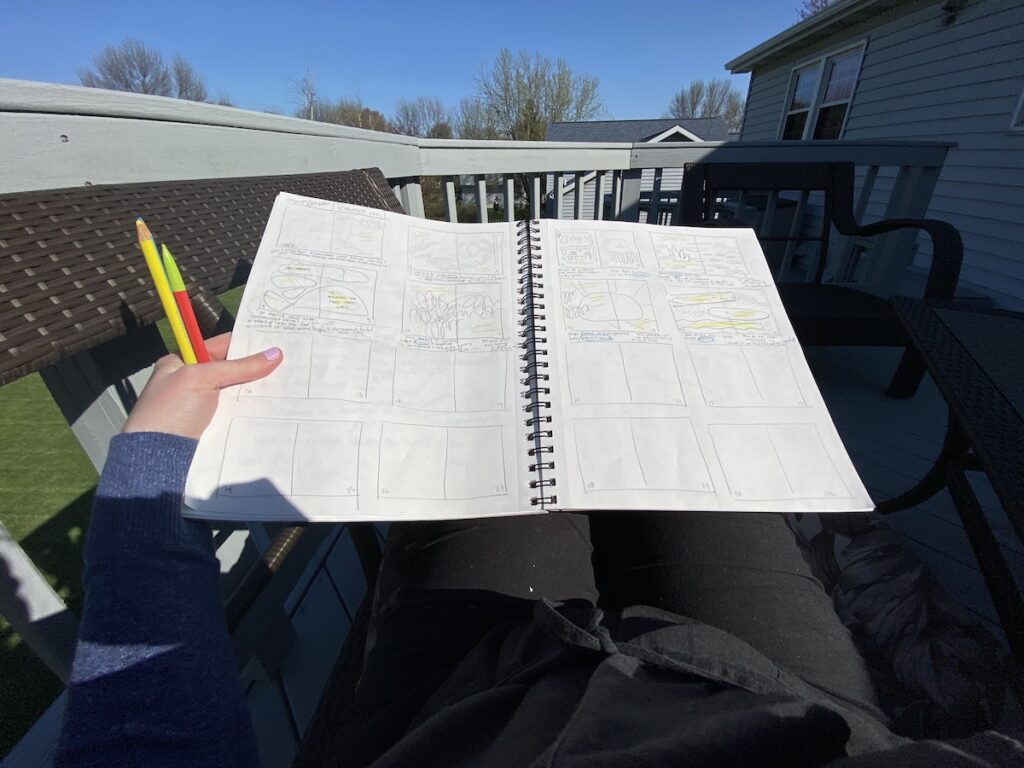
Now it’s time to get to work. Get comfy and start brainstorming. I started by creating lists of words, questions, and concepts I wanted to include in my book. Then, I scribbled initial sketches to get my ideas out onto the page. When your idea starts to take shape, read your book to close friends. Remember, your book will likely change a little as you continue through the process. Be sure to keep an open mind, an editing eye, and take comments as feedback and not criticism.
4. Sketch first draft illustrations.
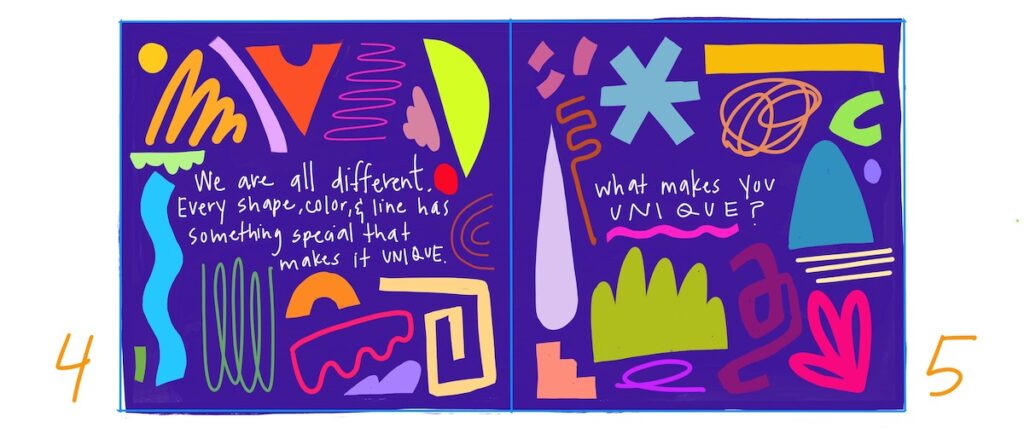
How you sketch speaks to your individual creative process. I used the Procreate app on my iPad to make a first-round draft of quick sketches to check for composition and readability.
5. Make edits—constantly.
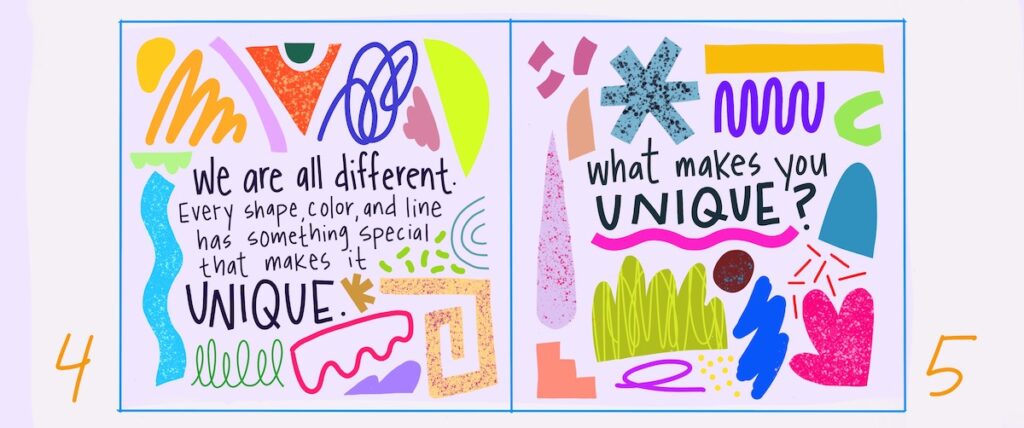
This is the nature of creating a book, and of all artmaking! For me, it worked well to create sketches that were very similar to what I envisioned the final composition to look like. This way, I simply needed to follow my final sketch like a map, making the art creation run much smoother.
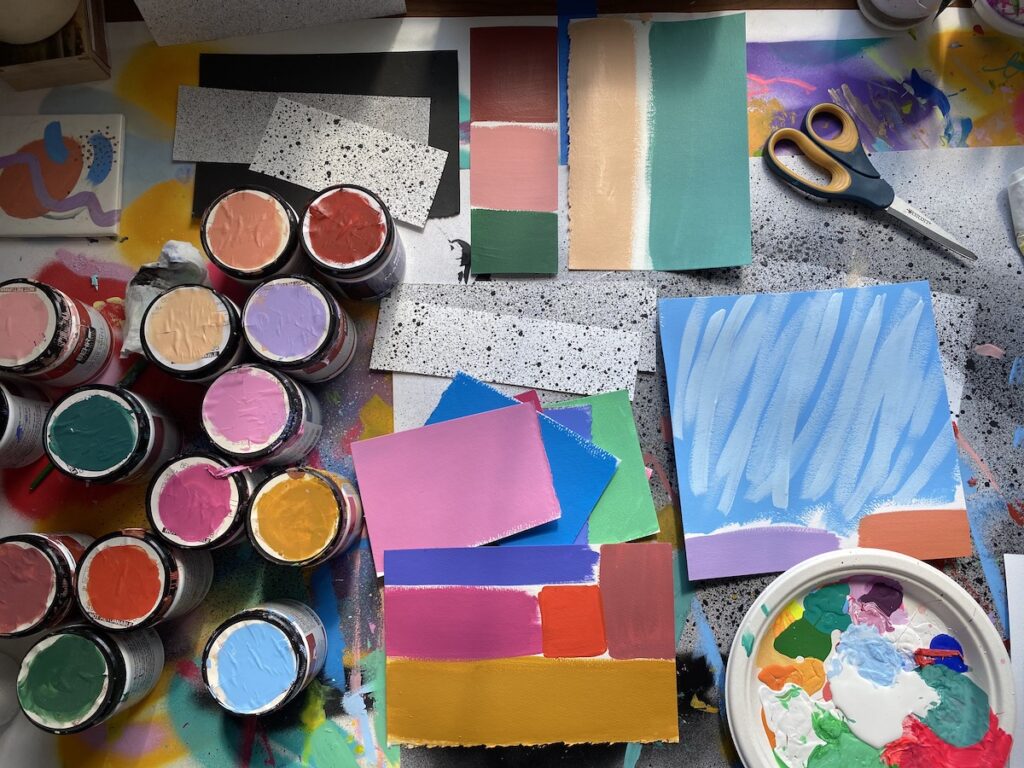
6. Create physical artwork.
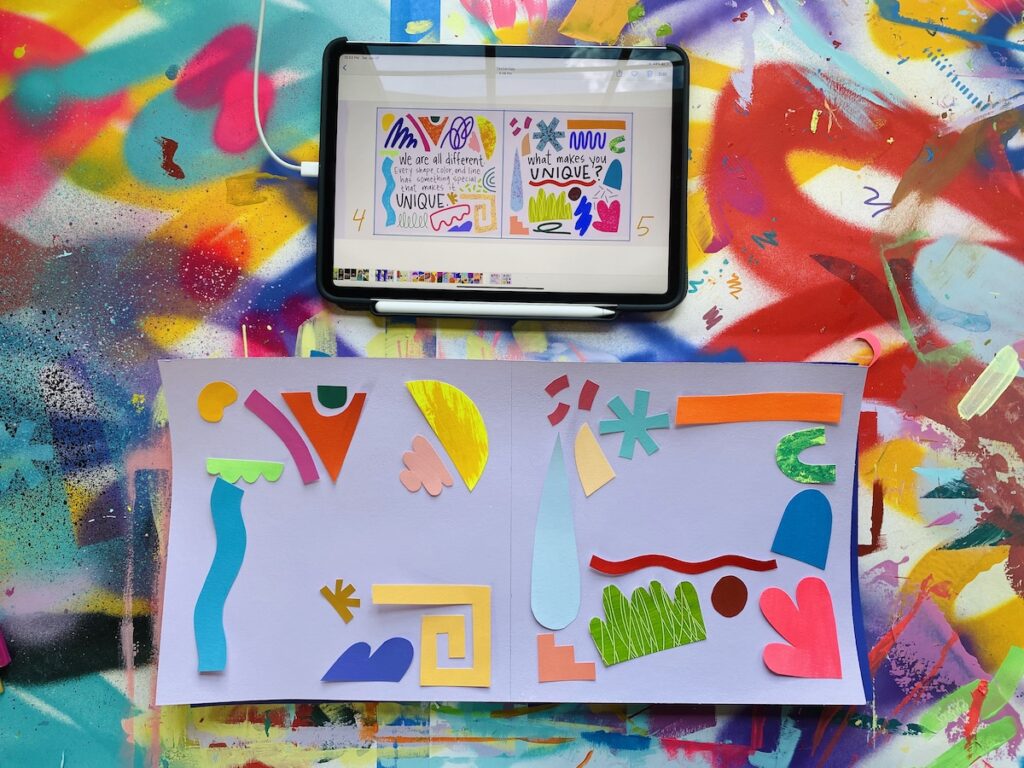
Once you have a solid plan of your page composition, it’s time to create your actual artwork. I wanted to model my artistic behavior to my students by creating a book that was made from original paintings, using interior house paint, spray paint, and collage, similar to how I work as an artist.
7. Scan, add text, and edit again.
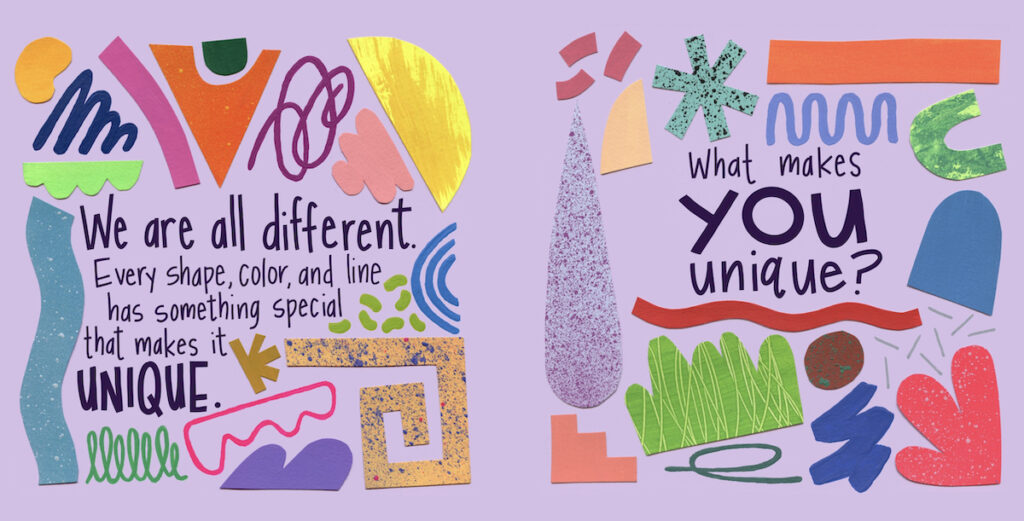
As you start to see your illustrations take shape, you can better imagine how text will be part of your story. Scan your original artworks and consider which font fits your story best. You can even create your own font or write the text yourself using a digital drawing app.
8. Decide on the book details.
Do you want to include any more information, or “back matter” in your book? For example, there is a double spread page in my book at the back that includes art lessons, guiding questions, and information about the author. Many of these decisions will be considered along the way of creating your book and may not necessarily come right at the end. You’ll also want to think about aspects specific to creating a book, such as back cover layout, the spine of your book, your book jacket design, and more.
9. Create a publishing book release plan, celebrate, and read!
Chat with your publishers to decide on a book release plan that works for everyone. For example, we released my book on October 10th, 2020, in honor of World Mental Health Day. Once your book is released, celebrate your accomplishments! Do an online reading, author visit, and chat with local shops who would be willing to carry your book. Creating a book is a lot of hard work. But, it’s also incredibly rewarding to see it all in one beautifully compact creation.
No matter what your book creation process is, remember to:
- Ask questions. Every question you have is completely valid, especially if you’ve never done it before. Don’t be afraid to ask for clarification.
- Take your time. Don’t feel like you need to rush through this process. Creating a book can take months or even years. This is typical.
- Don’t take it personally. If someone makes a suggestion, remember to frame this is feedback and not hurtful criticism. It’s important to allow for open and safe editing conversations.
- Be flexible. The bookmaking journey may be different than you expect. Be flexible regarding your expectations.
- Enjoy the process. Creating a book is a unique experience all its own. Enjoy the ride, and have fun with all the different parts of your book creation!
You can get your own copy of Exactly You! The Shape of Your Feelings by visiting artroomglitterfairy.com, Amazon, Barnes and Noble, or message and follow Sarah on Instagram.
Have you ever wanted to write a children’s book?
What do you look for in a children’s book?
How do you introduce new authors to your students?
Magazine articles and podcasts are opinions of professional education contributors and do not necessarily represent the position of the Art of Education University (AOEU) or its academic offerings. Contributors use terms in the way they are most often talked about in the scope of their educational experiences.