Are you looking for an exciting way to start off your Visual Arts class this year? Bring the study of graffiti to your students! The relevance and intrigue of graffiti art will hook kids immediately. Graffiti-inspired study can build fundamental art skills and knowledge while authentically motivating every student. Structuring a graffiti unit can be a challenge, especially in the early weeks. How do we give students accessible, engaging, and constructive scaffolding assignments? Today we’re publishing two articles laying out all of the specifics. After you finish reading about week one, you can read about week two here.
The Elements of Art and the Elements of Graffiti
The first three elements of art are line, shape, and form. The three elements of graffiti mirror those art elements by manifesting as a “tag,” “throw,” and “piece.”
- Tag
A “tag” is a word design using the qualities of line. We cannot color in a tag, it is simply the essence of what develops the next dimensions in the form of a line. - Throw
A “throw” is a letter or word that can be filled in with color or design. The letters in “throw” styles now have shape. - Piece
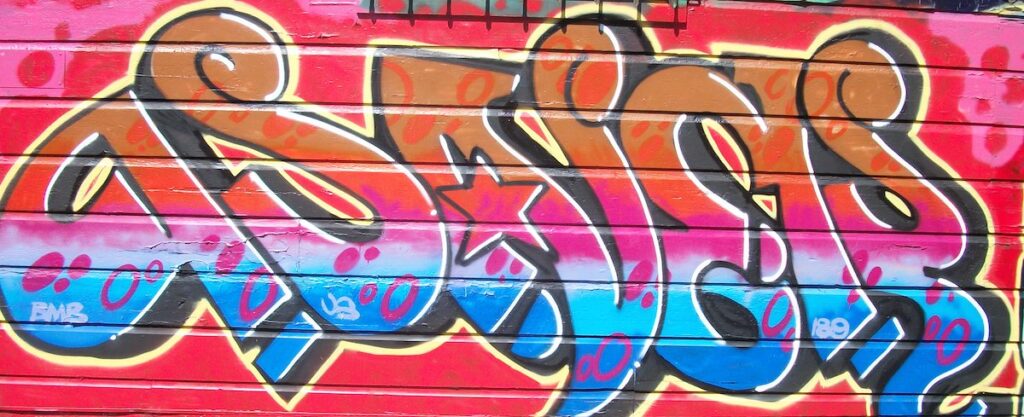
A “piece” letter or word now has the illusion of form. Various forms of perspective create perceptions of height, length, and width. Overlapping letters create depth in space. Color theory is applied in numerous schemes, including gradation, to further enhance references to form.
Since these elements parallel one another, we should allow students to experiment with them in their progressive order.
Exercise 1: Tag Letters
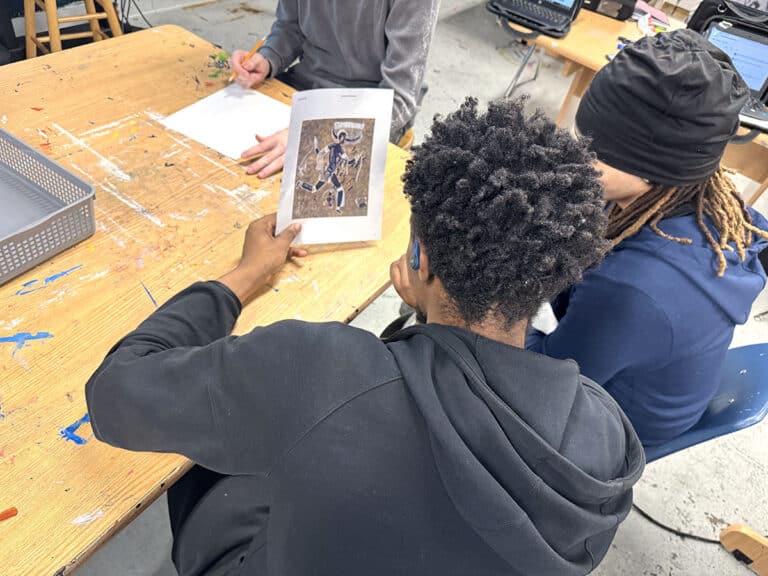
On the first day of the unit, get students to design letters. Begin by experimenting with “tag” letters that will give students practice manipulating line. Each student will need a dry-erase board, a dry-erase marker, and a rag for an eraser. If you do not have a set like this, cut paper in half and give students a few pieces each. As the instructor, you will be at the front board demonstrating and drawing with your students. Draw a rectangle at the front of the room in proportion to the surface students will be using.
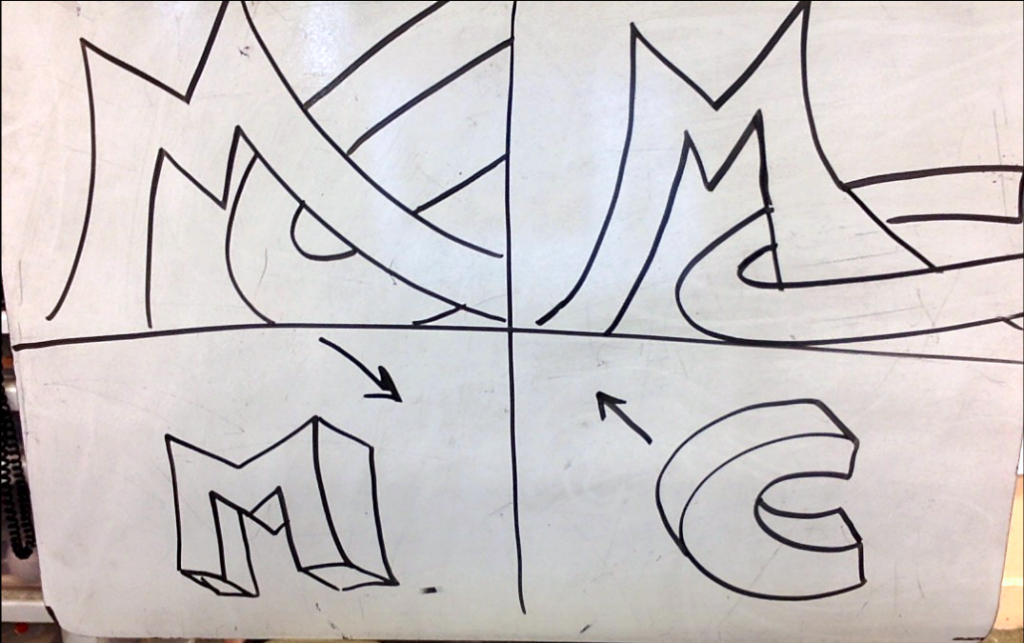
Draw the X and Y axis on your surface to break the space into four boxes. In each box, you will ask students to do different designs. You will also do a demonstration drawing for each design. Students can use their initials to start, or any two letters of their choosing.
In each box, give them a way to design their initials.
- In the first box, explain they are creating “tag” letters. Ask students to stretch one letter to touch the top and bottom of the box with the second letter being smaller.
- In the second box, have students stack one letter on top of the other.
- In the third box, ask students to twist and curve their letters in uncomfortable ways.
- In the fourth box, ask students to make each letter touch all four edges of the box.

By giving them different challenges, students are breaking habits in their mind and creating new ways to design. After filling up each box, have students wipe their boards clean, and draw four new boxes.
Exercise 2: Throw Letters
After a run or two of “tag” letters, have students move into the “throw” design. Students can continue to use their initials or any two letters of their choice.
- In the first box, simply show students how to start with “tag” letters and to expand into a letter that has shape.
- In the next box, have students draw one letter tall and one letter small.
Continue this idea in the remaining boxes. Twist letters. Stack letters. Make letters connect to each side of the box. Really force students have to leave their comfort zones. Once they have had some practice, have students overlap letters. Ask students to add new letters and try to overlap three and four letters in one box. When students are finished quickly with any one box challenge, invite them to create designs, images, and patterns inside their letters. All of these actions will help develop their letter designing ideas for graffiti-inspired work.
Exercise 3: Piece Letters
On the second and third days, draw in the four boxes on their boards and begin perspective. One-point perspective is a common way to start. Have each student design the same letter as you are demonstrating on the board. Begin with letters that are not round, like capital “L” and “N”. Draw an arrow to show students which direction you will be extending each letter to create the third dimension. As you demonstrate each letter, circulate your room and help students who are struggling. When quicker students are finished, challenge them to incorporate a new letter in the box with perspective. They can also experiment with adding designs inside the letters. Gradually increase to two letters in each box while adding perspective.
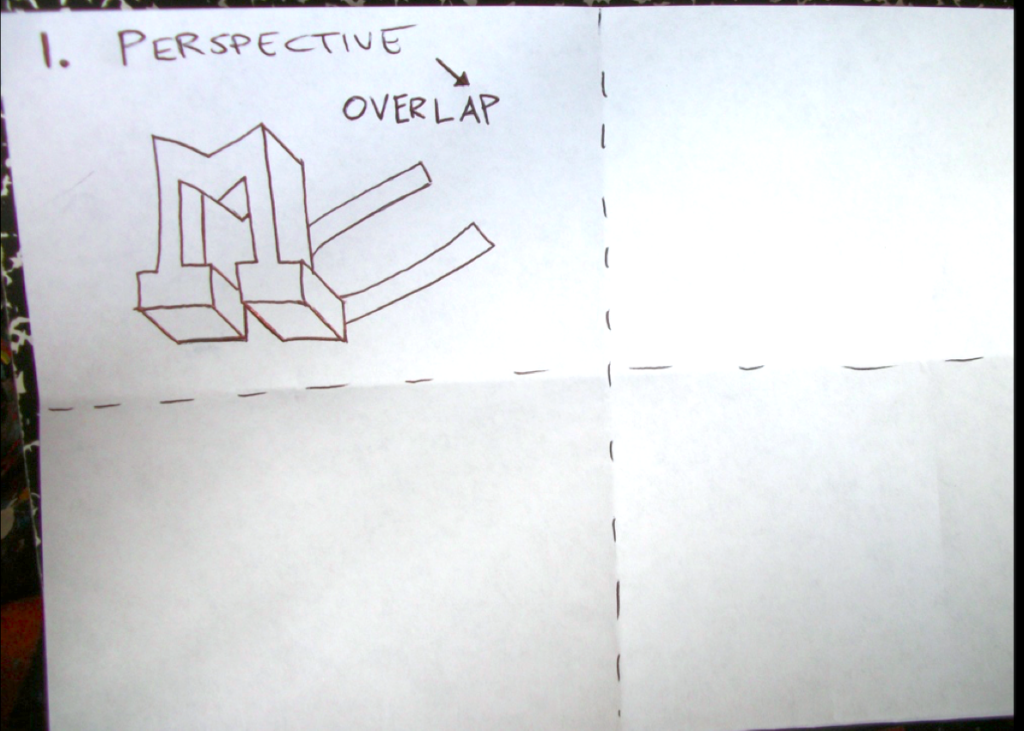
The last activity to do on the dry erase boards is to allow students to design a word using various strategies. Instead of four boxes, have students divide their surfaces into two halves by drawing one line. Give students five to ten minutes to design a word in each box. These words need to incorporate overlap, perspective, designs inside, or unusual letter design. Do not let students use tag letters simply because the artistic conventions applied to them are limited. Students can write tag letters within letters or words, but make sure students are focusing on the shape and form illusions that have been practiced.
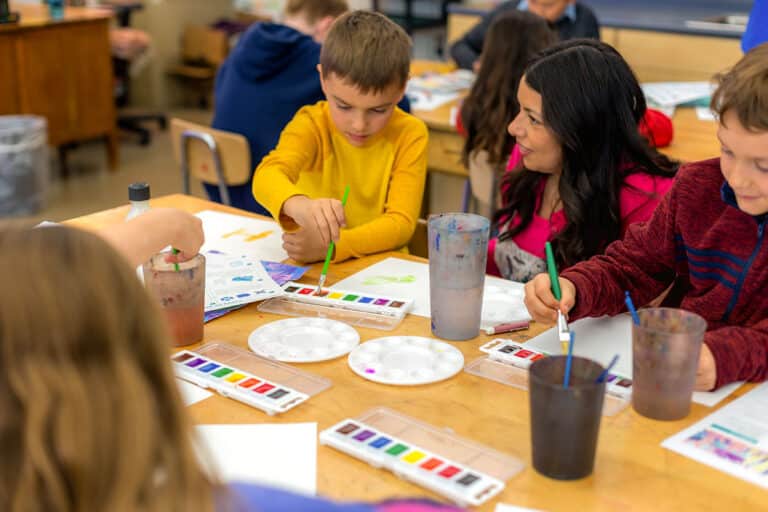
Once students have had a chance to design, have some volunteers hold up their boards to show their peers. Make sure you reinforce the notion that sharing ideas and designs can influence and inspire others. One person’s design can spark a new idea for another person’s work. Sometimes each student table can show off their work to the whole room one table at a time to ensure a culture of peer review begins early. After spending three or four days drawing and designing letters, students are ready to incorporate color. To see the progression of this unit, check out week two here.
Drawing is a common way to begin a Visual Arts class. Instead of drawing things we see, such as hands or fruit, why not have students practice drawing what they do not see but may be familiar with. By manipulating letters, students are practicing hand-eye coordination, developing confidence, and starting to find excitement in the act of drawing.
Letters have a certain low-risk association because they are used by students every day. By starting the year in graffiti-related study, students who have the most anxiety toward art can find success and purpose from the moment school begins. Graffiti-inspired study can be brief and simple, or it can be months of complex composition creation. Either way, starting off the school year by using graffiti to work on drawing and color theory is a dynamic way to enhance fundamental art skills and concepts.
What questions do you have about how to begin a graffiti-inspired game plan?
What ways do you start off your school year to hook students from day one?
Magazine articles and podcasts are opinions of professional education contributors and do not necessarily represent the position of the Art of Education University (AOEU) or its academic offerings. Contributors use terms in the way they are most often talked about in the scope of their educational experiences.