Why did you become an art teacher?
I did for the piles of paper.
Well, not really. But, when I was in elementary school that was one of my main reasons for wanting to be an art teacher. I saw the piles and piles of papers my mom, an elementary teacher, brought home every day, and I wanted that, too.
My love for paper, and my ability to hoard it, only grew over the years. And I’m guessing you have stashes of scrap paper, too, just waiting to be turned into something perfect.
Here are 3 ways you can make sketchbooks using scrap paper and recycled materials.
1. Recycled Art Project Book
We all hate to see students throw their artwork in the trash. Instead, what if we gave them the opportunity to give the work new life? Students often make projects they don’t want to take home for a variety of reasons. Those projects are on one side of quality paper, leaving the beautiful back calling for fresh marks and ideas.
When students don’t want to take a project home, instead of fighting them, have them add it to the sketchbook paper collection pile.
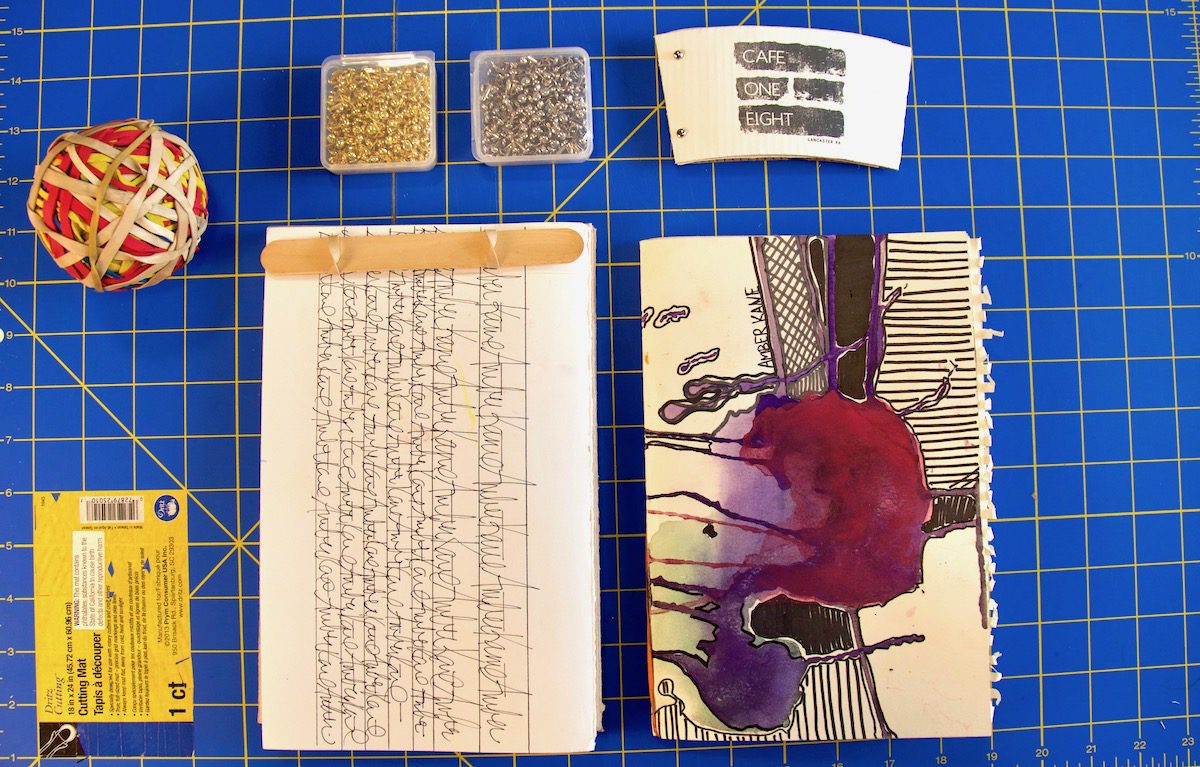
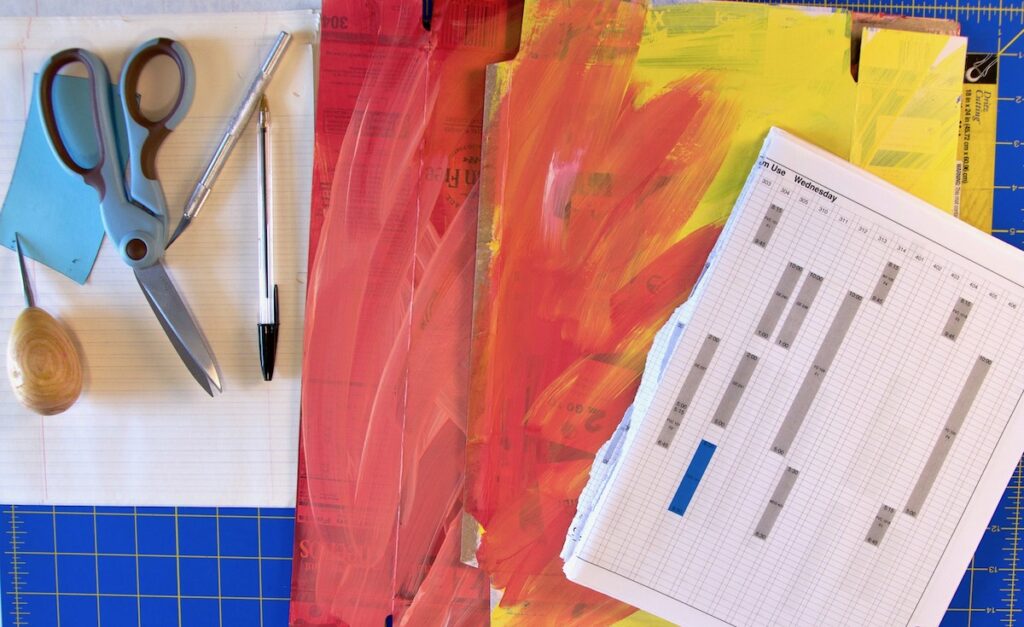
For this book, you’ll need the following supplies:
- Paper from past projects
- Ruler
- Cutting mat
- X-ACTO knife
- Hole punch
- Bookbinding screws
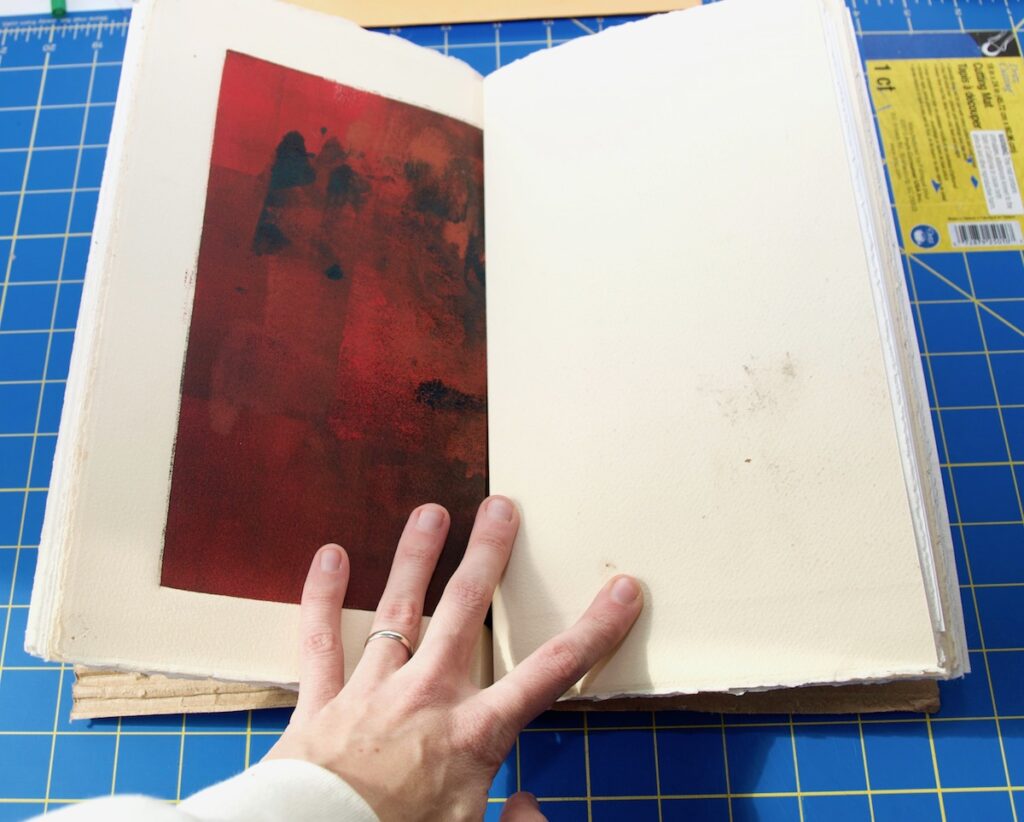
Step 1: Determine what size you want the book to be.
Remember, not all students need to be working in the same size sketchbook. Allow them to select a size they’ll want to carry with them. It’s also important to note the pages in the book don’t need to be the same size. Allowing for more flexibility when it comes to using scrap paper can result in a dynamic book.
Step 2: Cut the pages to size.
Using an X-ACTO knife and ruler, cut the pages down to the desired size. Work to use all of the paper. Next, punch holes in the pages. Depending on the size of the book, you will want to use two to three holes per page.
Optional: If students are using heavy paper, like watercolor, or mixed media paper, have them score the pages first. Scoring allows the pages to turn more easily once inside the book.
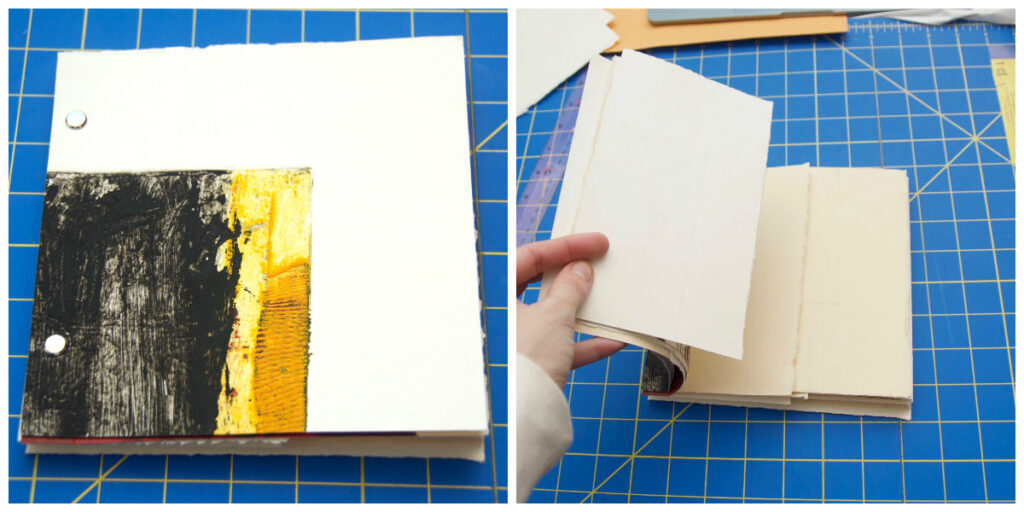
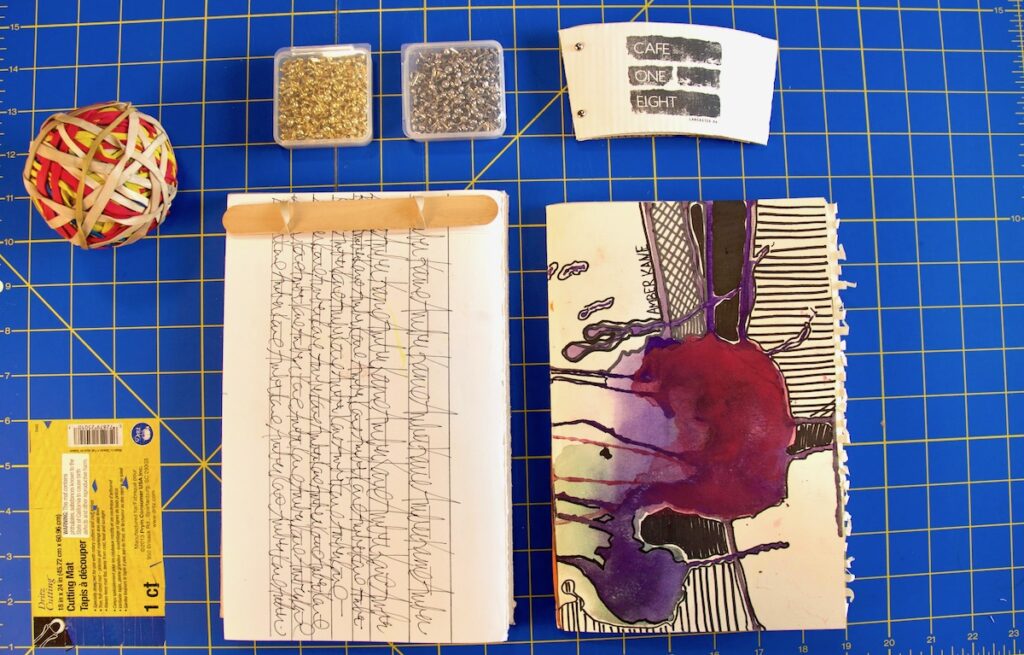
Step 3: Put it all together.
Place the pages in the desired order, and secure with the bookbinding screws. I love these screws for several reasons. They look professional, but they’re also easy to reuse if desired. Students can unscrew and remove or add new pages to their book as needed. For a cheaper option, purchase the plastic variety instead of metal.
If the bookbinding screws don’t fit into your budget, try using rubber bands, along with a stick, pencil, Popsicle stick, or old paintbrush. If you choose to go this route, students should only punch two holes into each page. After the holes are punched, thread the rubber band through each hole. Hold in place by sliding your selected object through the loops of the rubber band.
2. Recycled Cereal Box Book
You’ll need to collect cereal boxes for this one. If you’re not a big cereal eater, ask students to bring them or send out an email to faculty, staff, and parents. The lightweight cardboard makes for the perfect sketchbook cover.
For this book, you’ll need the following supplies:
- Cereal box or old file folders
- Paint
- Paintbrushes
- Scissors
- Stapler
- Ruler
- Copy weight paper.
You can collect paper from recycling bins as long as you make sure there is no sensitive student information on it.
Step 1: Make the cover.
Take apart your cereal box so it lays flat on the table. The box is going to be the cover. Allow students to paint and decorate as they desire. This can be a great first-day activity or something to have students work on as they finish projects early.
Step 2: Prepare the paper.
While the cover dries, begin preparing the paper. Unless you have a heavy-duty stapler, stick to no more than twenty pages. Have students fold each page in half, and then put one inside the next. Students may want to put several sheets in a pile and fold them all at once, but it works best if they fold the sheets one at a time, ensuring a nice crease.
Step 3: Put it all together.
Once the cover is dry, cut it down to the correct size for your paper. Place the folded pages inside, and staple.
3. Binder Book
For this book, continue to use scraps of paper, remembering we’re serving three purposes; saving money, using scraps that don’t work well for projects, and arming our students with sketchbooks.
For this book, you’ll need the following supplies:
- Paper
- Hole punch
- Binder rings
Binder rings are great because they’re rather inexpensive, easy-to-use, and can be reused if needed. It also makes it easy for students to add and remove pages as necessary.
Step 1: Have students choose a cover.
For this book, allow students to explore and determine what they want to use as a cover. Students might use a cereal box, a painted piece of cardboard, an old folder, or a piece of heavyweight paper.
Step 2: Collect paper and punch holes.
Have students collect at least twenty pieces of paper. Add more based on how often you’ll be having students use their sketchbooks. Have students punch anywhere from one to three holes in their pages. The more holes, the more binder rings you’ll need for each student, so adjust based on your budget.
Step 3: Put it all together.
Have students insert the rings through the punched holes and close them. Voila! They’re ready to start creating.
You can take your sketchbook creation a step farther by teaching your students new vocabulary terms relating to different parts of a book.
6 Sketchbook Vocabulary Words to Teach Your Students
- Spine
Also called the backbone, the spine is located on the outside of the book, and is part of the cover. When books are sitting on a bookshelf, the spine is often the only visible part of the book. - Leaf
A leaf is one piece of paper inside of the book. Each side of a leaf is considered a page. The term “loose leaf” applies when using something like binder rings, making it easy for each leaf to be removed. - Leaf Attachment
The way all leaves are attached. Some ways to attach leaves are sewing, gluing, and stapling. - Head
The top edge of your book - Tail
Sometimes also referred to as a foot, the tail is located on the bottom edge of the spine. - Signature
A signature describes several sheets of paper folded and collected together. It is also sometimes called a section or gathering.
Sketchbooks don’t have to be expensive or overly fancy. In fact, students may be more willing to explore and fail if they’re not!
If you’re looking for more great sketchbook resources, check out the options below!
- Explore a variety of drawing exercises, note-taking methods, and innovative ideas to help your students develop their creativity and drawing skills in the Sketchbook Ideas that Really Work PRO Learning Pack.
- Make copies of these 100 sketchbook prompts your students will love to keep them inspired!
How do you use sketchbooks in your classroom?
What other everyday materials could you use to create a sketchbook?
Magazine articles and podcasts are opinions of professional education contributors and do not necessarily represent the position of the Art of Education University (AOEU) or its academic offerings. Contributors use terms in the way they are most often talked about in the scope of their educational experiences.