Art Education and the Coronavirus (COVID-19)
I used to be an art teacher. Now, I am a YouTuber.
Well, that’s not entirely true. But, in all honesty, it kind of feels like that. Of course, I am still an art teacher, but with the recent development of school closings due to the spread of COVID-19, many educators find themselves thrown into the world of online video production.
Here are a few things you’ll want to know about creating online videos for your students:
First and foremost, keep it simple. It is especially important to keep it simple if you have never created video content before. There is no need to add extra stress to your life right now. However, if you enter this adventure with an open mind, you may find that creating videos can be an awesome enrichment tool for you and your students.
For the Basic Level:
What you need:
A recording device (phone, video camera, tablet, etc.), and a computer.
What to do at a basic level:
- Record a single video on your phone or handheld device and share it with your students through your preferred platform such as YouTube, Google Classroom, email to students, share on Instagram, etc.
- Do not worry about editing it in any way. (Fun fact: if you record a video on your phone, most devices allow you to “edit” right on your phone, and you can delete the beginning and end of your videos to eliminate any transitions.)
- Unedited videos can also bring a sense of reality to your students, showing them your personality and the fact that you are also learning the best you can!
For the slightly more Advanced Level:
What you need:
A recording device (phone, video camera, tablet, etc.), computer, video editing program (iMovie, FinalCutPro, Adobe Premiere Pro), and a Gooseneck device holder.
What to do at a slightly more advanced level:
- Use your phone or device to record a few video segments, such as an intro, overhead birds-eye view demo, fast motion section of art creation, and conclusion.
- This is the level at which I work best since it does not require many frilly extras but gives viewers enough information to adequately understand directions.
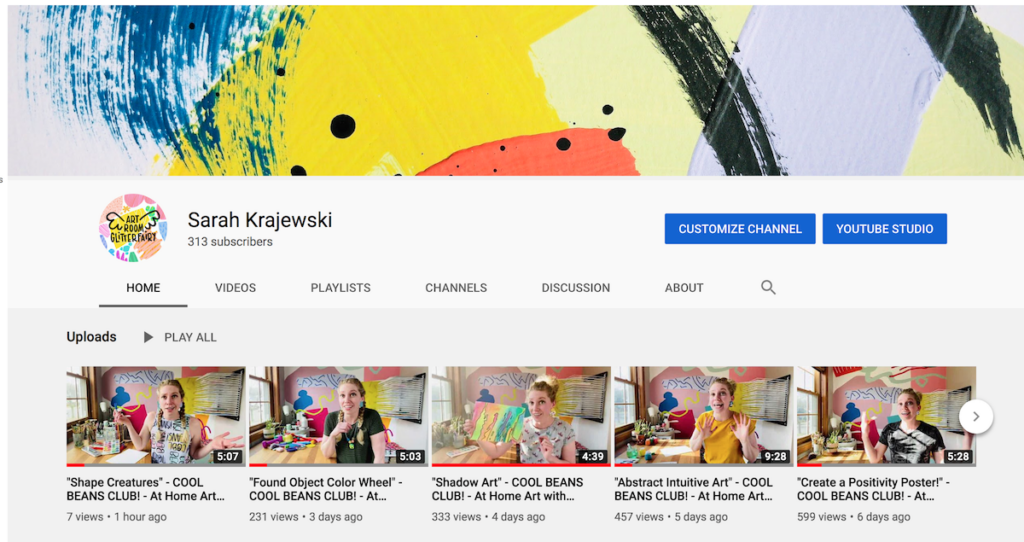
Here is how I create a “COOL BEANS CLUB” demo video for students:
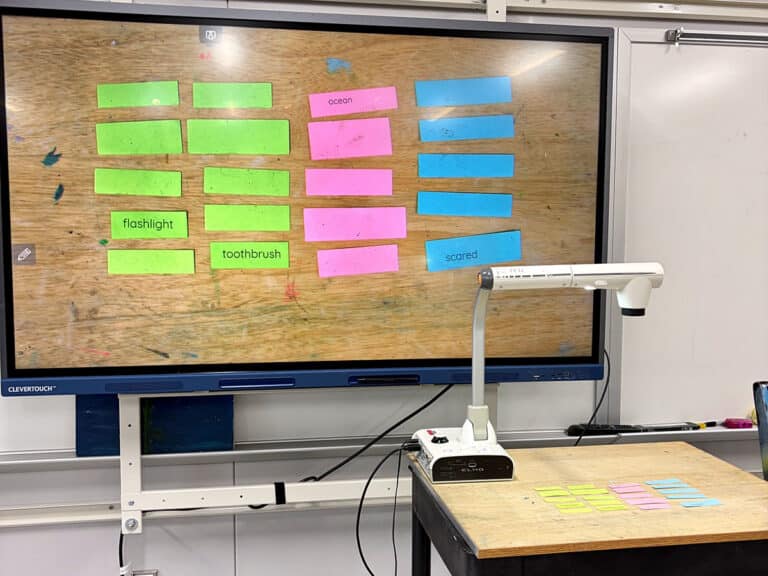
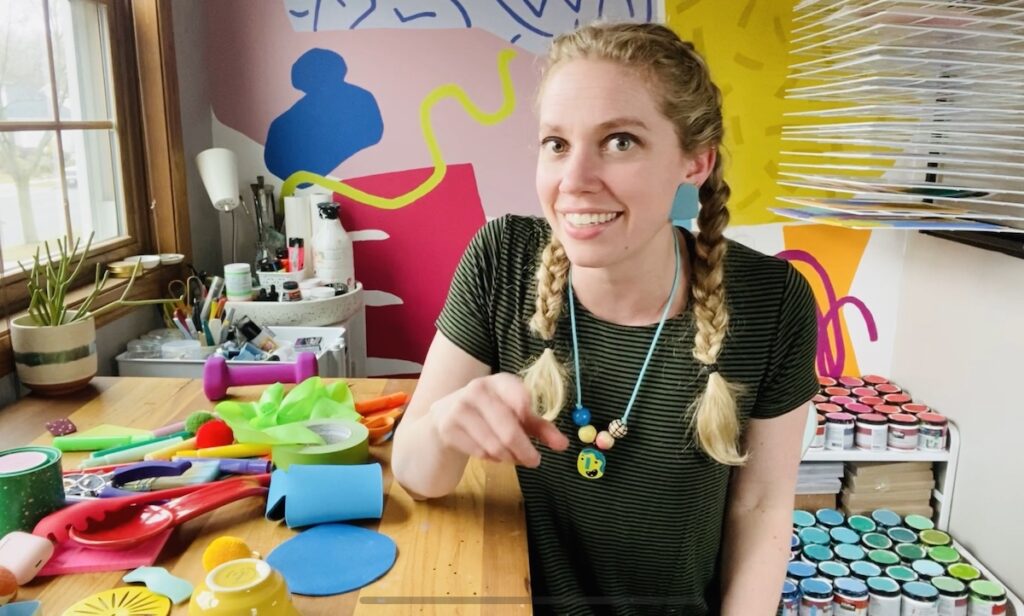
Step 1: I set up my phone on a shelving unit by my work desk during a well lit day and record the intro video for a lesson. The intro video includes reciting our classroom mantra as well as an overview of the lesson. I review what supplies will be necessary, or what substitutions can be made, for the art lesson.
Think to yourself, is there something you already do or say in your class that your students can connect with to make things feel more “normal”?
Step 2: Insert the phone into the gooseneck phone holder that is clipped onto a nearby shelf and arrange the view so I can see the tabletop on my phone screen. Record a few clips of voiceover sections explaining what art steps to do as well as fast-motion sections (recorded with the time-lapse feature on my phone) of me completing the project.

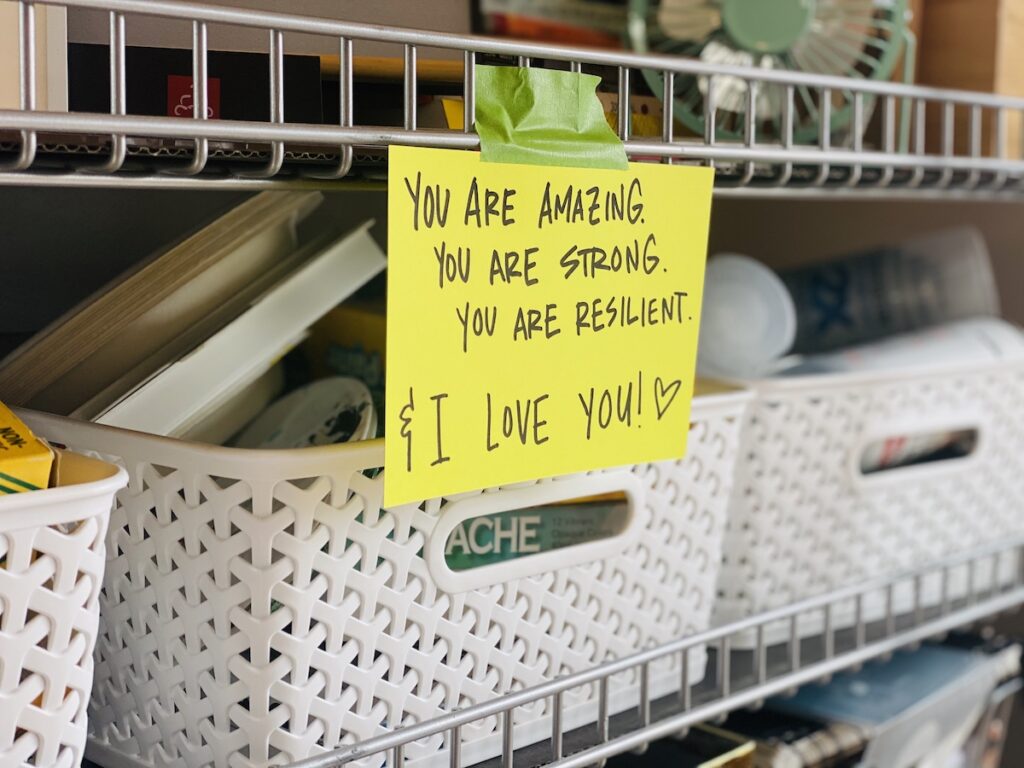
Step 3: Set the phone back on the shelving unit and record the conclusion, which includes a review of the lesson as well as a positive meditation. I also take a photo of the completed lesson to use as a title card image for the video lesson. Use cue cards or whatever you need to help yourself remember what is next. The magic of video is that you can edit out your mistakes.
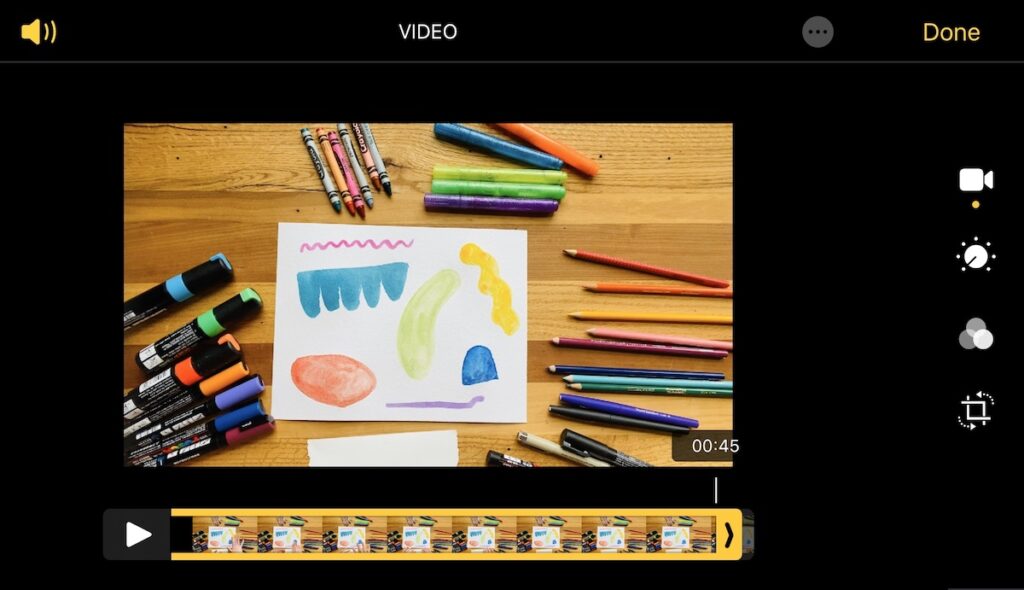
Step 4: Then, I pre-edit video clips on my phone by selecting the desired video and cropping off the transitions (like setting up the phone and stopping the video) at the beginning and end of clips.
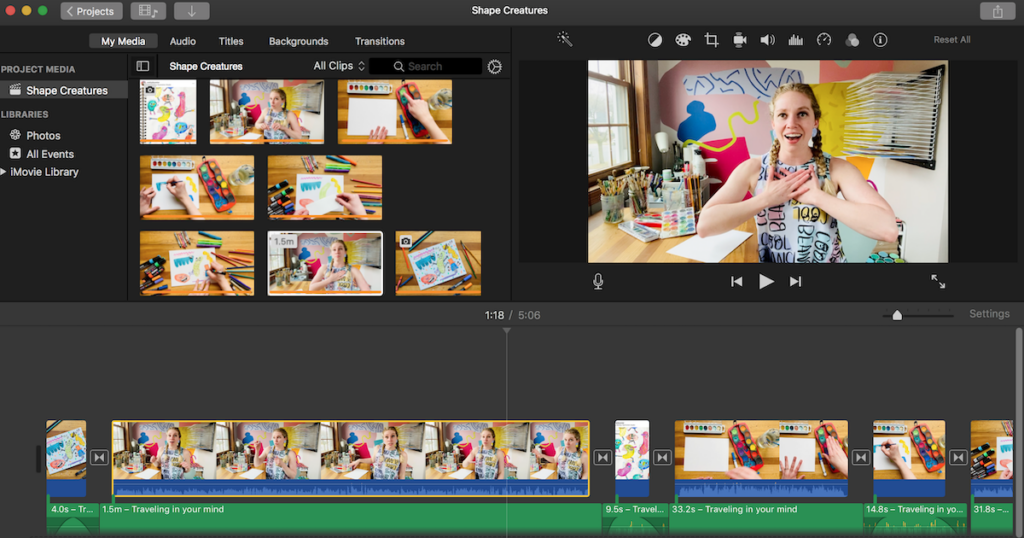
Step 5: Using AirDrop or email, send video clips from phone to computer and import them into iMovie. Then, I drag and drop them into a new project and make simple edits such as adding transitions between videos, adding music, and a title card.
Step 6: When the video looks good, I export the file to my desktop and also AirDrop it back to my phone. Then, I post the final video on the IGTV channel on Instagram and my YouTube channel. Fun Fact: You can also schedule videos to upload to YouTube on specific days if you want to work ahead, taking away the stress of uploading a new video at a consistent time each day.
Need more information? Learn more here.

Fancy Extras:
If you want to control lighting for your videos, you can invest in a ring light.
If you’d like to upgrade your sound quality, try a microphone like this.
If you would like to add free and royalty-free music to your video, check here.
Remember, do what you are comfortable with.
You may find yourself thinking, “I can’t do any of this! I’ve never recorded a video before!” or “I am way too nervous to show my face…I’d rather just record my hands creating art.” Remember, there is no reason to compare yourself to others. You may have heard it before, but it is true, “Comparison is the thief of joy.”
So, go easy on yourself. Be understanding of what you feel is attainable and what is in your comfort zone without adding extra stress to your day. And if possible, have fun on your new adventure as a YouTuber!
How familiar are you with editing videos?
Have you ever made a video for your students before?
How can creating video content help you in your classroom, even during times of normalcy?
Magazine articles and podcasts are opinions of professional education contributors and do not necessarily represent the position of the Art of Education University (AOEU) or its academic offerings. Contributors use terms in the way they are most often talked about in the scope of their educational experiences.