Ahhhh, tearing paper.
I believe this is one of the essential fine motor skills our youngest artists need, but teaching it can be tricky.
For some students, they decide to transform this fine motor skill into a gross motor skill. You know this is happening when the tearing becomes full body, whole arm, ripping. Not controlled! Others decide to become a paper tearing ninjas and tear the tinniest pieces, which soon become confetti sprinkled all over the floor under their chairs. Both can result in frustration and tears for your students (and perhaps for you, too!)
Looking for some balance?
Here are 5 tricks that work from preschool on up.
1. Give two choices
Students can “tear in the air” (they like that rhyme) or “use the table as their friend” (holding the paper down with one hand while tearing with the other). Have students practice with both methods to find what works best for them. They will have fun going back and forth as they practice.
2. Use “crab pinchers” instead of fingers
Tell students they need to get out their crab pinchers, and make a pinching motion with your thumb and forefinger. This helps them realize the only body parts needed to tear are these two fingers. Demonstrate under a document camera or come around to each table so students can really see, which brings me to the next point…
3. Properly demonstrate
I love the way the Montessori method recommends demonstrating- using very slow, systematic steps to show how to do something. We are often in a hurry, and rushing surely doesn’t benefit our students. Be explicit. You could even write a script. Some call this a “Focus Lesson” which we cover in our online class “Instructional Strategies for Art Teachers.” Students in the class practice refining their demonstrations by scripting out one of their demos to the smallest details and practicing it out loud. It’s actually kind of fun! Practicing your demonstrations like this makes you become acutely aware of your rushing tendencies in ALL of your lessons. Ham it up, but slow it down. You will be happy with the results.
4. Control the paper size
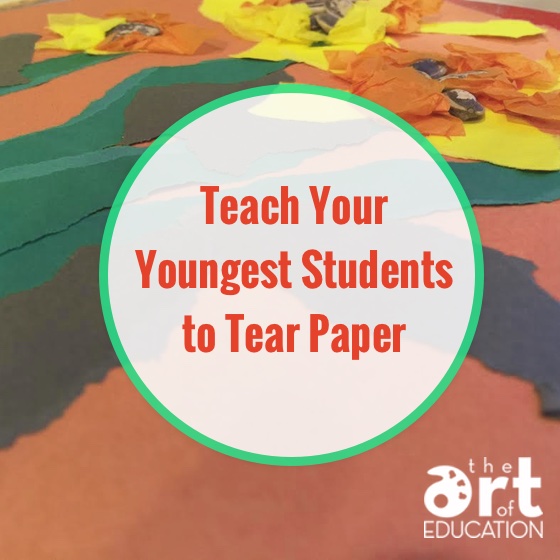
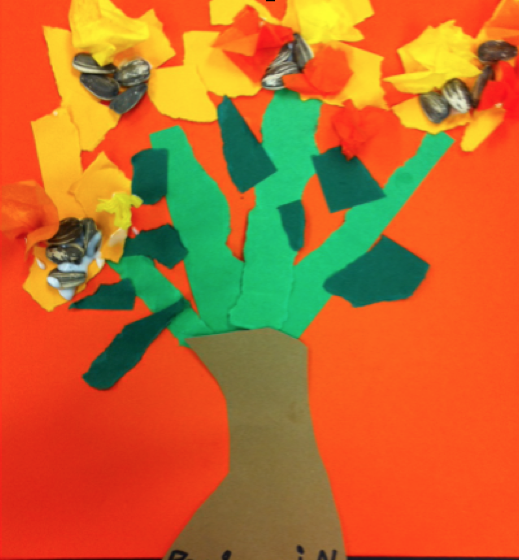
For the torn paper sunflowers lesson, pictured below, I start students with very small strips of paper (2 inches by 6 inches) so they can really get a handle on the size of torn paper we will need for this project. Giving any student a full sized piece of paper is a recipe for disaster. Become a master of giving out appropriate paper sizes for the task at hand, and not only will it help students with the correct sizes, it won’t waste your precious paper supply.
5. Move the paper, not your hands
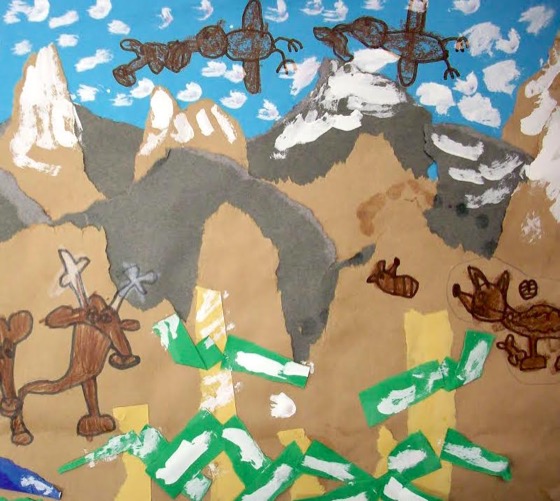
It can be difficult for students to know when to stop when tearing larger pieces of paper, like the mountains in the landscape project pictured below. That’s why, I have the students rotate the paper, always tearing in a downward motion towards themselves. You can even have students pair up to make tearing larger papers easier.
Remember, teaching fine motor skills as their own mini-lessons is an important way to make sure we don’t neglect the skills our students need most!
Any other tips for teaching students to tear paper?
What other fine motor skills do you teach as mini-lessons?
Magazine articles and podcasts are opinions of professional education contributors and do not necessarily represent the position of the Art of Education University (AOEU) or its academic offerings. Contributors use terms in the way they are most often talked about in the scope of their educational experiences.