Do you ever have that nightmare? No, not the one where you forgot your pants–the one where the kids are taking over your art room. Two kids are having an X-ACTO knife fight in the corner, another is playing hide-and-seek inside the kiln, a group in the back are busy spray painting each other, and that last one is about to drink the paint thinner. You ever have that dream?
That kind of dream got me thinking about exactly what we do to keep kids safe when they’re with us in the art room. My thought is that the materials we use are not necessarily dangerous by themselves–the danger comes when we use them (or allow our kids to use them) improperly. So, what can we do to keep our kids safe?
There are a few obvious things that need to be done. Hazardous materials need to be stored in an out of the way place, somewhere that students cannot or will not be able to access them. If you are able to lock your cabinets or storage, so much the better. In addition, with all of the hazards we have in our art rooms, food needs to be kept out of the room when possible. Aside from that, there are some issues with specific materials that most art rooms need to take into account.
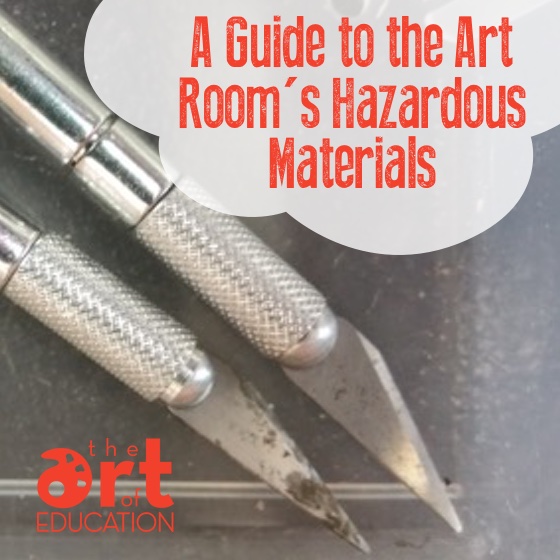
X-ACTO Knives and Cutting Tools
Going back to the idea of how we use materials, it is imperative that students learn the correct and safe ways to utilize cutting tools: X-ACTO knives, linoleum tools, even scissors. In addition, supervision is important at all times. Just because you teach your students the right way to use materials doesn’t mean they’ll actually DO it the right way. Keep moving around the classroom and be vigilant in your observations.
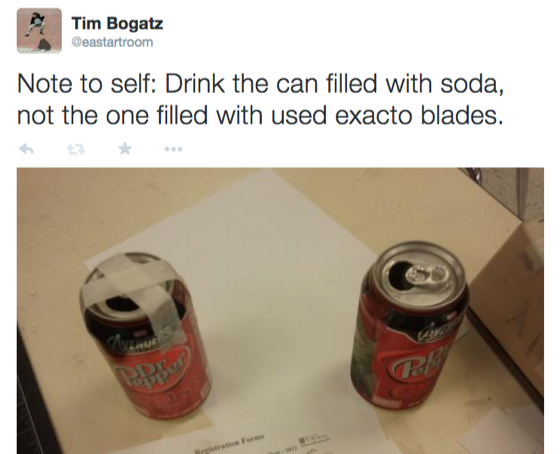
Lastly, when disposing of your blades (or “sharps”, as my custodian calls them), never put them directly into the trash. I like to put them into a baby food jar, a soda can with a taped-over top or another sealed container before throwing them away.
Your Kiln
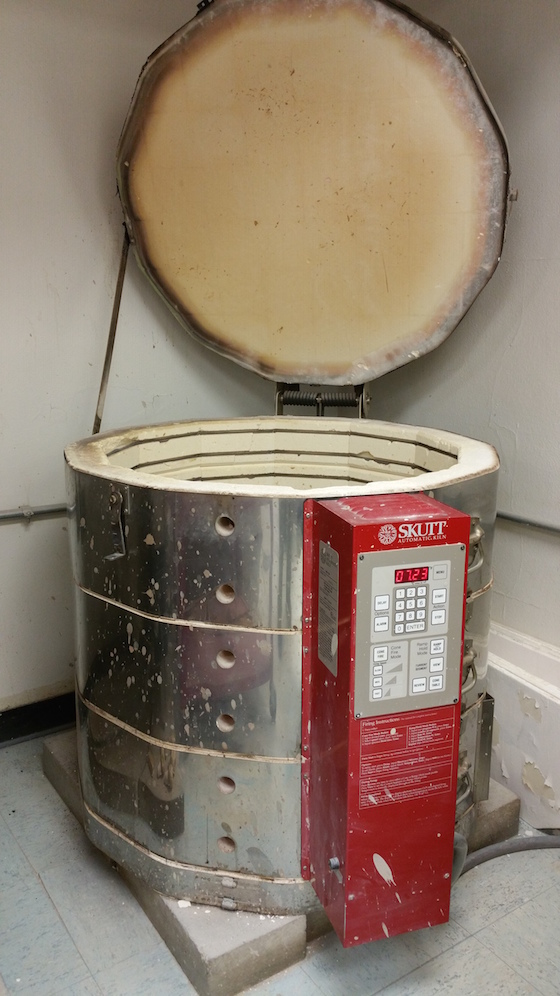
First, and probably most importantly, make sure your kiln has a working vent. There are toxic fumes, particularly carbon monoxide, that come from the kiln during a reduction firing. A vent can direct those fumes to the outdoors and away from you and your students. I like to let my kiln fire overnight to avoid these fumes altogether.
If it can be in a separate room, that is undoubtedly the best setup. If that’s not possible, make sure that students stay away from the kiln at all times. No matter how responsible your students may be, any action near the kiln is dangerous and not worth the risk. As a teacher, you should always be using gloves, goggles and other safety materials when needed around the kiln.
Fixatives
Fixatives should be stored (or even locked up) so that students cannot access them. When you are spraying your fixative, go outside when possible, but always have windows open and preferably a fan going. It also helps to spray last thing before you leave, so no students are exposed to the vapors and you can get away from them as soon as possible.
In addition, the middle and high school levels have a few other challenges when it comes to material safety. Older students obviously have a wider range of advanced projects, and the materials available to them have their own set of safety issues.
Spray Paint
It is always good to wear masks when working with any type of aerosol supplies, but remember that masks need to be rated for vapors and not just for dust. I also have my students wear gloves when working with spray paint. Part of that is a safety issue, but the bigger part for me is that spray paint is just annoying to wash off.
Acetone and Other Solvents
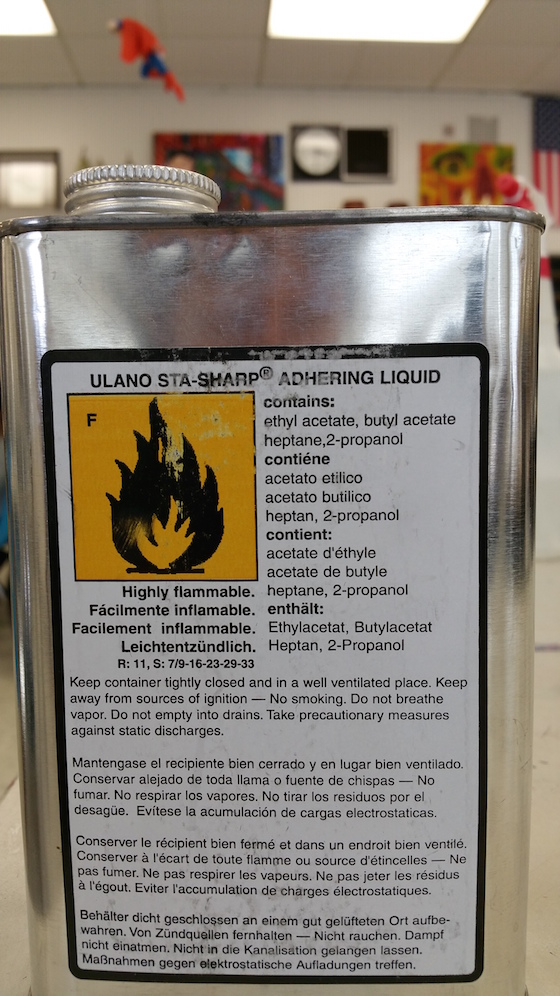
Most solvents are both vaporous and flammable–some, like acetone, can even be ignited from a distance. Make sure that the lid fits tightly on the container and that it is stored away from heat sources and electrical outlets. All of your solvents (turpentine, mineral spirits, etc.) should be kept in their original containers or be very clearly labeled, and again, stored safely.
When you are done with the solvents, there should be a specially labeled storage container in which you can dump them. When that container is full, it needs to be disposed of properly. Sign up for hazardous waste collection, or check locally to see where you can safely dispose of hazardous materials.
Lastly, there are a couple of additional resources that can help with your understanding of how to deal with hazardous materials in your classroom: A great resource for all things health and safety related can be found here. Additionally, the reference book you should probably own is The Artist’s Handbook of Materials and Techniques. Lastly, a good amount of information specific to solvents can be found here.
If you have any questions about materials and how to best deal with them, make sure you do your research to keep your students and yourself out of harm’s way. Knowledge of the materials, how to use them, and how to store them will go a long way toward this goal. Be smart and be safe.
What are the most hazardous materials you use in your art room? How do you stay safe?
What other questions do you have about using hazardous materials?
Magazine articles and podcasts are opinions of professional education contributors and do not necessarily represent the position of the Art of Education University (AOEU) or its academic offerings. Contributors use terms in the way they are most often talked about in the scope of their educational experiences.