Ahhhh…the joys of lesson planning. Everyone’s favorite thing to do, right? (Only kidding!)
While lesson plans should be fun and relatively straightforward to write, they often aren’t.
Take, for example, the long lesson plans I had to submit when I was student teaching. I’m not sure any lesson plan needs to be twenty pages long! And, I know many teachers have to write and turn in these lengthy lesson plans well beyond their college days.
Personally, I knew I wanted to document successful lessons in a straightforward way. I began to type out one-page lesson plans to share with others. I felt it was necessary for my lessons to be easily adapted and shared.
This means I had to pare it down to the essentials. For me, that meant the purpose of the lesson, the concepts I wanted my students to learn, and what made the lesson relevant. I left out things like how many class periods a lesson would take because, of course, all schedules, teachers, and students are different!
Here are the 5 things every great lesson plan needs.
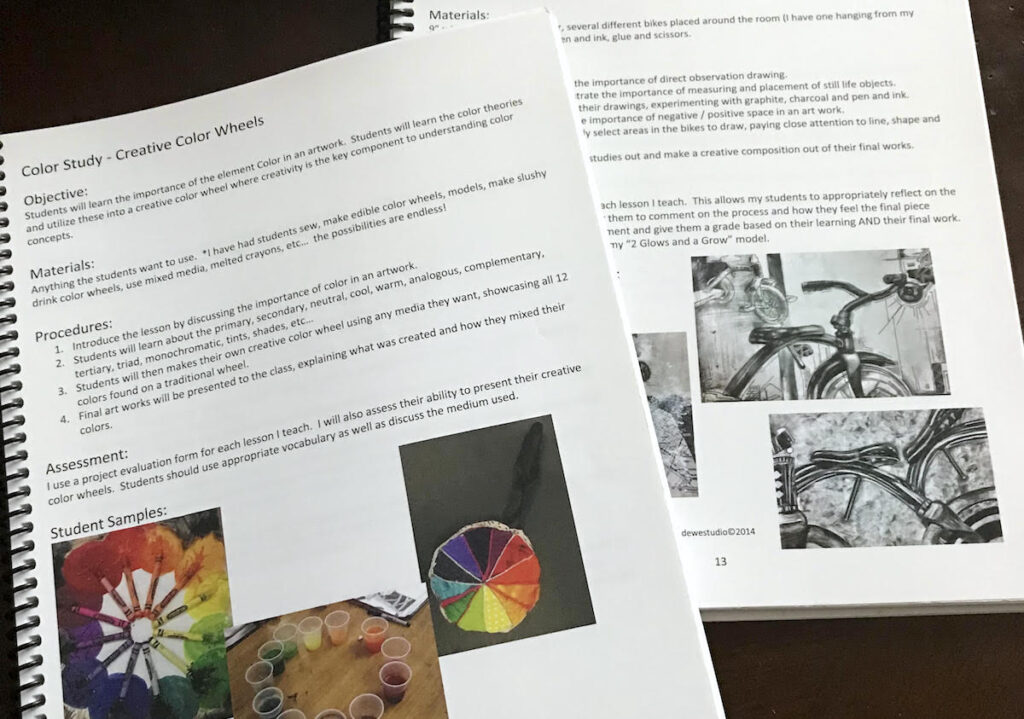
1. Strong Objectives
Your objectives should communicate why students are being asked to do the lesson and what you are hoping they learn from the process. As I write my objectives, I also write down a few questions I will ask my students to inspire them and get them thinking.
As you are writing your objectives, you will also want to consider the National Standards as well as your school or county standards. It’s a good idea to list the standards near the objectives in your lesson plan.
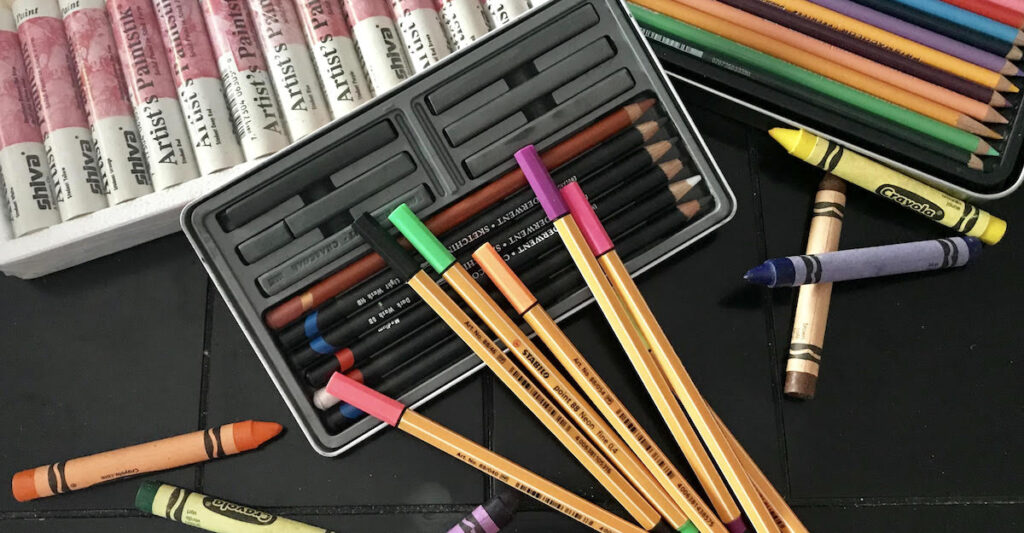
2. A Complete List of Materials
Here you’ll list the materials your students will use to complete the project. Creating this list will ensure you have the correct materials on hand. It will also help you think about your students’ familiarity with them or decide if you’ll need to demo new techniques. It’s a good idea to add this type of information to your lesson plan, so you don’t forget about specific demonstrations or to allow time for practice and experimentation.
3. Clear Procedures
Your procedures are the steps needed to complete the project; from the demo and explanation to the final product. Often, procedures can be open-ended, especially if you teach in a choice-based program.
Having a simple rundown can help you plan the time needed for the lesson. You may want to number your procedures so you can quickly see the steps needed to successfully walk students through the lesson. I have seen this described as the “student time on task” as well as “the actual artmaking time,” so this is one I recommend breaking down and thinking about carefully.
Here are a few questions you might want to ask yourself during this phase of your writing:
- What are the steps your students will need to go through to successfully complete their work?
- How much time will they need to do each step?
- Will there be time for critiquing within these procedures?
- Will you include the setup and take down/cleanup involved in the art lesson?
There is a lot to consider here. But if you’re just using these lessons for yourself, then perhaps you won’t have to write everything down. It’s completely up to you.
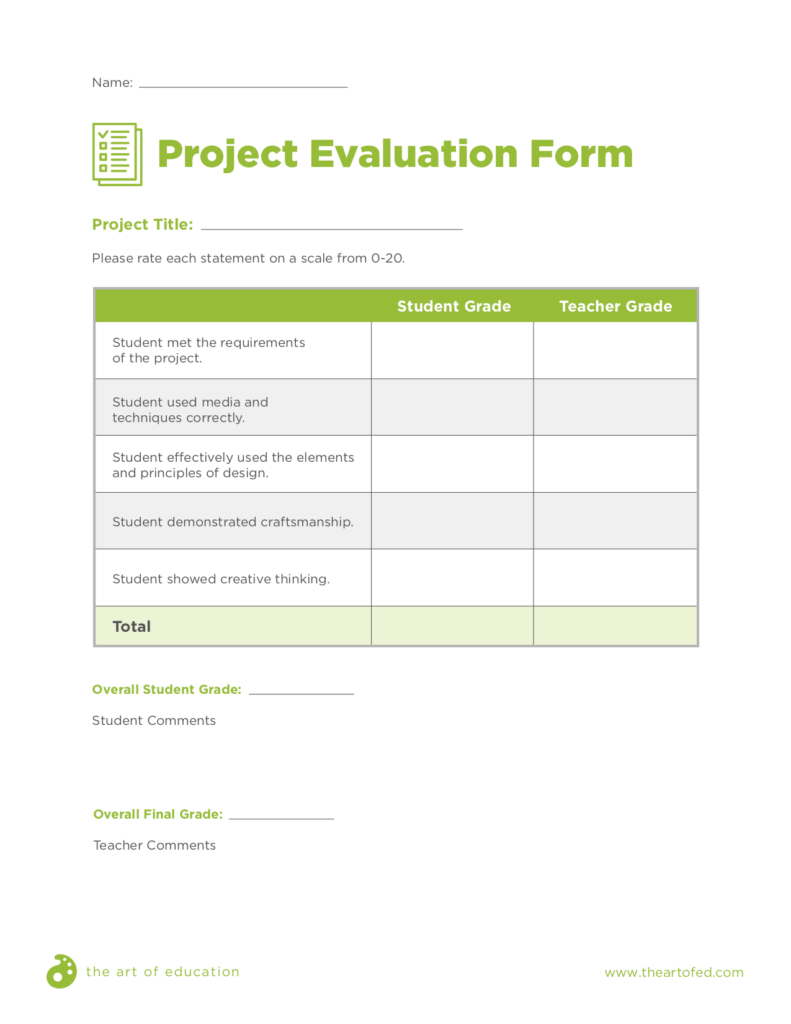
4. Meaningful Assessments
Assessments are a critical part of lesson planning because it is how students’ work will be graded. I like to include my students in the assessment portion of the lesson.
After all, they are the artists, and they know how well they did. Did they give it their all? Did they take risks and push themselves or did they settle and just do the minimum to complete the project?
I use a project evaluation form with every lesson I teach. Students are required to fill this out and turn it in with each lesson so I can see what they were thinking and how well they think they did. You can download a copy below to use in your classroom!
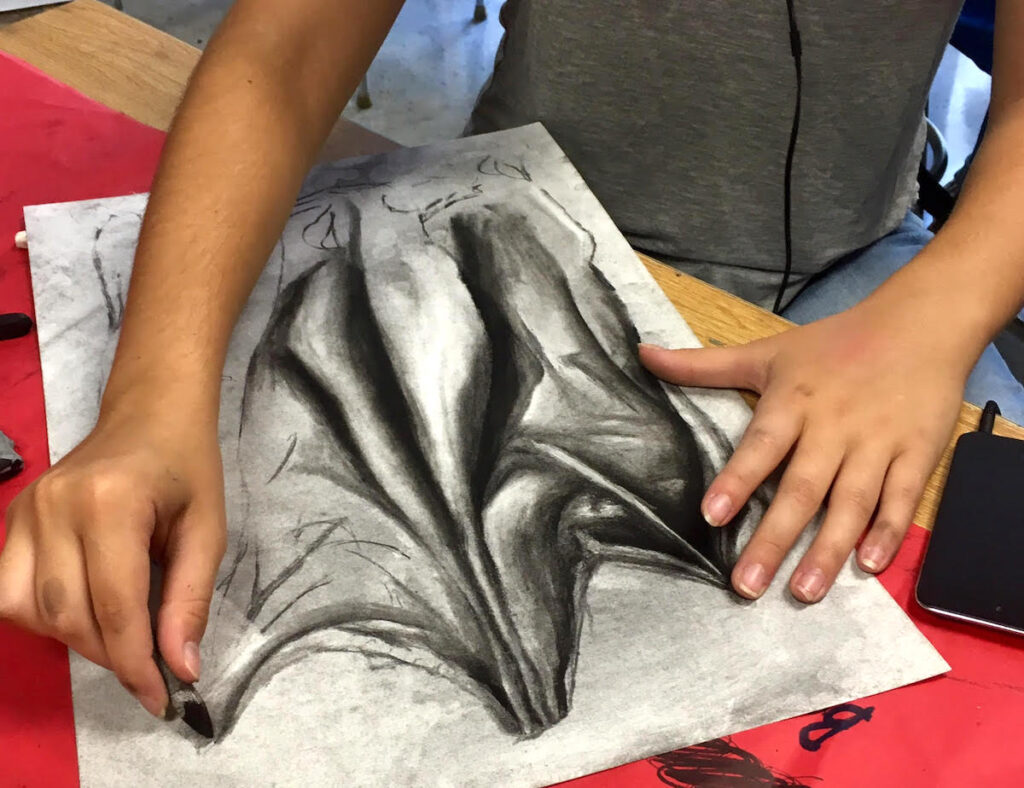
5. Appropriate Extensions
Thinking about extensions is an important part of differentiating learning. Extensions can include additions to the lesson itself or ways to adapt the lesson to individual students.
If possible, I like to have student samples to show. These samples help students gauge success and can serve as inspiration.
Other Things to Consider
The great thing about writing your own lesson plans is being able to customize them. You may have other sections you feel are important to add. Personally, I like to include resources, vocabulary lists, PowerPoints and any other teaching tools I’ll want to use. You can throw these in a “Miscellaneous” section, but I have seen lesson plans that include each of these.
This is the way I have been writing my lesson plans for years. It’s a simple approach that helps guide my lessons but doesn’t take away from the actual teaching, which is the most important thing we do!
Are you required to write lesson plans at your school?
How detailed do you feel lesson plans need to be?
Magazine articles and podcasts are opinions of professional education contributors and do not necessarily represent the position of the Art of Education University (AOEU) or its academic offerings. Contributors use terms in the way they are most often talked about in the scope of their educational experiences.