No name. No name. What a shame!
This “no-name” epidemic might be one of the biggest struggles art teachers deal with. With hundreds of artists, it can be next to impossible to determine which artist created which artwork if they have forgotten to write their name. Maybe your students were just so excited about starting their art project, the thought of putting their name on their artwork just slipped their mind! Whatever the reason, no-name artwork has been an issue in the art room since the dawn of time.
Here are 5 tricks to minimize the number of nameless art pieces:
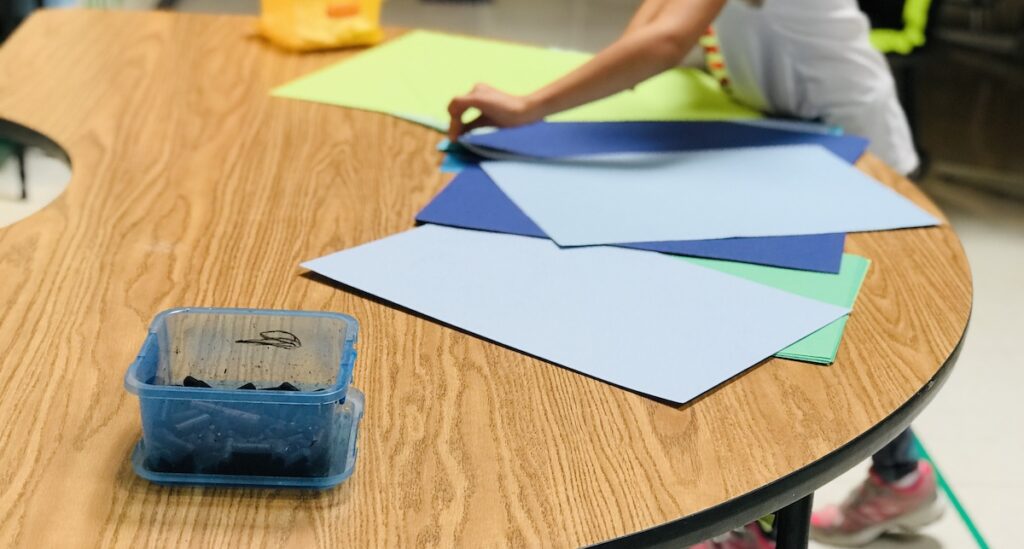
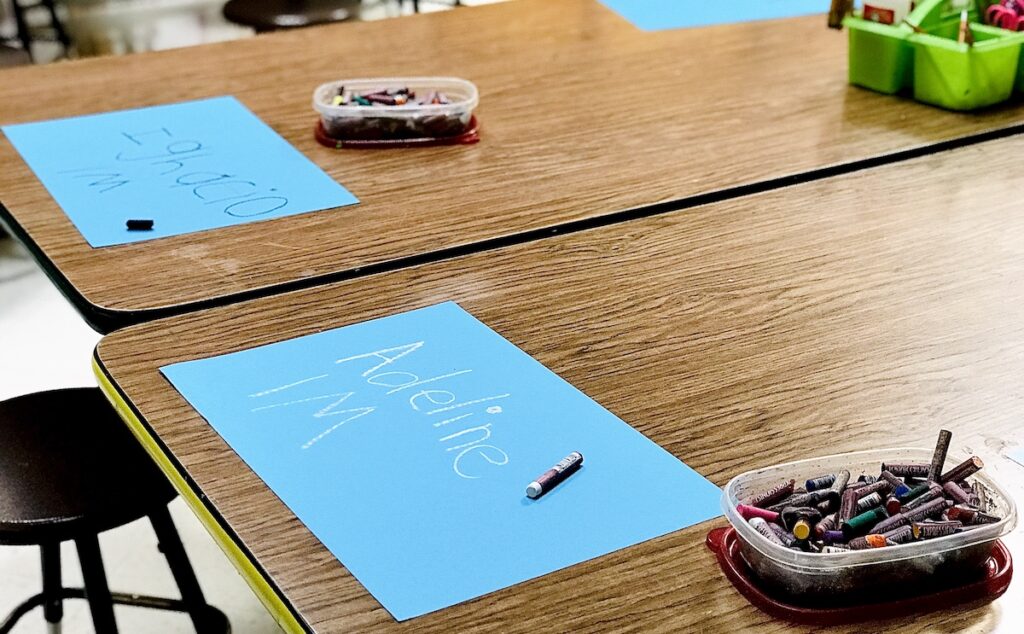
1. Write Names on Papers First
This one seems simple. But, it might be one of the most tried and true solutions to the no-name problem. Whenever you are starting a new project, do not let the kids enter the room until you have given them some very simple directions in the hallway. For example, “Enter the art room, go directly to the demo table, pick one colored paper and black or white oil pastel. Head to your spot, write your name and class code on the back, then meet me at the carpet.”
Having only the direction of writing their names and class code means students are not tempted to start their art project, yet. They don’t even know what they will be working on next! All they need to focus on is getting their paper ready to create. Having your students do one simple task together as a group means you can also better monitor if there are any students who did not follow the directions.
2. Prove It To A Friend
It doesn’t seem like a hard thing to slap your name on the back of your artwork and start creating, but for an excited elementary artist, it might be a totally different story. They need reminders! Try having your artists rely on each other to hold their fellow peers accountable.
During work time, say to your students, “Check for your name and class code on the back of your paper and prove it to a friend!” This means each artist needs to find someone next to them and show them the back of their paper and say, “I did it! See? I have my name and class code.” High fives and cheers are encouraged all around. Physically showing each other allows for students to interact positively and to encourage those who may have forgotten.
3. Use Sticker Labels
What kid (and adult, let’s be honest) doesn’t love stickers? You can print your students’ names using a computer program or have students hand-write their names on a stack of labels at the beginning of the year. Then, when you start a project, have a student “Sticker Fairy” pass out the student labels to all artists for them to stick onto the back of their paper.
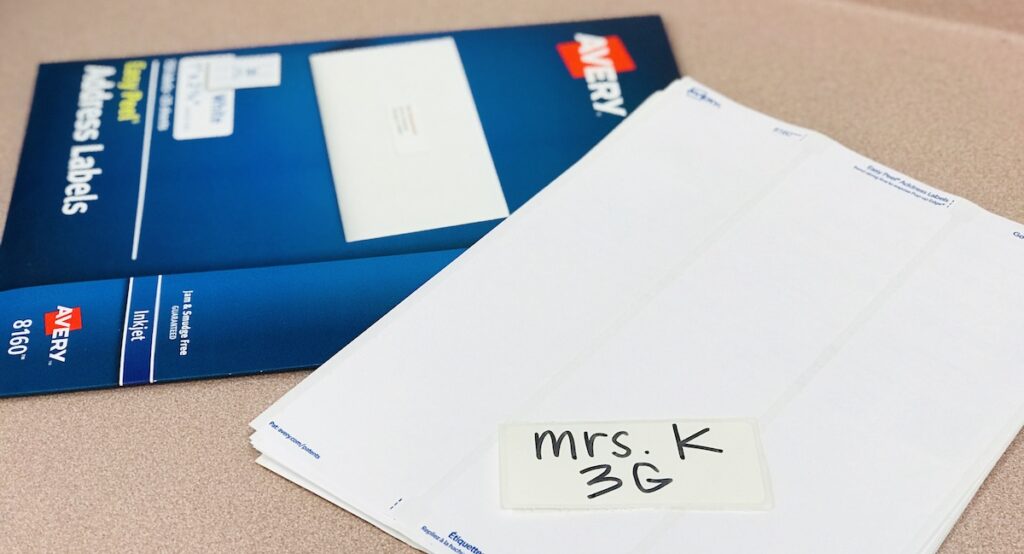
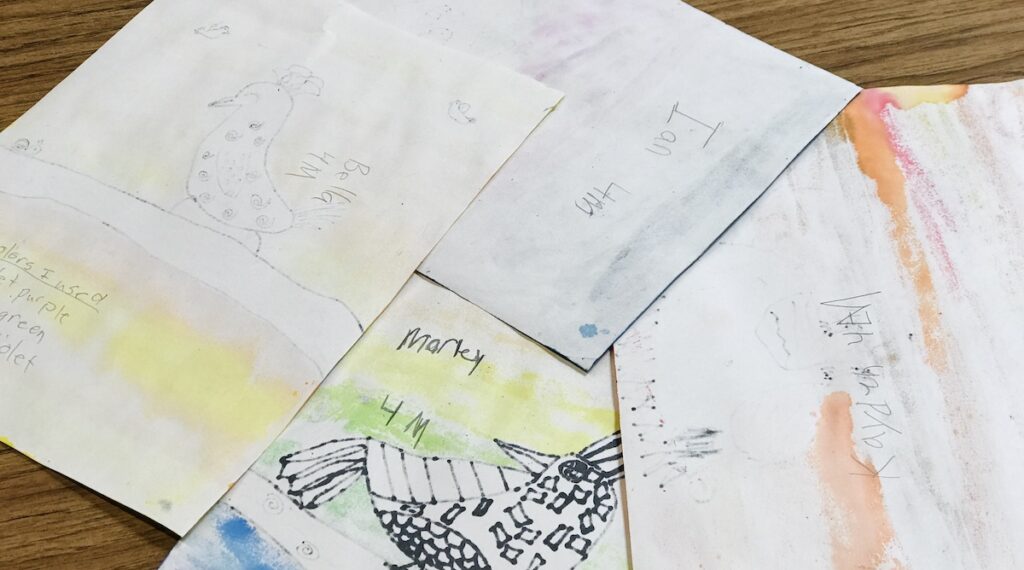
This sticker method can also alleviate the issue of those sweet kids who did write their names on their paper but are impossible to read. We all know the kid who writes their name from the literal top of their page to the bottom. While it’s very creative, this jumble of lines can be tricky to identify. Neatly printed sticker labels can help!
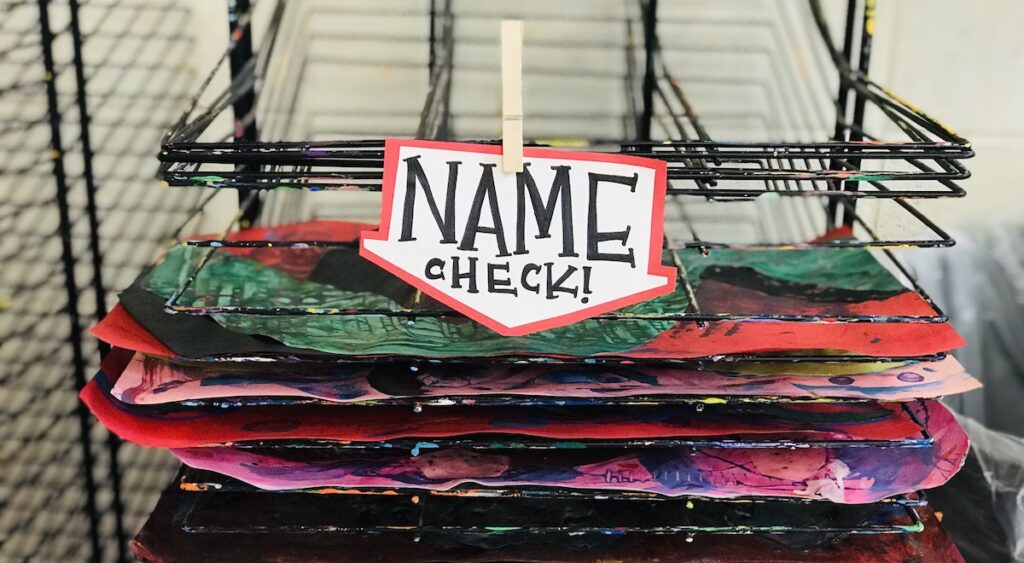
4. Signs By The Drying Rack
We’ve all had that moment when an artist comes up with a sopping wet painting and says, “Oh no! I forgot my name on the back!” So, you try and write their name on the back of their paper with whatever sharpie is stuck in your hair while they are dangling their painting in mid-air. As ridiculous as this might be, it’s obviously better to catch a “no-name” situation before it ends up on the drying rack as a nameless masterpiece.
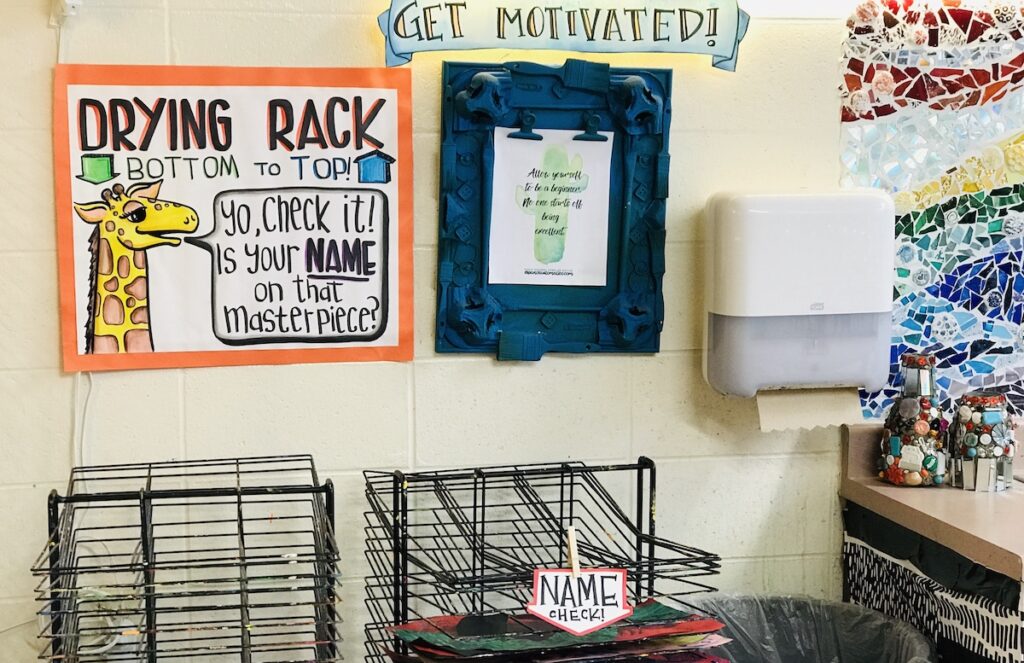
Creating one large sign as a reminder next to your drying rack can help students remember what is expected of them. You can also add a moveable arrow or marker to show students where to set their artwork for the day, which can act doubly as a name reminder.
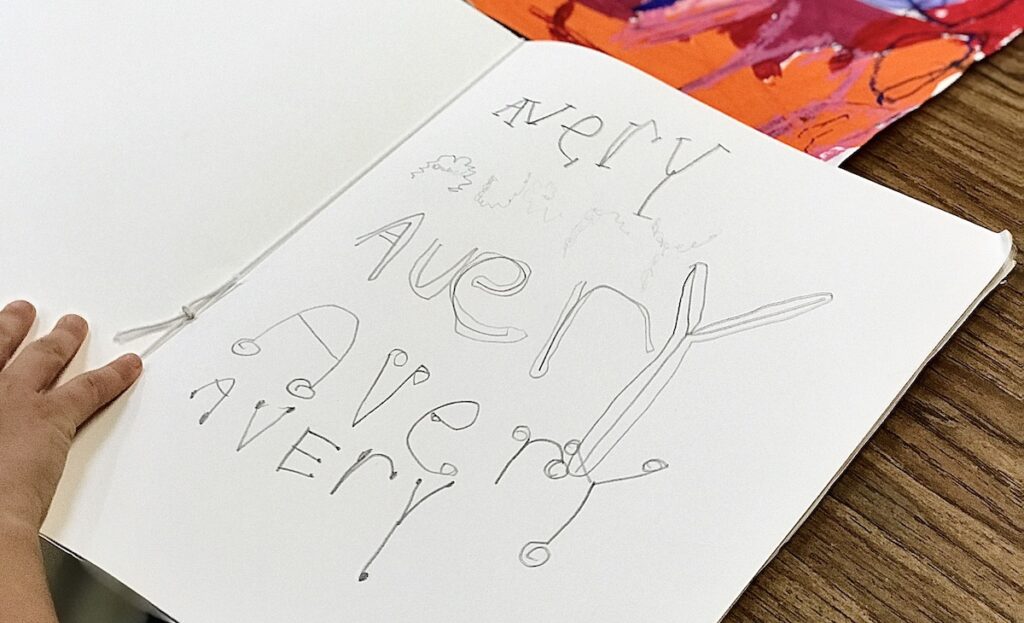
5. Make it Fun!
Sometimes, making a mundane task exciting can increase student interest in the task at hand. Try using “art letters,” a fun way to practice interesting lettering. Of course, you’ll need to make sure your students write their names legibly. This trick can be a fun way for students to express their creativity while also completing the task of putting their names on their papers.
For more tips on dealing with “no-names” see The Best Way to Handle No Name Work in the Art Room.
As art teachers, we will always have to deal with no-name artwork. However, the most important thing to remember is that you are not alone. Anything you can do to reduce this number can make a huge impact in your art room. Hopefully, some of these tricks might come in handy to make “no names” less of an epidemic in your art room!
What is your best trick for making sure students remember to write their names?
How do you deal with unidentified pieces after a project is complete?
Do you have your students write anything in addition to names on the back of their paper?
Magazine articles and podcasts are opinions of professional education contributors and do not necessarily represent the position of the Art of Education University (AOEU) or its academic offerings. Contributors use terms in the way they are most often talked about in the scope of their educational experiences.