Educators are expected to demonstrate student growth in their classrooms. For art teachers, this can be daunting because we are so focused on project-based learning and performance tasks. You could make quantifiable data from written exams, but that can feel forced and really is not practical to your teaching. So, how do you track growth in the art room? How can you make assessments meaningful?
Think about the concepts and themes you teach throughout the year. Take a look at your project rubrics. What are the focus areas in multiple projects? This may be where you want to start tracking growth. Don’t make assessments just for the sake of doing it, or to check some boxes for your evaluation. If you’re going to do an assessment, let it help inform your teaching and improve student learning.
3 Practical Ways to Assess Student Growth
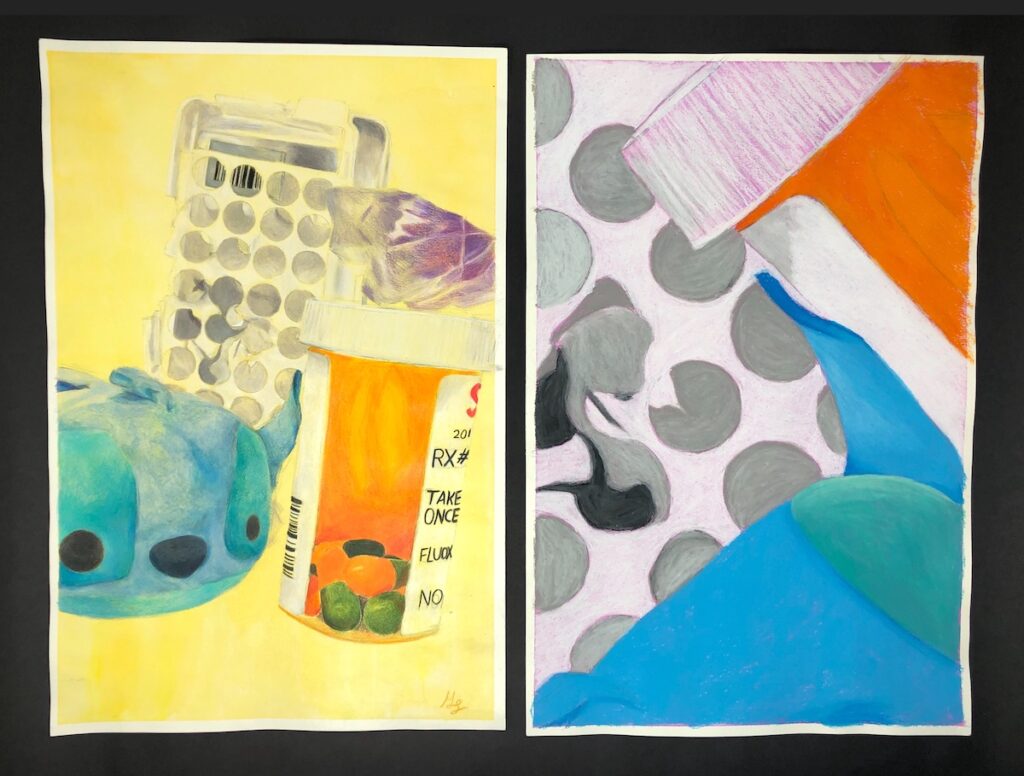
1. Color Schemes
Assessing students’ understanding of color schemes is a great topic to track growth. You can apply color schemes to almost any project in your existing curriculum. Begin with a pretest at the beginning of the school year, quarter, or semester. The pretest will help you see what students already know. Hopefully, they recall some of those elementary color schemes like primary, secondary, warm and/or cool. Other color schemes may be unknown to them. Vocabulary words like tertiary, analogous, monochromatic, and/or neutral, may be new to them. The pretest helps you identify areas where students may need more instruction.
Once you collect the data from the pretest, you have a better idea of where to begin. If the vast majority of students know primary and secondary, you don’t need to spend a lot of time reviewing those. If only a slight majority of students can apply the color scheme correctly, it’s time to reteach.
Focus on one or two color schemes at a time with each project. Don’t try to cram all of the color schemes into one project. Give students time to learn and apply each one. If you planned on a self-portrait project, turn it into a monochromatic self-portrait. If you have a landscape project planned, ask students to apply an analogous color scheme. Begin each project with a set color scheme in mind. Review and define the term. Have students take notes or practice in their sketchbook, and then ask them to apply the assigned color scheme to their project.
Assigning a different color scheme to each project may not work for all that you have planned. It also cuts out some of the creative choices for your students. One way you can still track growth while giving students artistic freedom, is every so often during the school year, allow for students to choose a previously learned color scheme. If by the second quarter, you’ve already reviewed primary, secondary, warm, and cool, then maybe that next project, students can pick one of those four to apply. This gives you a checkpoint for understanding and time to assess who needs redirection. As you progress further on in the school year, students will have more knowledge of different color schemes, and therefore, more color schemes to choose from when creating projects.
At the end of the school year or term, distribute a post-test of all the different color schemes you’ve introduced in your classroom. Because students have had the opportunity to apply each one, and you’ve had the opportunity to check for understanding and reteach when needed, your students should demonstrate a great deal of growth.
2. Composition
Composition is one of those skills that is frequently assessed on project rubrics. How well is the student filling their space? Is it balanced? Do they have a lot of empty negative space? Although composition is often assessed, are you taking the time to teach or demonstrate good composition? This may be a good area to track for student growth.
Take a look at some of your students’ first projects of the year. Assess their use of composition. Give them some feedback as to why they might not be creating good compositions in their artwork.
Now that you’ve assessed where they are, and identified problems, consider how you can teach good composition practices. Demonstrate to your students how to fill the page. Discuss what balance is; symmetrical and asymmetrical. Point out artists’ use of grouping elements in a triangle formation to achieve balance. Talk about the rule of thirds. Show good examples.
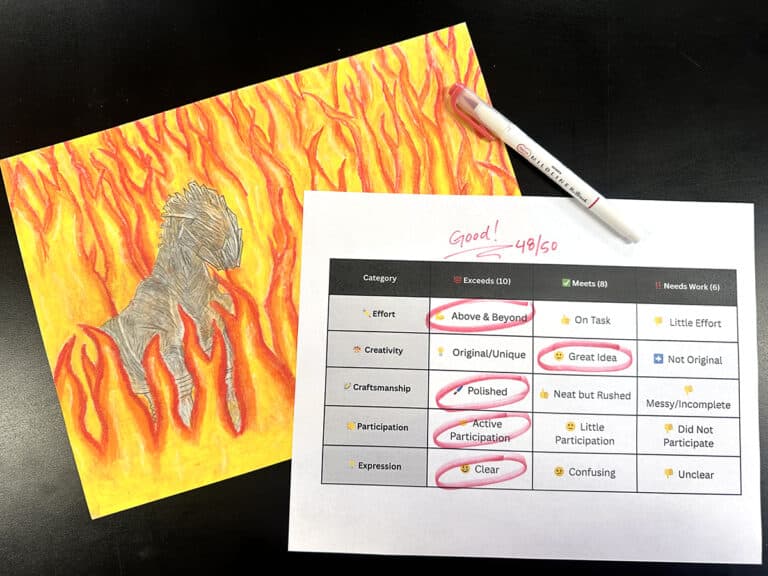
As students learn what good composition is, they may start producing stronger compositions in their projects. Track how their work changes as the year progresses. Give them feedback on how they’re doing and ways they can improve. Create a rubric with your definition of beginning, approaching, meeting, and exceeding your expectations for composition. This will give you quantifiable data to show student growth in composition skills.
For more information on tracking student growth, read The Top 5 Reasons to Make Student Growth Data Visible and An Authentic Way to Show Student Growth in the Art Room.
3. Value
Value is another area on many art educator project rubrics. We want students to show a full range of value in their projects, but how well are we teaching this concept? Try tracking student growth in this area to inform your teaching and help your students better understand the concept.
Most art educators spend a considerable amount of time teaching drawing basics to each class. As students are creating observational drawings, self-portraits, perspective drawings, etc., take a look at their range of value. A simple rubric ranging from one value to five can be a great place to start. How many distinct values do you see in your students’ work? Give them a rating and provide feedback.
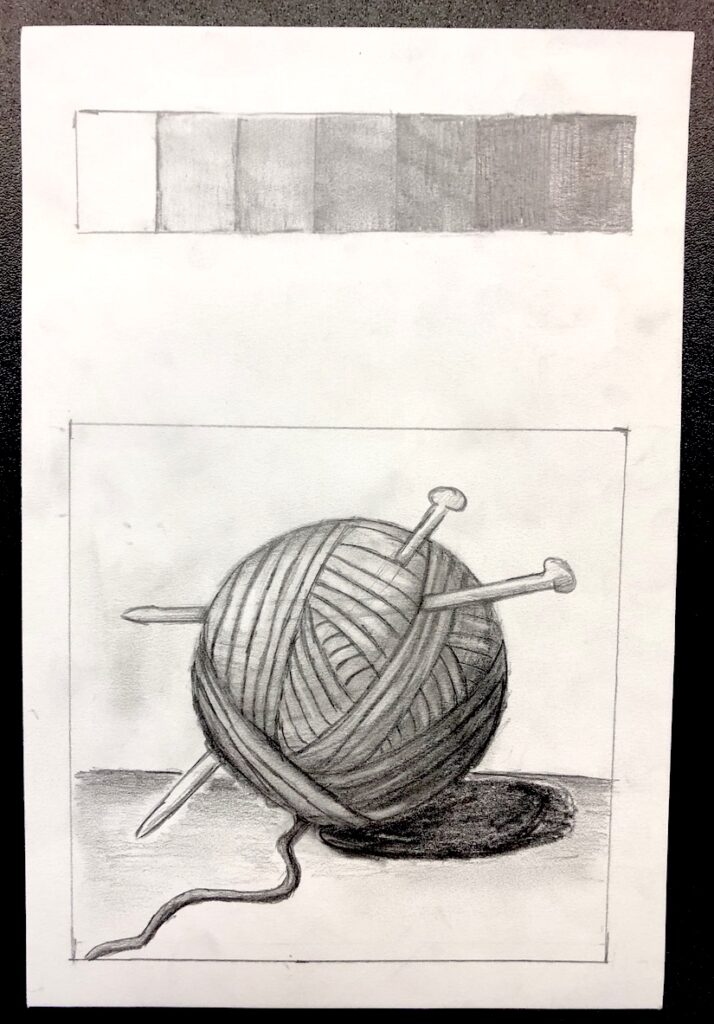
Once you’ve assessed your students’ use of value, take time to review the definition, and create value scales. Students can make their own value scale in almost any media. Have them create a scale of at least five distinct values. Explain that you will be looking for these same values in each of their projects. From then on, you have a rubric with quantifiable data that shows how well students are applying value in their work. From their initial drawings to work they create after the review, you will surely see meaningful student growth!
Value can be assessed throughout the year as you move from drawing projects to color theory to painting techniques. With each new media, you can have students revisit the value scale and create a new one using color or different materials. Just as before, they can reference their scale to ensure they create at least five distinct values. Monochromatic projects are a great way to introduce the concept of value with color.
Final Thoughts
Assessing student growth should be meaningful to your teaching. Create assessments that will address the skills you want to make sure students grasp by the time they leave your art room. There are simple ways to add this growth-based assessment to projects students are already slated to complete. Track how they’re doing, identify where they’re struggling, and reteach to ensure each student improves on the skills needed to succeed in your class. Your students and your teaching practice will benefit!
How do you assess student growth in your art room?
What are your go-to projects to teach color schemes?
Do you have a favorite value scale project?
Magazine articles and podcasts are opinions of professional education contributors and do not necessarily represent the position of the Art of Education University (AOEU) or its academic offerings. Contributors use terms in the way they are most often talked about in the scope of their educational experiences.