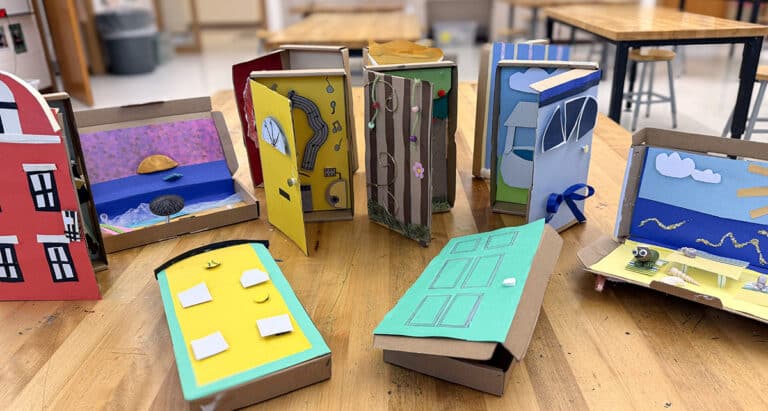
Students love a challenge. Let’s face it; most people love a challenge when it’s presented as a unique game to test your critical thinking skills.
Have you ever thought about making art challenges for your students? Maybe you’ve challenged your students with a drawing prompt or given them a limited palette of colors to work with. Providing opportunities to think creatively and challenge the process of artmaking comes with many benefits.
Here are a few art challenge ideas to get you started:
- A Design Challenge for Environmentally Conscious Art Teachers
- 3 Art Challenges That Are Perfect for the End of the Year
- How To Run a Design Challenge
- 5 Activities to Open Your Middle Schoolers’ Creative Brains
- Push Your Students with an Art Room Challenge
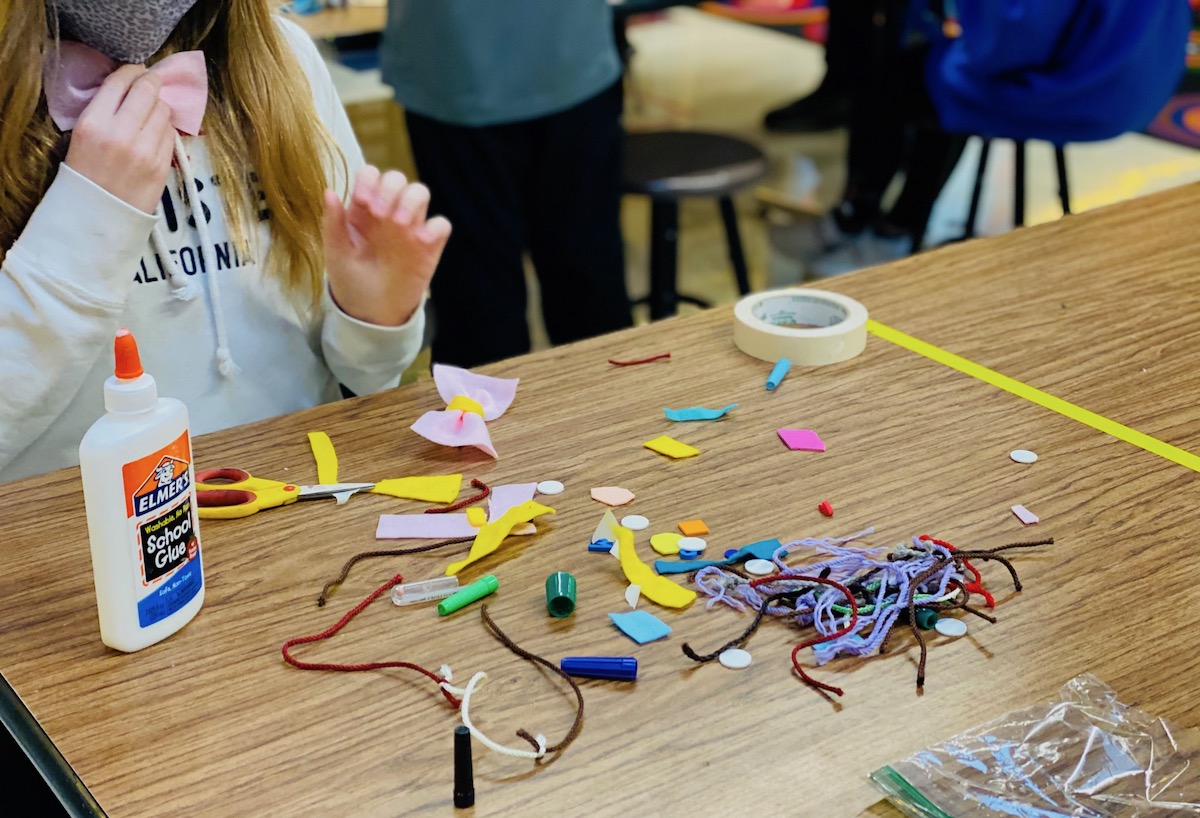
Now that your wheels are turning, here is a proposition. Try creating a challenge for your students using all that “stuff” art teachers so readily collect. Styrofoam packing peanuts. Foam scraps. Bits of string. Plastic marker caps. Hundreds of metal teaspoons (Yes, I really have these stashed away in my storage closet). The list goes on and on.

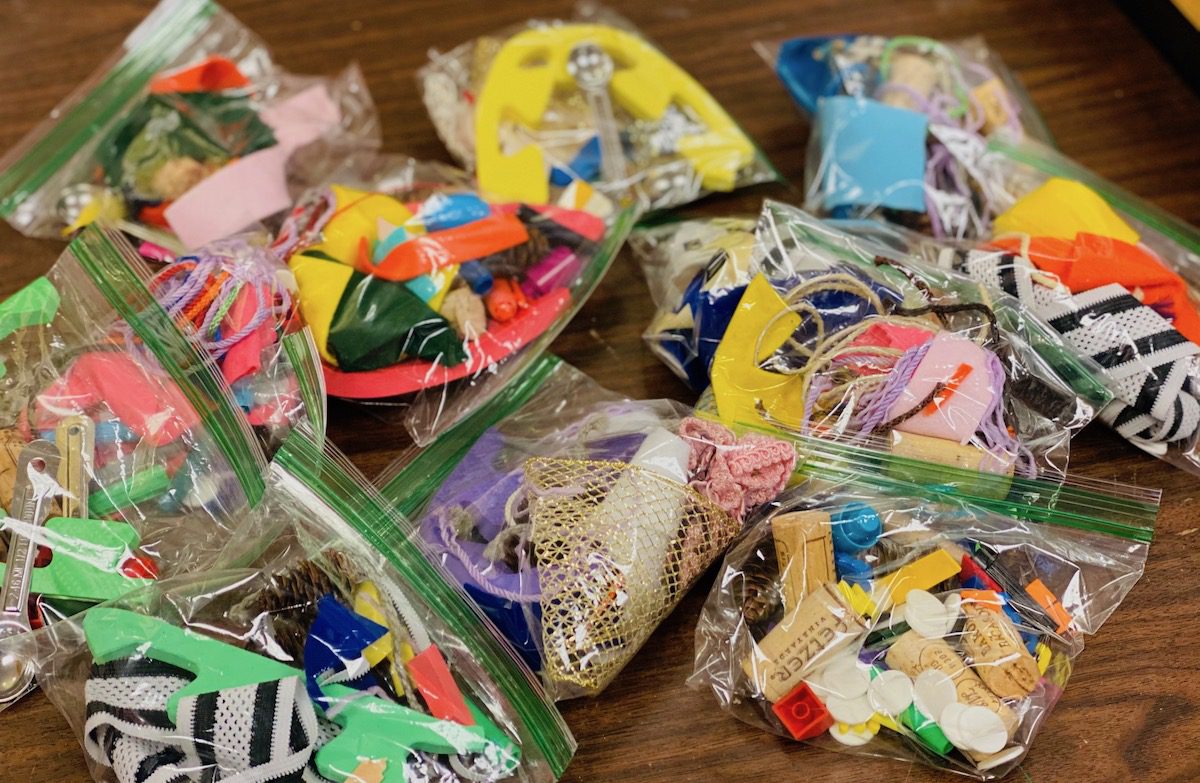
Creating a mystery bag art challenge is the perfect way for your students to flex their creativity muscles while simultaneously helping you clear out the random objects you’ve been hoarding.
6 Steps to Run The Mystery Bag Art Challenge:
1. Prepare your mystery art bags.
Start by searching in your art room for odd items you’ve been hoarding. Think of items you find yourself tripping over and start there. Leftover yarn. Bottle caps. Cardboard chunks. It’s all fair game! Fill a paper bag or clear plastic bag with a various items your students can use to create.

You may choose to have all the bags filled with the same number and type of objects, which can be an excellent way to show students how individuals think differently given the same materials. Or, you may want to fill each of the mystery bags with varying items, further challenging your students to think outside the box.
2. Introduce the challenge inspiration.
You can introduce the mystery bag art challenge to your students in many different ways. A relatable connection is to compare the art challenge to a competitive cooking show. A great example is Chopped: Junior, where four young chefs use complex mystery ingredients to create a complete dish in a limited time.
A fun way to start the lesson is by showing them a clip from the show, Chopped: Junior, then connect it to their art mystery challenge. Many art educators have run successful “Chopped Art Challenges” to encourage creativity in their students. Check out Adventures of an Art Teacher, Primarily Art with Mrs. Depp, and Classroom Minute: Chopped Art Edition.
3. Explain the rules.
Depending on how your art class is set up, you can design the rules of the challenge in a variety of ways. If your students are learning in-person, consider having a “kitchen pantry” of items for students to use to help them assemble their creations. The kitchen pantry might be stocked with tape, glue, paper, markers, and wire. You may also want to consider giving students their own assemblage items, like tape, glue, and scissors, if you know you won’t have time to clean the materials between classes.
If your students are learning virtually, you can create the mystery bags ahead of time with attached instructions and send them home as an art kit challenge.
You’ll also need to give students a set time to create—use this 20-minute visual timer. Encourage students to work for all twenty minutes. As students create, it’s helpful to give them friendly reminders about how much time they have left.
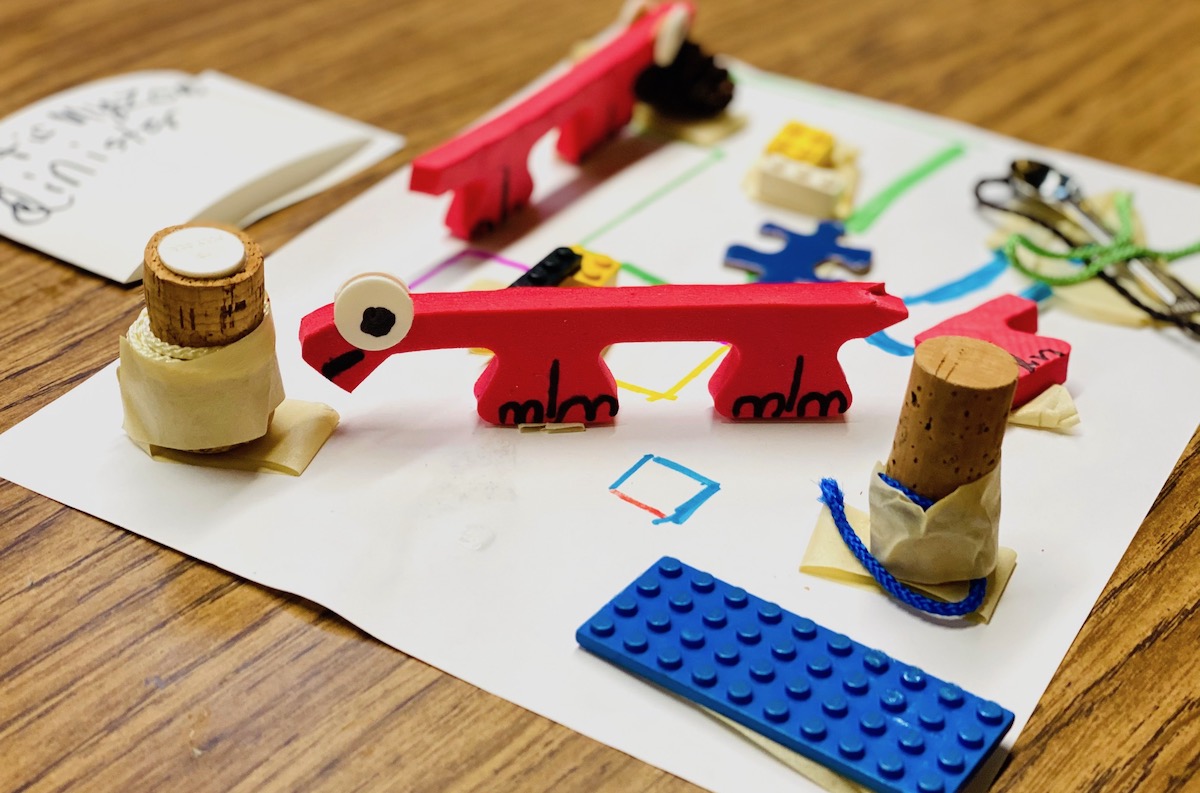
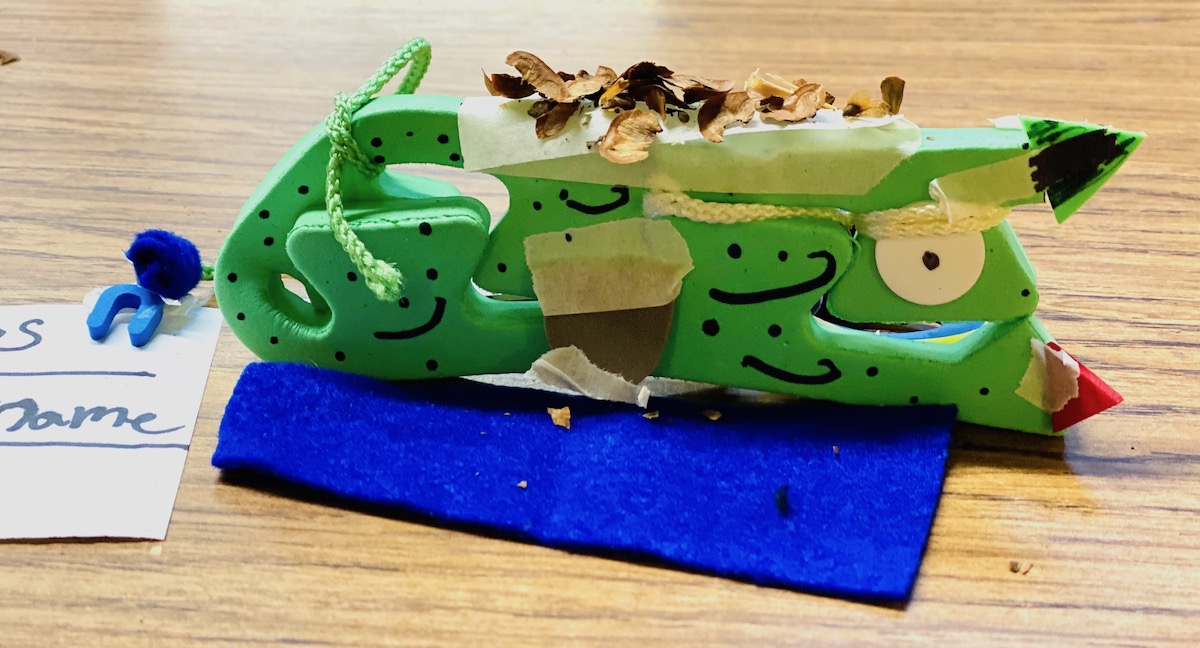
Remember to tell students about how they can use their items. For example, they can break items, make multiple objects, draw on items, or use just a part of an object.
4. Students create their masterpieces.
Give students time to work. Watch the magic unfold as their ideas, problem-solving, and creative thinking happens in front of your eyes. It’s also important to remind students if they are having trouble thinking of a specific idea, they should simply start.
This challenge is a great reminder, especially for those more introverted students, that artmaking is about the process in addition to the product.
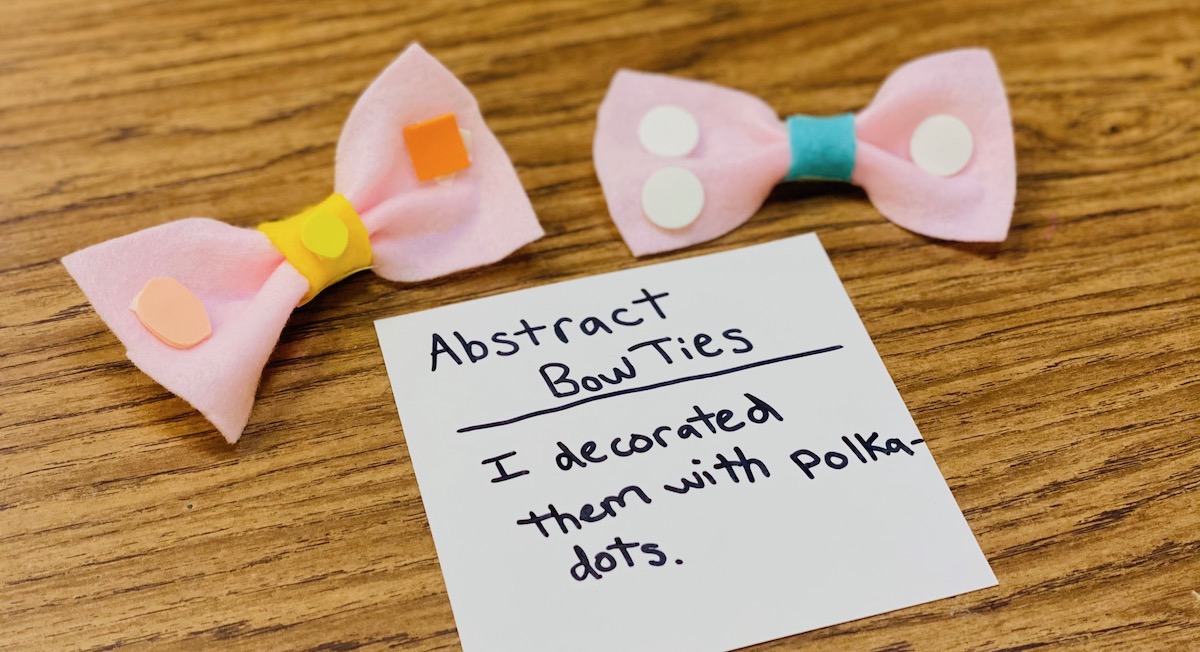
5. Have a gallery walk or judging and share compliments.
The creations have been made! It’s time to check out the work of all your artists. You may want to have students create short artist statements and have a safe gallery walk around the classroom. Or, if you are teaching virtually, you can give students time to share an explanation of their creation.
This sharing time is a great way for students to practice their kindness, as you can allow students to complement the work of another artist’s successful creation.
6. Clean your space and wrap up the lesson.
Whether you are teaching virtually or in-person, students always benefit from reminders about how to leave their workspace. End the lesson with a quick chat about perseverance, problem-solving, and working through limitations.
Art challenges are undoubtedly a great way to get your students to create in an exciting way. Plus, it has the added bonus of getting rid of all the odds and ends you’ve been hoarding!
What’s the strangest thing you’ve collected in your art room?
What other design challenges do you like to create with your students?
Why is it important to create open-ended learning experiences?
Magazine articles and podcasts are opinions of professional education contributors and do not necessarily represent the position of the Art of Education University (AOEU) or its academic offerings. Contributors use terms in the way they are most often talked about in the scope of their educational experiences.