Organization is a constant battle for art teachers because we love our stuff! Whether due to a lack of storage or a funky room design, we are always looking for the best organization routine and hack. A ceramic space is one of the most challenging areas to organize. Working with clay requires many specific materials, which means that finding a place to put everything can be difficult. Whether you have a dedicated ceramics room, a small clay area in your classroom, or a mobile clay cart, we have some solutions for you.
Let’s explore four ideas to help you maximize and organize your clay space.
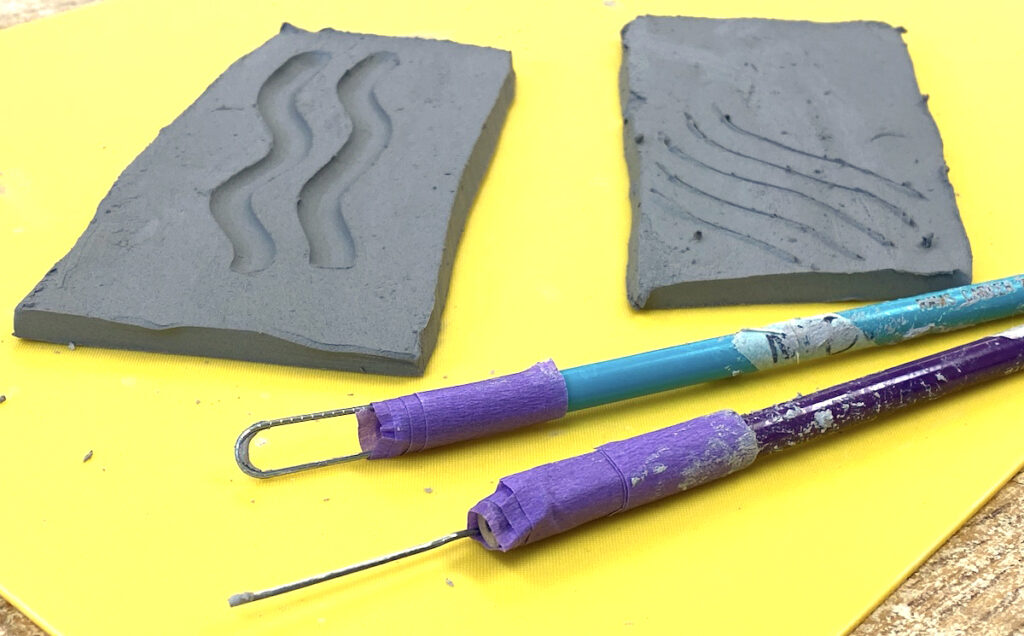
1. Create a Test Tile Glazing System.
Glazing is one of the most exciting parts of the ceramic process! Unfortunately, glaze and test tiles take up space. Students often take their time looking for the perfect color, but they don’t always put test tiles back where they belong. Take a look at this numerical system that can be adapted to fit a variety of space constraints.

- Create test tiles with a simple shape or stencil. Use underglaze to paint numbers on each tile and then bisque fire them.
- Label the glaze containers (base and lid) with numbers. It is a good idea to make a digital inventory to record the brand, color name, and number.
- Glaze the tiles with three to four even coats. Correspond the number on the test tile to the number on the glaze bottle. Glaze fire the tiles.
- Affix your tiles to a permanent location, such as a wall, or attach them to something mobile, such as a board or canvas. Hot glue works great!
- Store the glaze containers in an accessible area nearby, such as on a shelf, in a cupboard, or on a mobile cart.
For more ideas on creating glaze test tiles, check out these 4 Unique Ways to Present Clay Test Tiles.
2. Use Clay Tool Kits.
Our hands serve as one of the most important tools when it comes to working with clay. There are a few other basic tools that both hand-building and wheel throwing require—needle tools, sponges, ribbon tools, ribs, and slip containers. Have you ever tried organizing clay tools by type, only to find that they are all mixed up at the end of each class? While this might be a system that works well in some classrooms, it might not work for others.
This is where clay tool kits come in! Use small, stackable containers with lids, and place the desired tools inside. Assign the clay tool kits to individual students or tables. This method might be the way to go if you are unsure about how your district will mandate shared supplies this school year.
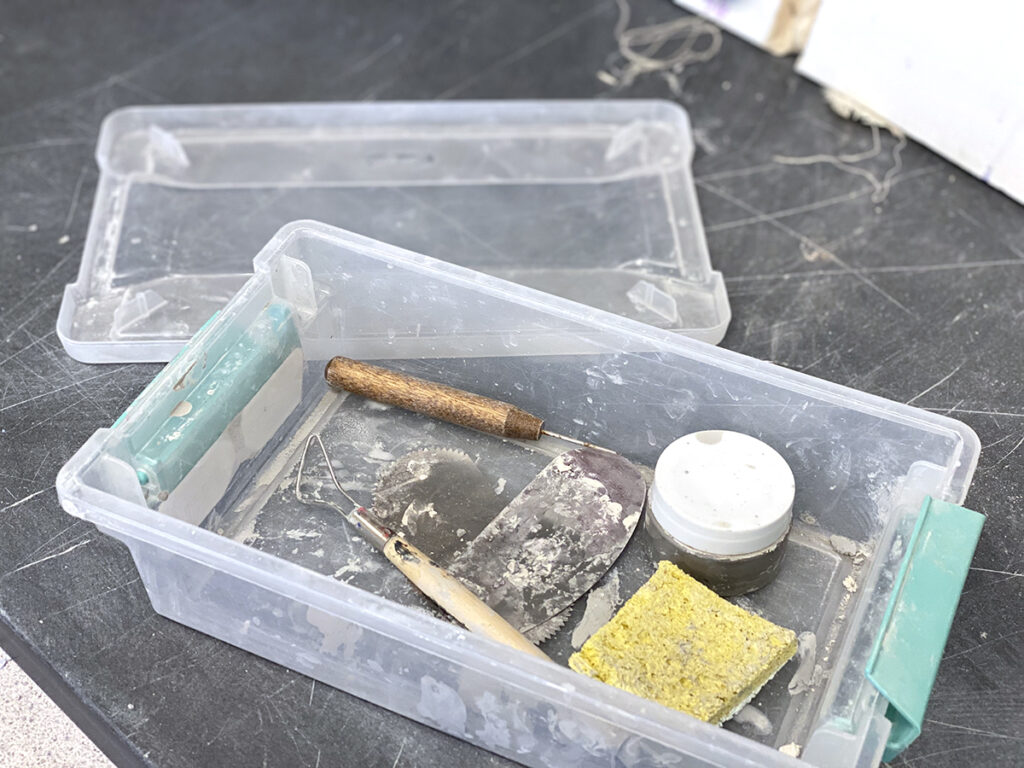
Number each box so each student or table gets the same clay box every class. This will prod students to take ownership and responsibility when it comes to the cleanup and care of tools.
Clay tools can be expensive, and you might not have enough for each individual student to have their own. While fancy clay tools are nice, cheaper options exist.
Consider the following budget substitutions:
- Use plastic utensils: Plastic forks work great for scoring, knives for cutting, and spoons for smoothing.
- Create your own ribbon tools: Attach a paper clip to the end of a popsicle stick, old paintbrush, or the back of plastic silverware.
- DIY a wire cutter: Clamp a binder clip on each end of a piece of monofilament or dental floss.
- Repurpose gift cards into ribs: Old gift cards or other flexible plastic materials, such as dollar store cutting mats, can be cut to size and used as smooth ribs.
If you are under time or financial constraints, get your students involved in making some of these DIY clay tools!
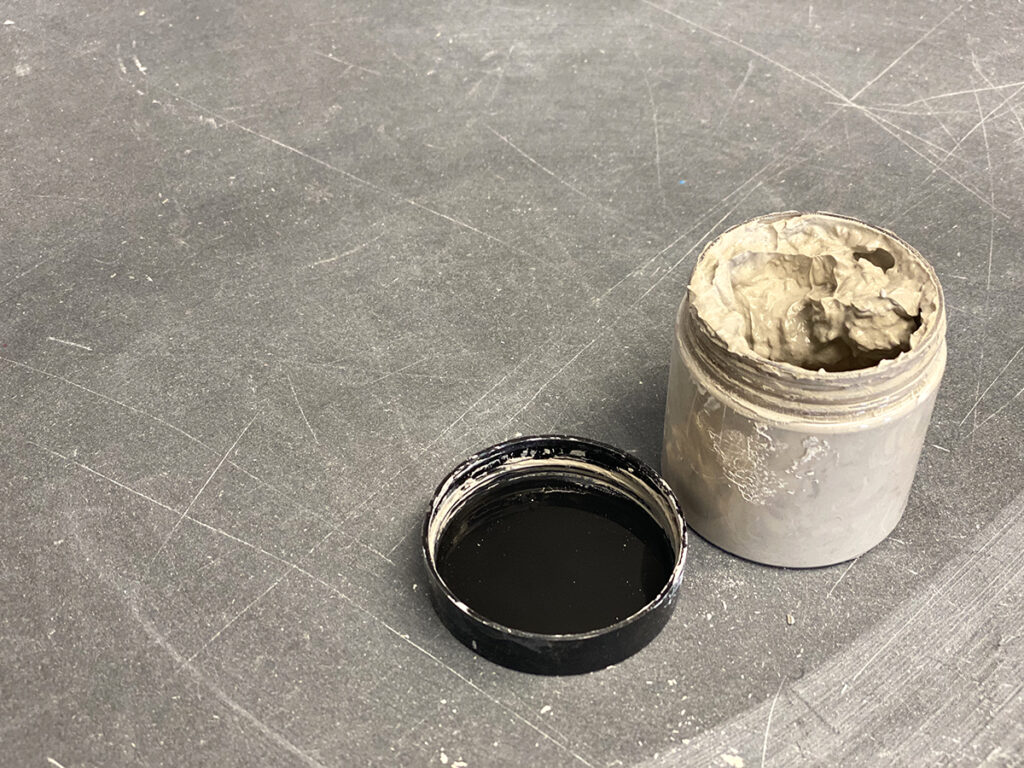
3. Assign Slip Containers.
Slip is an essential material when working with clay. It’s crazy how quickly these containers get messy! To cut down on the mess, give each student their own slip container. They can store it in their individual storage cubby or clay tool kit. Alternatively, assign numbered slip cups to each table or individual student. Having a designated cup increases students’ ownership. Students are motivated to keep them clean and refilled. Containers with lids work best, so start saving your favorite yogurt, baby food, ice cream, or cosmetic packaging!
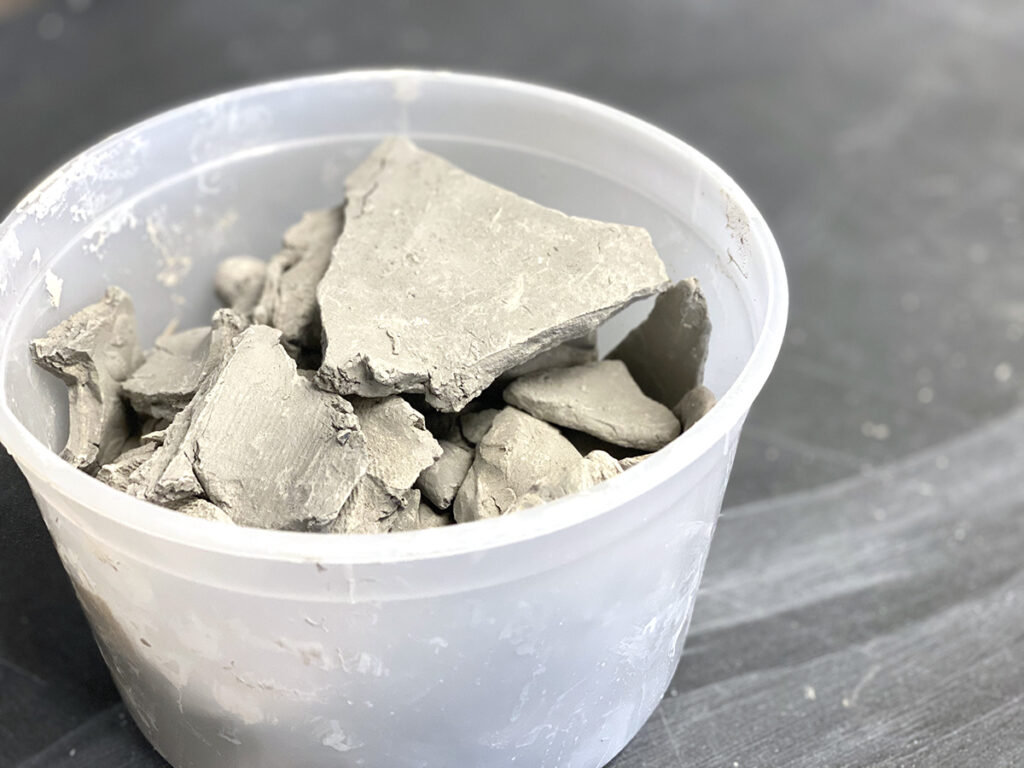
4. Use Small Buckets for Reclaimed Clay.
Even if your students take responsibility for their clay scraps, there always seems to be a few dry pieces that show up. Having a larger reclaim bin or bucket works for many classrooms. If you don’t have a pug mill and you reclaim your clay by hand, it is more manageable to do with a smaller container of clay. Smaller buckets decrease the weight and make the clay easier to handle. It also makes for an easy way to mix up a small batch of slip when needed.
While it is not possible to get rid of all the dust and mess that comes with clay, these four tips are a good start to organizing your clay area. Implementing solid routines and systems now will help your ceramic space run smoothly later. It also does not have to be expensive to organize your room and make it more functional—there are many budget-friendly options to make clay accessible. Plus, each tip can work for a clay classroom, clay area, or clay cart!
For more clay organization tips, check out the following resources:
- Never Stress During Clay Again!
- The Clay Storage You’ve Been Waiting For
- The Clay Conundrum: How to Teach Hundreds of Students While Staying Organized
- How to Create a Clay System That Works for You
- Stay Organized by Making Sample Glaze Tiles
- Making Glazing Work for a Large Group
What tips do you have for organizing your ceramic space?
What clay-related material is a struggle for you to organize?
Magazine articles and podcasts are opinions of professional education contributors and do not necessarily represent the position of the Art of Education University (AOEU) or its academic offerings. Contributors use terms in the way they are most often talked about in the scope of their educational experiences.