SLO is one of many acronyms that have been bouncing around the education world for the last few years. SLO stands for Student Learning Objective. With each project, lesson, and unit you design, you are already setting expectations and objectives for your students. It’s easy to get caught up in the fun of creating and lose track of why we were making something in the first place. This is where SLOs come in! A well-thought-out SLO is key to keeping you on track and reflective as an art educator. You know that your students continue to improve in their creative and technical abilities. Furthermore, SLOs measure that growth and give you evidence that you can bring to your administration to advocate for your art program.
Keep reading to learn three easy approaches to apply SLOs in your art room.
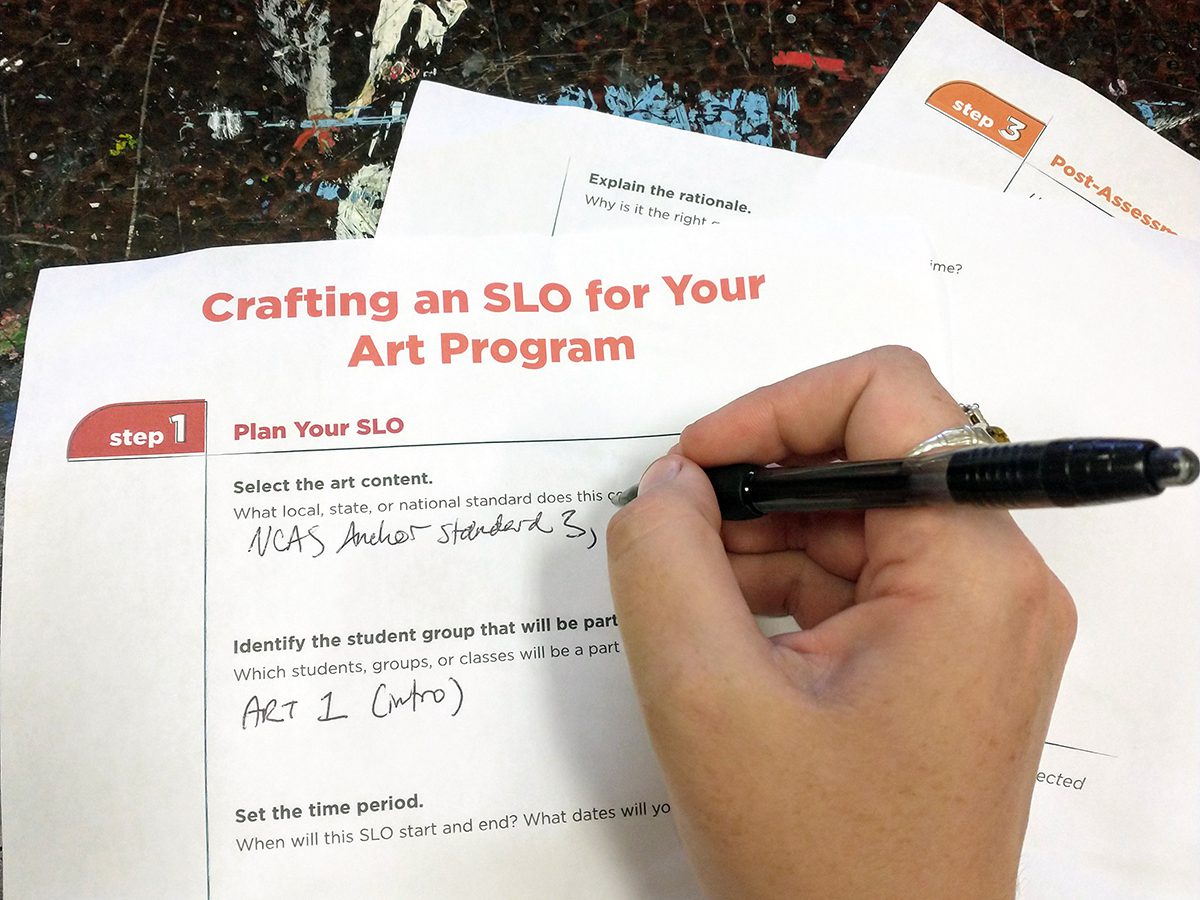
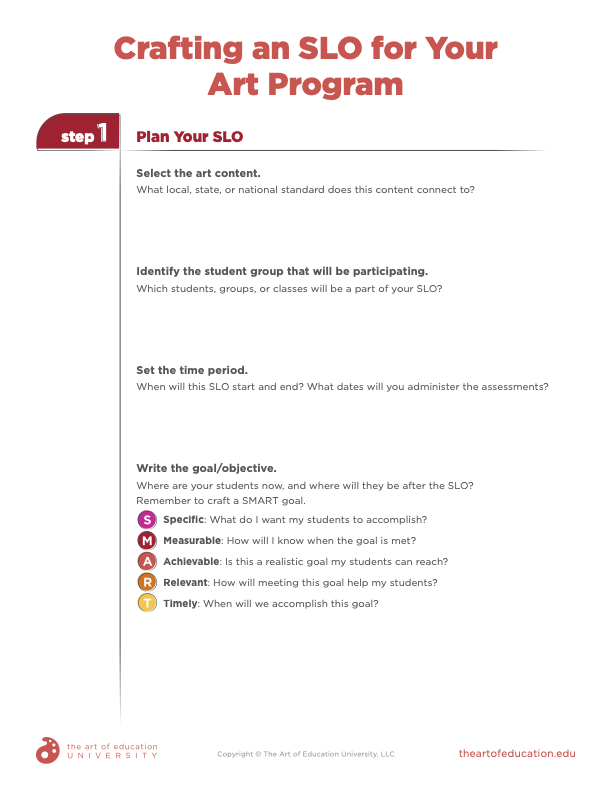
As you read through these three approaches with examples, feel free to use this complimentary download to help you stay focused and organized as you plan your own. For more resources like this one, be sure to check out the PRO Pack, Understanding SLOs in the Art Room. Find this Pack and so many more in PRO Learning.
1. Pre-written SLOs
Every great art piece starts out with the artist finding a reference. SLOs are the same way—every great SLO starts out with the art teacher finding an anchor standard. The National Visual Arts Standards are already written in a way that is easy to adapt into an SLO. Keep your students and what you want them to do in mind as you read through the different anchor standards. Read through the example essential and enduring questions. When you come across one that sounds like a good fit for your students, look at the grade level expectation. If needed, distill that standard down into language your students will understand.
Here are three examples of distilling grade-level anchor standards.
Say you want your students to be able to accurately render an object from observation. This sounds like Anchor Standard #3: Refine and complete artistic work. This anchor standard is broken down further when you look at the grade-level expectations.
For third-grade artists, the standard says, “Elaborate visual information by adding details in an artwork to enhance emerging meaning.”
To share this goal with students in the form of an “I can” statement, you may use, “I can make my art more meaningful by adding details.” This is a great SLO to build in near the end of a multi-day project.
Here are some suggested steps to implement this SLO:
- Before students start working on the final day of their project, they write down the big idea behind their artwork.
- Brainstorm three different details they can add to make their big idea more obvious.
- Ask an elbow partner for suggestions if needed.
- Students add at least one of the new details to their artwork by the end of the period.
- For an exit ticket, students reflect on how the new detail helped make the meaning clearer.
For eighth-grade artists, the same standard says, “Apply relevant criteria to examine, reflect on, and plan revisions for a work of art or design in progress.”
To share this goal with students, you may say, “I can accept a critique from my peers and use their feedback to improve my art.” This SLO lends well to an in-progress critique.
Here are some suggested steps to implement this SLO:
- A few days before a project due date, students write down two to three questions they have about their own artwork.
- Students circulate the room for five to ten minutes, writing their own answers to their classmates’ questions.
- Students return to their seats and read their peers’ answers.
- As students finalize their projects, they consider and use the feedback they received.
- After submitting their project, students compose a short reflection on how they revised their pieces using their classmates’ advice.
For advanced high school artists, the same standard says, “Reflect on, reengage, revise, and refine works of art or design considering relevant traditional and contemporary criteria as well as personal artistic vision.”
An example of student-friendly language at this level may be, “I can refine my own work by considering where my personal artistic vision falls in relation to the rest of art history.” You can insert this SLO right after ideating and starting an artwork.
Here are some suggested steps to implement this SLO:
- As students get started with an artwork, research how similar topics have been represented throughout art history and contemporary art.
- Challenge students to incorporate at least one thing they learned from their research.
- After completing the artwork, students will write an artist statement that shares how their research informed their approach and intent.
Looking for more? Here are 20 Practical SLO Ideas for Busy Art Teachers.

2. The ABCD Method
If you prefer to write your own SLO, try out the ABCD method. ABCD stands for Artist, Be able to, Condition, and Degree. First, decide which age artists and skills you will be teaching. Next, determine what students will be able to produce. Then, decide the conditions for artmaking. Finally, share what criteria you will use to measure the success of your students. Then, take all your pieces and put them together into a student-centered narrative.
Here is an example using the acronym:
- A for Artist
I will be teaching graphite and observational drawing skills with my Art 1 students who have never done this activity before. - B for Be able to
Students will be able to produce a self-composed still-life drawing with at least five objects from their backpacks. - C for Condition
Students will complete a full-page drawing with graphite in their sketchbooks. Students can use an eraser. They will demonstrate value, line, graphite techniques, and observational drawing skills. To establish a baseline, students will draw for an entire half-hour. Students will have access to all instructions and a timer displayed on the projector for this exercise. - D for Degree
Success will look like a well-rendered drawing. The drawing will use a full range of values, have strong value contrast, and include accurate, observed details. The drawing will take up the whole page.
Here is the final ABCD goal:
This goal is based on Anchor Standard #3: Refine and complete artistic work.
Art 1 artists will demonstrate their graphite skills and observational drawing knowledge. They will accurately render their own still life from observation using at least five items from their own backpack. Students will use their sketchbook, pencil, and eraser to render this still life. Students apply prior knowledge to this new practice. They will have thirty minutes to work and must stop drawing at the end of that time. Students will be assessed based on how accurately they were able to render their still life within the set parameters.
3. The SMART Method
The SMART method is another option if you want to write your own SLO. SMART stands for Specific, Measurable, Achievable, Relevant, and Timely. First, decide exactly what you want to do and why. Then, determine how you will know when you have met your goal. Ask yourself if this is a realistic goal that you will be able to reach. Then, articulate how meeting this goal will help you. Last, set a deadline for when you will accomplish your goal. Once you have addressed all those parts, synthesize your goal into one or two sentences.
Here is another example using this acronym:
- S for Specific
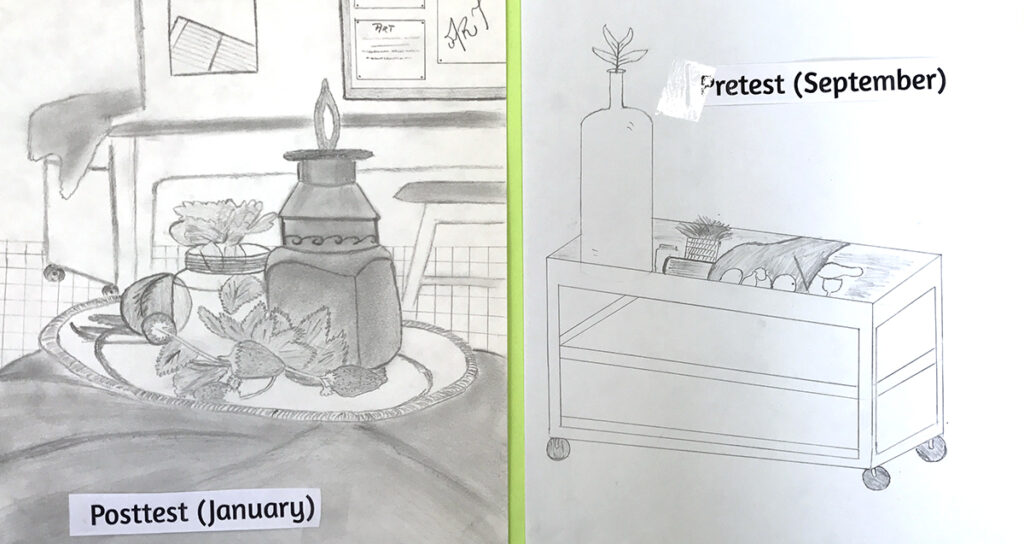
I want my Art 1 students to accurately render from observation using graphite. Accurate rendering is an important foundational skill. This class has not drawn from observation before, aside from icebreaker activities. - M for Measurable
I will measure whether my students have met the goal by assessing their still-life skills. To set a baseline, students will design and then render a still-life using five objects from their backpacks. Students will have a time limit of thirty minutes. After the first still life, students will learn rendering techniques like blocking, gridding, and angle references. Learning these techniques will take three block periods. After that, students will do the same still life a second time. I will compare the two drawings based on pre-determined criteria already established with the students. - A for Achievable
This is a reachable goal. Most students show improvement just with dedicated class time to draw. Adding in instruction on rendering techniques will prompt greater growth. - R for Relevant
This goal will benefit students in a few ways. It will very clearly document student growth. Students will be able to look back and see that their practice paid off and they improved. It will allow you to identify students who are already comfortable with rendering and may need more of a challenge. It will also show you which students may need more time, practice, or more scaffolded objectives. The goal will help students feel successful as they move further into the Art 1 curriculum. These are foundational skills that will be built upon as the year progresses. - T for Timely
This challenge will take four class periods or seven class hours. Students will see results in a short period of time.
Here is the final SMART goal:
This goal is also based on Anchor Standard #3: Refine and complete artistic work.
After two weeks of rendering practice and exercises, Art 1 students will accurately draw a self-composed still life in graphite from observation in thirty minutes.

Figure out what works for you and your students.
Pre-written, ABCD, and SMART student learning objectives all meet different needs. Are you pressed for time or is cross-district alignment necessary? You may want to lean towards a pre-written SLO. Trying to work out one specific activity? ABCD might be the way to go. A bigger picture unit might be best hashed out with the SMART method. SLOs are used to communicate expectations between teachers, students, and administration, so it is important to consider what works best for you and your students.
Distill your SLO into student-friendly language and share it. A common example is the “I can” statement. Find a place to display your SLOs so you can constantly reference them. Be consistent in where you display them so students can begin to use that space as a resource to answer their own questions. Make sure you include the SLO in everything you share with the students. Technique handout? SLO at the top! Learning how to do visual notetaking? Make sure they write the SLO in a prominent spot! With clear and consistent communication, you can empower students to set their own goals and be more equipped to meet the ones you have for them.
If you are looking for even more resources on SLOs, check out the PRO Pack, Understanding SLOs in the Art Room, found in PRO Learning, or the Designing Your Art Curriculum graduate course.
How do you already communicate learning objectives to your students?
Which approach to establishing SLOs are you most interested to try this year?
Magazine articles and podcasts are opinions of professional education contributors and do not necessarily represent the position of the Art of Education University (AOEU) or its academic offerings. Contributors use terms in the way they are most often talked about in the scope of their educational experiences.