Glue is a staple for any art room, and it’s easy to see why. It comes in a variety of forms and types for a variety of circumstances. Whether it’s liquid glue, hot glue, or glue sticks, you most likely have it all stashed in your supply closet. You probably use glue every day in some way.
Glue is primarily known for its practical application of attaching and adhering, like in collage or constructing an armature. Use glue for fun artwork like a yarn painting or glue line drawing. You may even have a few hacks up your sleeve, like swapping your liquid glue bottles for glue sponges.
But did you know there is so much more you can do with glue? Keep reading to learn how to turn glue into the art room essential you never knew you needed!
1. Hang without hassle.
Hot glue and painter’s tape work perfectly to hang artwork and decor on the walls. Make a tape frame on the wall. Squeeze hot glue onto the tape and quickly place your piece on top to affix it to the wall. When you need to remove what you hung, the painter’s tape will quickly come off the wall without damaging it. Use this hanging method for classroom posters or a quick way to display artwork around your school.
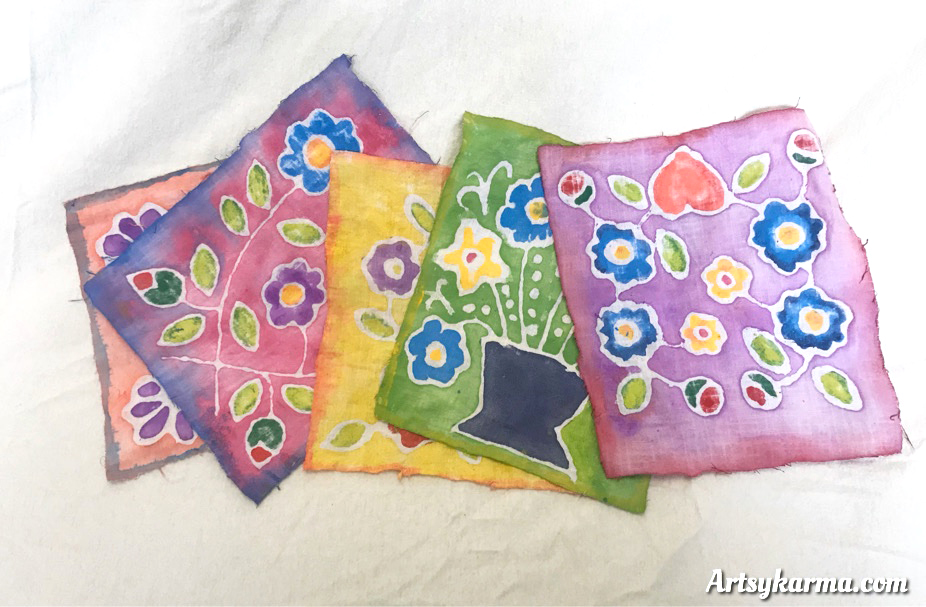
2. Outline batik designs.
Batik is an ancient traditional fiber art form that involves creating dye-resistant designs on fabric with wax. This article gives a detailed look at how to bring batik to your classroom, and the Batik Mantra Flags Lesson in FLEX Curriculum has step-by-step instructions with student-facing resources aligned to all 50 states. Use clear gel glue instead of wax if you want a simpler, less messy way to batik. Trace designs on fabric with gel glue. When it dries, color the fabric with paint or dye. Soak the cloth in hot water and rub off the glue to reveal your glue batik artwork!
3. Seal all kinds of artwork.
Are you or your students tired of getting graphite all over your hands? Do you need a way to keep chalk pastels from spreading dust everywhere? Lightly spray any artwork with a liquid glue and water mixture to seal it. The more water you use, the thinner your layer of sealant will be. This will help keep your soft mediums from flaking off the paper. You can also coat air-dry clay pieces to give them a glossy sheen or layer on finished mixed media pieces to keep everything in place. The uses are endless!
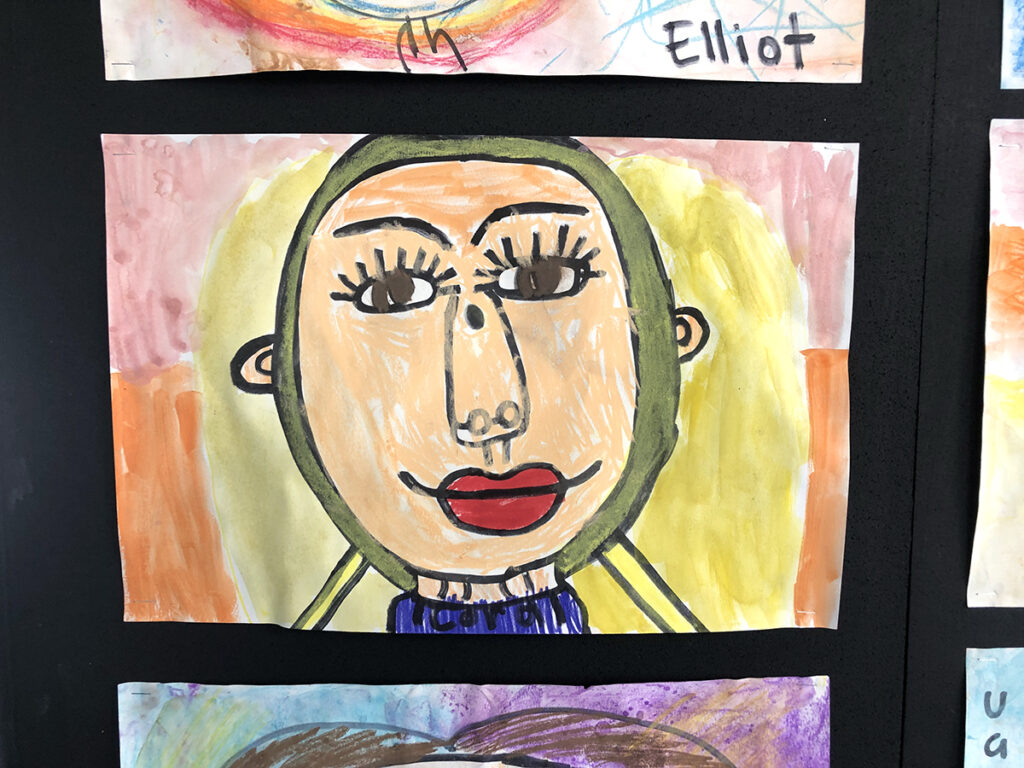
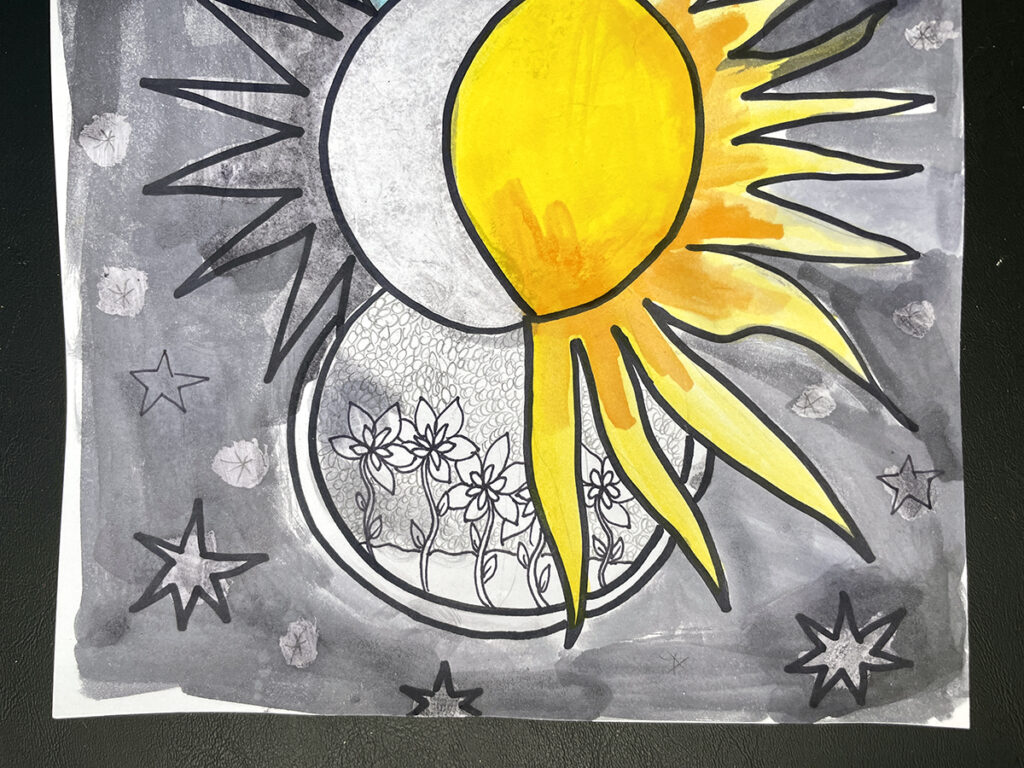
4. Paint with watercolor resist.
Pair liquid glue with watercolor for another form of resist art. Paint watered-down liquid glue over large portions of a design to preserve the drawing underneath. Fill small sections and details with glue to create negative white space. Once the glue is dry, watercolor around and over the glue. You may need to use a damp paper towel to wipe off any pooled paint.
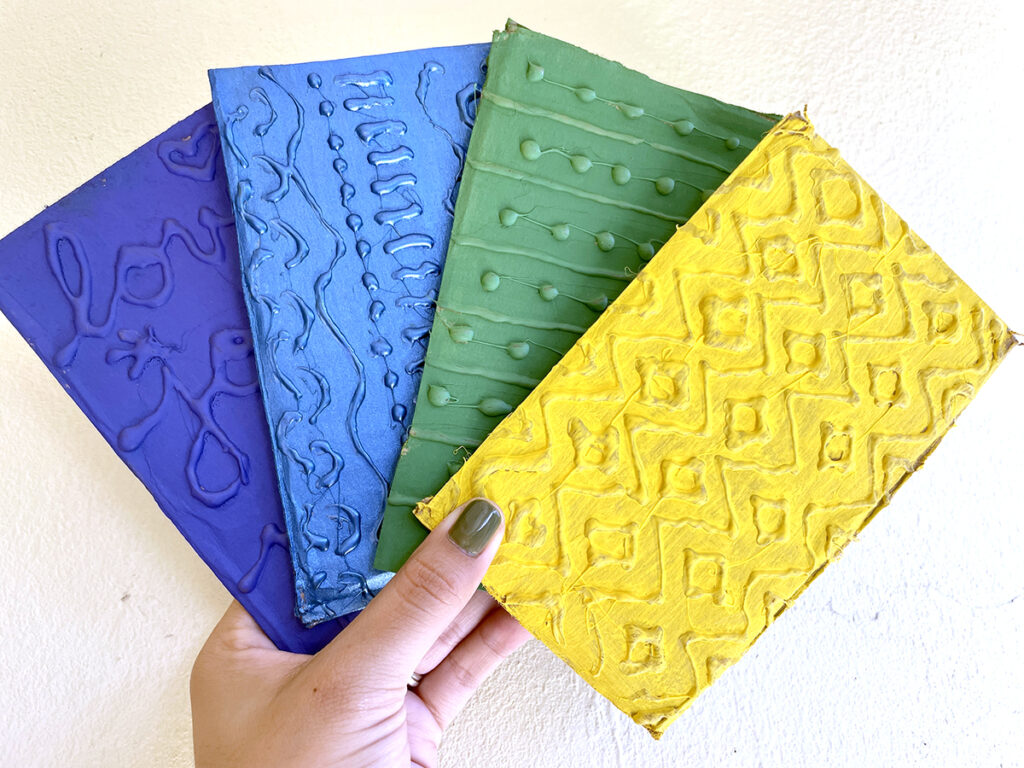
5. Make texture plates and stencils.
Hot glue is an excellent way to make texture plates and stencils for your classroom. Make line designs, patterns, and drawings with hot glue on cardboard, wood blocks, or toilet paper rolls. There you have it—custom texture plates and stamps! Additionally, draw or write on parchment paper with a glue gun. When it dries, use it as a stencil for bleach-dying fabric or layer on gel plate prints. For more on gel plates, watch the Creating with Gel Printing Plates Pack in PRO Learning.
6. Turn artwork into giant sticky notes.
Temporarily displaying student artwork can present a constant dilemma. When are you supposed to find the time? What is the best way to do it? Repositionable glue sticks may be your answer. Flip the finished artwork over and run a repositionable glue stick along the edges. Post the artwork on the bulletin board, display case wall, or window of your choice. When it’s time to switch up your display, peel it off easily. No harm, no foul!

7. Simulate stained glass.
For a process-driven project that your young artists are sure to love, try using liquid glue and food coloring to simulate stained glass. Squirt white or clear liquid glue on a piece of acetate. Add food coloring one drop at a time and mix with the glue. Use toothpicks, cotton swabs, or paintbrushes to draw designs in the glue. You can even add glitter for some sparkle. Let it dry overnight, then hang it in a window to catch the light!

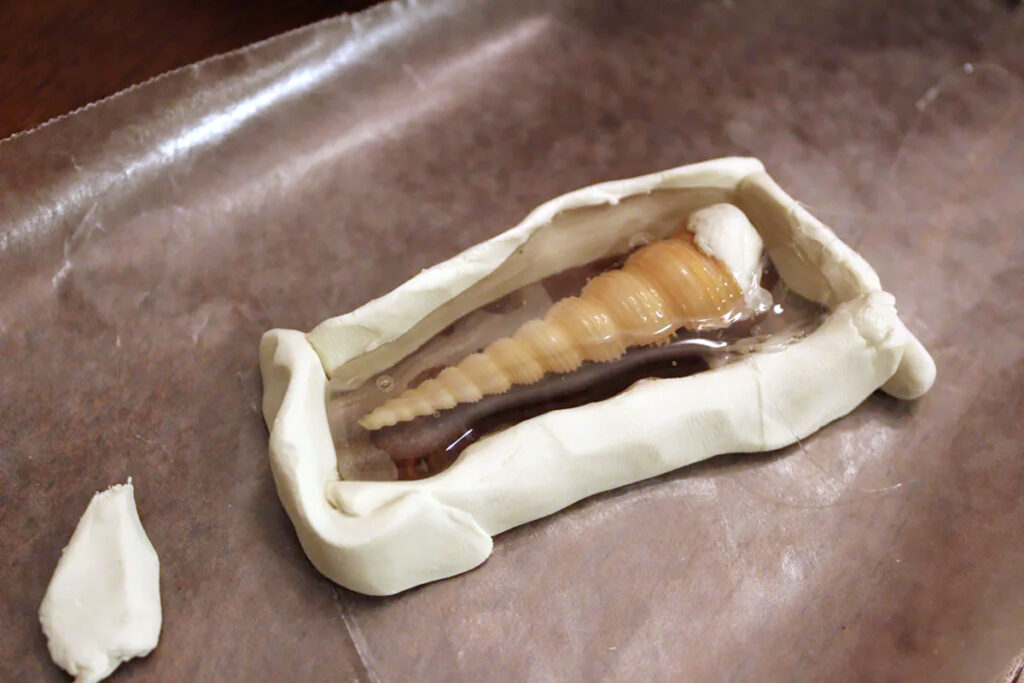
8. Mold and cast on a budget.
Casting is a fun sculpture technique to introduce to more advanced students. Hot glue molds can give students a chance to try casting on a budget. Place oil-based clay strips on wax paper to create a well for your mold. Select a small object to cast and coat it in a thin layer of wax. Fill the well with hot glue and press the object into the well. Let the hot glue dry, and you have a mold you can use with any cold cure casting material.
9. Create calming glitter bottles.
Use glue to create calming glitter bottles! At the very least, it is an innovative way to practice mixing colors while providing a sensory tool. Mix water and clear liquid glue in a container with a lid. Add food coloring, glitter, sequins, and beads. Shake it all up and watch the sparkles slowly float around. Fiddle with the amount of glitter to make a fun class timer, like in the video below.
If you thought glue was an art room essential before, you should be even more convinced now! From projects to practical applications, there is no limit to what you can do with glue. Dust off those gallon containers of liquid glue. Open up your class packs of glue sticks, plug in your hot glue guns, and get to work like the ingenious expert you are to bring your glue game to a whole new level!
How will you use glue in your art room today?
What other glue projects or hacks do you love?
Share a new use for another common art room staple.
Magazine articles and podcasts are opinions of professional education contributors and do not necessarily represent the position of the Art of Education University (AOEU) or its academic offerings. Contributors use terms in the way they are most often talked about in the scope of their educational experiences.