Art shows are a powerful culmination of the year’s artistic journey. They provide students with a platform to showcase their creativity and artistic voice and foster pride in their accomplishments. Art shows are also excellent advocacy tools. They are a fun event for key stakeholders to see the positive impact of the visual arts on your school community. Art shows are a lot of work, especially when it’s time to hang the artwork in the spring or at the end of the year. Early planning will set you and your students up for success.
Get a headstart on art show planning and organization so you will have your best art show yet this spring!
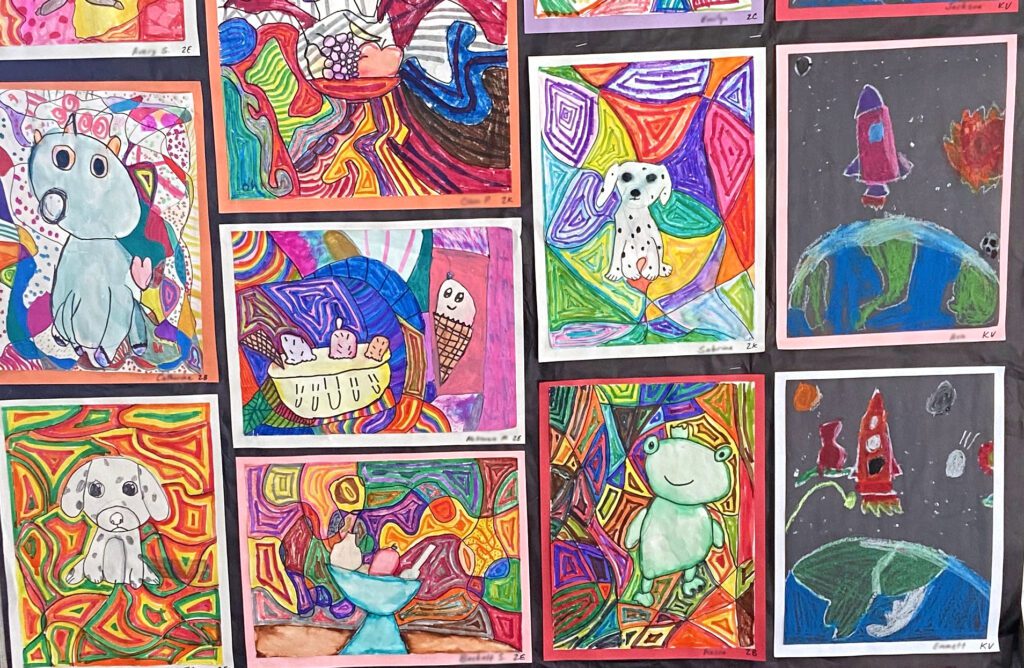
Check out Art Show Secrets over on YouTube for an inside look at how two art teachers, elementary art teacher Sarah Krajewski and secondary art teacher Jenn Russell, prepare all school year for epic art shows. They share behind-the-scenes confessions of what it’s really like to put on a spectacular art show from start to finish. Gain their best art show secrets so you can throw your best art show yet!
Get and stay organized.
Keeping track of hundreds of artworks throughout the year can be a daunting task. Establish solid systems at the beginning of the year and teach them to your students so they can help! Then, all you need to do is be consistent. Stick to your systems so you’ll be able to find everything you need come spring.
Here are some ways to organize student artwork:
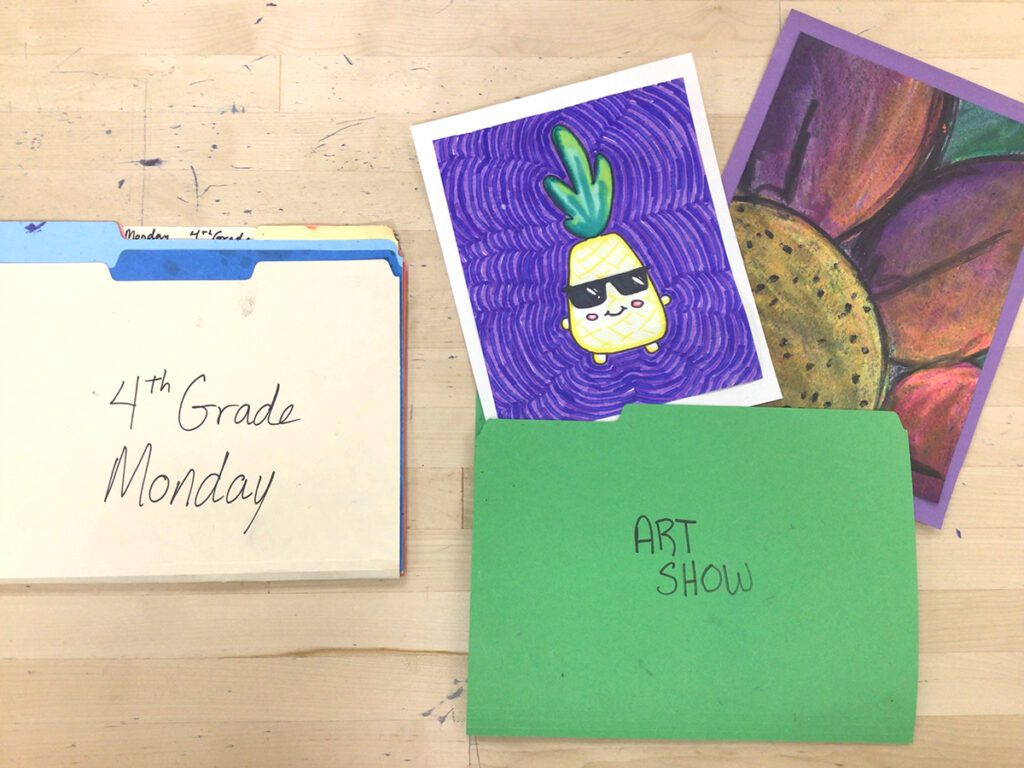
- Ask the main office for manila file folders for each class to have an “art show” folder and a “works in progress” folder.
- Students keep a log of their artwork on a chart attached to the outside of their portfolio with the artwork title, dimensions, medium, and date. Now the information is ready to go for any form or artist statement!
- Cut your drawing paper one inch smaller than standard construction paper. Mount finished pieces to construction paper for a polished “frame” on a budget.
- Flag exceptional sketchbook pages with a sticky note to photograph or display later as you grade.
- Cut large sheets of colored bulletin board paper to the size of your display boards or walls. After each unit, attach the artwork to the paper. Carefully roll it up and place it in storage. When it’s time to hang the show, unroll and hang!
- Color code by class, period, or grade level to help easily sort and distribute artwork.
- Set up a photography station for students to document their artwork when they are done. Use this as an opportunity to build an archive of student samples for future years!
- Create sticker labels with every student’s name and place them on the back of the artwork that will be in the show. As the show nears, the sticker sheet will readily reveal which students still need to contribute.
Bring clarity with a strong theme.
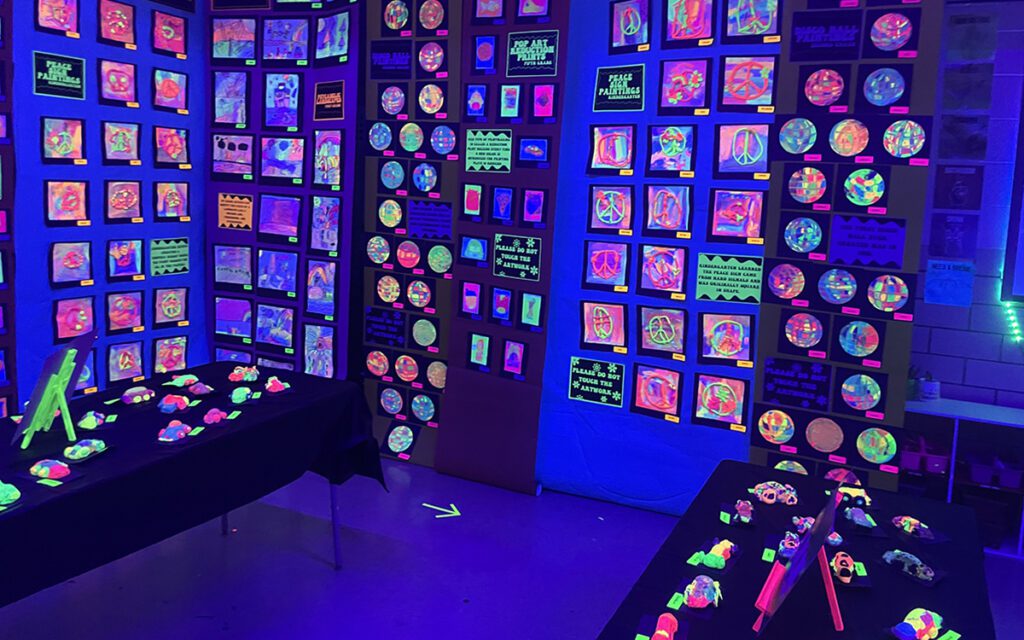
Create a theme to tie everyone’s artwork together. For younger students, sticking with a fun theme like Galactic Wonderland will make the show a magical experience. For older students, themes can be more complex or even student-generated. Often, advanced students are required to come up with their own theme or artistic intent for their body of work.
Here are three other theme options for a cohesive show:
- Chronological Order
Display work in chronological order based on the artists who inspired the works. Wouldn’t it be interesting to walk through time? - Cultural Studies
Divide work into sections based on the cultures studied. Students stand by the displays and act as cultural ambassadors, sharing what they learned. Encourage viewers to explore by giving entrants a small printed “passport” that gets stamped by each cultural ambassador. - Portfolio Review
Provide each student with a 3×5-foot sheet of bulletin board paper to arrange their best work on. Students will follow a predetermined checklist of requirements, including an artist statement and a short curatorial rationale.
Empower students to curate and run the show.
While you are more than capable of planning and executing a stellar art show by yourself, imagine how much better (and easier!) it would be if you had lots of helping hands. Student ownership is vital for a successful show. Allow students to curate the pieces that will be in the show. Additionally, harness your art club to run your art show. This will free you up on the day of the event to network with guests and enjoy the night!
Take advantage of readymade resources so you can focus on what matters.
Save yourself some work with the resources in FLEX Curriculum and PRO Learning. FLEX is a standards-aligned curriculum with tons of student-facing resources, artist bios, and assessments. PRO Learning is an on-demand professional development for art teachers by art teachers. Both have terrific resources to help you prep for your art show—all you have to do is download them!
Here are our top FLEX and PRO resources:
- Preparing Art for Presentation FLEX resource
- Art Show Preparation Checklist FLEX resource
- Showcasing Student Artwork Pack in PRO Learning
If you’re wondering how to get your district to provide these resources, reach out today to learn more!
Celebrate every artist!
Being chosen for the show is a significant achievement. Acknowledge this by sending a congratulatory note home with each student whose work is selected. The note can express your pride, along with details about the show’s date and when they’ll get their work back. For students eager to share the news with their families, email a picture of them holding their artwork. Just be sure to adhere to your district and school’s policies regarding taking and sharing student photos.
Harness the power of digital tools to augment the art show.
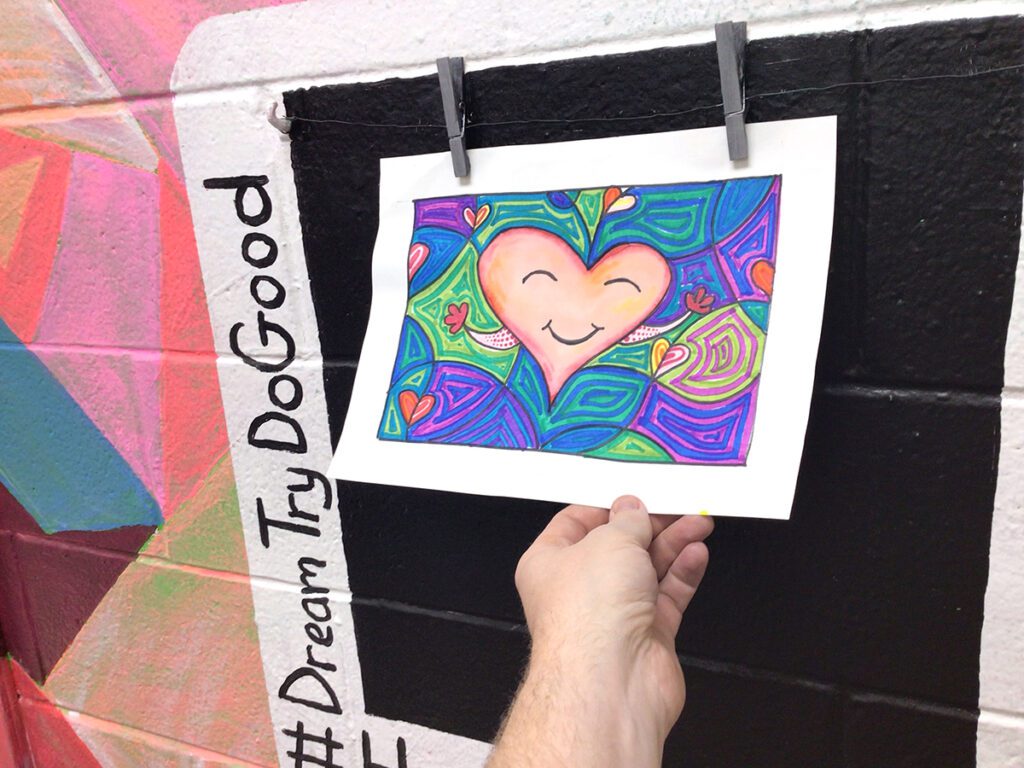
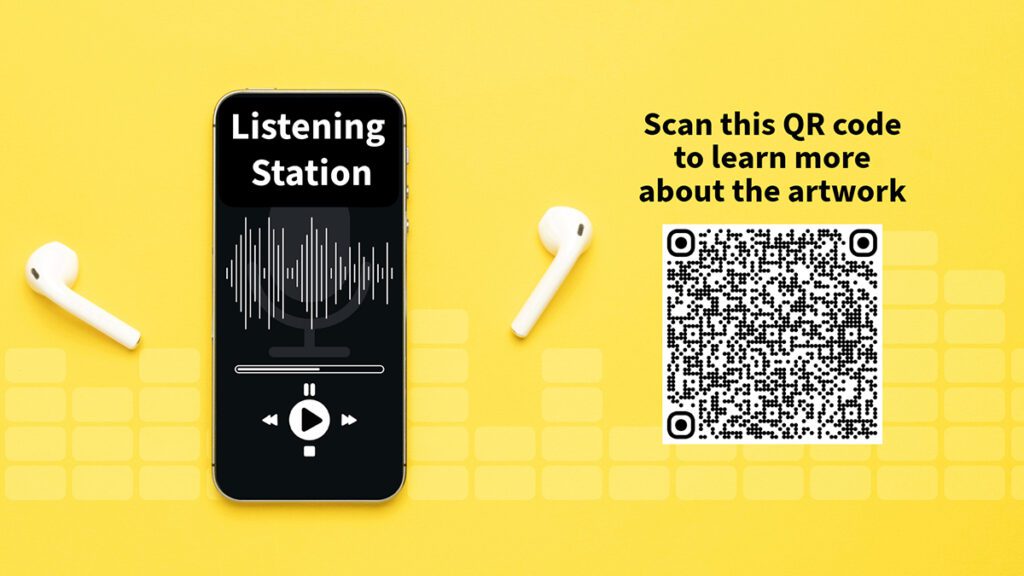
Phones and other electronic devices can present challenges and distractions in the classroom. However, with a little planning, use electronic devices to enhance the show experience! Create a guided tour of your art show, much like they offer at museums. This will give attendees something meaningful to do during the event and ensure all parts of your show get appreciation.
Follow these simple steps to create an audio or video tour of your art show:
- Select artworks or exhibits to feature.
- Record an audio or video message for each. Include key details you want visitors to see and appreciate. Older students or your art club can make these for you!
- Place the audio and video files in a Google Drive folder.
- Set sharing permissions to “Anyone with link” as a viewer of the files.
- Create a QR code for each file using an online generator.
- Optional: Add the QR code to a catchy sign with instructions using an online design program.
- Print the QR codes and post them in the appropriate sections of your art show.
- Display a welcome message at the entrance to the show informing visitors to look for your tour stops.
- To encourage more participation, consider making a game or puzzle. Hide a letter or clue at the end of each message and offer students bonus points if they figure out the mystery word or phrase!
Be inclusive with a slide deck.
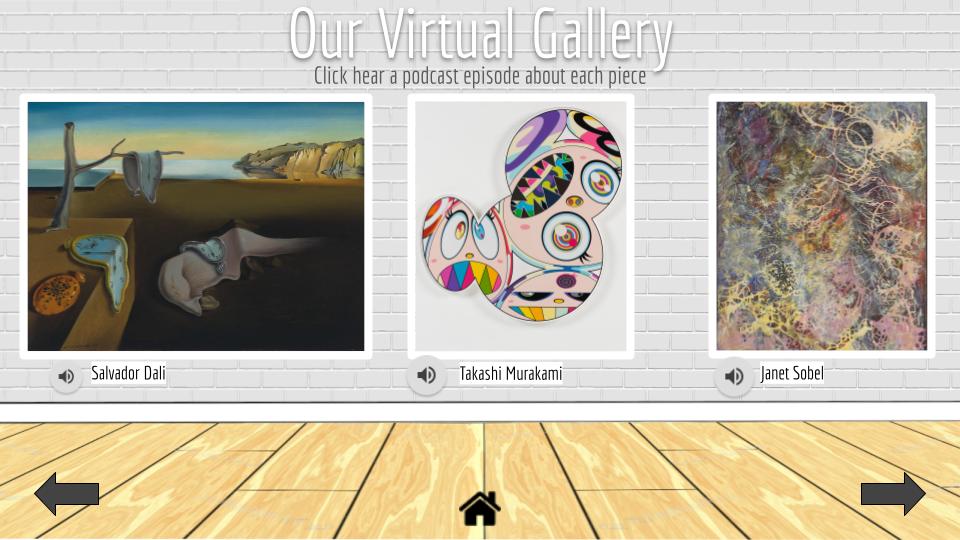
When students have their greatness recognized by an audience beyond the classroom, it’s thrilling! While many have family and friends who happily attend, many others may not have anyone to invite or able to come. Creating a digital version of the art show can help those who are unable to attend feel included and assist loved ones with mobility challenges. Walk through the art show ahead of time to take photographs and record a video walk-through. Give each student their own slide or create a hyperdoc linking various collections.
In addition to sharing this digital documentation with your school community, share it with district supervisors and community stakeholders, and keep it as a fond memory of this special night. Plus, highlight it next school year on the first day of school and at back-to-school night to get parents and students excited for the upcoming year!
A great art show allows viewers to see more than just pictures on the wall. A great art show makes student work, growth, and pride visible. It showcases your curriculum and demonstrates the importance of art education. There are so many impactful moments in an art show—from large-scale collaborative installations, down to the quiet moments where a student explains their artistic choices to a curious family member. Embrace the planning process now, so you can empower your students to love and appreciate their art for years to come!
What is your top secret to putting on an amazing art show?
Show us a display you are proud of!
Magazine articles and podcasts are opinions of professional education contributors and do not necessarily represent the position of the Art of Education University (AOEU) or its academic offerings. Contributors use terms in the way they are most often talked about in the scope of their educational experiences.


