“Does this ever get easier?” a seasoned art teacher asked me recently. She was telling me about the final art exhibition last school year. As a new teacher at her school, she was in a tizzy until the opening hour. She was caving under pressure and looking for tools to ease her burden.
If you have ever attended a student-curated art exhibition, you will know this changes the game. Students are buoyant, the audience is curious and caring, and the energy will be palpable. What’s more, you will have students ready to help you take over some of the heavy lifting. When students make curatorial and design decisions, they own the process. Everyone in attendance will experience this too.
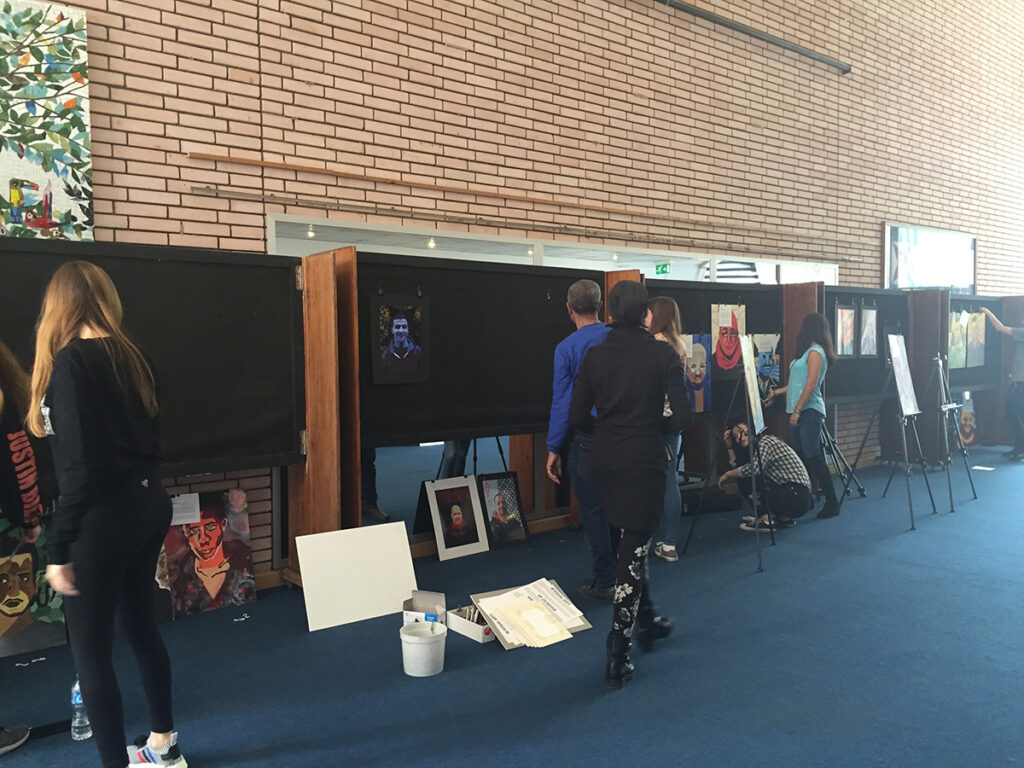
Curating and preparing an art exhibition is a necessary part of the artistic cycle.
For students in art clubs or advanced courses, like International Baccalaureate (IB) Visual Arts, Advanced Placement (AP) Art and Design, or National Art Honor Society (NAHS), an exhibition often represents a culminating moment. Exhibitions present students with a crucial opportunity to highlight their best work for an extended period of time. The community gets to witness their hard work, artistic development, and critical thinking skills on display.
A strong art program includes exhibition opportunities because exhibiting art is part and parcel of the artistic process. However, most exhibitions are teacher-driven, and to be frank, the planning process can be utterly exhausting. Lynn Hatcher explains that many pre-service art programs skim over the necessary tools that support student-led exhibitions. Hatcher advocates for a change in this approach in her 2009 thesis, Exhibition in the Curriculum: Preparing Students to Complete the Artistic Cycle. She suggests that “by teaching students to participate in exhibitions you are teaching them to participate and complete the artists’ cycle.” How can you go about this?
What four factors contribute to student success when planning and curating an art exhibition?
1. Define “curate” with your students as an introduction.
“Curare” is the Latin origin of the English verb “to curate.” Curare means “to take care of.” With this in mind, introduce curation to your students as an extension of caring for their work. Students can then understand that curating an exhibit is a way to nurture their ideas and artistic development. This increases motivation when working towards this goal.
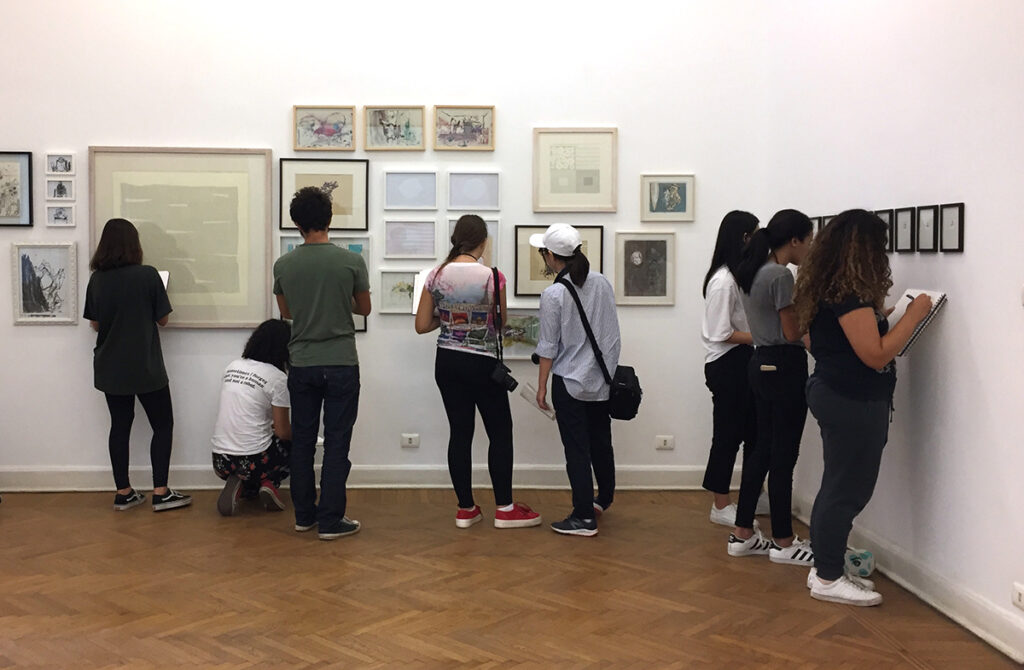
2. Expose your students to exhibitions, and discuss curatorial choices.
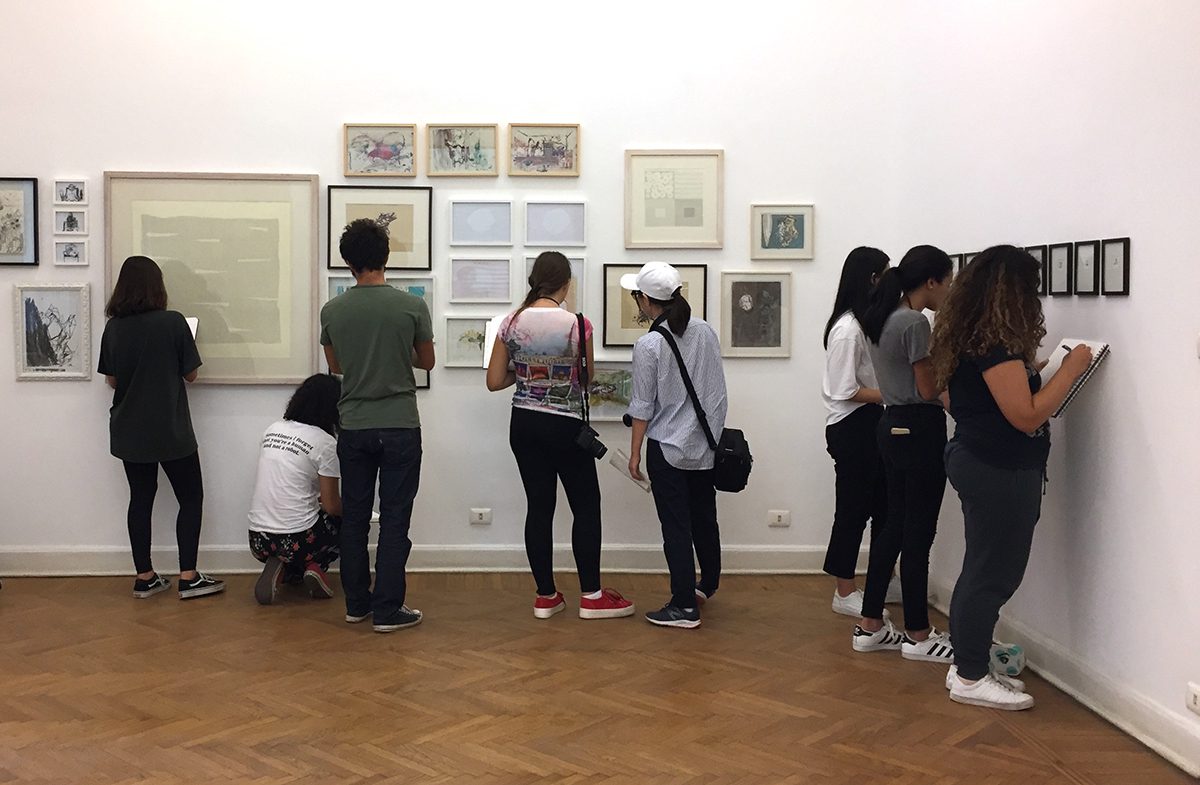
It’s easy to get lost in individual works on the wall when attending an exhibition. Help your students look for juxtapositions between two works placed side by side. Why would the curator make that decision? Ask students to interpret the meaning of an exhibition before reading the wall text. Does the text support the curator’s decisions and the experience of the exhibition?
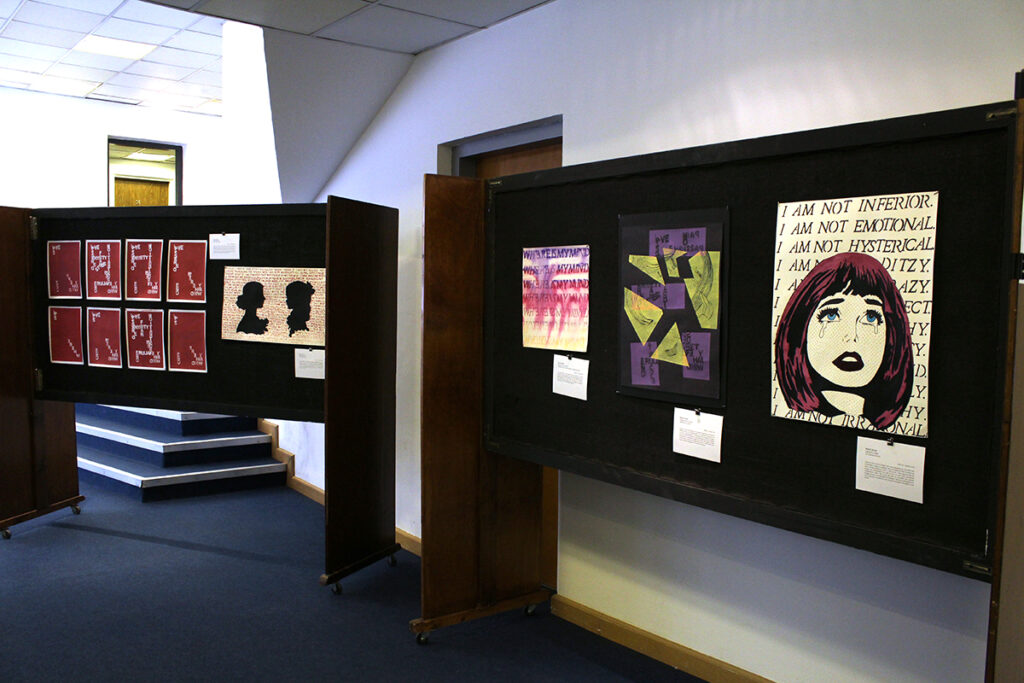
If your students are part of an assessed curriculum, like IB Visual Arts, there are many examples online for students to review. Corning-Painted Post High School IB Art students were lucky enough to install their exhibition virtually through the Rockwell Museum in Corning, NY, in 2021. Examples like this expose students to various considerations before it’s their turn to install. Review this download to see specific requirements IB students will need to take into consideration.
Make it a point to visit your school’s art exhibitions with your students. Discuss curatorial strategies to clue them into the process. Were there any challenges in installing the artwork that you can share?
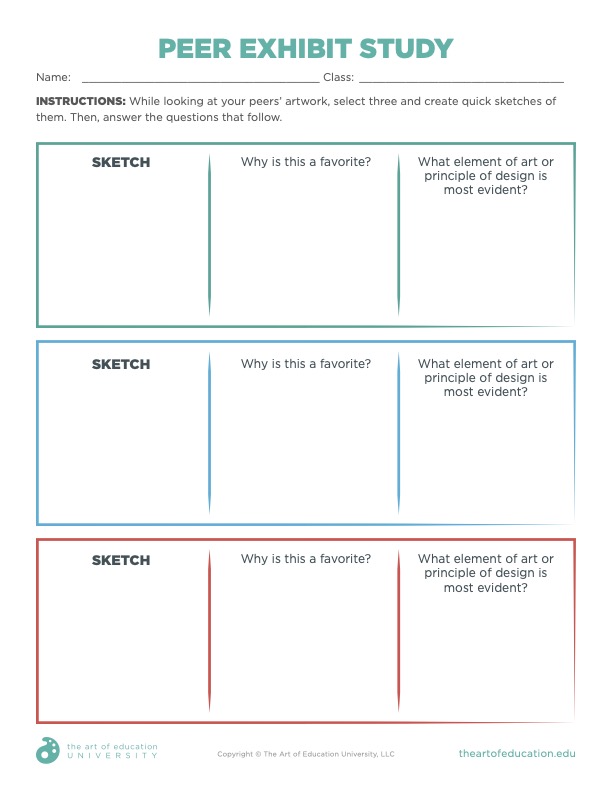
Read this article to help your students hone in on the exhibition process. Download this complimentary resource, Peer Exhibit Study, from our FLEX Curriculum. This graphic organizer will scaffold students’ experiences as they examine classmates’ artworks.
Download Now!
3. Help your students find the throughline for their exhibition.
Your advanced students may be second-year IB Visual Arts students who poured their hearts into two years of work. Or they may lead an eighth-grade art club with a strong desire to showcase the efforts of their classmates. Regardless of their age or level, it’s important to start the exhibition process with a strong vision in mind.
Let’s look at two common exhibition constructions.
1. Organizing an exhibition using completed artworks made by multiple students.
The most common examples of this construction will include seasonal or end-of-year art exhibitions. These typically feature completed work made by different classes. This survey-style exhibition requires special skills in categorization. Students can group various genres, art materials, colors, and other aesthetic choices. These art shows create a wonderful scaffold for developing future independent exhibitions.
2. Creating artworks with the goal of producing an independent exhibition.
Some advanced art programs, like IB Visual Arts, require student-curated exhibitions. It is also common for schools to promote AP Art and Design exhibits even though this is not required. It is critical for students to understand the end goal when they know they are working towards an exhibition. From the onset of the course, students might choose to investigate a genre. Alternatively, they may identify a theme that naturally unfolds in the process of art production. When students work in different media, conceptual or aesthetic links can drive cohesion.
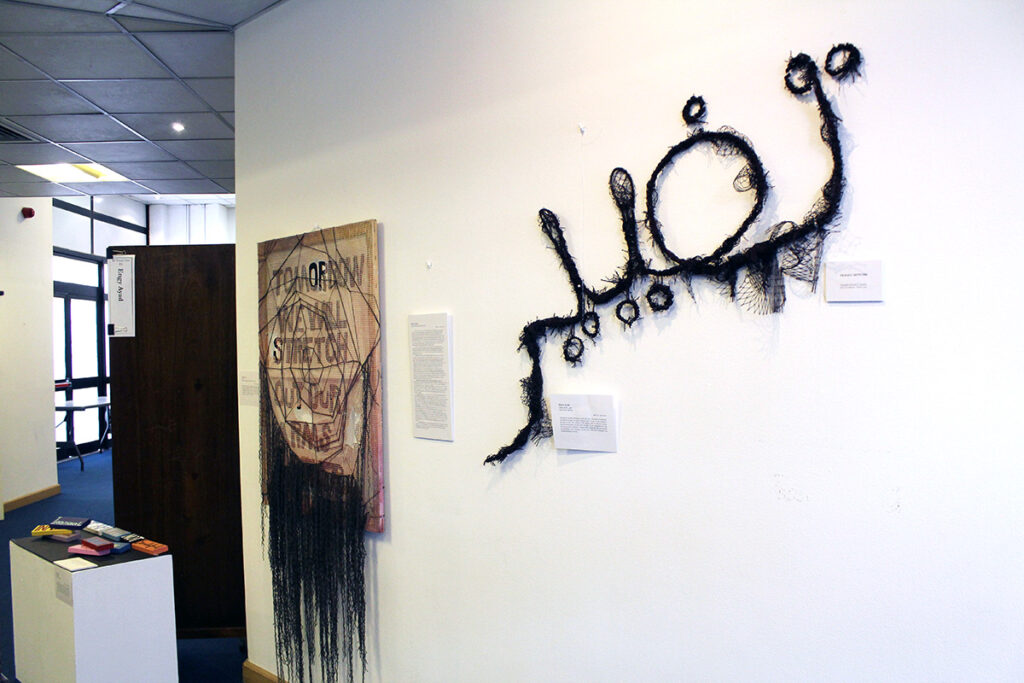
Here are a few examples of connecting threads:
- Themes or big ideas, such as identity, transformation, or conflict.
- Subject matter or genres, such as portraiture, landscape, or abstraction.
- An open question, such as, “What does it mean to be a citizen?”
- Disciplines, such as painting, drawing, photography, or sculpture.
- Media, such as charcoal, watercolor, photograms, or ceramics.
- Storytelling, where each artwork develops a piece of a larger narrative.
- Aesthetic choices, such as an exploration into a color palette or negative space.
- Art world connections, such as concepts, visual choices, and techniques from a specific period or movement, like Impressionism or the Han Dynasty.
- Inter-disciplinary connections, such as investigating topics covered in Biology or Civics.
Often, students will create work that touches many of the points listed. They may sometimes find they have explored two of these connective threads in greater detail. These connection points can hold their collection of works together. A written statement can help students communicate with their audience to make these connections clear. A thoughtful floorplan will also assist students in demonstrating their curatorial choices. Let’s explore some ways to support students through these tasks and logistics.
4. Dedicate time to identifying a space, curating the number of works, organizing the layout, and writing exhibition text before the installation.
Students who prepare a seasonal or group show will first need to identify which works to include. In a perfect world, we would show one artwork per student. Time, budget, and spatial constraints often limit such possibilities. Understanding the throughline mentioned above will help student curators create criteria. The PRO Pack, Running a Successful Elementary Art Show, has many questions to ask and tips to consider before getting started. Organizing the pieces of an art show in advance will ease the process, student tensions, and your own anxieties.
Draft a timeline with your students and keep these five key points in mind:
1. Identify a space.
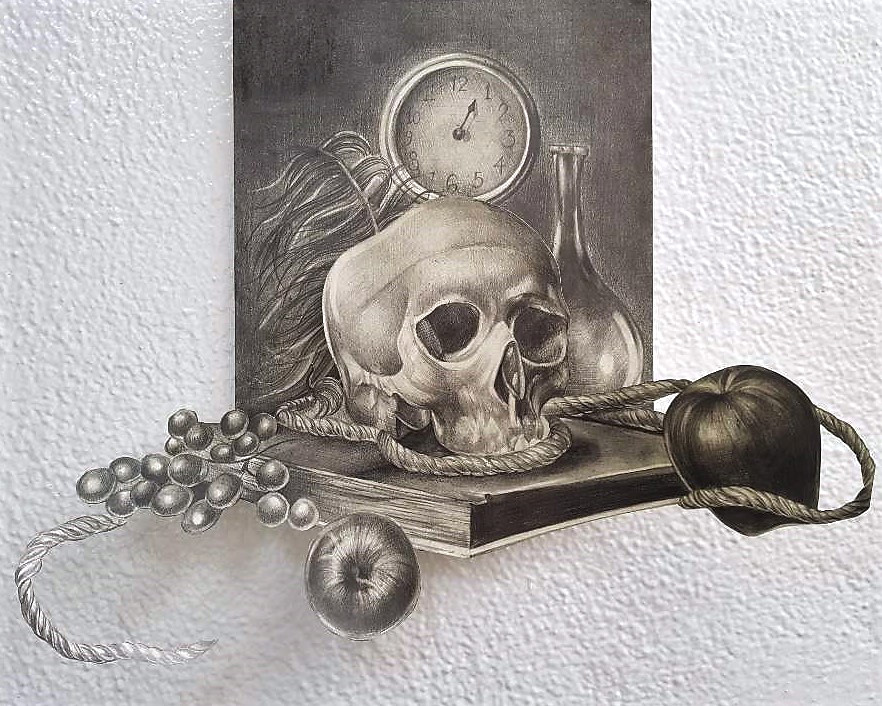
Depending on your school, you may have several options available. Help your students scout out possible spaces. Ask them to discuss which spaces are most suitable for their display. An exhibition of sculptural works, for example, may be better suited in the library on top of bookshelves. Two-dimensional work can offer more options. The cafeteria, hallways, theater, or even a specific classroom work well for larger displays. A small exhibition of landscape artworks may work beautifully when displayed in foreign language classrooms. Specific spaces can encourage students to connect a genre to more expansive themes. If your students have access to unusual spaces, how might the exhibit location create layers of meaning?
2. Curate the number of works.
This can go two ways. The space may determine the number of works or vice versa. In some cases, the number may be predetermined. An 11th-grade Photography class may decide that each student will submit one work. They will need to plan for a space that will accommodate the entire class’s prints.
In other scenarios, the throughline can help students make decisions. They may pull work from several classes according to their curatorial concept. The key here is to keep the number manageable. Additionally, students may decide they want to mat or frame the work. This can change the size and affect the time constraints.
3. Organize the layout.
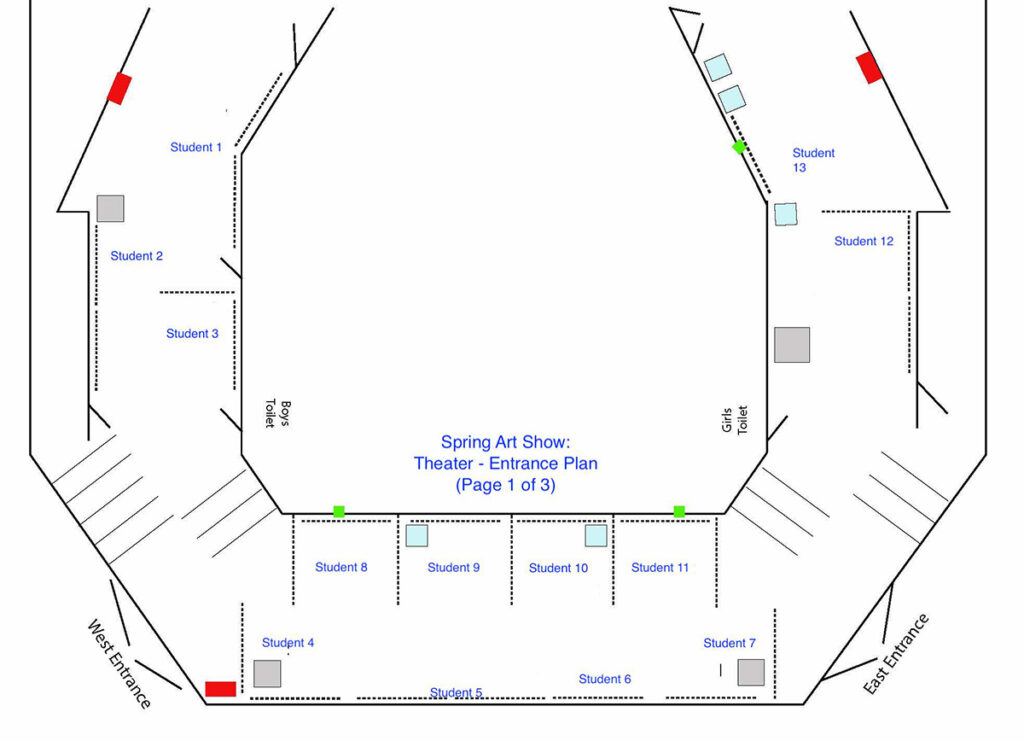
After students agree on the space and the number of works, they are ready to draft a floorplan. This process allows students to envision the result. It also yields important moments for problem-solving before the installation day. Guide your students through special considerations that may not be clear. Will the artwork be safe from foot traffic? How will they install it? Will the works be visible and apparent to passersby?
4. Write text to accompany the exhibition.
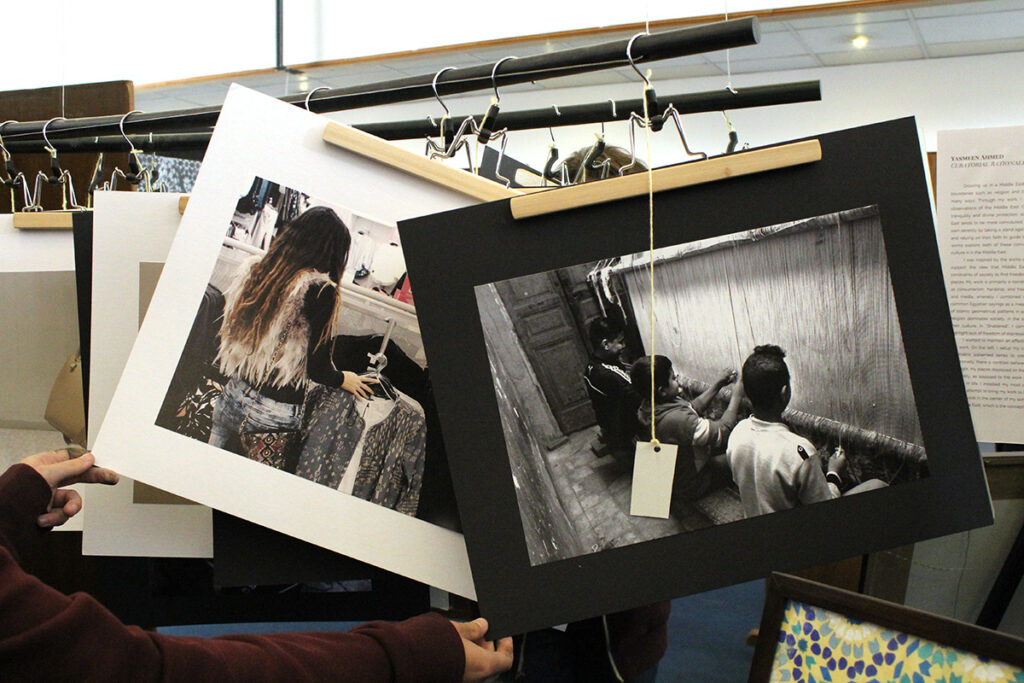
An artist statement can go with an individual student portfolio display. Similarly, a curatorial statement or rationale can pull the exhibition together and communicate specific ideas to the audience. Labels with the artist’s name, the artwork’s title, and the media used are useful for viewers to see. Offering students a digital template for this can make the process easier. Labels create a sense of completion and are crucial for celebrating the artists who made the work.
5. Market the event.
Marketing is often left to the last minute. Make this a part of the planning process from the beginning. 10 Ways to Market Your Art Show offers great tips for planning this portion. Plus, your students will likely dig this process! Encouraging participation loops back to how the art exhibition completes the artistic cycle.
For example, students preparing to exhibit their work alone in IB Visual Arts or AP Art and Design need a head start on planning. Of course, it’s difficult to piece together an exhibition display before all of the work is finished. However, as advanced students approach their exhibition date, they should start to organize a plan for installing their work. Drafting an installation plan a month or two before the exhibition will give students time to look for “holes.” They may identify gaps to fill in their curatorial plan. With a month or two of lead time, students have time to do the extra work needed to complete their concept.
Here are some additional resources to guide your students along the way:
- How to Let Your Students Lead an Art Show
- 9 Ways to Plan for and Support Students Through the AP Art and Design Portfolio
- Showcasing Student Artwork PRO Pack
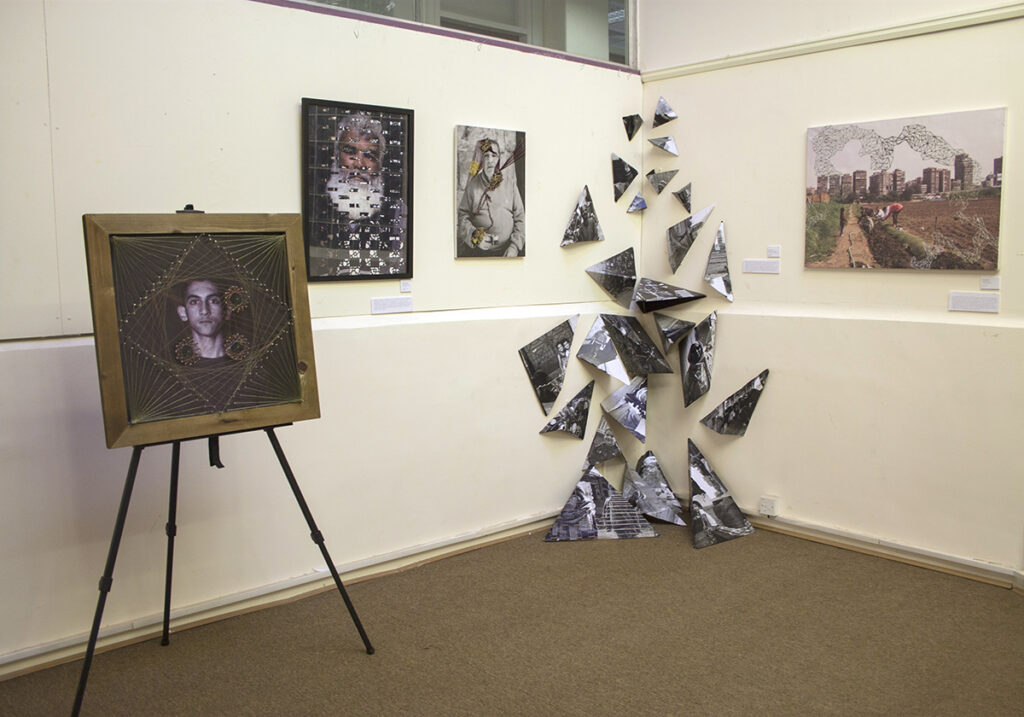
Curating an exhibition creates a different experience than just attending one. It suggests a thoughtful and intentional approach. The purposeful arrangement of artwork can grab the audience’s attention straight away. Pass the powerful responsibility of the curatorial process over to your students. When they see their plans come to life in a showcase of their work, you will see beaming faces and feel the energy. Give it a try!
What are some of your greatest concerns about a student-led exhibition?
How can you scaffold experiences to help your students become curators in the future?
Magazine articles and podcasts are opinions of professional education contributors and do not necessarily represent the position of the Art of Education University (AOEU) or its academic offerings. Contributors use terms in the way they are most often talked about in the scope of their educational experiences.
