Have you ever noticed the colored impressions wet leaves leave behind on the sidewalk after the rain? Those fleeting shapes are small reminders that pigment exists all around us. What if you could bring those reminders into your classroom so your students can capture those shapes and colors on fabric?
If you’re looking to introduce variety into your art classes, dyeing fabric with natural materials is an engaging way to connect science and sustainability with art. While new techniques can feel intimidating, eco-printing is accessible across grade levels and schedules. Let’s look at several classroom-ready eco-printing approaches you can confidently try, whether you only have one class period or a full fiber art unit.
Bring eco-printing into your classroom with natural dyes to teach students to slow down, observe closely, and experiment with materials.

Transform your teaching with even more vibrant textile techniques and enroll in The Art of Education University’s graduate-level course, Studio: Textiles—Surface Design. This three-credit virtual course will cover dyeing, printing, stamping, stenciling, image transferring, and embellishing fabrics with both traditional and contemporary approaches. Plus, you’ll gain practical strategies to bring these processes into the K-12 art room!
Why use natural dyes in the art room?
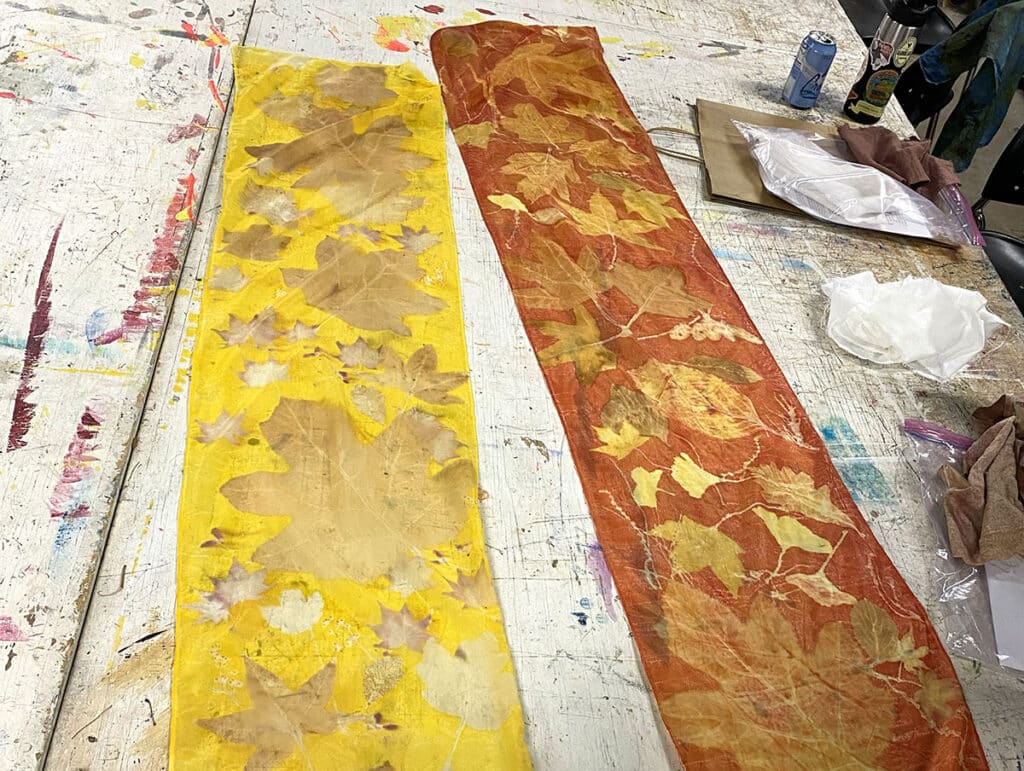
Eco-printing (also known as botanical printing) is a natural dye process that uses plant material to transfer color, texture, and shape onto fabric. Through heat, moisture, and pressure, leaves and dye sources leave behind organic impressions that feel both intentional and surprising.
This process naturally integrates multiple disciplines:
- Science
Students observe how plant pigments react to heat, moisture, and fabric fibers. Conversations about absorption, chemical reactions, and heat transfer arise organically. - Sustainability
Using plants encourages an awareness of material use and opens discussions about sourcing, reuse, and environmental impact. - Art History
Eco-printing connects to global textile traditions, pattern-making, and contemporary fiber art practices.
Students are often deeply engaged because every print is unique. The results feel almost magical, yet they’re grounded in observable cause-and-effect. Most importantly, eco-printing teaches an essential artistic lesson: meaningful work often lives at the intersection of intention and chance.
Eco-printing is also flexible. It can function as a one-day introduction, a skill-building fibers lesson, or a longer STEAM-based unit that emphasizes experimentation and reflection. No matter where you start, the student-facing What is Fiber Art? video from FLEX Curriculum will help you craft a clear and straightforward introduction.
What is eco-printing?
Before jumping in, it helps to clarify expectations for both teachers and students. One way to do this is to define eco-printing so students don’t confuse it with tie-dye and get disappointed. It’s also good to remind students that different plants, placement, folding, and pressure will produce different results. This variability is a feature of the process, not a flaw.
Eco-printing is:
- A natural dye transfer process that uses heat, moisture, and pressure
- A method for creating organic patterns and imagery on fabric
- A process-driven experience where variation is expected
Eco-printing is not:
- Traditional tie-dye
- Chemically complex or dangerous
- Overly precious or rigid
How do I set up my art room to do natural dyes?
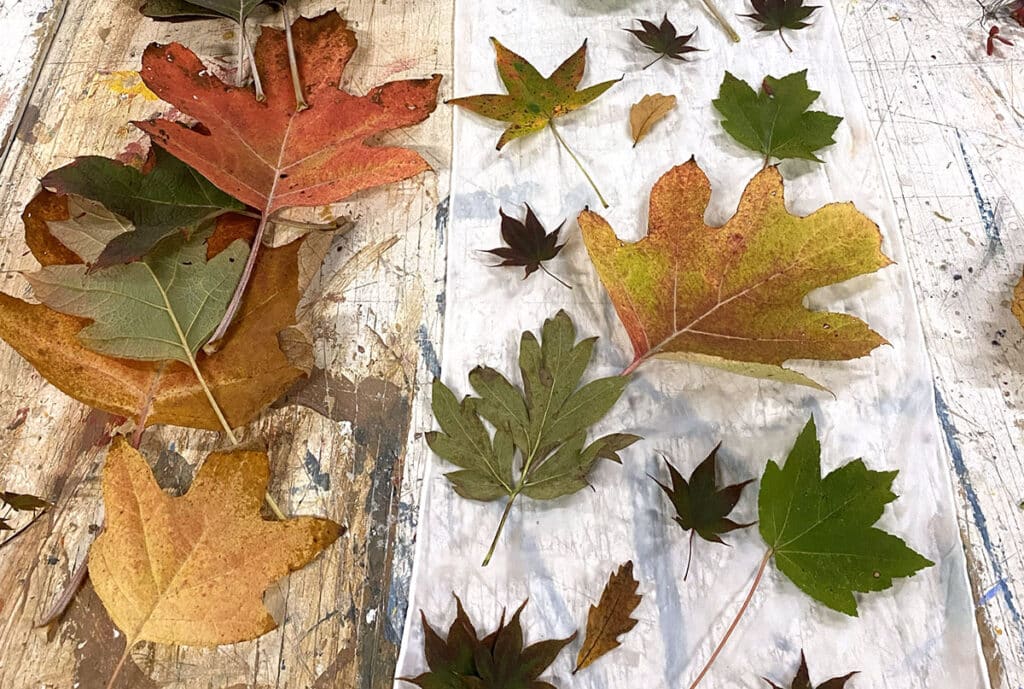
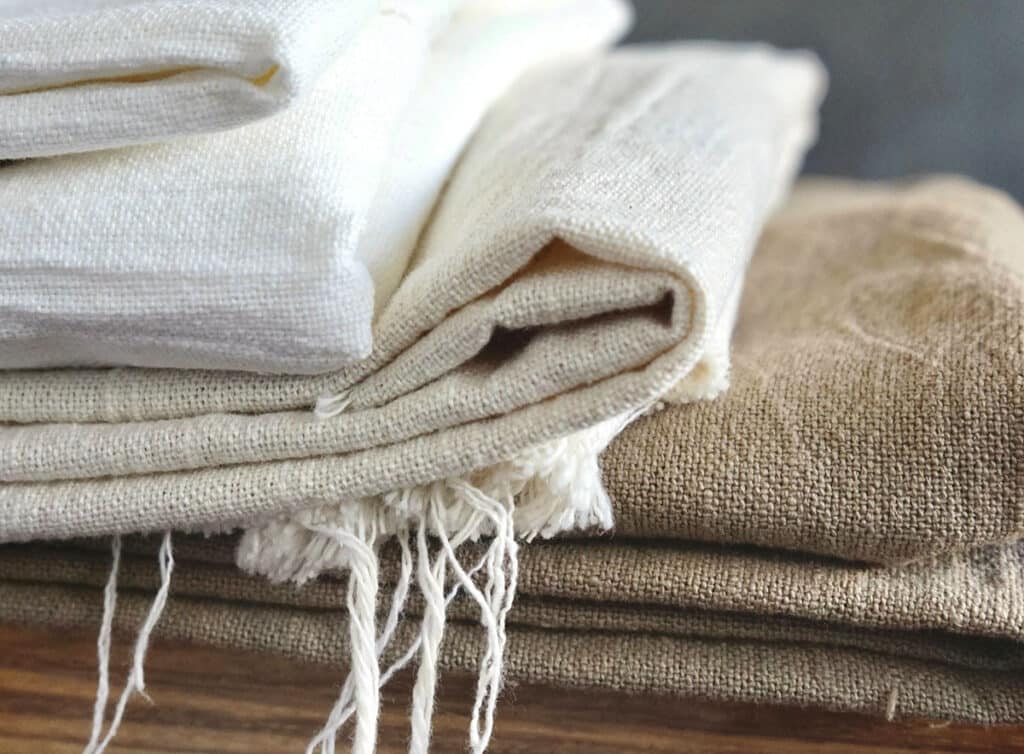
Eco-printing does not require specialty equipment or expensive supplies. Starting small in size with beginner-friendly fabrics helps students build confidence. Try cotton muslin, cotton handkerchiefs or bandanas, or canvas tote bags. Anything 100% natural fiber will work! As for natural dyes, you can collect scraps, forage the outdoors, or ask your florist for donations.
Common plant and dye materials include:
- Eucalyptus leaves
- Onion skins
- Turmeric
- Cochineal insects
- Logwood mulch
- Marigolds
One helpful tool to introduce is the dye blanket. A dye blanket is a separate piece of flannel fabric that is pre-soaked or sprinkled with dye materials. Students layer their main fabric and plant material between dye blankets before bundling. This technique intensifies color and clarifies the shapes of the materials used.
For safety and logistics, remember that heat sources should always be teacher-managed, and use gloves to protect skin from staining. Just like with introducing any new mediums, an organized setup and clear cleanup routines will keep the entire process smooth.
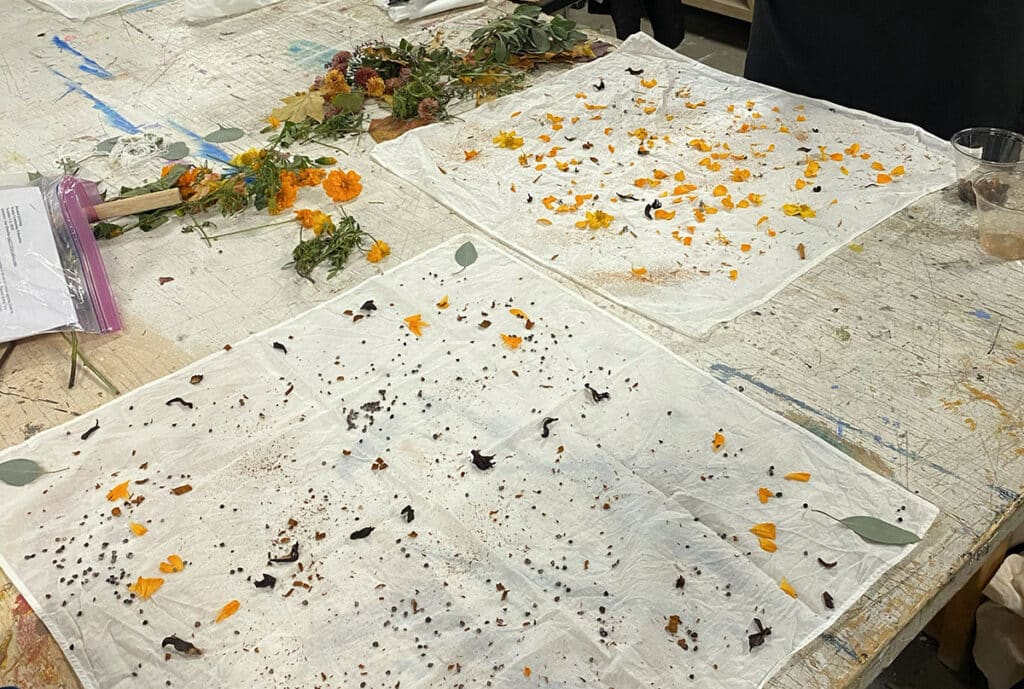
The Simplest Starting Point: Sprinkle, Twist, and Steam
If you’re new to eco-printing, this three-step process for making a single cotton handkerchief or a small muslin square is the easiest place to begin. This approach requires minimal setup and no precise placement. Students still experience a strong visual payoff, making it ideal for upper elementary introductions, one-day lessons, or testing materials before committing to a larger project.
Here’s a quick process overview:
- Pre-soak fabric in a simple mordant such as alum or soy milk.
- Allow the fabric to dry.
- Lightly dampen the fabric.
- Sprinkle dye materials directly onto the surface.
- Twist or scrunch the fabric.
- Secure with string or fabric strips.
- Steam the bundles for 60-90 minutes.
Explore Pattern: Mirror Image Printing
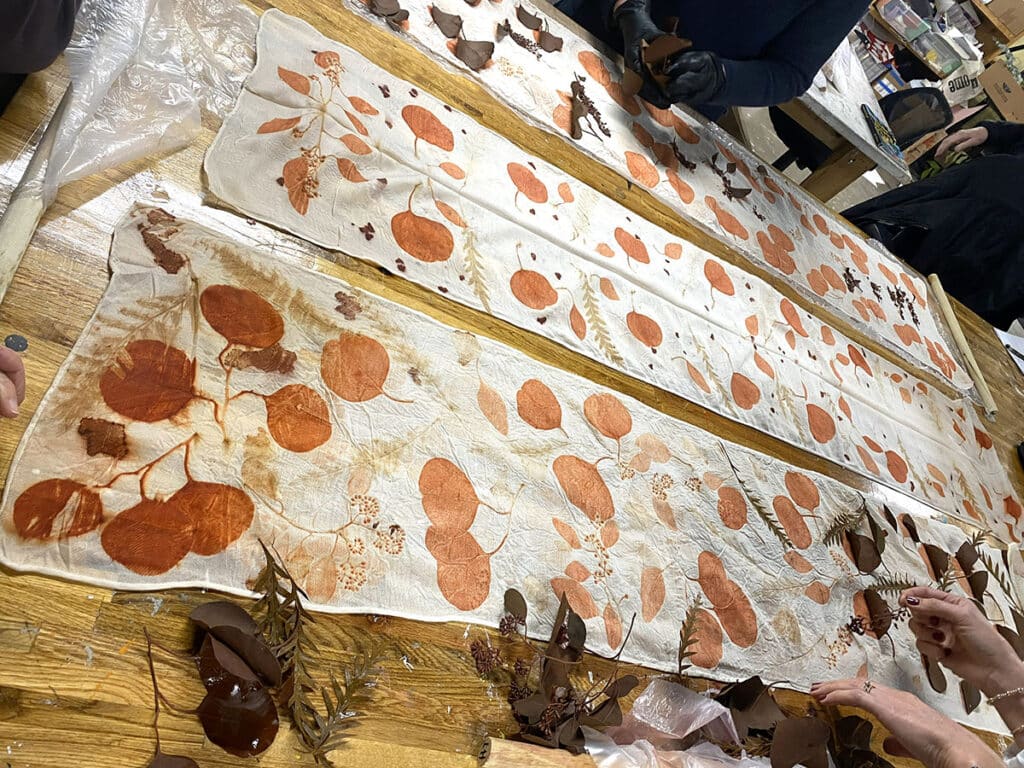
Once students are comfortable with the basics, mirror image printing offers a natural next step. When fabric is folded over plant material, it creates symmetrical patterns. Eucalyptus leaves work particularly well for this approach, producing bold shapes and strong contrast that students find immediately rewarding.
To create mirror images, students place eucalyptus leaves on one side of the fabric. Fold it in half, then tightly roll the fabric around a wooden dowel to create a bundle. Use dye blankets on the outside of a bundle to encourage pigment to travel inward. Steam and unwrap to reveal symmetrical prints!
This technique connects easily to:
- Rorschach imagery
- Bilateral symmetry in nature
- Pattern and repetition in textile traditions

How do I wrap up this process well?
Don’t stop learning at the last revealed print! Keep discovery going through intentional reflection and rich extension activities. Once the fabric is dry, lay them out for the entire class to see. It’s fun for students to see all the variations together! You can do reflection individually, as a group, or both, depending on how much time you have.
Ask these questions to prompt reflection:
- What surprised you about the final result?
- How did folding or layering affect the outcome?
- Where do you see repetition or rhythm in this piece?
- How does the use of symmetry or asymmetry affect the mood?
- What visual evidence shows where heat or pressure was strongest?
- What happened when control met chance?
Maintain the excitement with extension activities. Students can dive into these as the next unit or lesson, or as a future one-day activity to break up a longer unit. Try stitching or embroidering directly on the printed fabric to strengthen fine-motor skills. Cut or tear into smaller pieces for a mixed-media project. Carefully glue onto boards to create custom handmade book covers. Alternatively, stretch taut as a background to mount simple reliefs or paper sculptures on.
Eco-printing offers students a rare combination of structure and freedom. Whether they begin with a simple twisted handkerchief or explore mirror-image eucalyptus prints with dye blankets, students gain a deeper appreciation for materials, process, and the quiet complexity of natural systems. More than anything, eco-printing reminds students and teachers that art doesn’t always have to come from controlling materials, but can also come from allowing them to surprise you!
How can working with natural materials shift the way your students think about control and creativity?
Which eco-printing approach feels like the best starting point for your classroom?
To chat about eco-printing and natural dye processes with other art teachers, join us in The Art of Ed Community!
Magazine articles and podcasts are opinions of professional education contributors and do not necessarily represent the position of the Art of Education University (AOEU) or its academic offerings. Contributors use terms in the way they are most often talked about in the scope of their educational experiences.