The pencil isn’t the only thing in the art room that needs to stay sharp. The art room is a magical, creative hub filled with tools that cut, carve, attach, alter, and enhance—all bringing ideas to life! While there are so many tools out there, there are a few essential sharp tools you’ll find in a well-equipped art room. Discover four tools your closet needs, along with fresh tips, clever tricks, and important safety reminders so you and your classroom stay a cut above the rest.
Stock these four sharp tools and supplies in your art room to keep your space truly cutting-edge.
As art teachers, we use countless tools every day—but some of the most valuable ones aren’t the basics like paper, paintbrushes, or colored pencils. Surprisingly, some of the handiest tools are the sharp ones! It’s easy to shy away from them with thoughts like, “What if a student accidentally hurts themselves?” or “This feels too advanced—I’m nervous to let my students use it.”
But the truth is, sharp tools can become powerful assets in your art room. With strong modeling, intentional instruction, and clear safety protocols, these tools open the door to new techniques, creative problem-solving, and exciting project possibilities. Here are some sharp tools worth using in your classroom, along with a couple of unconventional or often-overlooked options you already have.
1. Nails
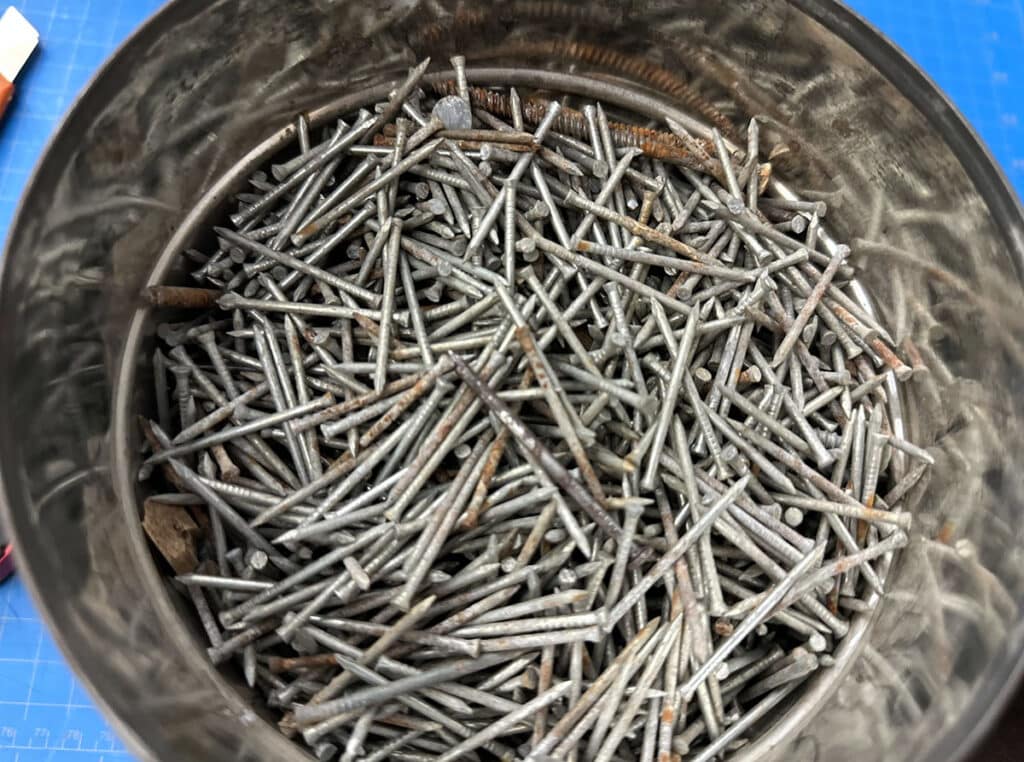
It’s no surprise that most art teachers already have nails tucked away somewhere in their closets. We typically use them for hanging student work, making quick repairs, or securing canvas boards. Nails often sit in drawers for those “just in case” moments—but what if you looked at them through a more creative lens? Beyond their practical uses, nails can add unexpected texture, pattern, and dimension to both 2D and 3D artworks.
Artmaking Idea:
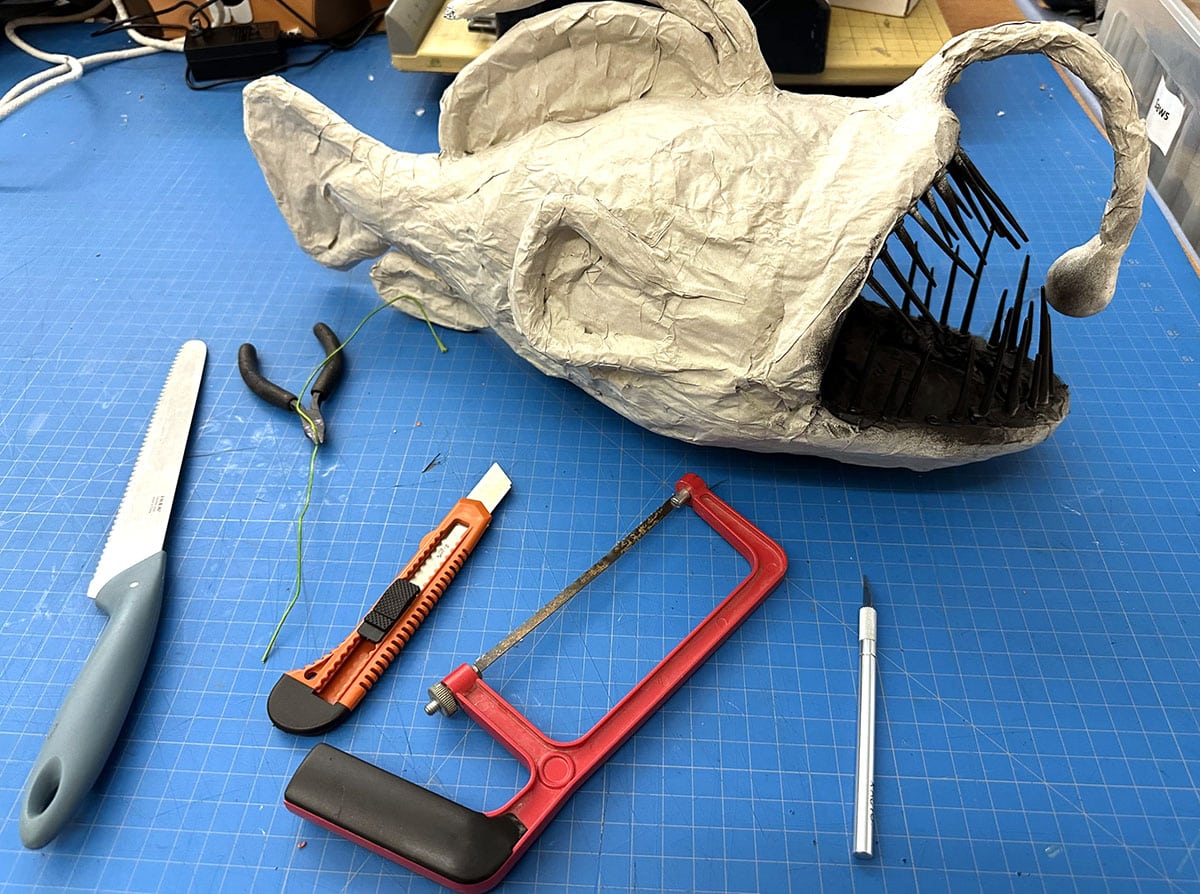
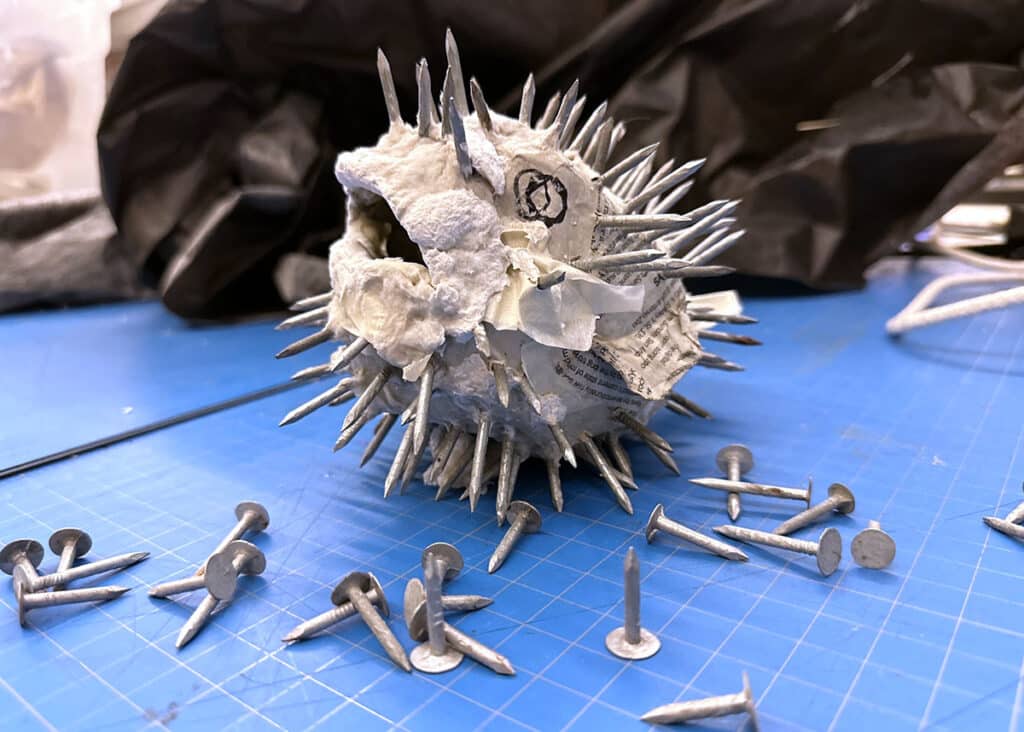
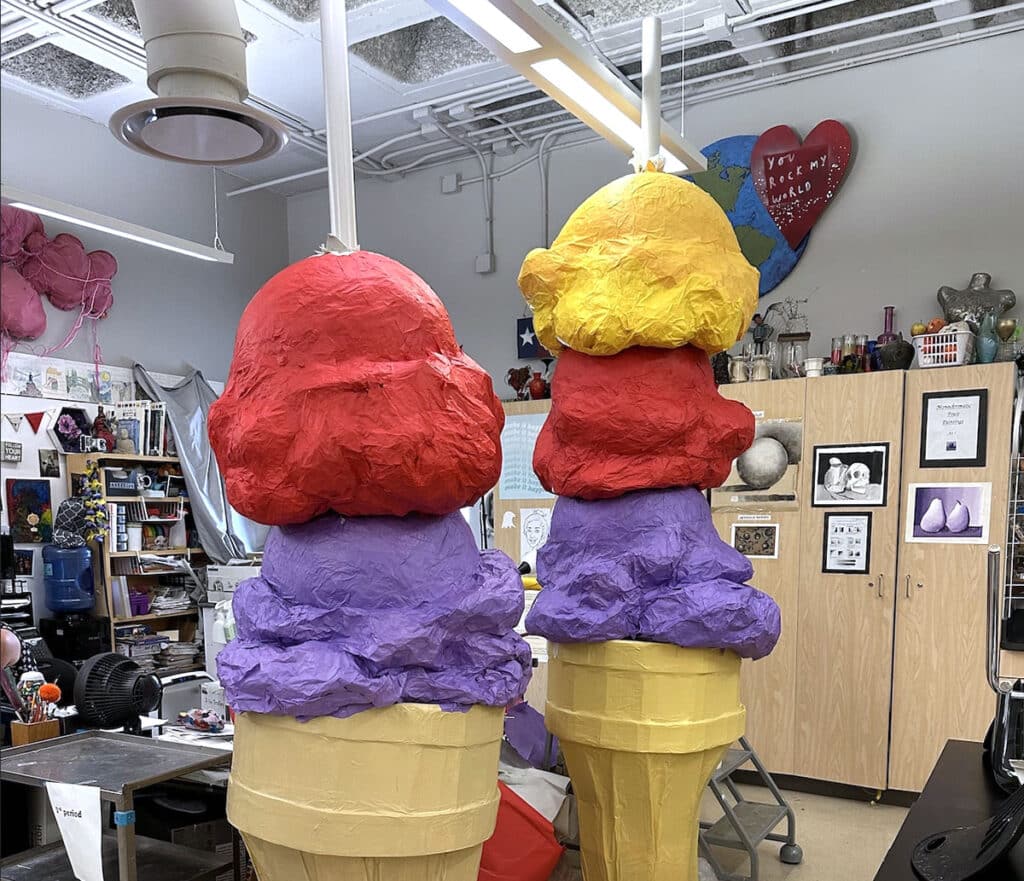
Create paper-mâché creatures or fish using the AOE Sculpture Skills: Paper-Mâché Resource from FLEX Curriculum to guide the building process. Then, supply students with a handful of nails to embed into their sculptures for added texture and depth. Attach nails using paper pulp or art paste for strength and stability.
Pro Tips & Safety Tips:
- Store and clearly label nails in lidded containers.
- Remind students to handle nails carefully and watch for sharp edges.
- Keep a few pairs of work gloves available for students who want extra protection.
- Reserve a separate stash of nails for repairs or art room fixes so students know which ones are for artmaking.
Promote Dialogue:
What other everyday or unexpected items could you use to create real texture in your artwork?
2. PVC Pipe Cutters
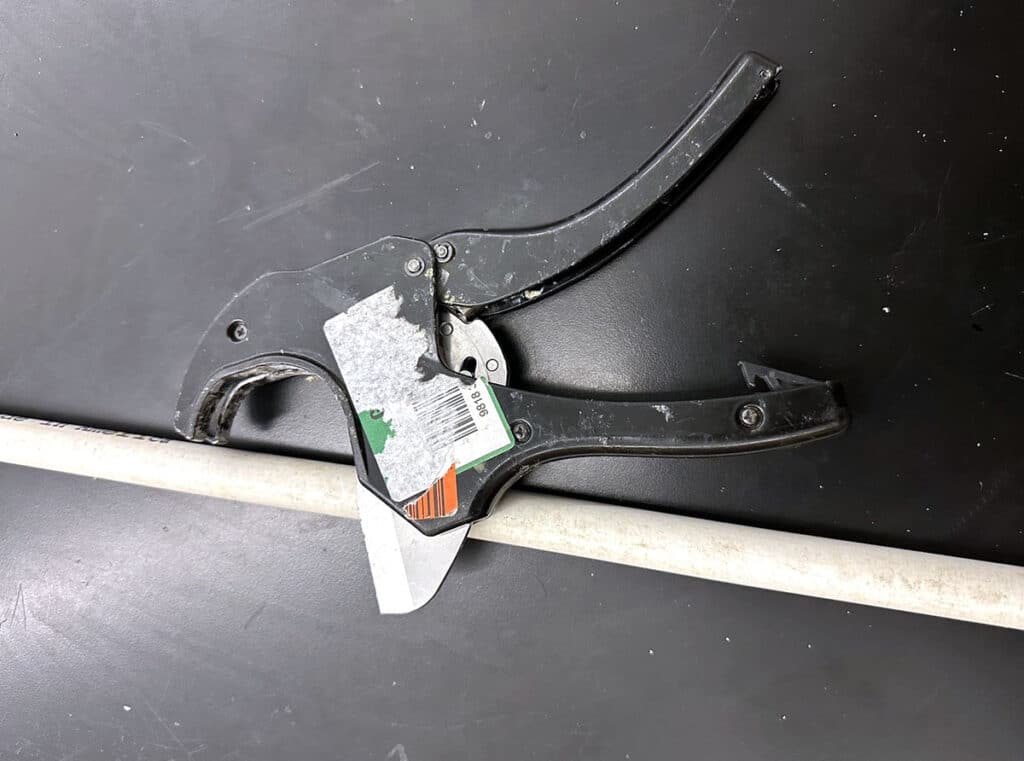
Working with pipes or other hard plastics can feel intimidating at first, but with the right tools, PVC pipe can become an incredible asset in your art room. They can serve as scaffolding for large-scale 3D artworks, structural supports for installation pieces, or even practical frameworks for hanging student work. Consider stocking your classroom with a set of PVC pipe cutters—they’re incredibly handy for cutting spare pipes and can often handle other hard plastics or similarly durable materials.
Artmaking Idea:
Try creating larger installation pieces using PVC pipes as internal scaffolds. Start by cutting the pipes to the desired lengths and joining them with connector pieces. Then, students can build the 3D sculpture around it. To make the disassembly of smaller sculptures easier, wrap the pipe in plastic wrap or parchment paper before building. Once the sculpture is fully dry and stable, simply slide the pipe out, leaving the sculpture freestanding.
Pro Tips & Safety Tips:
- Model careful and slow use, explicitly noting the sharp blades.
- Plan student cuts ahead of time by marking the pipe to help prevent mistakes.
- Make sure the pipe is fully secured before cutting to avoid slips.
- Optional: Leave the cutting for the teacher.
Promote Dialogue:
How does laying out your vision first, with a clear plan, support a safer, more successful creative process?

3. Stainless Steel Rulers
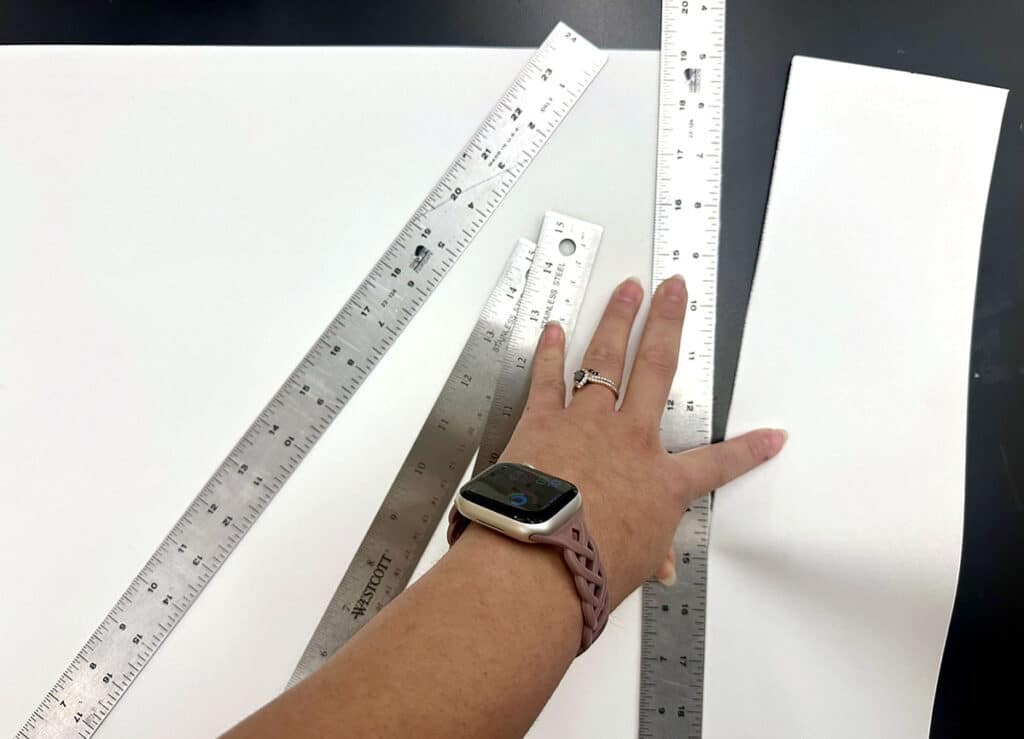
Most art teachers have a mix of rulers in their supply cabinets with different lengths, brands, materials, and styles. But did you know that rulers—especially stainless steel ones—can serve more purposes than just drawing straight lines or measuring? Their sharp, rigid edges make them an excellent alternative for bulk paper cutting!
Here’s a quick method for cutting stacks of paper using a stainless steel ruler:
- Select the stack of paper you want to cut.
- Measure and mark the desired size.
- Place the ruler firmly along the cutting line.
- Clamp the ruler down using C-clamps or heavy-duty clips.
- Hold the paper at a slight angle and tear along the ruler’s edge.
- Enjoy clean, consistent cuts—no paper cutter or scissors needed!
Artmaking Idea:
Use Piet Mondrian’s artist bio from FLEX Curriculum as inspiration to discuss line, shape, and a primary color palette. Challenge students to create their own Mondrian-inspired artworks without using scissors. Teach them how to make quick, clean paper strips by cutting with a stainless steel ruler. Not only is it a fun twist, but it also introduces a new and resourceful way to use a familiar tool and boosts hand strength.
Pro Tips & Safety Tips:
- Handle with care due to their sharp edges.
- Remind students how these rulers are different from plastic or wooden ones.
- Encourage students to take care of all classroom tools by using them only for their intended purpose—no bending or waving around!
Promote Dialogue:
What other tools could cut paper in unexpected ways?
4. Fabric Cutters
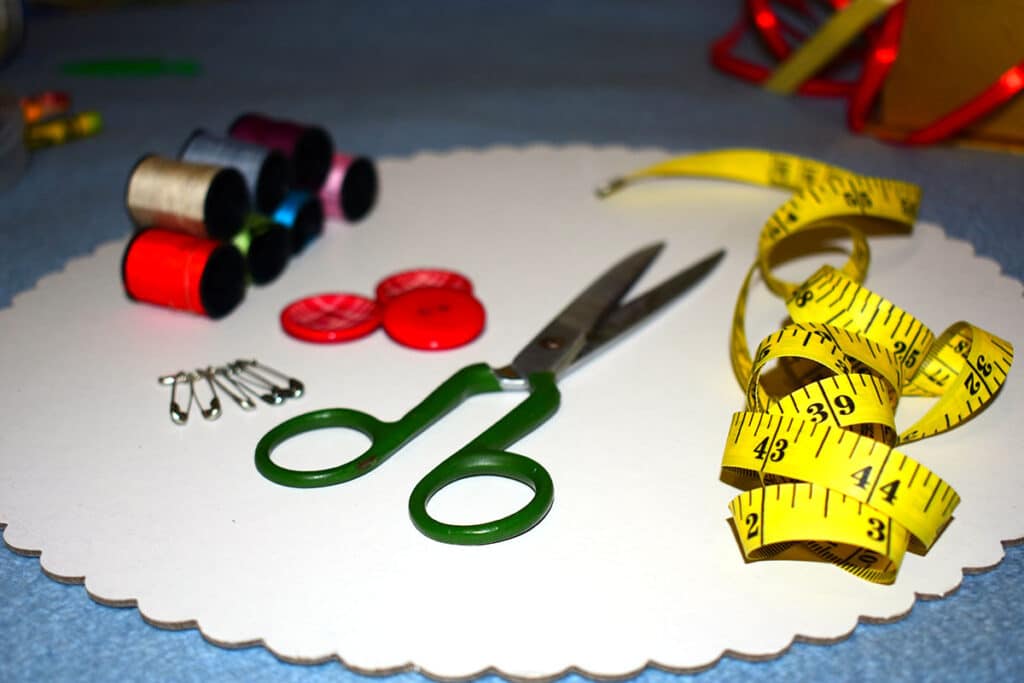
Whether you opt for classic handheld fabric cutters, designate specific scissors solely for fabric, or invest in rechargeable electric fabric cutters, these tools absolutely earn their place in the art room. It’s important to store and label fabric cutters clearly so they’re used only for fabric; using them on paper, tape, or other materials can quickly dull the blades and reduce their effectiveness. By reserving them for fabric alone, you’ll keep the blades sharper, cleaner, and more durable over time.
Artmaking Idea:
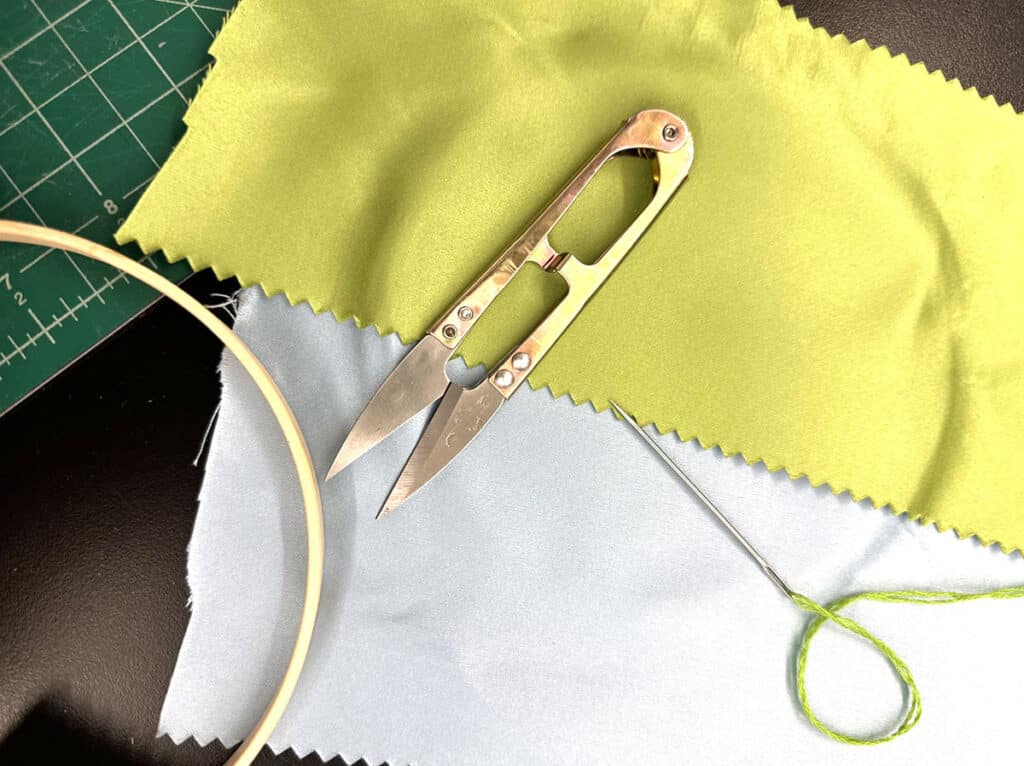
Fabric cutters are perfect for projects like embroidery. Take fun, patterned scrap fabrics and use fabric cutters to cut them down into small pieces. Place in embroidery hoops, and students can practice their stitches directly on the design, just like a sewing coloring book.
Pro Tips & Safety Tips:
- Model careful handling, use, and storage.
- Order fabric scissors in a different color than your regular scissors for quick distinguishing between tools.
- Label your storage and individual cutters clearly so that students know exactly which ones are for fabric only.
- Consider stocking at least one rechargeable electric fabric cutter for larger or more advanced projects.
Promote Dialogue:
Why is it important to reserve certain tools for specific materials?

Sharp tools play a powerful role in the art room—they shape materials, build skills, and help students bring their ideas to life. Whether you’re carving, cutting, assembling, or refining, the right tool paired with the correct safety practices empowers students to work with confidence and creativity. Stocking a thoughtful range of tools keeps your art room innovative, efficient, and cutting-edge. With clear instruction, hands-on practice, and intentional safety routines, students don’t just learn how to use sharp tools; they expand their artistic possibilities!
What sharp tools do you keep stocked in your art room?
How do you help students learn to use sharp tools safely and confidently?
To chat about cutting-edge tools with other art teachers, join us in The Art of Ed Community!
Magazine articles and podcasts are opinions of professional education contributors and do not necessarily represent the position of the Art of Education University (AOEU) or its academic offerings. Contributors use terms in the way they are most often talked about in the scope of their educational experiences.


