
Being an art teacher often means managing hundreds of student projects, dozens of messy materials, and multiple classes with artwork at different stages of completion. However, organizational advice often assumes you’re naturally tidy, or that you have hours each week to maintain beautiful systems. If neither applies to you, you’re in the right spot.
Organization isn’t about designing a picture-perfect classroom. It’s about creating systems that reduce stress, eliminate unnecessary decisions, and help everyone (including you!) focus on making art. Studies show that thoughtful classroom organization and the reduction of unnecessary visual distractions support student attention. With a new school year beginning, now is the best time to refresh your organizational systems to ones that will truly work for you.
Organization isn’t about perfection: reduce stress and create a functional environment for you and your students with the tips below.
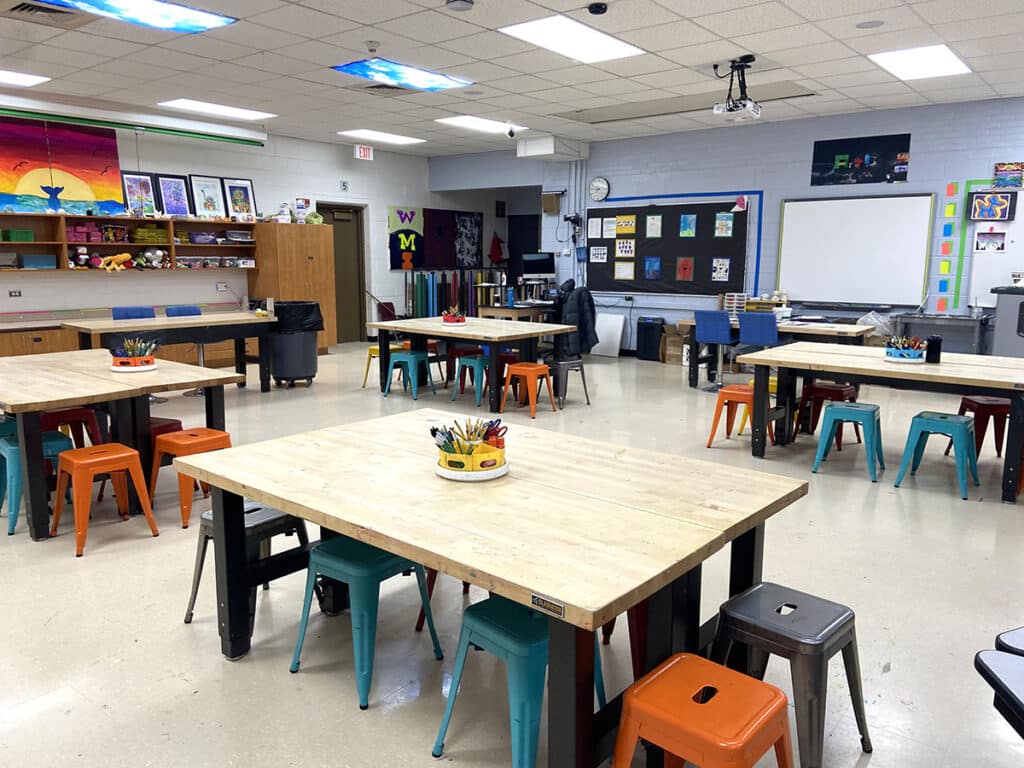
Reduce decision fatigue with simple teacher systems.
Every unanswered question becomes another mental task: Where do unfinished projects go? Did I grade this stack already? Are we running low on paint? When these questions arise, they drain your attention. When they keep popping up regularly, it’s exhausting! Establish simple systems that will proactively make these decisions so you don’t have to.
Speaking of making fewer decisions, don’t worry about what your systems will look like. Once you know the system actually works, you’ll have the capacity to invest in making it permanent. In the meantime, if a pile already exists, give it a name and a spot. A labeled recycled box is more useful than an attractive, expensive filing system you won’t use.
Don’t get discouraged if you abandon a system or it proves too much of a hassle. Just because one system worked for another art teacher doesn’t mean it will work for your thought processes, habits, or situation. You may need to try different variations or systems until one sticks, similar to refining many iterations of an artwork.

Contain student work before it becomes a pile.
Artwork rarely fits neatly into a standard classroom filing system. It may be wet, oversized, fragile, three-dimensional, or in multiple pieces. Additional work may be in sketchbooks or in digital form. If space allows, consider creating a separate zone in your classroom for artwork so your desk can remain a restful place.
Pick and choose systems for your students’ in-progress and completed works from the list below:
- Label artwork storage areas by class period
- Use color-coded table folders to keep smaller works together
- Stack portfolios upright in large bins by class period
- Assign shelf spaces by alphabetical order within class periods for three-dimensional work
- Keep as many assignments contained in sketchbooks as possible
- Glue envelopes inside sketchbooks for small scraps
- Pre-print name labels to stick on larger artworks
Create the specific areas below for you to keep submitted work organized:
- Ready to Grade
- Graded & Ready to Return
- Photograph Before Returning
- Absent Students
- Late Work
- Display, Contest, or Art Show Consideration
- “Missing Artist” or No-Name Work
Make supplies easier to distribute, return, and restock.
Supply distribution can quietly consume a surprising amount of class time. If every student has to cross the room to collect a pencil, scissors, eraser, paintbrush, and water cup, traffic jams are inevitable.
For frequently used materials, create individual pouches, table caddies, or grab-and-go kits containing basics such as pencils, erasers, scissors, glue sticks, rulers, and drawing tools. Students can remain at their tables, and you will have fewer overcrowded communal bins to reorganize. Offer incentives for students to maintain the caddies and supply pouches. A “materials check” can become a routine for secondary students with individual supply sets.
For less frequently used supplies, store items together by project or zones. For example, if you mainly teach drawing and painting, keep your sewing supplies in a bin or together on one shelf. If you teach advanced courses where students are self-directed and work with many types of media, try rolling carts for each medium that students can roll to and from their workspaces. You can often snag unused library or AV carts in storage.
Whatever systems you decide on, labels can make or break the effectiveness. When you’re trying out a new system, stick with free or budget-friendly labels like masking tape or sticky notes. Once you know you love the system, feel free to invest in more elaborate labels. Include photos or a simple outline of the item along with the correct terminology. This shows students exactly what belongs there and how the area should look when reset, all while reinforcing vocabulary. You can even incorporate art history exposure into your labels!
Create a simple “Running Low” system. There’s nothing worse than planning an amazing lesson only to find out the day of that you’re short on an essential supply. Place a clipboard, dry-erase board, or sticky notes near your supply area to record low or empty items. This is far more reliable than thinking, “I’ll remember to order that later.” It’s also helpful to build in a 15-minute supply check during your planning period once a month or once a quarter to monitor levels. Add a recurring event to your calendar so you don’t forget!
Remember that time is one of your most valuable resources.
Cleanup is often the most chaotic time of the period, and rushed students will toss supplies into any bin they see. “Please clean up” means something different to every student. One hears, “Put my dirty brush in the sink,” and another hears, “Wash my brush and return it where I found it.” It’s hard to keep track of what every single student is doing.
The most important thing to organize is time. Work backward and give students a five-minute warning to wrap up their work. This notification gives them space to gently come out of creative flow, complete the task at hand, and find a good break in their work. It also prevents students from feeling rushed and scrambling to clean up at the end of the period.
Also, designate ample time for actual cleanup routines and closure activities. When just starting out the year or a new medium, it’s helpful to allocate extra time to demonstrate the proper cleaning of tools and materials. Allowing time for closure gives you margin and creates space for students to make meaningful connections and reflections about the day’s discoveries. As students acclimate to the art room, they’ll come to anticipate how you organize the end of each period to maximize tidiness and learning.

Design your room for your busiest day.
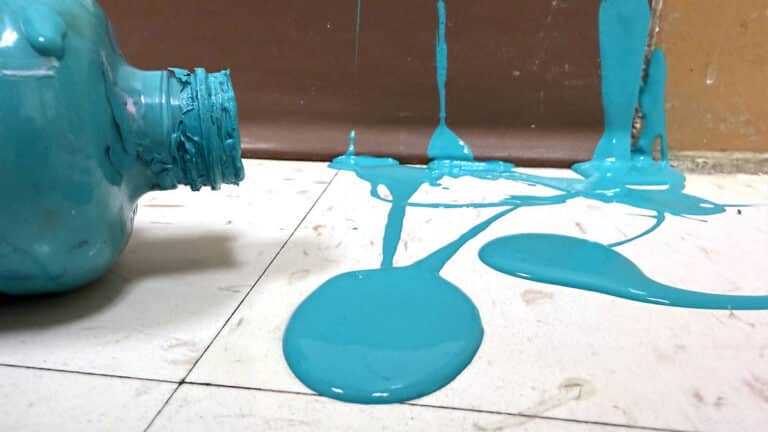
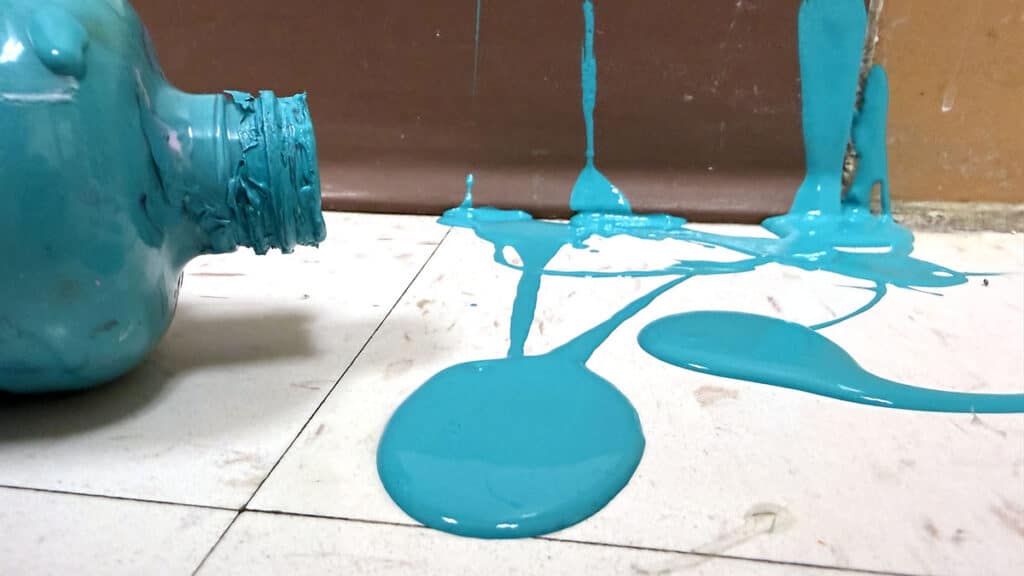
Imagine your most chaotic day: a fire drill interrupts a messy clay lesson, a bottle of paint spills, and a school tour walks into your room. Perfection doesn’t exist. Every day in a classroom will come with unexpected challenges and interruptions. Your organizational systems are there to support you when, inevitably, things get a little messy.
When you’re busy with another student or pulled from class for an emergency, do students know where extra sponges are to clean up the spill? Can they locate instructions so they can figure out the next step without asking you? Consider how you can organize your room and routines to be as proactive as possible and support student autonomy.
Organize these two small things to assist you on busy days:
- While You Were Gone Area
This is the perfect spot (physical or digital) for absent students to get caught up. Provide supplies, project steps, reference materials, supplemental video tutorials, and makeup options in one predictable location to reduce the number of times you hear, “What did I miss?” If you have multiple projects or classes, prepare one bin per project or class so it’s quick to swap in and out. - Emergency Reset Kit
Keep a small caddy with paper towels, surface cleaner, wipes, disposable gloves, a dustpan, and extra trash bags. Store it in an easily accessible place so you (and students) can quickly respond to common messes without frantically searching through tons of cabinets.
An organized art room doesn’t have to look perfect. Instead, it should be a space with simple, sustainable systems for storing work, managing supplies, protecting time, and supporting busy days. Start with one recurring frustration and create a practical solution that works for your teaching style and encourages student independence. Small organizational changes can make a lasting difference, empowering you to create a studio where everyone can focus on making art.
Share an organization system that has made the biggest difference in your art room!
What’s one area of your classroom that consistently becomes cluttered?
To chat about organization tips with other art teachers, join us in The Art of Ed Community!
Magazine articles and podcasts are opinions of professional education contributors and do not necessarily represent the position of the Art of Education University (AOEU) or its academic offerings. Contributors use terms in the way they are most often talked about in the scope of their educational experiences.