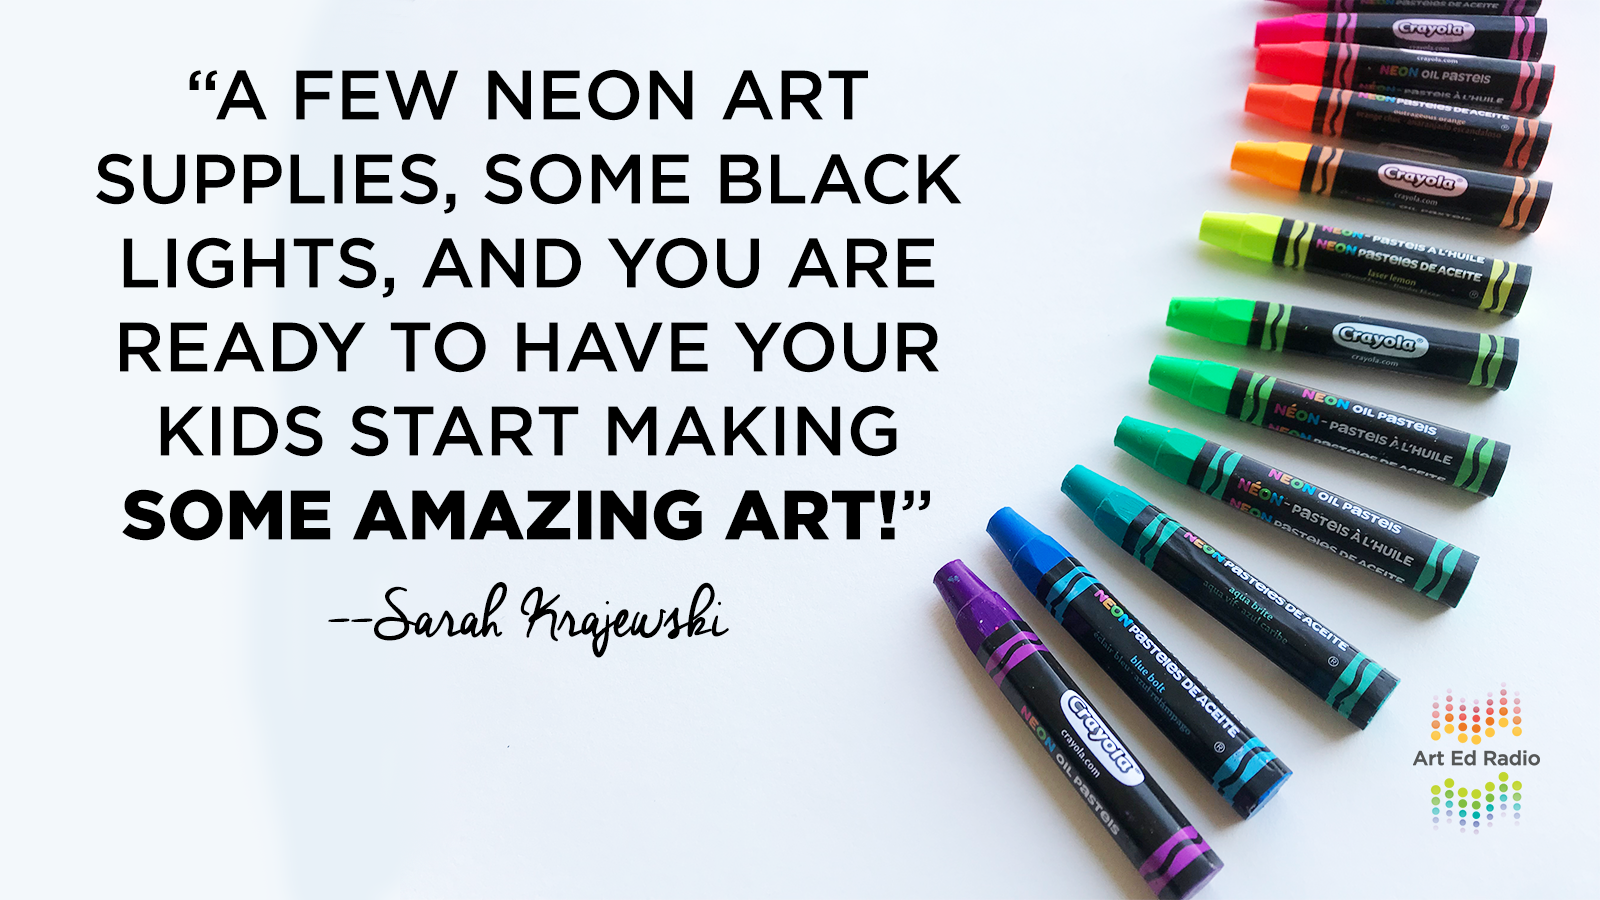
If you’re looking for a simple way to add some excitement and engagement in your art room, this episode is for you! One of AOEU’s newest writers, Sarah Krajewski, is here to share about black light art. Listen as she tells Tim about her black light art show, some simple projects that anyone can implement, and why she uses an art room mantra for herself and her kids. Full episode transcript below.
Resources and Links
Transcript
Tim: Welcome to Art Ed Radio, the podcast for art teachers. This is produced by the Art of Education University. I’m your host, Tim Bogatz. I am really excited to welcome a new guest onto the show today, and I think you’re going to like her quite a bit. As I promised at the end of last week’s episode, today I will have one of AOEU’s newest writers, Sarah Krajewski, joining me today. Now she’s already had her debut article published, and it was one that I really enjoyed. It talks about how you spend so much time, energy and effort setting up your art show, and the day is finally here. It is your time to shine. Again and again, you see a student. You see their family walk in the door, go straight to their one or two artworks, snap a picture, and promptly cruise right out.
Now Sarah had a great suggestion to get people who come to your art show to slowdown and stop and actually look at their kid’s artwork, and maybe not just their own kid’s artwork, but all of the artwork that your students have worked so hard on. She suggested a scavenger hunt, so you can take a look at that article for some ideas on how to get that scavenger hunt going, how to get your kids involved in taking responsibility as part of the art show, and just how to add something extra, something more meaningful to your show. So go check that out.
But today I want to talk about another topic that Sara’s really passionate about, which is black light art. Like I said, she has got a passion for it and some great ideas on how to get it into your classroom. She’s got a great article coming out tomorrow, but today we’re going to dive into the ideas that she has in our conversation here. So I will bring Sarah on, let her introduce herself to you, and let her tell you all about why you need to be doing black light art in your classroom. So let’s see what she has to say.
All right, and Sarah Krajewski is joining me now. Sarah, how are you?
Sarah: I’m awesome. How are you, Tim?
Tim: I’m doing great. I’m really excited to talk to you. What I was thinking though, since you just started writing for AOEU and since this is your first time on the podcast, can you just give us a little introduction, kind of tell us a little bit about yourself?
Sarah: Absolutely. So I am currently an art teacher in Cambridge Elementary. It’s a part of Wisconsin. I teach kindergarten through fifth grade art. This is my eighth year teaching, and I just started writing for the Art of Ed. I’m super excited about it, and I have a lot to share. So I’m really excited to be a part of this community and continue to share as I create new things in my classroom.
Tim: That’s awesome. I’m looking forward to it.
Sarah: Totally.
Tim: Do you want to do a quick plug for your Instagram too?
Sarah: Yeah, for sure. My Instagram is ArtRoomGlitterFairy, which has a purpose. It’s like how I distribute glitter in my classroom, so when we use glitter, I put on these glitter fairy wings. It’s kind of this whole ridiculous joke, but also it makes it so that nobody else touches the glitter except for me. So it’s ArtRoomGlitterFairy.
Tim: Fantastic, I love it. Now what I wanted to talk to you about and I think probably the bulk of our conversation today is your article about black light art.
Sarah: Yes.
Tim: We just have these incredible projects, these incredible visuals. I want to kind of dive into that. So, I guess, at the beginning, how did you start creating this? How did you get started with doing black light art in your classroom?
Sarah: Yeah, totally. So it’s actually become kind of a huge, immersive part of our art show that we have every year. It did start kind of as just a little idea. I didn’t create the idea, but I actually saw something very similar and saw people talking about this idea at our awesome state Wisconsin art ed conference in the fall. So I went and was kind of a little discouraged because I had just moved to a new classroom, and I didn’t have any exterior windows. I couldn’t see outside, any natural light, and that was always something that I found really beneficial in my classroom. I was super bummed that I didn’t have it in my room that I just moved to, so I was determined to find some sort of positive spin for how I could make my classroom really awesome, even though I couldn’t see outside.
So I went to a session at our Wisconsin conference called glow in the dark art, or it was glow in the dark galleries. It was presented by a sweet friend of mine named Stacey Hein, and she was an art teacher at an elementary school and had kind of inherited this idea from her predecessor classroom teacher. It was basically a black light gallery for an art show. The process kind of starts super basic. You basically just need black lights and neon art supplies, and I can kind of go into that a little bit more too. But once I saw this session and I saw how easy it was to make a really dark space, which is what my classroom could become because I didn’t have any natural light, to make a really dark space into a really awesome, glowing gallery, I just knew that I had to try it.
So I went to my principal. I said, hey, I have this idea that I saw at our conference, and I just wanted to run by a couple purchases about black lights and some other materials. He said, “Yeah, go for it,” and it’s been a highlight of the art show ever since.
Tim: That’s awesome. I have about 14 questions that came up about what you were talking about there. But let’s talk about the art show later. But before we get to that, you talked a little bit about supplies, and I want to dive into that too. But just first, when you’re first diving into this, what questions did you have? What was the learning curve like as you’re starting to put these lessons together and kind of make this part of what you’re doing?
Sarah: Good question. Honestly, the coolest thing, I feel like, about black light is that it’s really super simple. So quickly you can see how it works without it being very complicated. So as long as you have some sort of black light, and I have some PRO packs actually that are coming out through the Art of Ed and a very quick and easy article to read that will be coming out soon as well about how you can use just any type of black light, a spotlight, a floodlight. You can use a long tube light that you would typically see. I also use black light flashlights. So anything that has black light can be shown onto any surface that is neon.
Without getting into all the science-y part of it, there’s basically some components of certain materials that glow. So as long as it is some sort of very bright white or anything neon, like hot pink, lime green, neon orange, anything like that is going to glow because of how it reacts with the black light. So things like neon oil pastels, neon tempera cakes, neon pipe cleaners, anything neon that touches a black light or has a black light shining on it is going to look awesome. So kind of going from there, as long as you have some sort of materials, which most likely a lot of art teachers I think do have some components of neon things in their classroom or could easily get them, and then just getting your hands on black lights is the easiest way to start. So going from there, what other questions did you have too?
Tim: No, no, that’s perfect. I was going to ask about supplies, so that works really well. But I was just kind of thinking, what kind of projects do you do when you’re doing black light art? Have you had to develop new things, or are you just updating some of your existing projects?
Sarah: That’s a really good question too, and that’s something that I think is really nice about it, is because you don’t necessarily have to create something crazy and new and innovative to do a black light project. Just think about what you’re doing in your classroom right now, and then just do it with neon materials. Shine a black light on it, and it just takes it to this insane new level. I didn’t even invent too many new projects for what I was doing. I just like to work with a theme, personally, when I do our art show and when our students are creating art for the art show, so I kind of thought of our theme. Then I would think of something that would look really awesome in black light that would still go with our theme. For example, we’ve had an underwater art show, so there was glowing fish and glowing starfish and coral and all sorts of craziness. In the past, we’ve also had a jungle themed art show, and hopefully doing maybe an outer space themed art show, something that for sure is going to look and maybe be cohesive a little bit more for the black light gallery.
But you don’t need to change your projects. I mean, it doesn’t have to be in a theme at all. So if there’s anything you’re doing with students like self-portraits or optical illusions … Or even clay things could be colored with neon paint or oil pastels. As long as it’s neon, anything can be part of that black light gallery. So maybe just changing your mindset a little bit as a teacher and thinking about trying some new materials on a project that you already know and love, and then just turning it into a black light project can make kids really excited about something that you’re already doing and that they’re already looking forward to in your classroom.
Tim: Nice, that’s really well said, and I think that’s pretty exciting, I guess, for teachers and for kids. Just one other question, this is the smallest minutia here. But 2D projects, do they look better in black light if they’re on black paper, or should they still be on white paper, or does it matter? Have you noticed a difference?
Sarah: Actually, I usually test materials when I get new materials. I’ll test them on both. I think most things look good on white paper, but depending on the material, sometimes black paper can really make something pop. So you’d be surprised. White actually is best as long as you have a really bright white paper, because sometimes you’d be surprised with the white spectrum what things do or do not glow as far as white goes. So that one’s kind of tricky. You definitely need to test things out a little bit, which is where the black light flashlight can come in handy. But the best paper materials to use are probably white, and then sometimes I’ll even use neon paper too. So you can get neon card stock, or even the neon Tru-Ray construction paper will work. Then if you color on that with Sharpies or oil pastels or collage things, literally anything that’s neon can be added to that project and can be super awesome. I personally like white.
Then because our gallery is super immersive and there’s things that are hanging from the ceilings and stuff on the walls and there’s stuff everywhere, we always transform our pieces so that they’re not rectangular. I always just encourage students to think outside the rectangle or think outside the square a little bit and to cut their image so that it’s a little more eye-catching when you come into a room. So if we’re going into an underwater art gallery that’s black light, if it’s a fish project, instead of it being on a paper with a blue painted square background, having just the fish on its own and then having a huge blue display that all the fish are on might be a little bit more eye-catching than a bunch of rectangular pieces of art. You know what I mean?
Tim: Yeah, that’s really cool. I like the idea of it kind of being more immersive as you go through the show. I suppose that’s a good segue into us talking about your display or your art shows. You’ve mentioned this super cool black light gallery during your art show. I think it’s in your article too. But can you talk about how you set that gallery up and, more importantly, what the reaction was from kids d from parents when they are able to see that?
Sarah: Oh, totally. So I think at this point we’ve done the art show … This will be our fourth year with the black light gallery. It’s definitely … I mean, it’s kind of like, I feel like, the highlight of the art show, just because it’s so unique and it’s something that we don’t have all year. It’s really exciting to come to the art show, and you’ve got to make sure you see the black light gallery. We have a million different things going on during the art show, but that’s one the kids are always asking, is that the one with the glowing gallery? Are we ready for the art show? So they’re super psyched about it.
The first year that we had it, because it was the first time, parents and guardians and staff members and administration that came in were so shocked by the effect that it could have. It was a really cool way to advocate for my program at the same time as creating a really awesome display, because I’m making memories with students, and we’re connecting the materials and the actual stuff that we’re making with students, but also just showing the exciting things that we’re working on. I think it was super cool to have such a memorable component of our art show. People were sending pictures to their friends outside of the art show and were just sharing all of these things. I think it was something that you definitely won’t forget when you come to the art show.
So as far as setup goes, anything that an art teacher has a passion for you’re going to be okay putting a little more energy towards. So I definitely want the black light gallery to be super amazing. I take a lot of time. I have one of my good friends come a few days before the actual black light gallery, and we black out the room. We’ll cover the walls with black roll paper. We’ll basically prepare all of the visual elements that might be distractions. If you have a poster that might glow a really bright white or different signs and things that are on the wall that should be covered, then we’ll sort of just cover those things initially first so that, when you enter the room, you’re really only seeing the artwork on display, besides just a few of the other components that we have too. So the main thing first is just to get rid of any visual distractions and black out the space.
The other cool thing that we’ve added over time is that you don’t necessarily just have to use black roll paper, so we have splatter paint neon paper that is super crazy colorful, or painted paper backgrounds or something that might match a theme. We’ll hang that up or make some sort of backdrop that matches the theme as part of our initial setup before we even start putting art up on display. Then because it’s just roll paper, we just tape all of our projects up or hang things from the ceiling. Last year was our underwater art show, so we had all these neon jellyfish that kindergartners made hanging from the ceiling and starfish stuck up the wall and a bunch of sea turtles swimming in these big waves. So everything kind of is sort of grouped together as far as its grade level goes so that students can come in and easily find what their project is, as far as knowing what they created in class.
It’s definitely a lot of preparation as far as making everything cohesive and covering things, but the cool thing is you don’t have to do that. Maybe that’s a goal for some point eventually for you, but you can totally just do it in your classroom and close the blinds if you have a classroom with windows, and just shine some black light flashlights on your projects while your kids are working. It can be as simple as you want it to be, or it can be super complex and immersive and part of your art show event. That’s the cool thing about it that I love, is that you can do black light projects in 10 seconds and just shine a black light flashlight on something, and the kids are amazed, or you can turn it into something way bigger.
Tim: That’s awesome. I appreciate you giving us the full rundown there. I think it’s good, because then if people just want to try something out small, then they can. But if they want to really go all out, they have a guide on where they can get started and where they can go. That’s really cool.
Sarah: Totally.
Tim: One last question before we let you go here, another article that you’re going to have coming out that I think people are going to want to pay attention to is about having an art room mantra. I know that’s something huge for you and something you probably want to share with a lot of people. So can you talk about, basically, your art room mantra, why you have kids recite it and just why it’s so important to you?
Sarah: Absolutely. So, I mean, a lot of what we do as art educators is to try to have our students be the best people they can be, as well as great artists, knowing that most likely a big chunk of the students that I have will not literally be working as artists when they’re older. I’m trying to kind of encourage my students to practice positive self-talk and to encourage them to create a routine at the beginning of art by having a mantra that we always say at the very beginning. I have presented on it a couple of times in the past, and I will be having an article coming out about it as well. But I’ll just recite the five phrases that we say for our art mantra at the very beginning of class.
So they always come to the carpet every class, kindergarten through fifth grade. Every class starts the same way. There’s hand motions that go with this too, but I kind of explain that in the article. Or if you decide to do it, you can just make them up on your own. So the mantra goes like this, “My mantra: I am positive. I am creative. I am mindful. I am amazing. I am an artist.” The entire class recites it at the same time. They do their motions. They kind of have a sassy hand motion at the end when they’re an artist, and they cross their arms. It’s super cool to hear them say these sentences, because they’re taking ownership over how they feel about the day. If for some reason I notice that there’s a kid or two that maybe isn’t participating, then I can kind of scan the room a little bit and see who I might need to check in with for the day or maybe kind of just know that student might be having a little bit of trouble or whatever. It kind of helps me monitor the classroom as well.
The other thing that I like to point out is that … And I tell this to my students … that the mantra isn’t just for them. It’s for me too. I need to say the mantra for myself, because I have negative 42 seconds in-between classes to get stuff ready for my next group coming in. If I sit at the front of the rug with my students and we all just look at each other and we say these five sentences together for just a moment, it kind of re-centers myself and gets myself ready to say, no matter what happened with the class before, I’m ready to be my best version for my students and give them a chance to have a great day of art with me, because I’m kind of refocusing myself. They’re coming in fresh and ready to start the day with me. That’s kind of the idea behind it, is teaching them to be good people, to get myself ready, to get themselves ready for our day together.
Tim: That’s awesome. I’m motivated now. I’m serious.
Sarah: I’m glad to hear it.
Tim: That was awesome. Cool. All right, well, Sarah, we’ll go ahead and shut things down there. But I really appreciate you coming on and telling us all about black light and galleries, making the introduction, giving us your mantra, all that good stuff. It’s been awesome to talk to you.
Sarah: Awesome, yeah. I hope to hear more from you guys in the future.
Tim: All right, thank you. Wow, I love Sarah’s energy. Like I said in the intro, I love her passion for what she’s teaching. Just that mantra and how she utilizes it in her classroom, I think, is really powerful for her and for her kids as well. As far as our conversation today, I think my main takeaway is that black light art is a lot more versatile than you think at first. You can go over the top if you want. You can be really subtle with it. You can do some basic stuff, some basic teaching and just get things started, or you have the opportunity to open it up to some of the science behind why that works. You can make some really good connections there. I think there’s a lot to be discovered, a lot to be explored there. Obviously, I would encourage you to give it a try if that’s something that interests you.
Now just one last thing before we go through, can I tell you to keep an eye for the Art Ed Now Summer Conference? It’s on July 25th this year. We made it a little earlier, so everybody who’s got to go back to school at the very beginning of August or even those people that have to go back in July … I’m sorry for you. But we want you all to be able to still come to the Summer Conference, get all of the ideas you need for the year, so July 25th this year. We booked a featured presenter who I am really, really excited about, and I think you’re going to be excited as well. I can’t make any official announcements just yet, but keep an eye out in the near future. In the meantime, go take a look at ArtEdNow.com. See what we have coming. You can register for the Conference. Make sure you get that swag box that everybody loves and everybody wants. I promise you, you will not regret it.
So your homework, go check out Sarah’s article that she already had published. Make sure you head back to the AOEU site tomorrow to see her black light article. Then be on the lookout for her mantra article a little more toward the end of April. Then just go grab a black light and some neon art making tools and start creating.
Art Ed Radio is produced by the Art of Education University with audio engineering from Michael Crocker. Thank you for listening, as always. We will back with you next week. I’ll talk to you then.
Magazine articles and podcasts are opinions of professional education contributors and do not necessarily represent the position of the Art of Education University (AOEU) or its academic offerings. Contributors use terms in the way they are most often talked about in the scope of their educational experiences.
