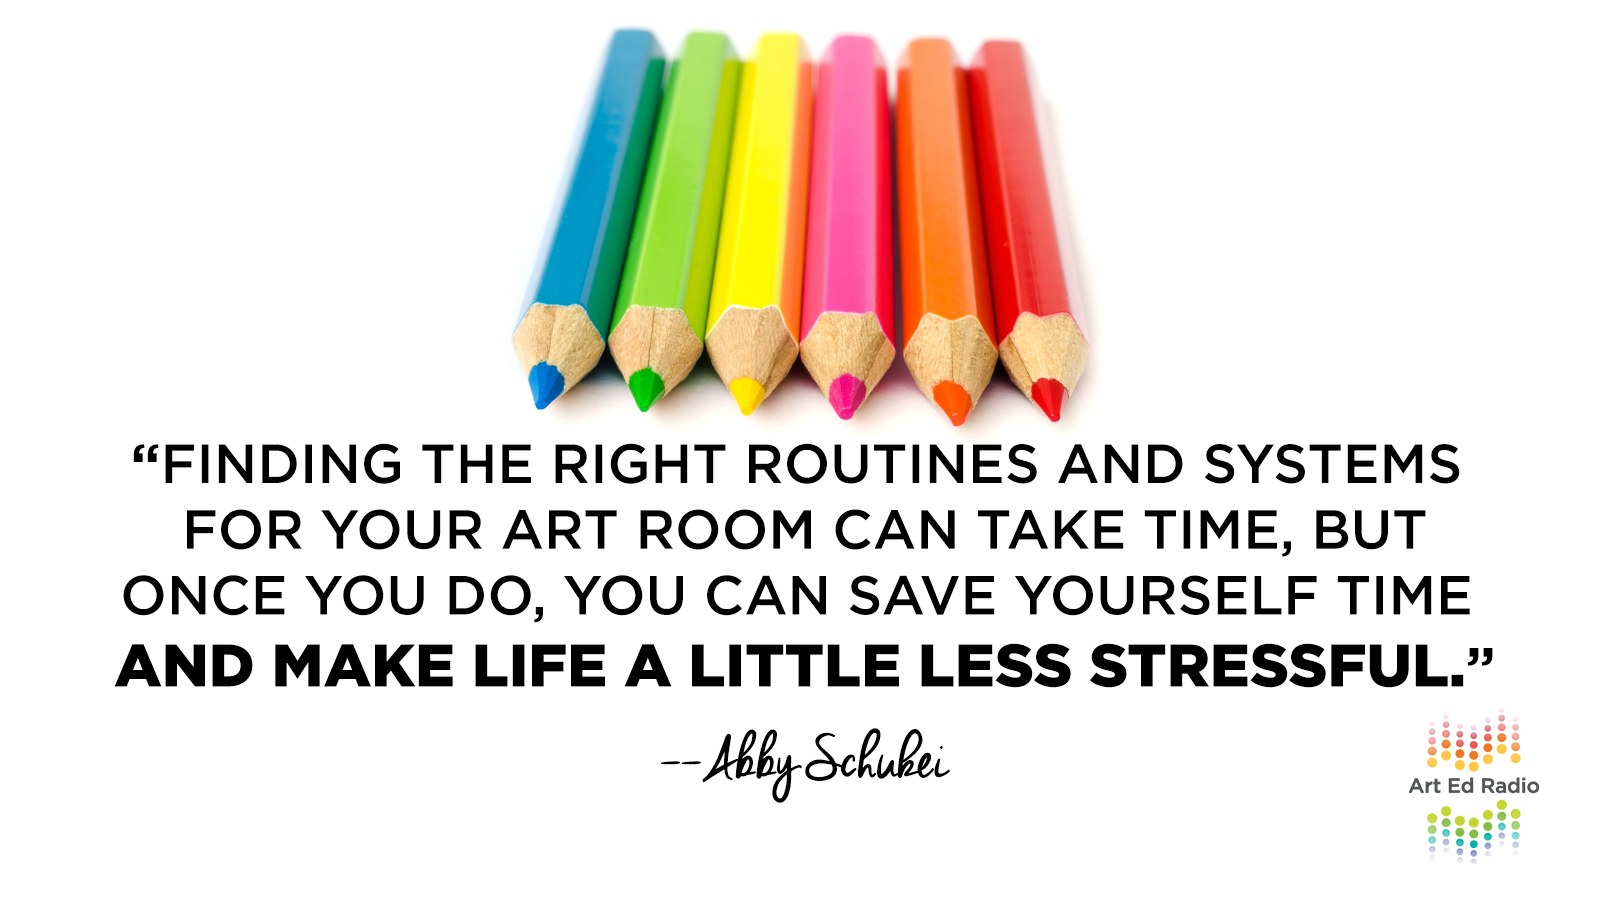
Physical Space

Making Your Teaching Life Easier (Ep. 162)

Abby Schukei makes a quick return to the podcast to discuss her latest article with Tim. They talk about all of her ideas and suggestions for what you need in your classroom to make your life easier. Listen as they cover painting supplies and organization, simple ceramic hacks, and why you need to start spray painting your permanent markers.  Full episode transcript below.

Resources and Links

Transcript

Tim: Welcome to Art Ed Radio, the podcast for art teachers. This show is produced by The Art of Education University, and I’m your host, Tim Bogatz.

All right. I am super excited to talk to Abby Schukei again today, and she’s just about ready to go, so I will bring her on in just a second. And, you know, you may be thinking to yourself, “Wait, wasn’t she just on like two weeks ago?” And yes, you would be right. However, Abby keeps writing some wonderful articles that need to be discussed, so I’m gonna keep bringing her back on.

Yesterday, she published an article called “Eight Things You Need in Your Art Room to Make Your Life Easier” and at least like six of the eight suggestions are pretty decent. Okay, no. Actually, they’re all really good, ,and I think the article is worth your time. It’s definitely worth reading. And obviously, not all eight suggestions are going to work for you, but as I mentioned briefly last week, now is the time to try some new things in your classroom.

I’ve got a couple months left in the school year, which is enough time to implement some strategies, try some organization tricks, and just see what you can accomplish. And if it works well, it can be part of what you do next year. But if it doesn’t work, you can figure out how to tweak it for the fall or maybe just ditch it altogether. Okay? But nothing ventured, nothing gained.

As Abby talks about these ideas today, I would encourage you to see what captures your attention, what piques your interest, and what you think might work for you. But, before we get started, I wanna talk to you again this week about Art Ed PRO, the essential subscription for professional art teachers. It is on demand professional development with video tutorials, all kinds of great lessons, resources, handouts, and all kinds of other things that you will need to help take your teaching to the next level.

Now as of yesterday, the library now has 96 learning packs in it, and it will continue to grow. The new Learning Packs that just came out are on planning artworks with your students, on art and math, and on encaustics. With so many of those topics already covered, and three more packs released on the first of every month, Art Ed PRO is the PD you need when you need it. Make sure you check it out and start your free trial at TheArtofEducation.edu/pro. All right. I think we are ready to go, so let me bring on Abby right now.

All right. Back on the show with me is Abby Schukei. I’m here to visit her room once again and record another amazing interview. Abby, how are you?

Abby: I’m good. How are you?

Tim: I am doing really well. Now, we had you on last month to talk about your really cool article about things that art teachers love to hate but secretly aren’t so bad, and this time around, I have another article that I wanna talk about that’s all about just art teacher hacks, basically. Just things that you found that really make your life a lot simpler.

Let’s just go ahead and dive in. You have a long list of things that make your life easier, and the first couple that you started with are all about distributing and storing and cleaning paint. Ton of great ideas in there, so can you just kind of give us an overview of your system and some of the cool things that you found that are working well for you?

Abby: Sure. I’m a big believer in sharing the responsibility and work with my students.

Tim: Yes.

Abby: If it’s something …

Tim: You don’t wanna spend 30 minutes after school each day cleaning brushes.

Abby: No, and I don’t do that. No. 100%. One of the systems I would talk about in the article is the paint system that I use. There’s a couple of tools that make that system a little bit easier.

The first thing is I like to store my paint in … I think they’re 24 ounces of the FIFO condiment bottles. It’s like, if you go to Subway, like the mayonnaise containers. The kids see them and they’re like, “Oh my gosh, are we making sandwiches?” It’s like, “No, this is how we’re gonna distribute paint.”

But pumps can clog and things …

Tim: Yes, and when they do clog, you press down on them. They squirt literally 20 across the room. Right?

Abby: Oh, it’s a disaster?

Tim: Yeah.

Abby: This has been a really good solution if you still like to order your paint in bulk, but they’re so easy to refill. I have the kids refill them, and you do have to put a little pressure to squeeze it, but kids can totally handle it, and it just makes it so much easier. You’re storing the paint upside down where it needs to go.

I like using those because the students can handle them, and they can fill their own paint trays so I don’t have to do it. And then, using those condiment bottles, we actually fill them with silicone ice cube trays with the lids on top, and I use acrylic paint in them so if they do need to be cleaned out, all you do is just let them dry and the kids will just peel off the acrylic paint.

Tim: Yup, which is the most fun thing in the world to do.

Abby: They’re like, “Oh, it’s so satisfying.” So I’m like, “Yeah, you can peel these off all day.” But it makes it easy for storing, depending on … I have enough that I actually give them to all the individual kids for paint palettes. But you could share it one per table, whatever you need. But the ones that I’m using are just ordered on Amazon. They’re linked in the article. There’s a green and white divider, and so I just tell the students to fill them up to the green space so they’re not … Its limits the space that they can fill the ice cube trays to fill it up, anyway, so that makes it easy to store.

Then the other thing with my painting system, and I know that you did this as well. Assigning paintbrushes. I don’t ever wash a single paintbrush, ever, because I give students a small brush and a big brush, and that is their responsibility. If they lose it, if they forget to wash it off, well, figure it out. Too bad. So that makes it easy.

Tim: Yeah. No, it’s just natural consequences. It works so well to get kids doing that. I appreciate sorta the overview of the paint system. I think those are really simple ideas that work really well for people.

I also wanna talk ceramics, because you have a few really cool ideas that you’ve been doing for quite a while now. But let’s start off with this because I don’t think that many people actually keep kiln logs. I want you to, I guess, convince everybody out there, or maybe just explain how you use kiln logs and why you think they’re important.

Abby: Well, when I inherited my current art room, I came across the kiln. The only paperwork I could find from it was when it was purchased, and so that was a problem because I didn’t know how many firings it had had. Do things need to be replaced on it? And so when I did my first firing, I was obviously terrified ’cause I didn’t know what was gonna happen.

But then, I slowly started realizing that, “Oh, this isn’t heating up.” There were some error codes, and it turned out that I needed to replace all the elements, which I did. And it’s just really nice if, especially … Think about maybe you future self, or someone in the future. What could you do to help them? Because that’s a piece of machinery that’s probably going to be there for some time.

Some things that I like to track on it are just … It’s good to track it so you know if something is out of the ordinary. If you’re always using low fire clay at this temperature, your number should be pretty accurate. I like to keep track of how long the firing took, what cone I’m firing to, is the kiln half full? Is it all the way filled? Some of those things.

Also, it gives me the opportunity to document any problems. If I wanna try using a different body of clay that I typically am not used to, gives a good comparison rate for that. But basically, it can give you information of, “Okay, when is the last time I put kiln wash on my shelves?” And if it’s like, “Oh, it’s been like 20 firings since I did that,” maybe it’s time to replace it.

Or if your elements are, if it seems like the time is getting longer, that could be a sign … Your firing times are longer, that could be a sign that maybe something’s wrong. Maybe I need to replace an element. Maybe I need someone to look at this. I don’t know. It’s been helpful.

Tim: Yeah, I think so. And I think that last point that you made is the important once because a lot of times, teachers just sit there and they’re like, “Oh, I feel like this is taking longer than it used to,” but you’re just kind of going by feel. But when you have some actual data like an actual kiln log, then that can be really helpful when you’re doing that.

And just kind of on a related note, I think it’s good to do with glazes, too. Just keeping a glaze record for kids on what they’re putting on, as far as glaze, how they’re mixing things, how they’re layering things, and then seeing how they’re fired and just putting that all together can teach kids a lot about sort of how glaze is reacting and how they work. Maybe kind of advanced stuff, but I think it’s worthwhile.

You don’t actually do that much glaze. You do more underglaze, right?

Abby: Yeah. It depends. Yeah.

Tim: I wanted to ask about that. You like the idea of doing a lot more underglaze work and then just a clear glaze on top of that. Can you just kinda talk about sort of how you add into that originally and why that process works so well for you?

Abby: Yeah. I used to only use glaze. Only, only, only. But I just felt like kids were just like, sucking right through it. It was just like, we were using so much more of it, and I actually, until … Oh, I don’t know, a year or two ago? Year and a half ago, I actually took the AOEU Ceramics course. And so I … That was one of the first times that I ever really experimented with underglazes, and I got so into it, and I was like, “Hey, this is actually gonna work a lot better for my students. It acts more like paint. You can do a lot of cool things with it, just as far as effects go.” And it was just a really good alternative. I feel like it lasts a lot longer, so it’s more cost effective, and there’s just more color options as far as mixing that my students really enjoy.

But the biggest thing with that, then, is obviously we still want the shiny, beautiful, magical effect that glaze has.

Tim: Exactly.

Abby: And I still have regular glazes that we do use, but we utilize a lot of the underglazes, which is clear dipping glaze. I order three gallon buckets of clear glaze, which really isn’t that expensive. I think there’s a AMACO one that I’m using that, I think it’s like, for three gallons, it’s $56 to $70 or something, which is not a lot.

Tim: No, and especially not when there are times … Sorry for all of you …

Abby: No.

Tim… that don’t have any budget whatsoever that we’re talking about this, but if you do have a ceramics budget, you know glaze is expensive, and if you’re buying pints for $14 each, the thought of getting three gallons for $55, $60 is a really, really good deal.

Abby: Yeah. And I think typically, if you’re going back to underglazes, I mean you can get some decent class packs for maybe like $120 that are coming with 16 colors.

Tim: Yeah, that’s amazing.

Abby: And it’s way … I mean, like I said, we don’t go through it as much, but the clear glaze, you just dunk it in the bucket. One coat. Don’t do more than that otherwise it’s gonna run everywhere. But you just dunk it in, and that’s it. You don’t have to worry about kids missing a spot. It’s perfect. It’s easy.

Tim: No. That makes a lot of sense. And, yeah. I would encourage people to try that, as well. I think it’s really, really effective.

And then the last ceramics thing that you kinds jumped into in your article was the carpet square, and you talked about wetting that and just kinda rubbing your piece on there to clean off the foot, make sure the bottom of the piece doesn’t have any glaze.

Now, I’m kind of skeptical on this one. I did wax for a while. That can be a lot of work. I’ve done sponges, like those green cleaning sponges. Those are super effective, and, although, I think the easiest thing is just not glazing the bottom whatsoever. But is the carpet square more effective than all of those?

Abby: Okay. Since I’m using a clear glaze bucket a lot, I just have the students dunk the things. So yeah, we need to wipe off the bottoms. We’re not gonna … I’m not gonna spend the money or take the time to use wax. It just probably isn’t an effective use of our time, so when we are just dunking those things, I don’t want …

I used to have students wipe them off right away on the bottom, but then they get finger prints on it and then you have those areas that don’t have as much glaze on it. Instead, now what we do is we dunk them and let them dry, and it doesn’t take … But if they wanna wipe them off in 10 minutes, they’re good to go.

But we used to use sponges and things, too, but that took a little bit more time, wasn’t as thorough. But if you just take, from the carpet shop, the … Or just cut up an old rug that you have, put it in a Tupperware container, spritz it with water, and then all you do … When you clay pieces dry, you just rub it on the bottom. It takes like 10 seconds, and that’s it. You’re done.

When that carpet square gets gnarly, you just wash it or throw it out, and it’s so easy. No fingerprints. We’re good to do.

Tim: Okay. All right. And you may need to dry it.

Abby: Have I convinced you?

Tim: I hate to admit it, but yes. 

Abby: We’re gonna be doing some glazing next week, so come on back.

Tim: Yeah, we’ll check it out.

Then another idea that you have been doing for a long time that I really like is keeping your Sharpies from just walking off. Can you tell us how you like to do that?

Abby: Yeah. I have a box, and they each have an individual space that they go in. I just drill holes into it real quick. But then, the thing that really makes it …

It makes it effective because they’re not just throwing the Sharpies back into just like a bin. It has a spot, so-

Tim: And you can see if you’re still missing …

Abby: Oh, yeah. Yup. And when students are throwing things in there, it’s more meaningful when you’re putting it in its spot.

But the other thing that I do with them is I buy Sharpies in bulk. And I’ve actually stopped buying Sharpies, but the Amazon brand ones ’cause they’re way cheaper, and you can get them in packs of 50, and they actually last pretty well. There’s a hack for you.

But, when I get them, I dump them all out, and then I just spray paint them an obnoxious color. Right now, they’re bright blue. Sometimes, they’re neon green, and I don’t like … They don’t all need to be coated, but I’ll just do one spray on one side, let them dry quick, turn them over and spray them again. Then that way, they know that they’re mine.

I’ll have kids that are like, “Oh, I saw these in the health room the other day” and they”’ bring them back because they know that they’re mine, so they’re less likely to take them because they know that they are identified to the art room.

Yeah, you’re gonna lose a few of them here and there, but since I’ve started doing it, I don’t nearly need to replace them as often.

Tim: Yeah. I was gonna say, “If you can cut down on that at all” … I don’t know. I feel like those are things that’ll walk off more than anything else in your classroom. Sharpies or any kind of fine tip marker.

Abby: They do.

Tim: That’s a good solution. I like that. And then, just one last thing that I wanted to ask you about.

Your over the door drawing storage. I was kinda fascinated by this, but it’s not really the best for a podcast. Can you kind of paint a visual picture for us of what you do for storage for your drawing materials?

Abby: Yeah. Number one. If you really need to see the picture, you can go to the article and look at the system. But to paint the picture here, I have a … Think of your college dorm room, or maybe your child’s room where, in the closet, you have your shoe organizer. That is where we keep our drawing pencils. I have drawing kits, one per table or …

I used to do it one per student, but now I’ve cut it back to one per table ’cause they did not need all of that. But in there, they are just numbered, and they … Inside the drawings kits, I have a variety of drawing pencils, erasers, blending sticks, maybe some … I think I put some Prismacolor colorless blenders in there for when we use that.

And then, behind it, in each of those sections, I have a set of Prismacolor drawing pencils as well. But what it does is it just, it’s … I used to try to organize pencils with, “Just put all the 4Bs here, the 6Bs” … And that does not work. I mean, they just all get mixed up.

When students are keeping it at their table and putting it in their little drawing kit, that’s a pencil bag, they’re actually putting it back where it goes, and it just really makes it smooth.

Maybe a few of them get messed up here and there, but they’re all getting put away, which is awesome, and for the most part, they keep track of them and you can visually see what table is missing their pencil bag in the shoe hanger. It just makes it easy.

Tim: That works. I like it. So cool. Thank you for that description, and thanks for coming on to talk about your article. It’s good to have you on again.

Abby: Yeah. Thanks for having me.

Tim: All right. That is it. A big thanks to Abby for, first of all, just continuing to write great articles month after month, year after year. She’s been writing for so long, and she is just incredible. But secondly, for her continuing to come on the show and be willing to discuss ideas, to share what she’s talking about and kind of expand on what’s in her articles.

We will link to the “Eight Things You Need in Your Art Room” article in the show notes so you can check everything out, or just visit the AOEU website, and you should be able to find it there pretty quickly. But just pick out a couple ideas, give them a try, see what’s gonna work for you. I think you’ll be happy you did.

Art Ed Radio is produced by The Art of Education University with audio engineering from Michael Crocker. Thank you for listening, as always, and we will be back with you next week.


Magazine articles and podcasts are opinions of professional education contributors and do not necessarily represent the position of the Art of Education University (AOEU) or its academic offerings. Contributors use terms in the way they are most often talked about in the scope of their educational experiences.