Like many schools, walls at my school are white and bare. As the art teacher, I feel like it’s my responsibility and a person goal to add art and color to the walls.
Last spring I taught an 8 week after-school art class for my middle school students. I wanted to have the class create a large work of art that could permanently be on display in the school. Another school in my district has a beautiful mosaic on display in their hallway. When I asked the art teacher about it, she said she taught an afterschool class and her students made it. I wanted my students to make a mosaic for our school, about our school.
My colleague helped me create a class description, a supply list, and even came to a class to help me and my students make the mosaic and grout the finished piece. Now I’m here to virtually help you so you can create your very own tile mosaic for your school!

Supplies:
- Cement board
- Wooden frame
- Paint for wooden frame
- Tile Adhesive
- Plastic knives and cups
- Tile of various colors
- Clay
- Glaze
- Grout
- Any other objects you want to attach. (plastic gears, mirrors, glass, etc.)
- Safety Goggles
- Hammers
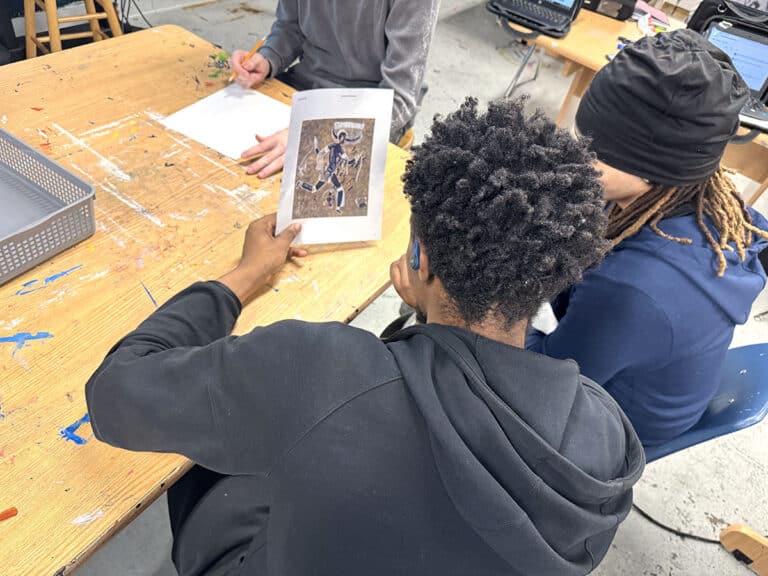
Students worked on the mosaic for an hour for eight weeks.
________________________________________________________________________________________________________________
Weekly Work-time Breakdown
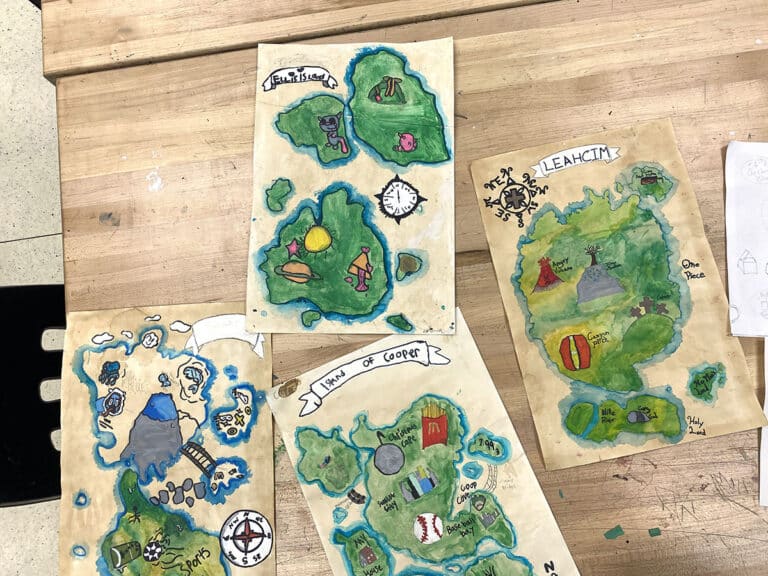
Week 1: Brainstorm ideas for objects or things that are important to the students and staff.
I have seen a variety of different themes for mosaics. Some of these themes include animals, famous art reproductions, and abstract art. We wanted the mural to be about our school. Students brainstormed ideas of what was important to our school. Some of these items were: American flag, paint brush and palette, music notes, our school mascot, the state of Iowa, football, keyboard, books, symbol representing health and wellness, gears representing engineering technology, calculator, plus, minus, division and multiplication sign, swim goggles, tennis racket, and basketball. They also wanted to include the famous hill that is outside our school as well as some trees and a sun. Most of these objects were made out of clay, and some, like the hill and sun, were made using colored tiles.
Week 2: Draw and cut out objects to be made out of clay.
We reviewed what objects were important to our school, which ones overlapped, and which ones wouldn’t work. Once they had the list finalized, they started drawing the objects the size that they wanted on the mosaic. Images need to be the size of a hand or larger.
Week 3: Make clay pieces
Students rolled slabs of clay and traced around their drawings to make each object. They added texture and details. I made sure they finished the word ROOSEVELT on this day, because I needed to fire the letters before the next class.
Week 4: Finish clay pieces, Glaze completed pieces from week 3, smash tile.
Students finished up with any clay pieces they were working on from the previous week. The keyboard took two weeks because they used clay noodles for all the letters and numbers on the keyboard. If students were done making their clay pieces, they started to glaze the clay letters. I fired the remaining clay pieces for the next class.
Week 5: Glaze clay, smash tiles.
Students glazed the clay pieces. The tile used on the mosaic was scrap tile pieces donated. Students wore safety goggles and used hammers to smash the pieces of tile. I put them in a cardboard box, wrapped them in some fabric to avoid tile pieces flying all over. Make sure they smash them into pieces of different sizes with 2 inches being the largest.
Week 6: Arrange clay pieces on cement board. Start to attach to board. Arrange tile pieces.
All of the clay pieces were fired and ready to be attached to the cement board. Students arranged the clay pieces on the board. Once we had a layout established students started to place the tile pieces around the clay pieces. The only objects we attached this day were the clay pieces, no tile.
Week 7: Continue to arrange tile pieces and attach.
Students continued to attach the clay pieces and then started to glue the tile pieces down. I had half of the class arranging the tile pieces and the other half used plastic knives with tile adhesive to glue. They switched halfway in between.
Week 8: Attach tile pieces.
Students continued to arrange and attached the tile pieces.
________________________________________________________________________________________________________________
The Finished Product!

After all the clay and tile pieces were glued down, I grouted the mosaic. The grouting needs to be done fairly quickly and you have to be sure you clean the tiles or else the grout will stick to it. I definitely had to use a razor blade and scape off grout where I didn’t want it to be.
Students and teachers love the seeing the mosaic in the hallway and I receive many compliments about it. It is a beautiful, collaborative work of art that now has a permanent home outside the main office for students, staff and visitors to view on a daily basis.
Have you ever made a collaborative work of art at your school?
What ides do you have? I’m always excited to hear new ideas.
Magazine articles and podcasts are opinions of professional education contributors and do not necessarily represent the position of the Art of Education University (AOEU) or its academic offerings. Contributors use terms in the way they are most often talked about in the scope of their educational experiences.