Previously, I talked about the nitty gritty details of setting up and executing an amazing plaster mask lesson in your room.
I’d love to continue and share 9 Essential Tips to make this lesson a success.
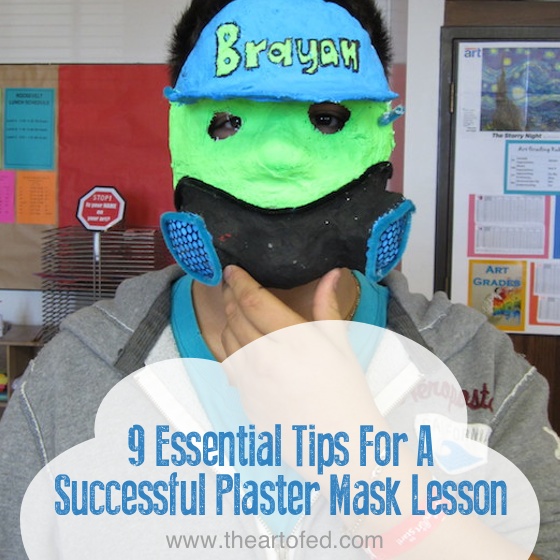
1. Video tape your demonstration.
I don’t normally video tape my demonstrations, but I did for this lesson. Since there are so many steps, materials, and tips regarding the process, I like to show the video and stop it when I want to add comments or to answer questions. This also insures all students receive the same demonstration. I had my niece come in on the weekend and be my model.
2. Precut your plaster strips.
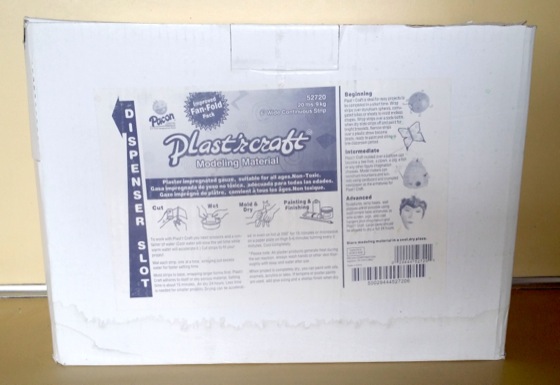
I purchase this plaster. It comes in a long rectangular piece. I have students cut 1.5-2 inch strips and put them into buckets before the plastering day.
3. Encourage participation.
Some students will immediately say they don’t want their faces plastered. After some explanation, a demonstration, and a one-on-one conversation easing their fears, most students are willing to participate without hesitation. However, there are always a few students who don’t want to get their faces plastered.
4. Offer to plaster at a different time.
Sometimes I offer to plaster students’ faces after school depending on the reason behind them not wanting to have their faces plastered during class. I really want them to be able to participate and sometimes it’s just a matter of them being too shy or having peer issues. This is my second to last resort.
5. Purchase plastic facial molds.
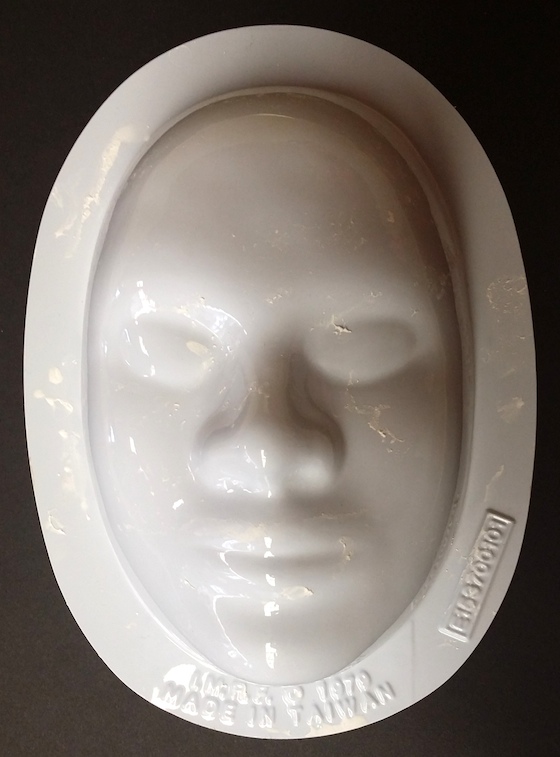
My last resort is having students plaster a plastic facial mold. Purchase a couple of them to have on hand for students who refuse to have their faces plastered.
6. Let students freshen up after.
Middle school girls are often concerned with the Vaseline taking off their makeup, so remind them the day before they get their faces plastered to bring their makeup to school. I allow them to go to the bathroom to reapply after they have taken off their masks.
7. Ask for help.
Parent volunteers will help the success of this lesson. It’s very hard to be in so many places at once. Having another adult in the room helps with the flow and minimizes stress.
8. Discuss ground rules extensively.
I’m a stickler for the rules and procedures for this lesson. There is no room for horseplay of any kind when wet plaster is being applied to someone’s face. I remind students to take their time and treat their partners the way they would want to be treated.
9. Collect a variety of supplies to use for students to decorate.
The more “junk” you have for students to decorate their masks with, the better. Some supplies include yarn, cardboard, jewels, pipe cleaners, feathers, fabric, beads, sequins, Styrofoam, buttons, and paint.
Have you used plaster in your room before?
Tell us, what are your insider tips?
Magazine articles and podcasts are opinions of professional education contributors and do not necessarily represent the position of the Art of Education University (AOEU) or its academic offerings. Contributors use terms in the way they are most often talked about in the scope of their educational experiences.


