There is one thing that I always dread on the first day of school… explaining the class syllabus. There is something so mundane about reading a repetitive, lackluster document to your students. We should be celebrating the start of a new school year with a creative project, not painstakingly going over each SLO for the next semester. The truth is, so many of us are required to provide a syllabus for each of our courses. And in reality, it is necessary for students (and parents) to understand our expectations.
Why not create a class syllabus that is aesthetically pleasing and informative? Imagine a document that is engaging to read and communicates significant information. Enter the visual syllabus!
A visual syllabus is a great tool for your students. But, how do you know what to put on it? If you’re looking for some help in creating the best curriculum possible, AOE has you covered. Check out the course Designing Your Art Curriculum where you’ll build a personalized curriculum you’ll be excited to implement. You may also want to check out the following PRO Learning Packs for even more great ideas: Planning a Sequential Elementary Curriculum, Designing Art Curriculum Units, Implementing the National Art Standards. You can find these Packs and many more in PRO Learning.
Want to try your hand at a visual syllabus?
Here are 3 helpful tips.
1. Limit Your Text
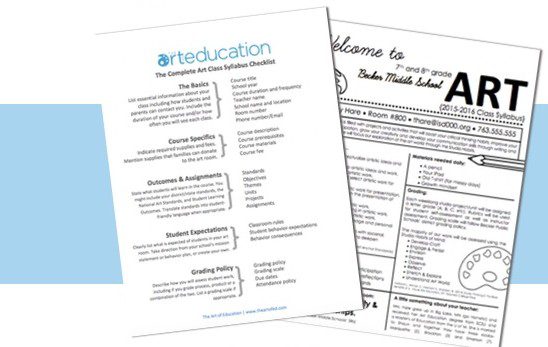
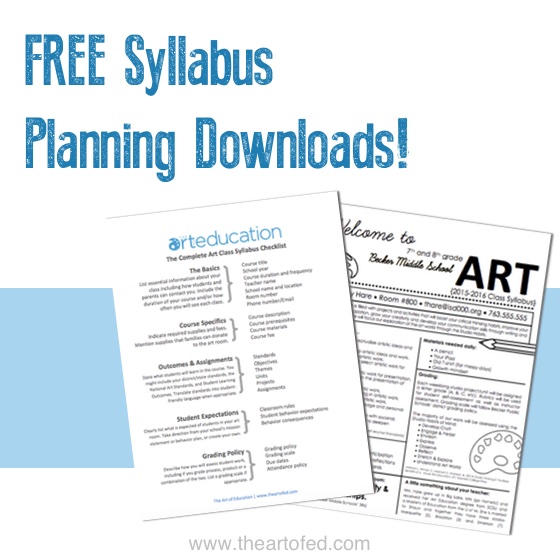
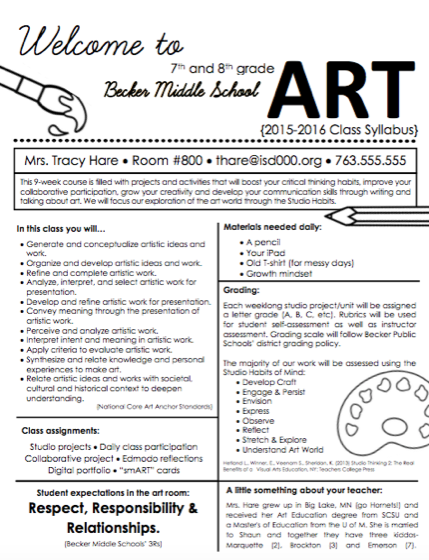
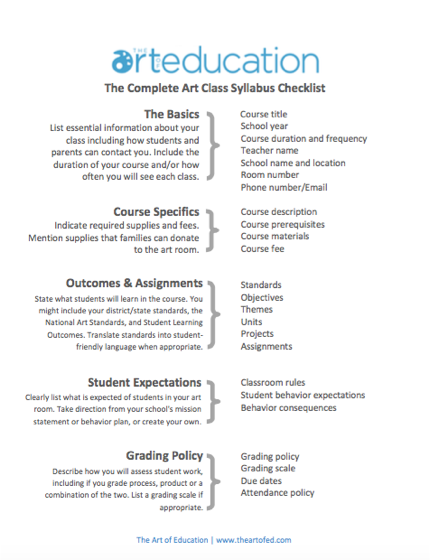
Traditionally, syllabi have paragraphs of information that students have to sift through. A visual syllabus breaks down the information into digestible parts. Think about what parts of your syllabus need to stay. Essential items like your contact info, course description, and course materials will need to find a way into your new design. Take a look at The Complete Art Class Syllabus Checklist below to help you plan.
2. Organize Your Info
Using a layout that breaks the document into sections, add your course information. Consider using bold fonts to point out clear expectations and bullets to keep things concise. When adding in your SLOs or “I can” statements, make sure the integrity of the standards stays. Substitute student-friendly language only when needed. In my example, I left the National Anchor Standards as is. Not only does this give me the opportunity to explain them to my students, but it also provides some new vocabulary words for class discussion.
3. Add Some Flare
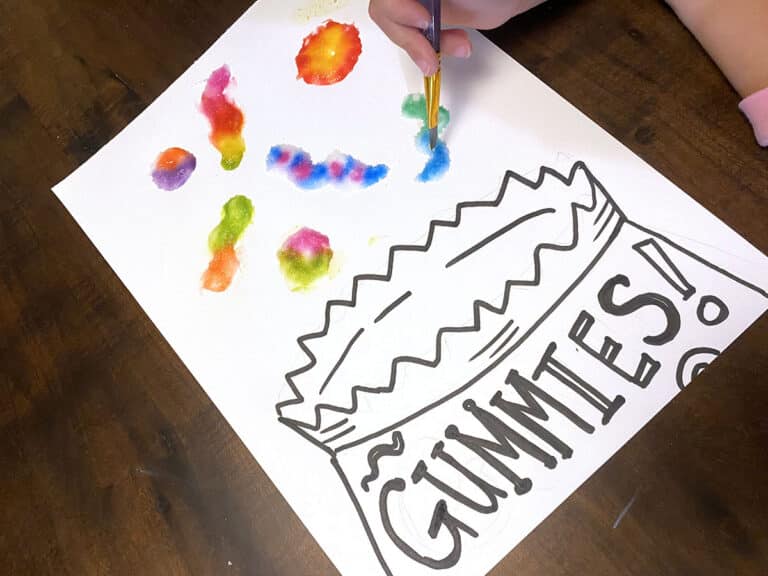
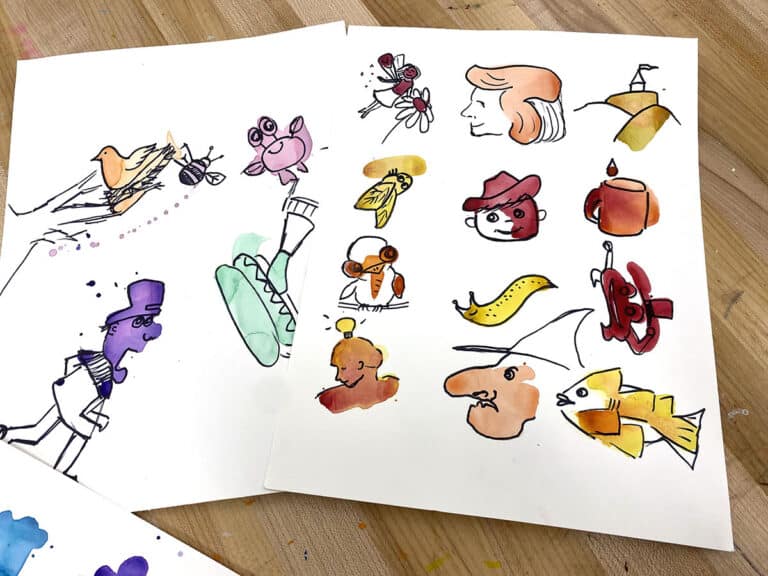
Don’t forget to add some images. These could provide visual interest or even explain concepts. For example, include a pie chart that clarifies your grading scale or explain your supply list with drawn illustrations of the materials. If you have extra room, add in something fun about yourself. A simple sentence or photo about who you are can create a personal connection with students.
Remember to include only essential information when revamping your syllabus. Keep the design simple and clean, but add some images to create interest. Revising a boring syllabus into an appealing handout can make a genuine impact on the first day of class and keep YOU awake as you are explaining it for the umpteenth time.
Are you required to provide a class syllabus?
How do you keep it interesting for students?
Magazine articles and podcasts are opinions of professional education contributors and do not necessarily represent the position of the Art of Education University (AOEU) or its academic offerings. Contributors use terms in the way they are most often talked about in the scope of their educational experiences.