One of the most challenging things we do as art teachers is try to teach students how to come up with unique ideas. Our world is awash with tired, overused symbolism. We see it day in and day out: cute smiley faces for happiness, hearts for love, and doves for peace. If you want students to tackle big ideas in their work in original ways, it’s essential to help kids move past this trite imagery.
One lesson that works well for this purpose is the “Not Trite Challenge.”
The Why
This lesson works well for middle school and high school students. It is eye opening for kids because it causes them to think about how our use of symbolism impacts the images we create. It’s also a good way to connect your curriculum with the visual culture that surrounds us and to dive into the the symbolic language we all use to communicate. When I teach it, I have students pick their own media and spend around a week of class time on the project.
Getting Started
The learning goal for this project is to create an artwork that addresses common themes while avoiding trite symbolism. Because we’re working on idea generation and creative thinking, introducing the lesson is important.
I like to start by defining and discussing the word “trite.” The English Oxford Living Dictionary defines “trite” as “(of a remark or idea) lacking originality or freshness; dull on account of overuse.”
After discussing, have students share examples of overused symbols they experience. Talk about how symbols can have multiple meanings depending on how they are used. Text emoticons are a great way to help students think about this idea. Work together as a class to make a list of trite symbols on the board. Explain the challenge in this lesson is to make artwork about the meaning of a trite symbol in an original way, without using the symbol at all.
Lesson Steps
Step 1: Organizing Thinking
Model how to think through the development of an idea by showing students how to make a simple graphic organizer. Draw a chart with three rows and three columns on the board. Categories should be made for a picture of the symbol, its meaning, and ideas for artwork. Model picking a symbol and drawing an image of it in the correct spot, then fill out the rest of the row.
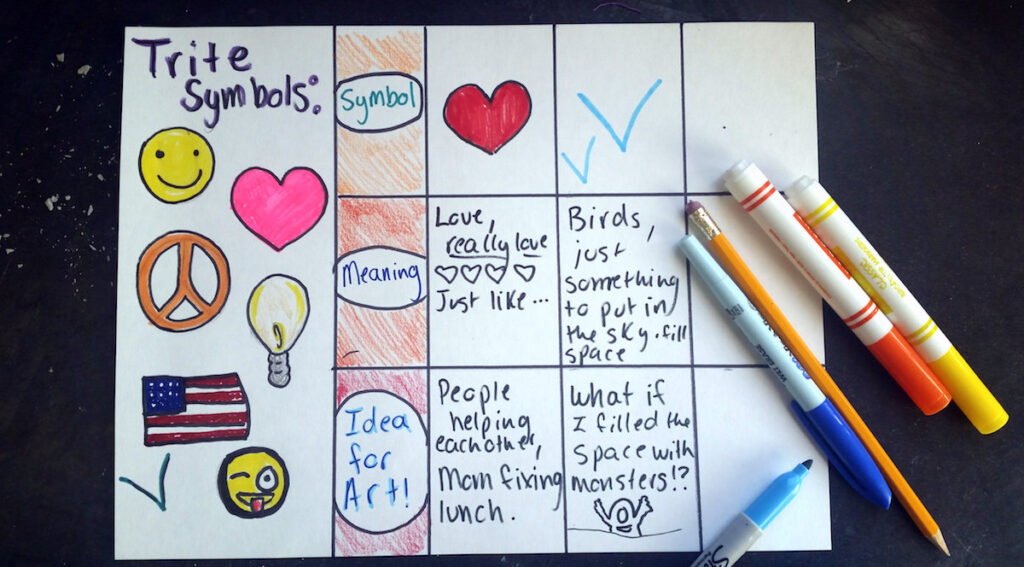
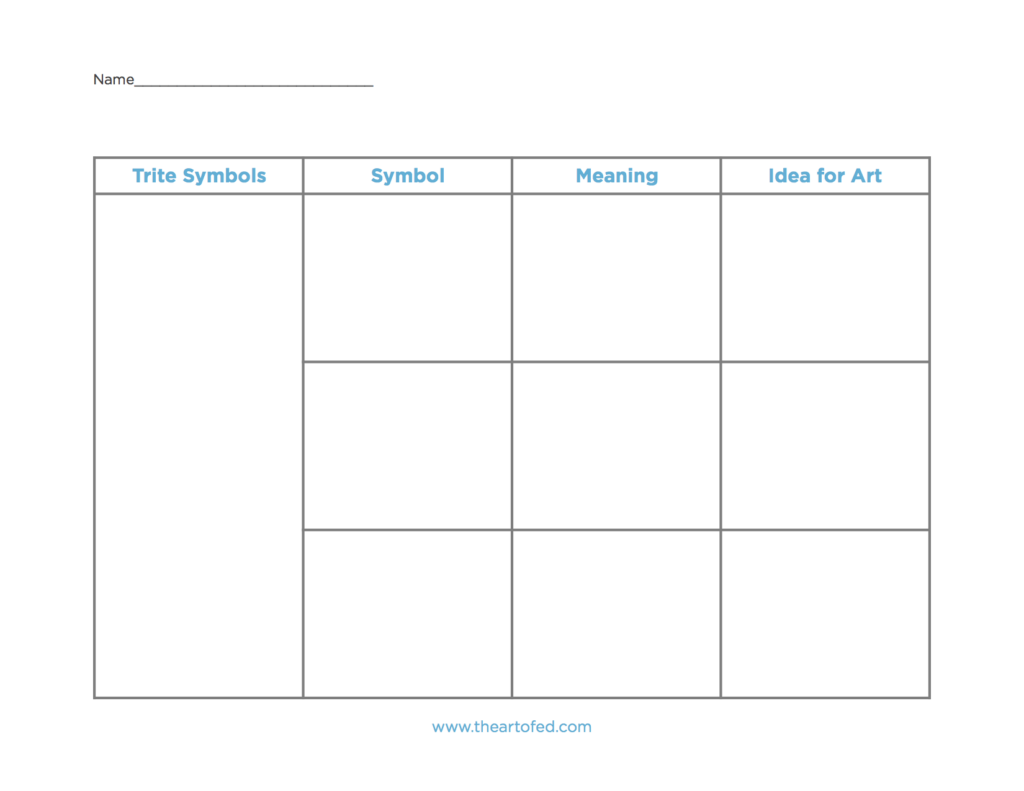
Walking younger students through this process is important to make sure they understand how to complete the task, but older students will do fine if you reference an example you’ve created before class. Instruct students to make and fill out their own charts with symbols from the list you’ve generated as a class. Or, you can grab the handy download below!
Step 2: Time to Create
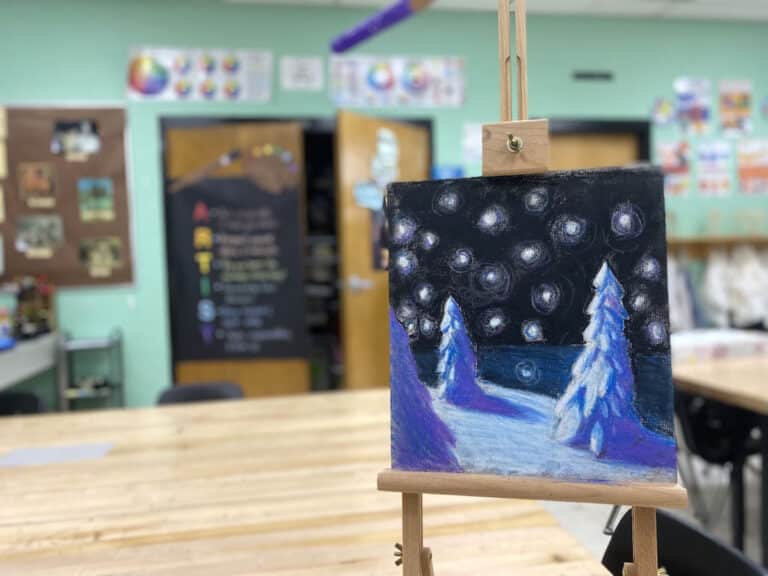
After students finish working on their graphic organizer they will pick one of the ideas they’ve come up with and develop it into a finished piece. The first steps are to find resource images and create a compositional sketch. After the work is planned, students should create their final artwork.
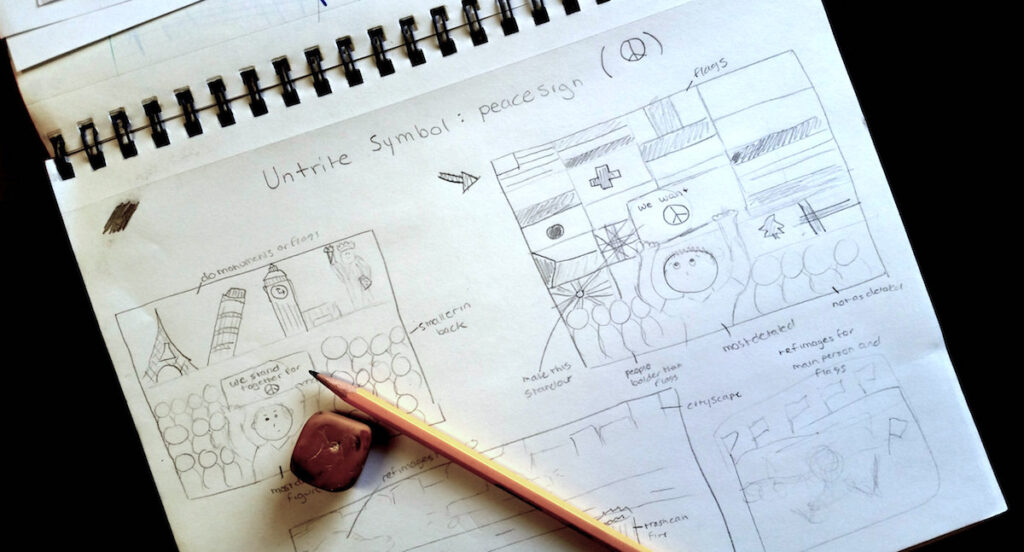
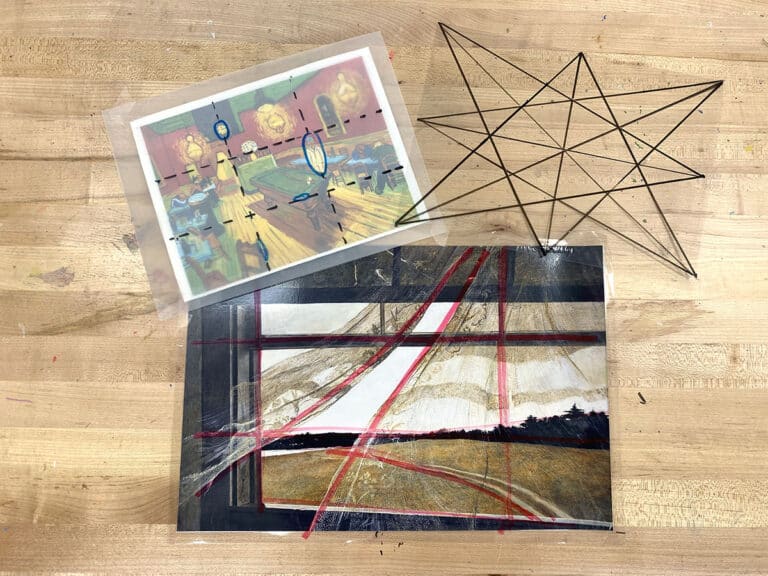
While the class moves through this process, circulate around the room and help students work through ideas, brainstorm, and problem-solve as needed. Be sure to discuss each student’s idea with them and give feedback on how to improve their concept if they are straying too close to trite imagery. Check out a great take on “the corner sun” below.

Step 3: Share and Reflect
Try playing a game to end the learning experience. Have students write the name of the symbol they used as the inspiration for their work on a note card. Next, ask them to place their finished artwork on the table and the note card in a pile in the center of the table. Rotate table groups so each group is in front of another group’s work, then have each group try to match the symbol cards to the artwork. To make the game more challenging, you can make some symbol note cards of your own and place a few in each group’s pile. When the matching is done, ask each group to share why they made the matching decisions they did.
Helping kids move past trite imagery is no easy task. It takes time, practice, and effort on the part of both the student and the teacher. However, with work and growth over time, you will find that it’s a very teachable skill. Once students are aware of what trite imagery is, they will be better able to create work that feels original and fresh.
How do you get students to move past trite imagery in your room?
How do you teach creative thinking? Tell us in the comments section!
Magazine articles and podcasts are opinions of professional education contributors and do not necessarily represent the position of the Art of Education University (AOEU) or its academic offerings. Contributors use terms in the way they are most often talked about in the scope of their educational experiences.