It’s common for administrators to ask teachers to give some kind of “final” near the end of the school year. You may give an exam or a writing assignment or even run a critique. But what if you actually had your students make art?
What if, instead of telling you what they knew about the artmaking process, they showed you?
Step 1: Lay out the ground rules.
In order for this to work, students need to have some prep work done ahead of time. It generally works well to give two preparation days before the day of your final. Explain that students will have two days to prep and plan and then on the third day, they must create their piece of art. Extra time will not be given, so this prep time is key.
Step 2: Assign a theme.
Simple, open-ended themes work best. Themes like:
- Music
- Food
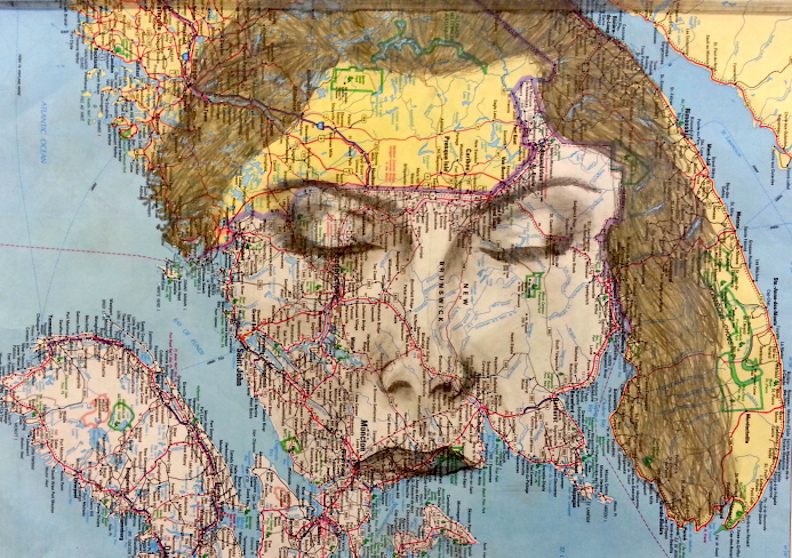
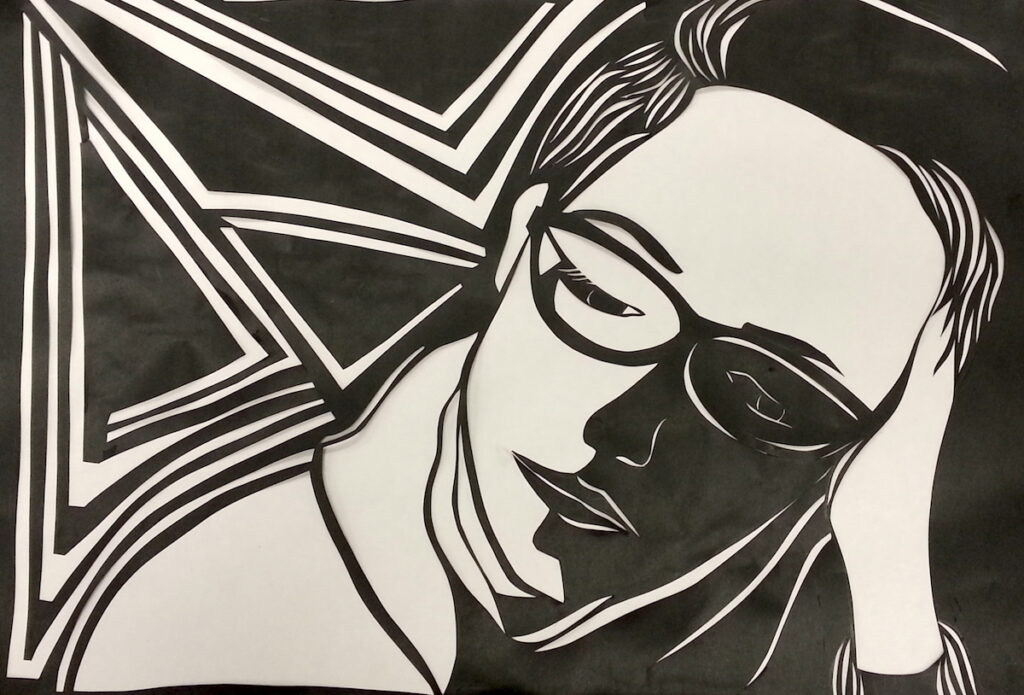
- Portraits
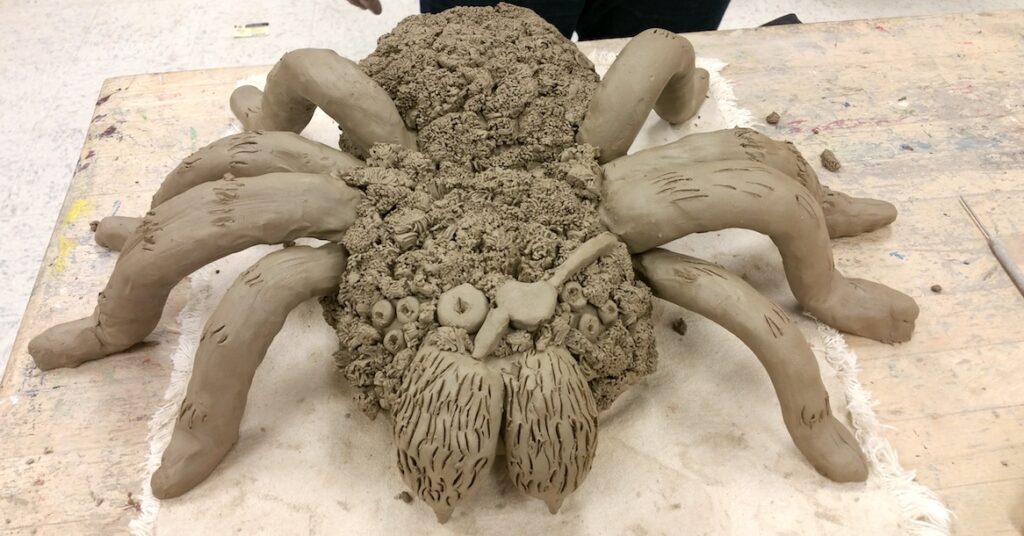
- Nature
- Comfort
See this list of themes for even more ideas.
Step 3: Brainstorm
Allow students time to brainstorm and come up with a list of possible ideas. Students can test and hone these ideas with peer feedback.
Step 4: Sketch
Make sure you give students a time to create a solid sketch of what they’d like to do during the final hour. Again, peer feedback can be a valuable tool. By the end of this time, students should have a fully-developed plan.
Step 5: Prep Materials
Have your students get all of the materials they will need, prepped and ready to go. That way, they don’t have to use time during the final hour to find supplies. If you have lots of kids using a particular material, say acrylic paint or earthenware clay, consider setting up one station everyone can use. Students could collect more specialized materials in large zip-top bags with their names which you could organize by class in large bins or boxes.
If you are tight on storage space, at the very least have each student create a comprehensive list of what they will need so they don’t have to spend time thinking about it.
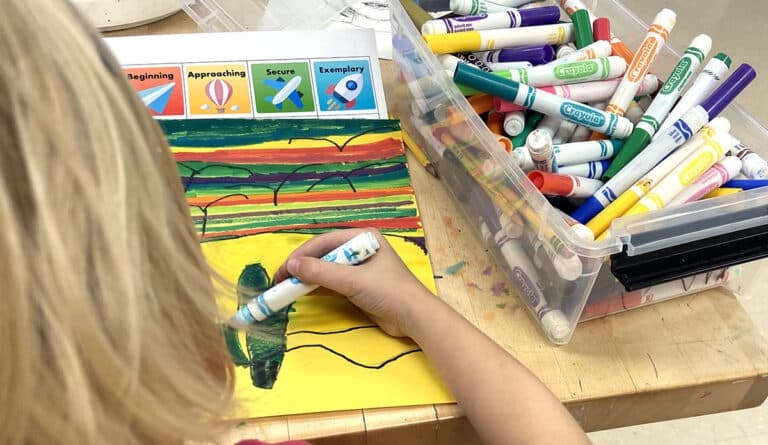
Step 6: Make art!
During your last time slot, students will come into your room and immediately get to work. Their goal is to create a meaningful piece within the allotted time. When the bell rings, their time is up!
Although students are working in a limited time-frame, you might be surprised by what they are able to accomplish. Students are generally motivated by the ticking clock and final products can end up being really great.
The one drawback of this process is that you may not be able to give meaningful feedback to your students after they complete the work. After that final exam time slot, there’s generally little, if any, time to meet with students. However, because two planning days are built in, you can focus your feedback on the planning and process phases, which can be equally as meaningful.
It’s always difficult to develop a worthwhile final which allows students to demonstrate their knowledge of the entire artmaking process. Although this solution isn’t perfect, it does allow them to share at least some of what they have learned throughout the semester. Plus, it eliminates the need for an unrelated multiple-choice exam, which is always a win!
What do your students create for their final projects?
What are some of your favorite themes you have used in class?
Magazine articles and podcasts are opinions of professional education contributors and do not necessarily represent the position of the Art of Education University (AOEU) or its academic offerings. Contributors use terms in the way they are most often talked about in the scope of their educational experiences.