Have you been interested in running your own summer art camp but don’t know where to start? Are you concerned about finding the right space? Signing up a manageable number of students? Planning engaging activities? Well, I’ve been running summer camps for 18 years now, and I’m here to tell you: You can do it!
5 Steps to Get Started
1. Find some students and advertise your camp!
If you’re looking to start your own summer camp, a great place to look for students is right in your own classroom. You may need to check with your administration to see if advertising to students is allowed. If so, great! If not, you can always put an ad in the local paper or on Craigslist and pin up flyers around town at places like libraries or coffee shops. Word of mouth is a great way to advertise, too!
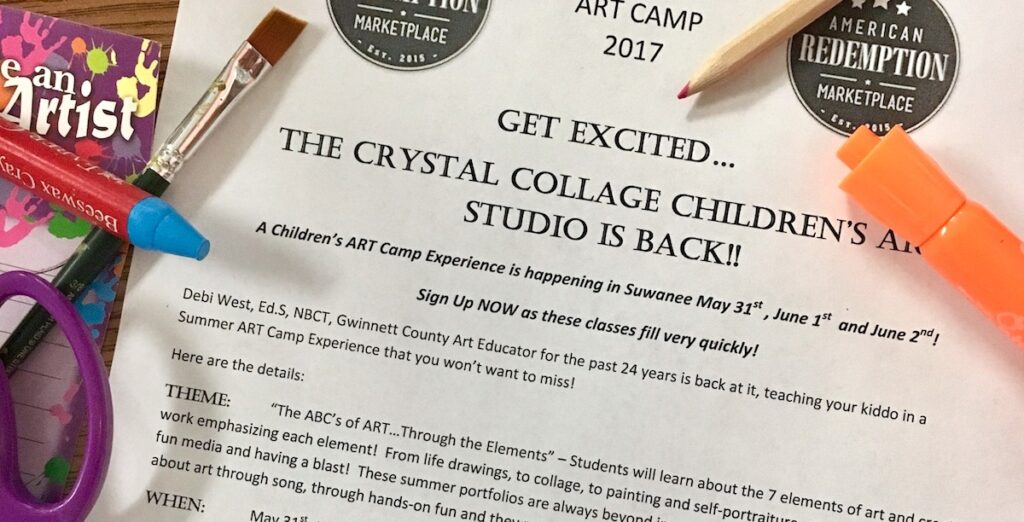
I, personally, started teaching my own summer camps out of my garage back in the summer of ’98. I advertised through my elementary school, with my principal’s permission, and the next thing I knew, I had three full weeks with two classes of twelve kids each per day.
The next year, I had over 90 families contact me to see if I was teaching again, and I realized I was in business! One you get that first year under your belt, chances are you’ll have former students coming back again and again!
2. Think about your class size and schedule.
I learned a lot that first summer, and I came to the conclusion I didn’t want to be a “babysitter.” I wanted to be an art educator and teach art education during my summer. Small classes were important in helping to keep this goal attainable. So was the class length. The first few years I ran 90-minute classes, and eventually bumped that up to two hours. With small classes and shorter time frames, I was really able to stick to teaching. I didn’t have to deal with snacks, food allergies, or movie time. Students came to me to make art and learn proper art skills.
3. Secure a location to create.
It’s important to find a location and space to accommodate the number of students and the kinds of activities you want to do. After I outgrew my garage, I was lucky enough to find a space to rent only a short distance from my house. The price was right and made sense with the number of classes I was teaching, which had grown to three classes of twelve students per day for six full weeks.

However, as time went on, my needs changed, so I started looking for local companies that would allow me to rent their spaces for a week or two each summer. And this is what I’ve been doing ever since! I’ve worked out of several gallery spaces, a clay studio, and am currently working out of an artist makerspace. Generally, these places allow me to rent the space in exchange for 10% of my fees.
4. Get your business license.
I recommend purchasing an official business license which should cost anywhere between $50 to $100 depending on where you live. This will keep everything legit when it comes to the business end of the art camp.
5. Look into insurance.
Insurance is something I didn’t consider my first year teaching out of my garage until by business-minded husband prompted me to do so. Purchasing insurance took our home and turned it into a true studio. If you’re creating out of your own space, it’s a smart move to look into what’s available.
If you’re renting someone else’s space, you can probably just use their insurance. Just be sure to ask before your session starts! Hopefully, you’ll never have an issue, but it’s always good to be prepared!
5 Ways to Make Sure Your Camp is a Success
Once you have the basics figured out, then the real fun can begin! Here are five tips for making your summer art camp the best it can be!
1. Consider how you will split your students into different classes.
In the perfect world, we would probably keep the ages of students consistent in each class. However, I’ve found that’s not always possible. I tend to get a lovely mix of ages in my classes. This year, I have kids from ages five to fifteen! I tried to keep the majority of the younger kids in the morning and the majority of the older kids in the afternoon, but you’ll have to see what works for you and your students. It’s a fun challenge to be flexible and differentiate the lessons for a wide age range.
2. Think about how you will make the most of the space you have.
In my own space, I had a large piece of wood on cinder blocks and pillows on the floor where students could sit. This provided a large, comfortable space. However, now that I rent space from others, I bring 8′ folding tables and plastic table cloths to work on. So far, I’ve been able to use the chairs in every space I’ve rented. Think about your situation and what you will need to bring so everyone has ample space to work.
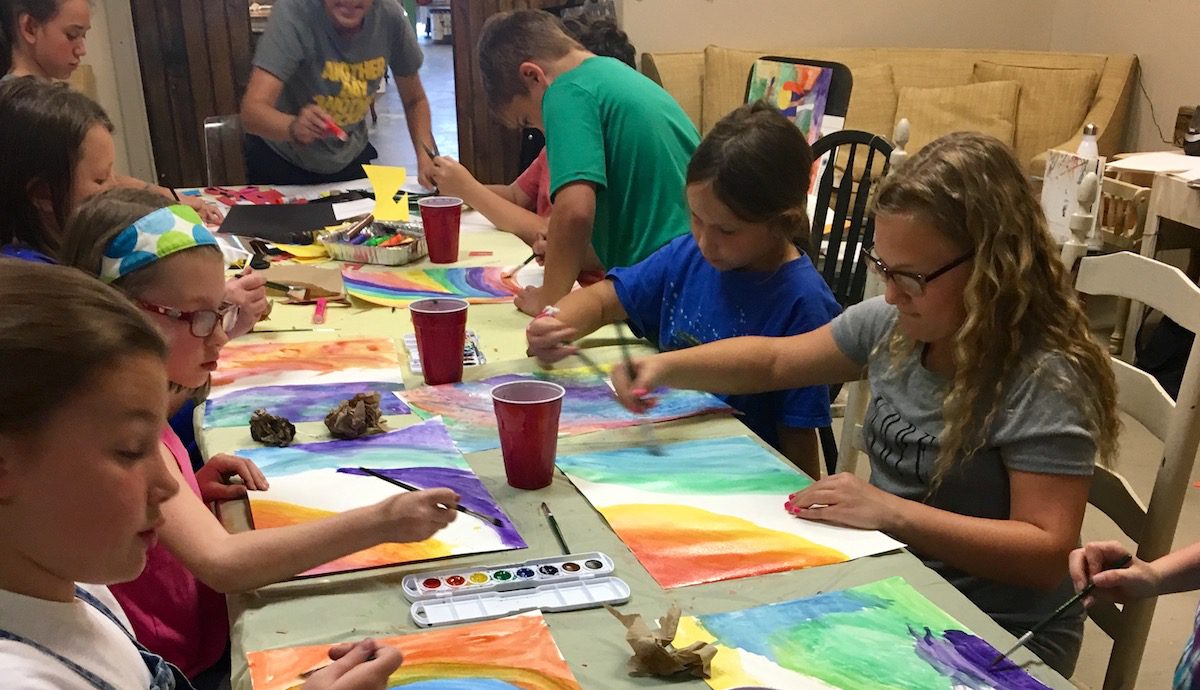
3. Plan engaging projects!
Of course, you’ll want to choose projects and activities you feel best fit the age and interests of your students and structure them in a way that makes sense.
In my experience, the following three things are always winners:
- A Theme
A theme allows you to narrow your focus and keeps kids engaged. For example, you could keep things simple with “The Elements and Principles” or think outside the box and have the kids “travel” around the world with you throughout their session. The possibilities really are endless. - A Spiraling Curriculum
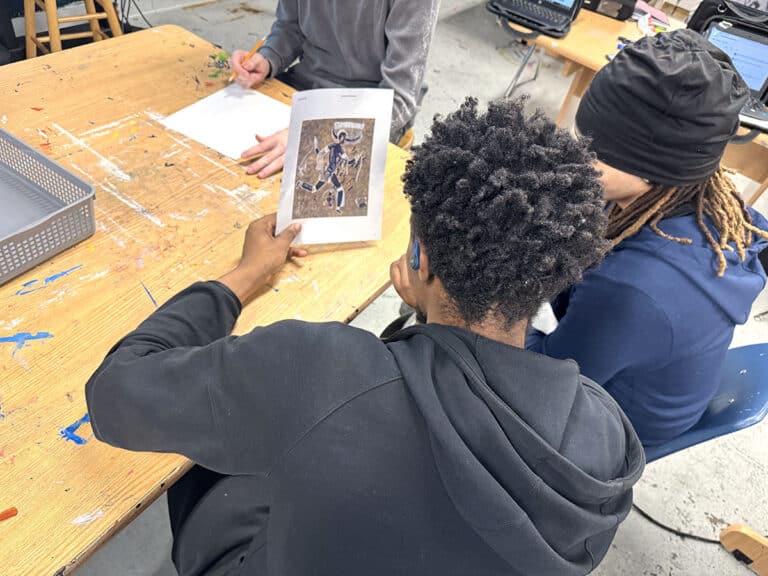
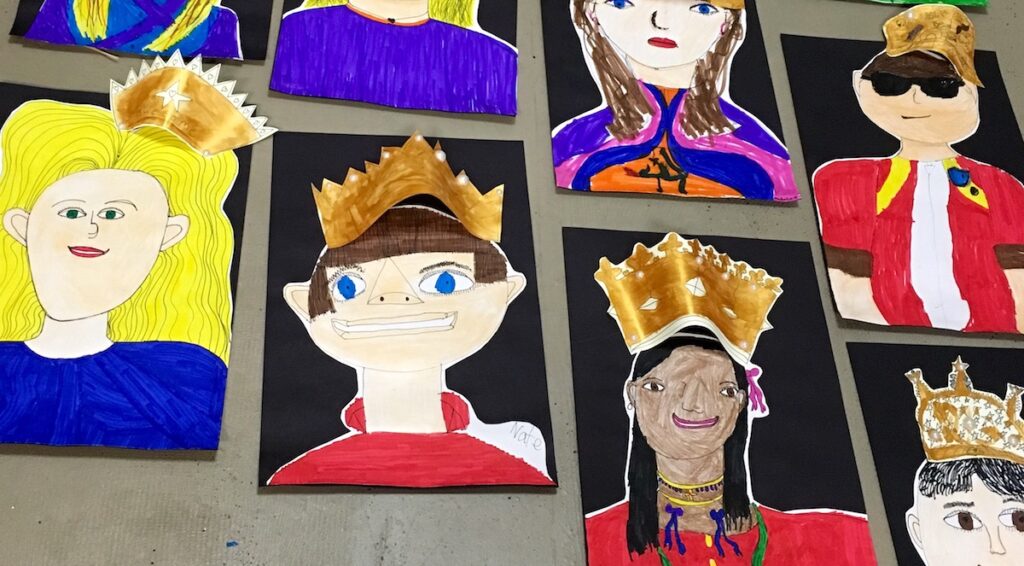
I always start with a line lesson and then move to color, value, texture and so on. It’s nice to start with the basics and provide lots of room for creative extension, especially when you’re working with such a diverse group of learners. For example, a self-portrait prompt can provide students lots of room to explore.
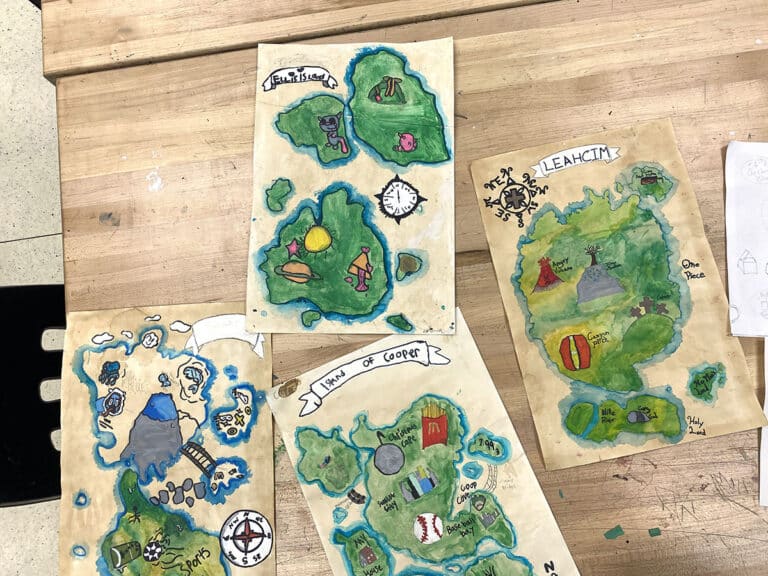
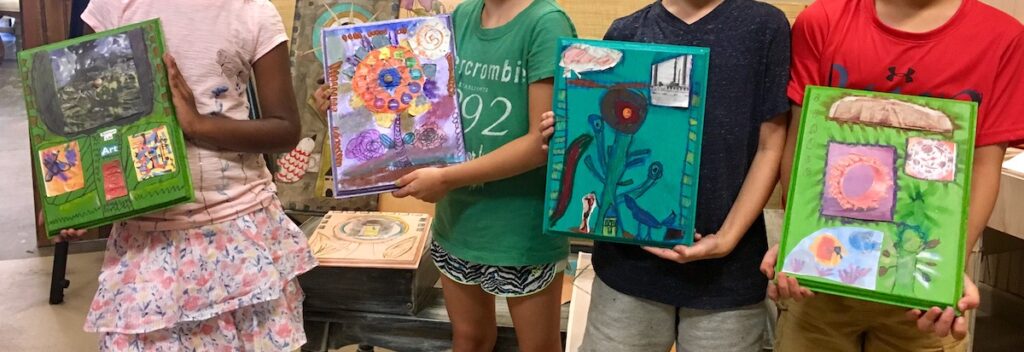
- A Special Final Project
Whatever type of theme or curriculum you go with, it’s always nice to have some sort of capstone project. This year, I had some nice wooden panels donated. The kids felt so special when they got to make “real art” on something other than paper. Think about how you can give students a chance to do something they might not experience in a K-12 classroom.
4. Set the Right Price!
To determine the proper price for your camp, you’ll need to balance what you know your community can afford and what you know you deserve. Teachers often undercharge because they are so excited to be teaching in a small, intimate setting. However, your time, expertise, and creativity are valuable, and you should be compensated accordingly! Don’t forget to take the cost of materials into account, too!
I’ve changed anywhere from $25 for a two-hour Saturday class to $90 for a three-day summer art camp experience, with six hours of instruction. Sit down and do a little math to make sure you’re coming out ahead!
5. Have FUN!
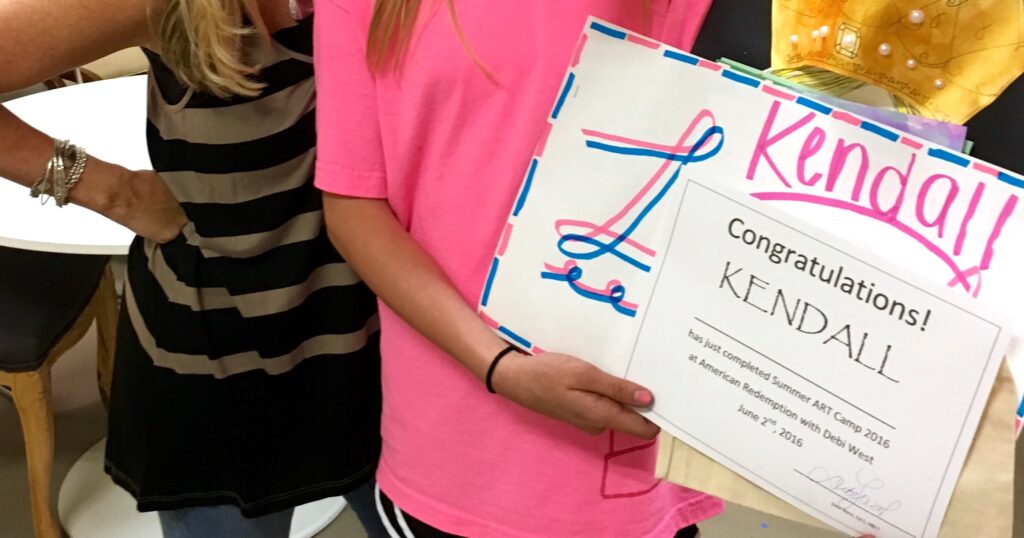
When you have fun with your art camp classes, it’s contagious and your kids end up learning and laughing and having a blast! I always end my camp with a quick “graduation ceremony” where each student receives a certificate to go home with their portfolio!
Remember, the camp will only be a success if you make it uniquely yours! Think about what type of experience you want to provide your students and make it happen. Have fun and get creative – I can’t wait to hear some of your fun ideas!
Have you ever taught a summer art camp?
What are some of the activities you have taught, or would want to teach if given the opportunity?
Magazine articles and podcasts are opinions of professional education contributors and do not necessarily represent the position of the Art of Education University (AOEU) or its academic offerings. Contributors use terms in the way they are most often talked about in the scope of their educational experiences.