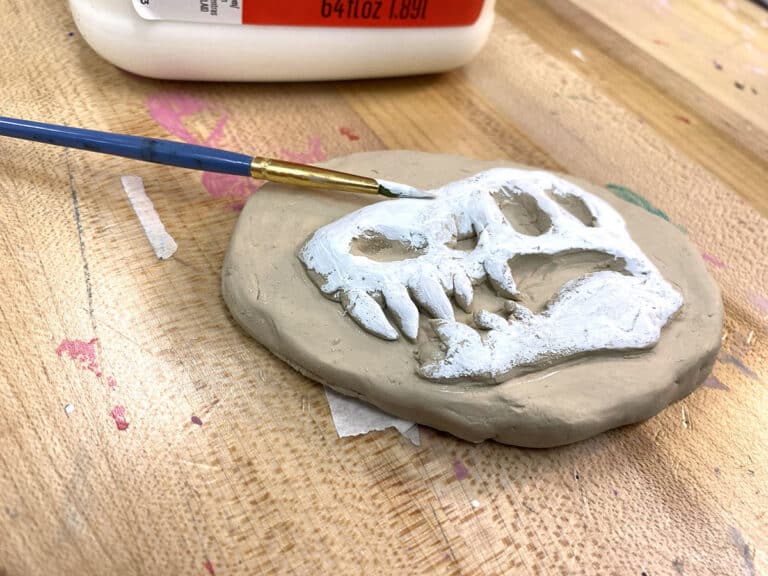
If you ask students to choose one skill they’d like to improve; chances are, the majority will say drawing. Whether students come across a drawing time-lapse video on Instagram or see you or another classmate with out-of-this-world skills, they’re envious. And, they want to be able to create similar drawings instantly! So many of your students long to draw realistically, but what they don’t realize is drawing takes practice. Just as an athlete or a musician improves their craft through practice, drawing requires the same.
When it comes to drawing, teaching the foundation is vital. Our students must first learn how to observe and to see. For thousands of years, artists have been practicing this skill through observational drawing exercises, so we know it works. Another key to drawing is teaching our students to identify light. Teaching students to shade to create the illusion of three-dimension isn’t always easy. The concept of value is easy to understand, but for beginning students, it can be challenging to apply those skills to their drawings.
If you’re looking for ways to go beyond filling in the squares on a value scale, these 4 lessons will do just that.
1. Value Layers Exercise
When exploring value through drawing, it is crucial for students to learn pencil control. This lesson is an excellent way for students to experiment with different drawing pencils and learn best practices like how to hold the pencil and how to apply appropriate pressure. To start, students draw and cut out a shape to use as a stencil. They will then use that stencil to trace layers that will get darker in value.
Here is a breakdown of the layers using a 5×7 inch piece of paper:
- Layer 1: Trace stencil 5-7 times and fill in using the lightest value
- Layer 2: Trace stencil 3-5 times overlapping behind the first layer. Fill in with a light-medium value.
- Layer 3: Trace stencil 3-5 times overlapping behind the first and second layers. Fill in with a medium-dark value.
- Layer 4: Fill in any remaining white spaces in the background with the darkest value.
Depending on the paper and stencil size, the layer numbers will vary. Trying a value lesson like this will allow students to see a value scale differently.
If you’re looking for even more tips about developing students’ drawing skills, don’t miss the Teaching the Building Blocks of Drawing PRO Pack which you can find in PRO Learning. Among other things, you’ll explore techniques to help with realistic and observational drawing and discover new lessons for beginning, intermediate, and advanced students!
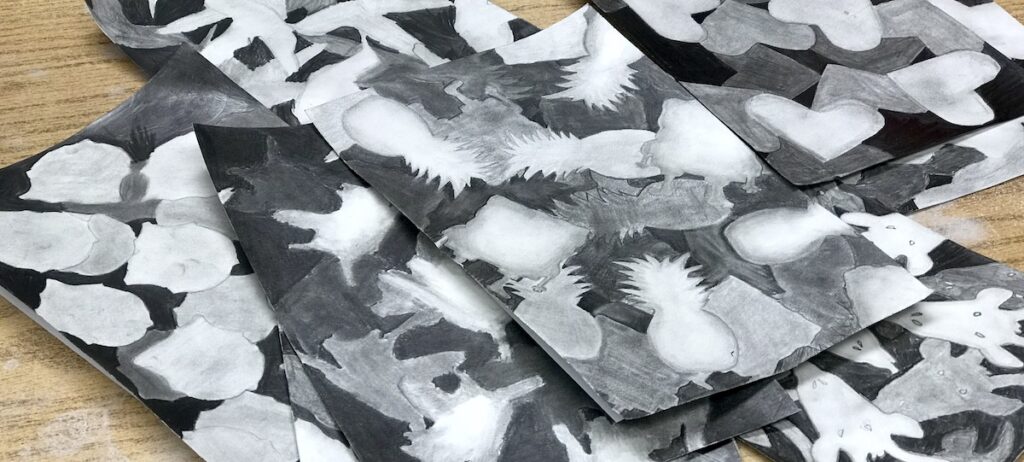
2. Shattered Value Drawings
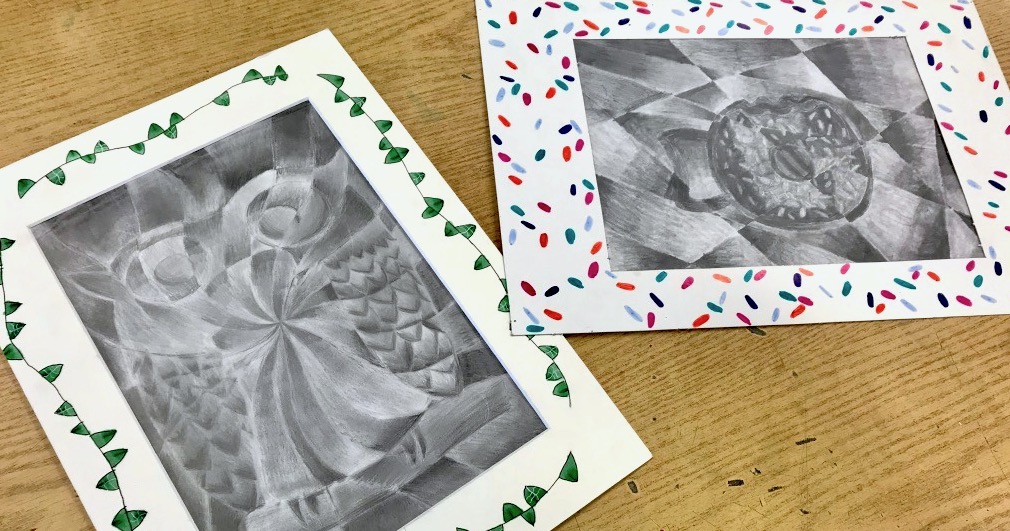
This lesson serves as an excellent stepping stone before you begin grid drawing with your students. Start by drawing a subject on the page using contour lines only. Next, divide the drawing into sections using shapes and lines. As a result, the line will appear to shatter the drawing, making it look like a giant puzzle. Encourage your students to get creative with this part! In each shape, students will use a full range of values to fill it in. It is best to treat the positive space slightly different than the negative space.
The best part about a project like this is students are focusing on small sections at a time and are not overwhelmed or worried about making their drawing appear realistic. As a result, students will create a value filled drawing with a cubist-inspired feel!
3. Photo Scavenger Hunt

When students first learn about value, they generally work in grayscale, or perhaps with a monochromatic color scheme. So, when students are asked to work with value using multiple colors, it can become challenging.
One way to help students see how the values of different hues relate to one another is through photography. Have your students find and arrange objects of different colors from the lightest value to the darkest value. Then, have them snap a photo using a tablet, phone, or other digital camera. After they take the photo, have them check to see how they did by making the photo black and white. This mini-lesson is an excellent way to introduce your students to comparing values and color.
4. Oil Pastels Blended with Baby Oil
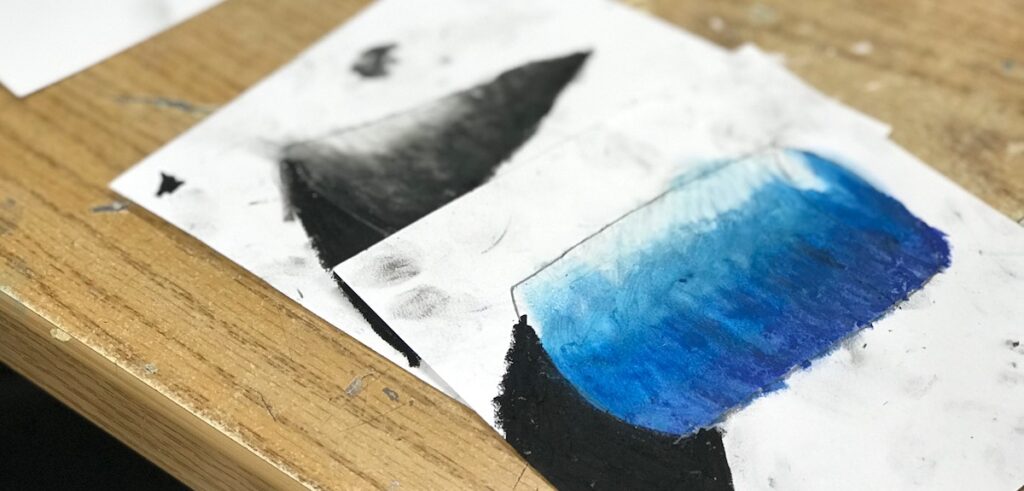
As mentioned above, it typically seems that value and drawing are viewed as a package deal. However, exploring value using different mediums can be beneficial for your students. Try using oil pastels and baby oil together. This process will teach students how to blend values to create a seamless transition. It takes far less time than practicing with pencil and will help students gain confidence in their skills more quickly.
Teaching value does not need to be confined to a dull value scale. Even though we know our students want immediate results when it comes to drawing, it’s important they understand it takes practice and time. The next time you teach value to your students, keep one of these four lessons in mind!
What is your favorite way to teach value?
With which concepts of drawing do your students struggle?
Magazine articles and podcasts are opinions of professional education contributors and do not necessarily represent the position of the Art of Education University (AOEU) or its academic offerings. Contributors use terms in the way they are most often talked about in the scope of their educational experiences.