Many art teachers approach air-dry clay with a healthy dose of reluctance—and for good reason! Cracking, breaking, rushed timelines, and disappointing finishes can make it feel like more stress than it’s worth. While we’ve explored the pros and cons of air-dry clay and basic techniques in the past, it’s time to take a deeper look at using this material more intentionally in the art room.
Gain clear expectations, project ideas, and classroom systems that align with the material’s strengths and limitations, so your relationship with air-dry clay will last for a lifetime!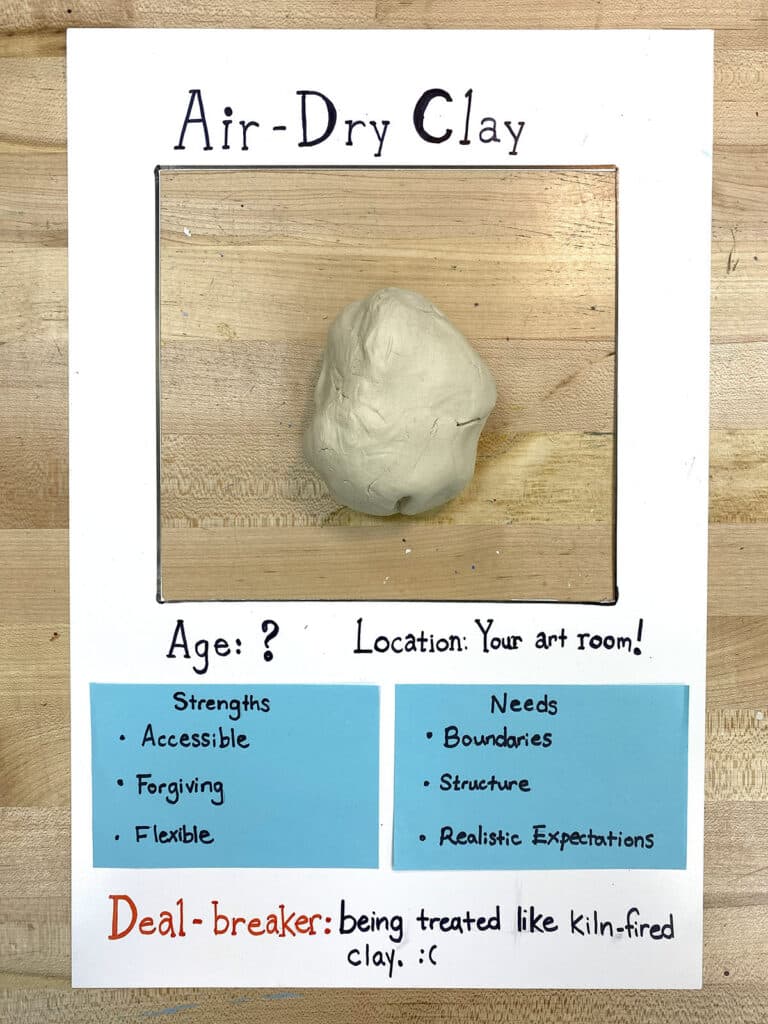
1. Define the Relationship: Set the right expectations early to avoid heartbreak.
One of the biggest sources of frustration with air-dry clay comes from comparing it to kiln-fired ceramics. Air-dry clay simply isn’t designed to behave the same way, and expecting it to do so often leads to disappointment for both teachers and students.
Start by reframing success. With air-dry clay, the goal is learning about form, structure, texture, and surface—not permanence. Make this explicit with students from day one. An anchor chart that clearly outlines what air-dry clay is and is not can help manage expectations and prevent misunderstandings later.
Normalize repairing and revising as part of the process. Broken pieces aren’t failures; they’re opportunities to practice problem-solving. Showing in-progress work with visible repairs helps students see that professional-looking results often come from persistence, not perfection.
Classroom Application:
- Systems and Strategies:
Structure air-dry clay units so they include a day for touch-ups and repairs. - Projects and Resources:
No matter what project you teach, begin by explicitly showing students what does and does not work. For instance, tell students not to expect functional dishware! The 5 Tips for Using Air-Dry Clay anchor chart from FLEX Curriculum is a great place to start.
2. Bring Out the Best in Each Other: Design projects that play to air-dry clay’s strengths.
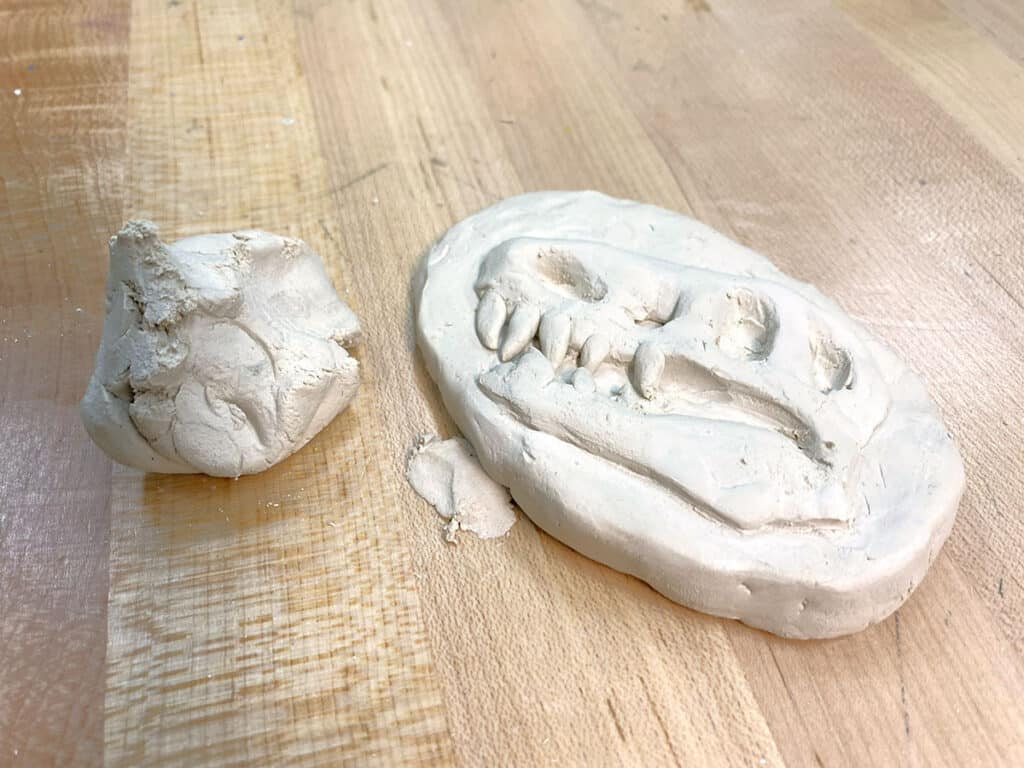
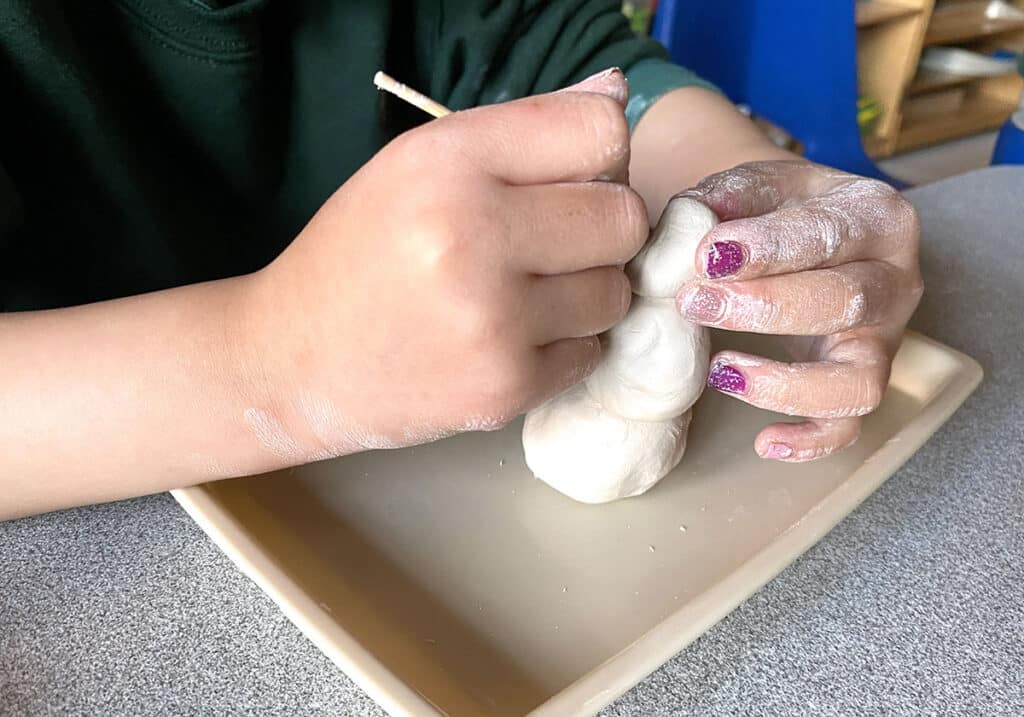
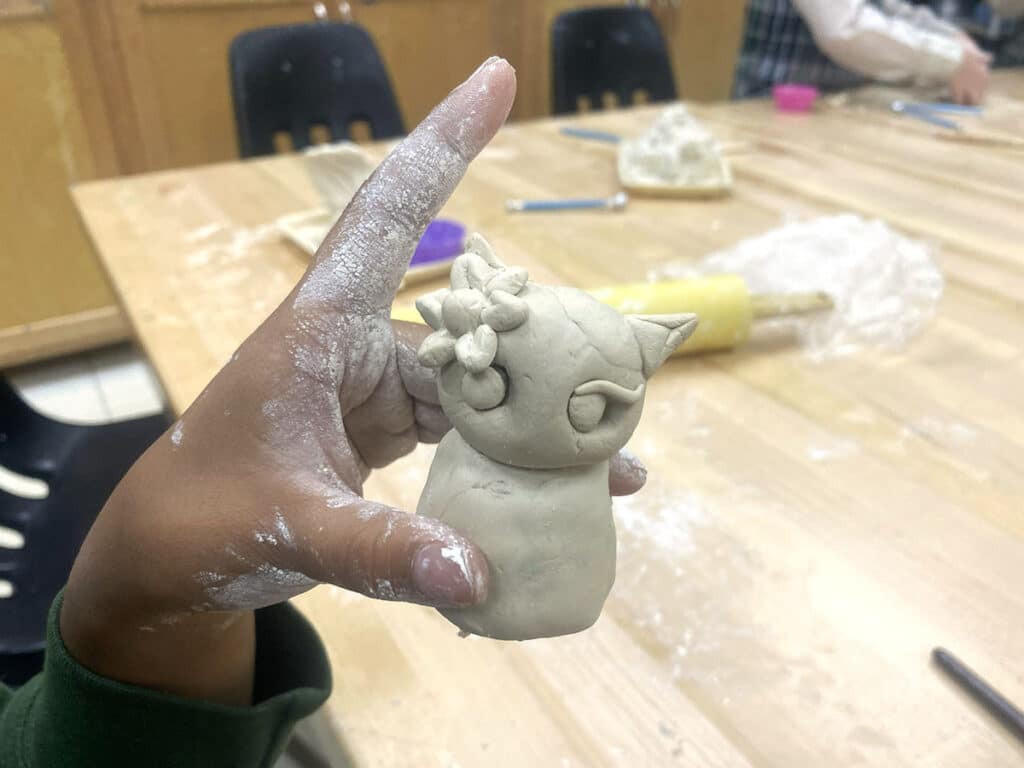
Air-dry clay truly shines when projects are designed to work with the material instead of against it. Smaller-scale forms, solid structures, and texture-based designs produce the most successful outcomes. Projects that work especially well include relief tiles, small figurative or symbolic sculptures, and expressive texture studies. These formats allow students to explore form and surface without relying on thin walls or fragile protrusions.
On the other hand, it’s best to avoid thin hollow vessels, narrow attachments, or large freestanding sculptures. These forms are more prone to cracking and breakage. Keeping projects smaller and simpler often results in stronger craftsmanship and more confident student experiences.
Classroom Application:
- Systems and Strategies:
To begin a tile or relief project, give each student a pre-cut slab to sculpt onto. No need for 100 rolling pins and inconsistent slab thicknesses across the class. - Projects and Resources:
Try FLEX Curriculum’s Critter Litter Lesson Plan for an easy, small-scale lesson in form. For other air-dry clay lessons and resources like this, check out the whole Creating with Air-Dry Clay Collection. There are nine additional Lesson Plans with 20 resources, plus student-facing videos and assessments.
3. Communication Is Key: Teach structure explicitly.
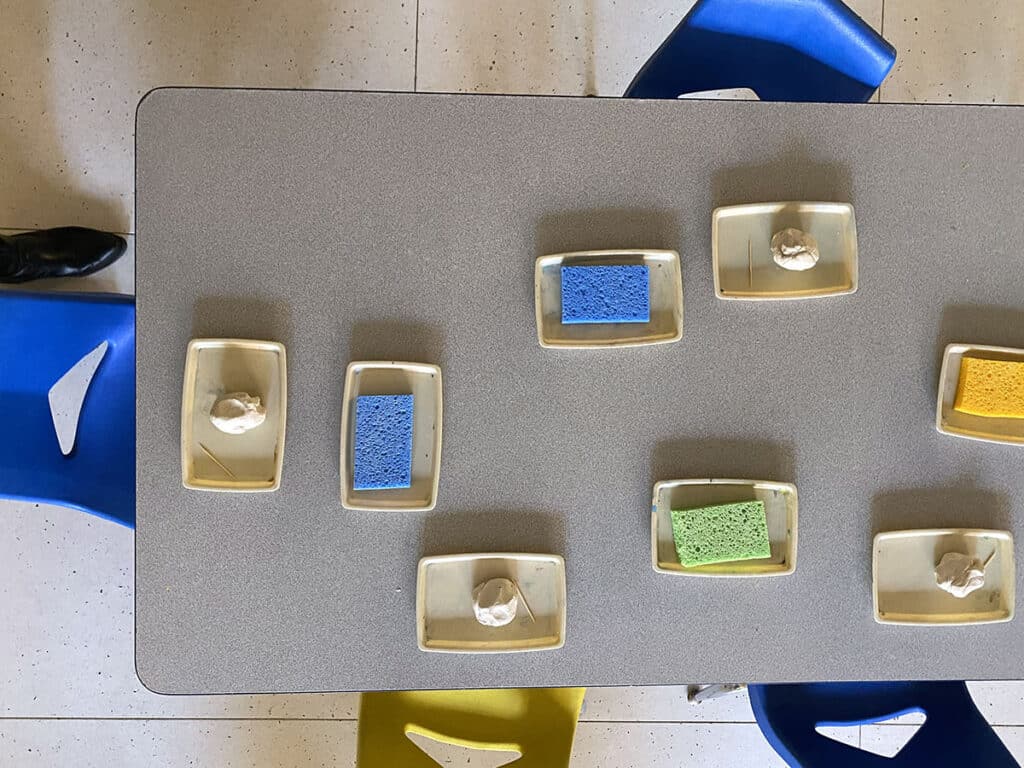
You can prevent many structural issues with a few targeted mini-lessons. Teach students to knead and warm up the clay before starting, adding a small amount of water if needed to improve flexibility. Emphasize consistent thickness by cutting cross-sections and examining them together as a class.
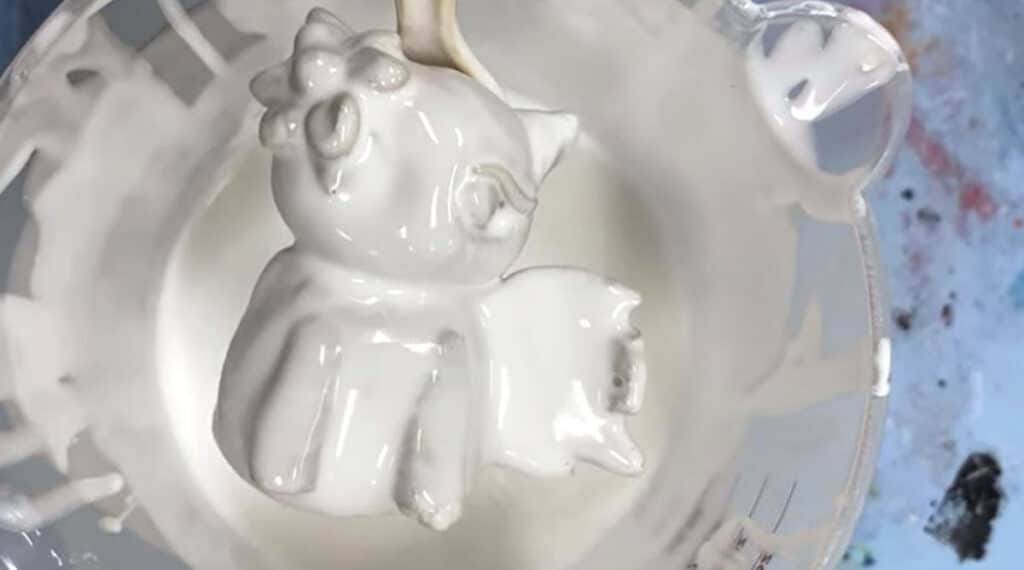
Reinforcement strategies make a big difference. Dipping pieces into a diluted glue-and-paint mixture (two parts glue to one part water, plus one part white paint) after drying but before painting can strengthen fragile forms. Toothpicks or wooden skewers work well for attaching parts, especially for stacked forms like figures or snowmen.
Drying slowly is another key strategy. Placing sculptures in a plastic container with the lid slightly ajar helps reduce cracking caused by rapid moisture loss. When cracks or breaks do occur, turn them into teachable moments during critique. Demonstrate repairs using tacky glue, hot glue, or joint compound, and frame revision as an expected part of the sculptural process.
Classroom Application:
- Systems and Strategies:
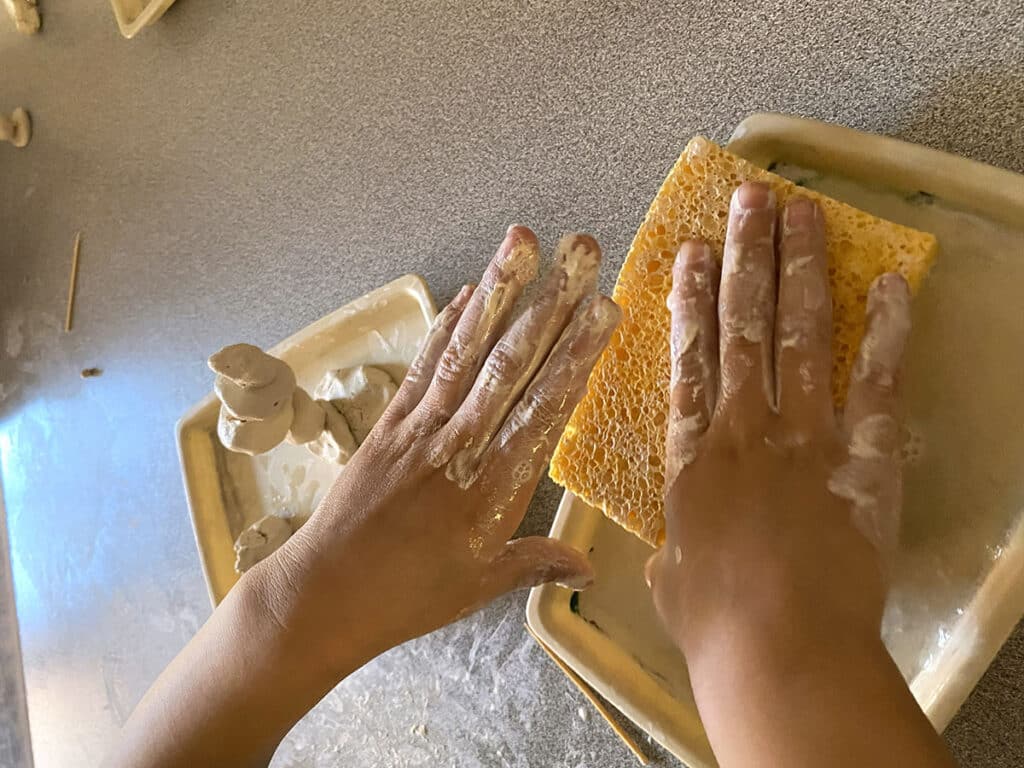
Moisture is key to preventing cracks. Give younger students wet sponges to dampen their fingers, all while preventing over-wetting and spills. - Projects and Resources:
FLEX Curriculum’s We Go Together Lesson Plan, also in the Creating with Air-Dry Clay Collection, is a fun way to explore simple structures in air-dry clay.
4. Set Healthy Boundaries: Clay-specific classroom systems for the long haul.
Strong systems are essential for reducing mess, stress, and chaos during clay units. Establish clear routines for clay distribution and collection so students know exactly what to expect each day.
To quickly cut even slabs of clay for students, consider investing in an adjustable clay slicer or even a multi-wired cake leveler. Stack clay slabs on sheets of wax paper or other non-porous material. Instead of wrapping each piece, place them all in an air-tight container with a spritz of water. You can mix water in a spray bottle with a little vinegar or rubbing alcohol to cut down on mold and mildew.
To keep student sculptures workable, give each student a plastic storage bag with their name on it. Give each sculpture a misting from the spray bottle before students seal it and place it back in the airtight storage box.
Classroom Application:
- Systems and Strategies:
Assign two basins for students to wash their hands at the end of class: one for washing and one for rinsing to prevent clay from clogging the drain. - Projects and Resources:
While you distribute clay, consider showing students the Introduction to Clay Tools and Materials video from FLEX Curriculum to set them up for success.
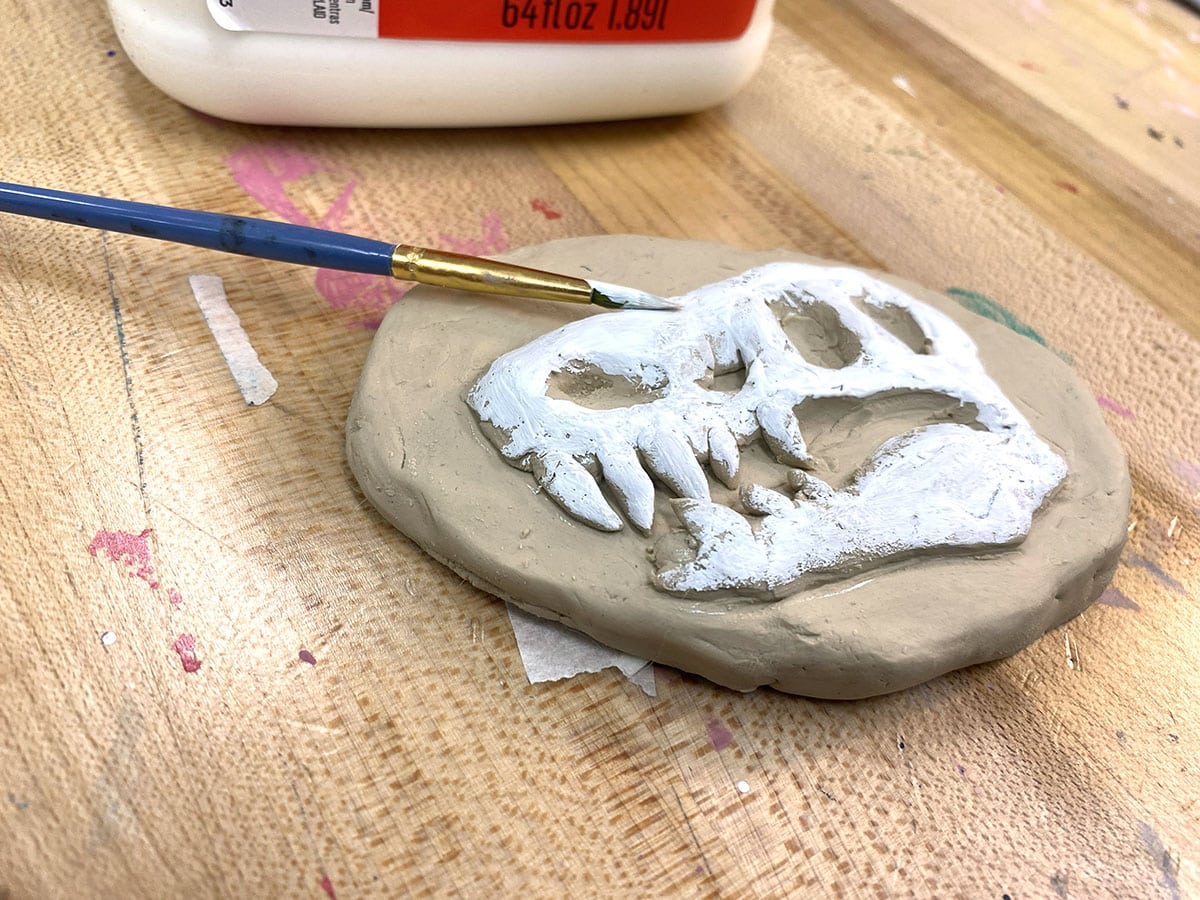
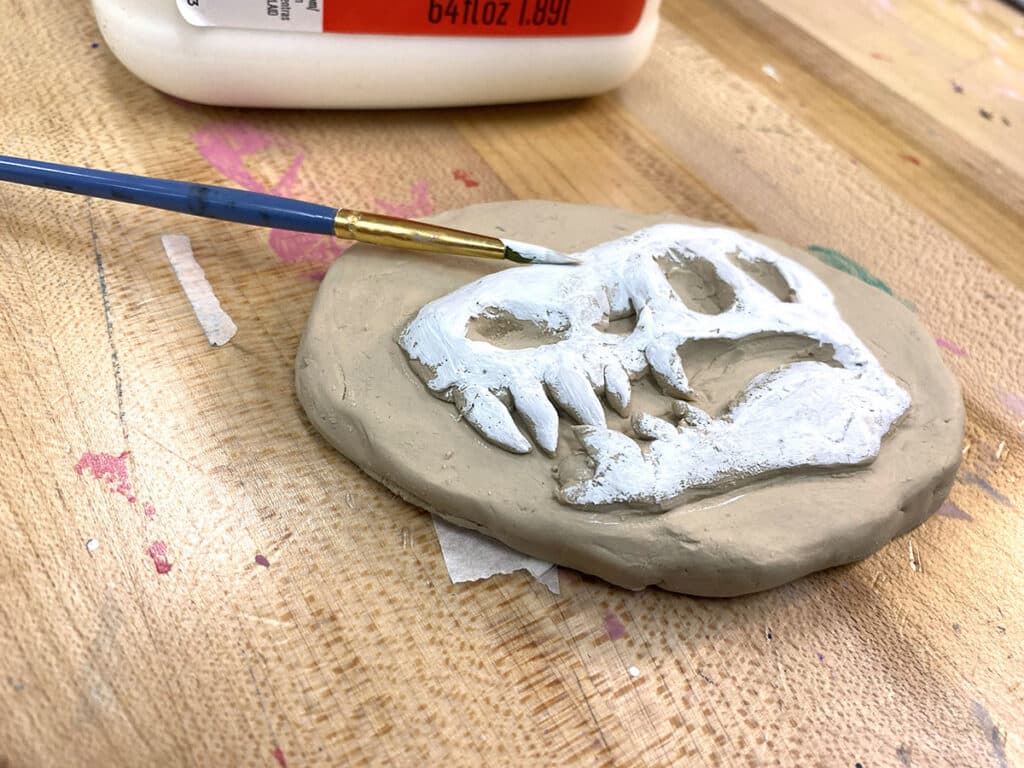
5. Love Is in the Details: Surface finishes make all the difference.
Air-dry clay doesn’t have to look dull or unfinished. Surface treatments are often what elevate student work from “crafty” to polished. Tempera or acrylic paint are reliable options for air-dry clay, but don’t stop there! Consider markers, watercolor, decoupage, or pastel resists. Encourage students to think about surface design, layering, and brushwork. Mixed media additions, such as wire, paper, or fabric, can also enhance visual interest when used in meaningful ways.
Sealing finished pieces with a clear varnish or sealant adds durability and helps unify the surface. Showing before-and-after examples of painted and sealed work can help students understand the impact of finishing choices.
Classroom Application:
- Systems and Strategies:
Create a shared surface-finish display as a class or as an early-finisher activity. Assign each table a different finishing technique to test on a small clay tile. This allows students to see a range of surface options without needing to experiment with every method themselves. As a bonus, once you create these samples, you can save them and reuse them with future classes as a long-term instructional resource. - Projects and Resources:
These two (K-8 and 9-12) FLEX Curriculum anchor charts of several different Air-Dry Clay Finishes inspire experimentation and craftsmanship.
6. Grow Together: Assess the process, not just the product.
Assessment plays a key role in making air-dry clay a sustainable choice in your curriculum. Focus on criteria that reflect meaningful learning: planning, craftsmanship, persistence, and problem-solving. Clear assessment practices not only support student growth but also help justify the inclusion of air-dry clay as a valuable instructional material.
Reflection prompts tailored to sculpture encourage students to think critically about their process. Ask questions like, “What structural challenge did you face, and how did you solve it?” or, “What would you change if you made this again?”
Classroom Application:
- Systems and Strategies:
Begin with the end in mind. Make (or save) successful and unsuccessful air-dry sculptures. Allow students to analyze and critique the pieces before beginning their own. - Projects and Resources:
Students can self-assess their work using the Artmaking Process Reflection in FLEX Curriculum.
A Relationship Worth Committing To
Air-dry clay doesn’t need to be kiln-fired to be worth committing to. When expectations are realistic, projects are thoughtfully designed, and classroom systems support the process, this accessible material can offer meaningful sculptural learning without the heartbreak. Used intentionally, air-dry clay becomes less of a compromise and more of a reliable partner in the creative process.
How might shifting your expectations change your next clay unit?
What’s one system or routine you will tweak to make air-dry clay less stressful?
To chat about air-dry clay with other art teachers, join us in The Art of Ed Community!
Magazine articles and podcasts are opinions of professional education contributors and do not necessarily represent the position of the Art of Education University (AOEU) or its academic offerings. Contributors use terms in the way they are most often talked about in the scope of their educational experiences.