Are you looking for a super fun, creative, non-messy project to wrap up the school year?
Then look no further! Tape murals are here, and they are all the rage!
Several years ago, I read about how teachers and students were using tape to make temporary murals.
I was completely intrigued, but I had a lot of questions.
- Which tape works best?
- How much time does something like this take?
- What master artists could students look to for inspiration?
After a little research, I let my kids loose to experiment. Wow, did they rise to the occasion!
Here are 7 Helpful Tips for Successful Tape Murals
1. Be strategic about when you schedule the project.
Planning when you want your students to do a free-form lesson like this is important. We did it the week before spring break. My students were ready to be out of school, and their attention spans were less-than-desirable. I told my students about the lesson, showed them the different types of tape they would be using, and let them go.
2. Be strategic about where your students will work.
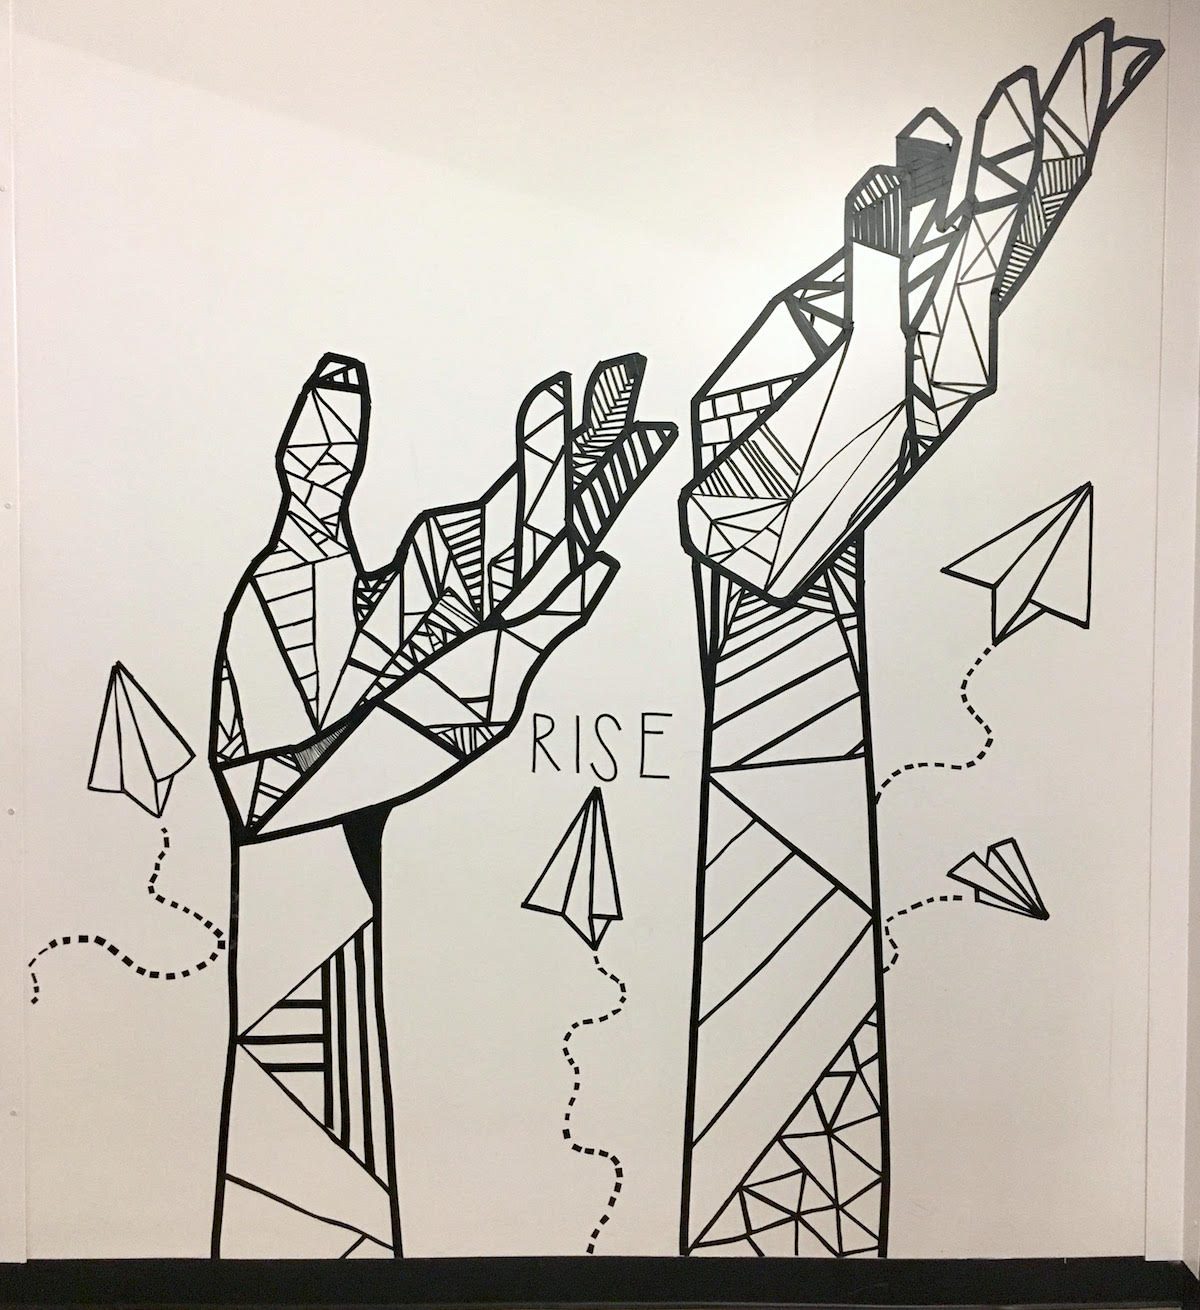
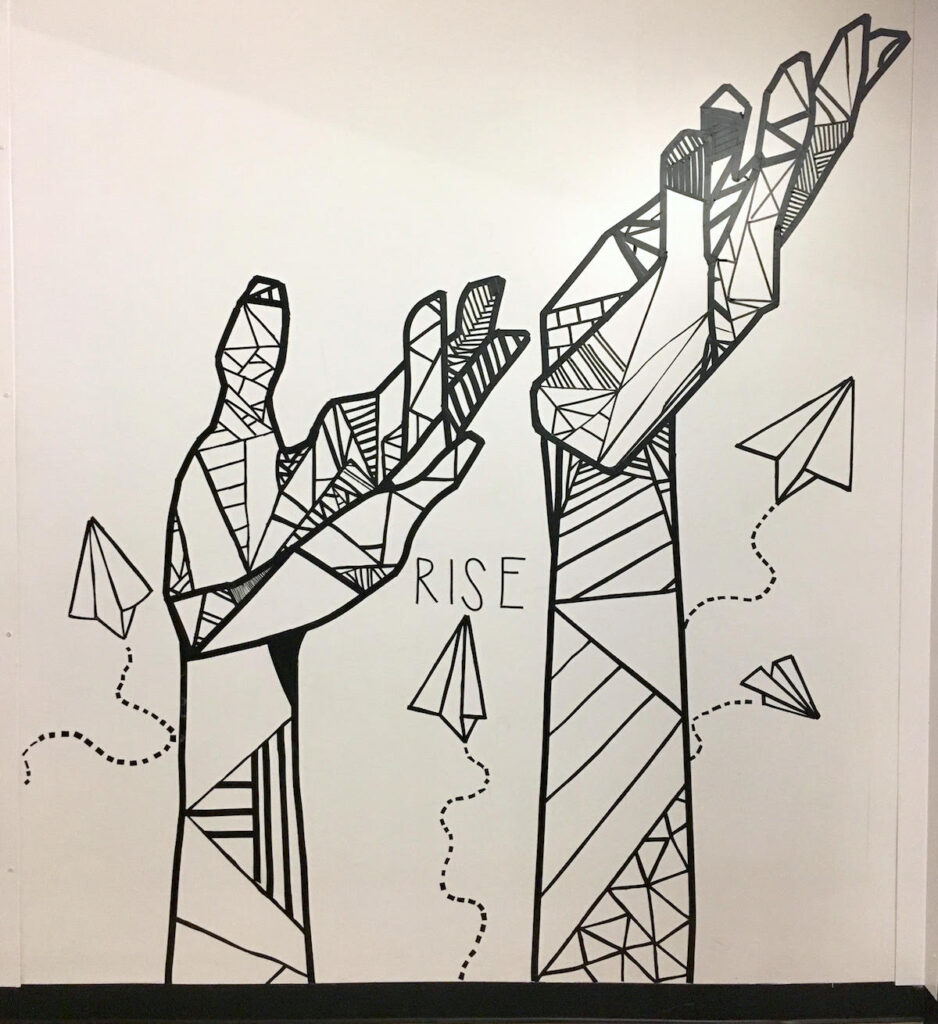
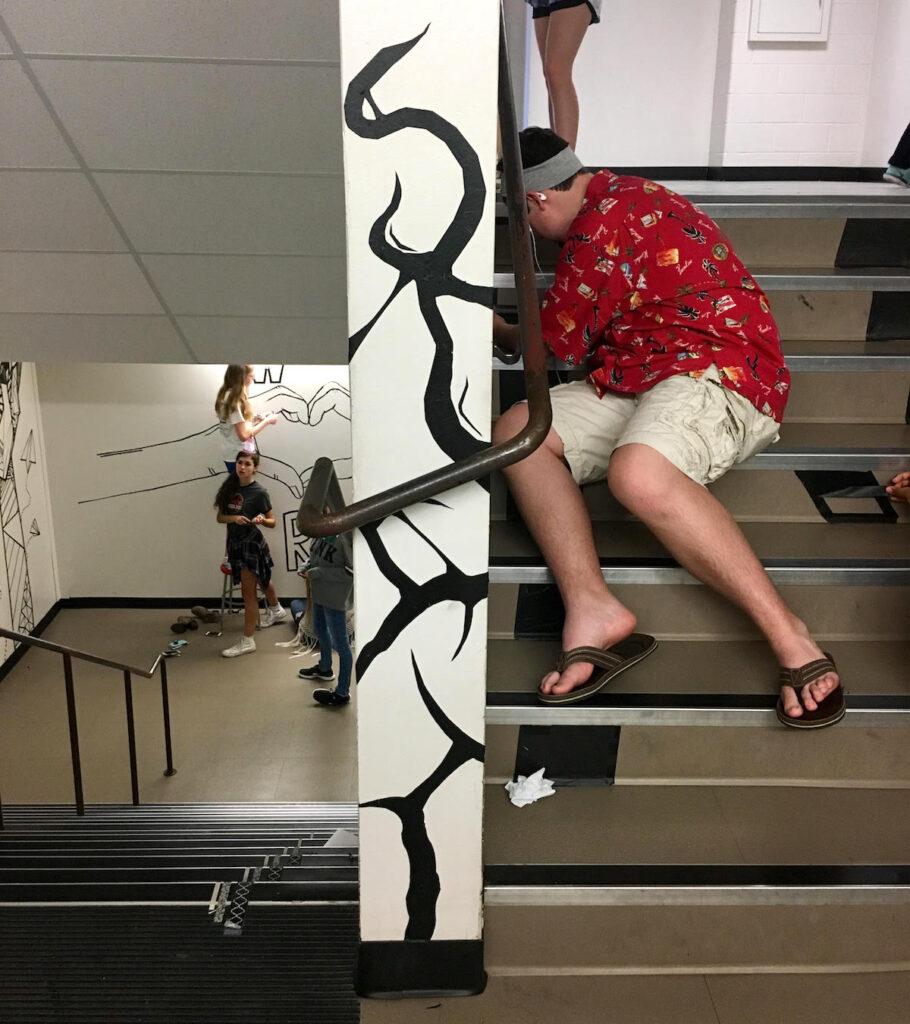
Planning where you want your students to do the tape murals is equally important. You may want to plan this ahead of time with your administration’s blessing. We selected a stairwell hallway because the large white walls provided the perfect canvas. It was exciting to see kids begin to think about this environment. Several students even started creating murals on the steps and around the corners.
3. Organize your students into groups.
Putting students into groups is a good idea if you have a limited amount of time. In our case, groups of three to five students worked well.
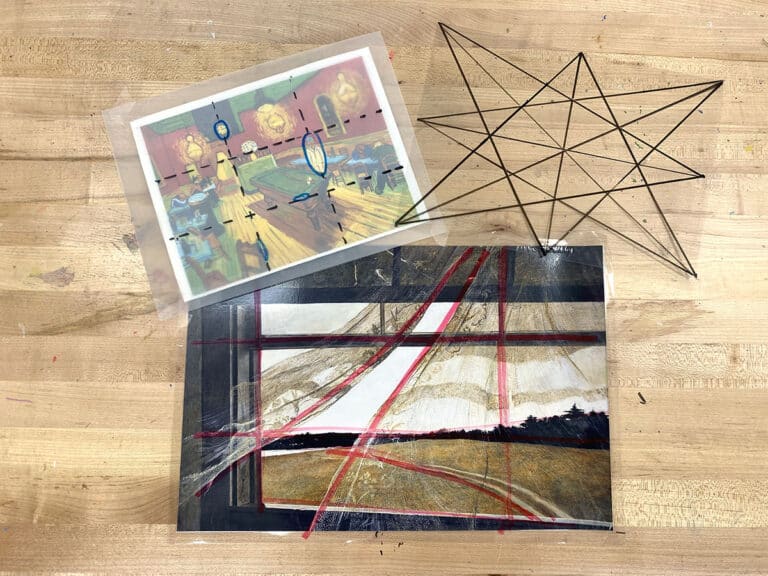
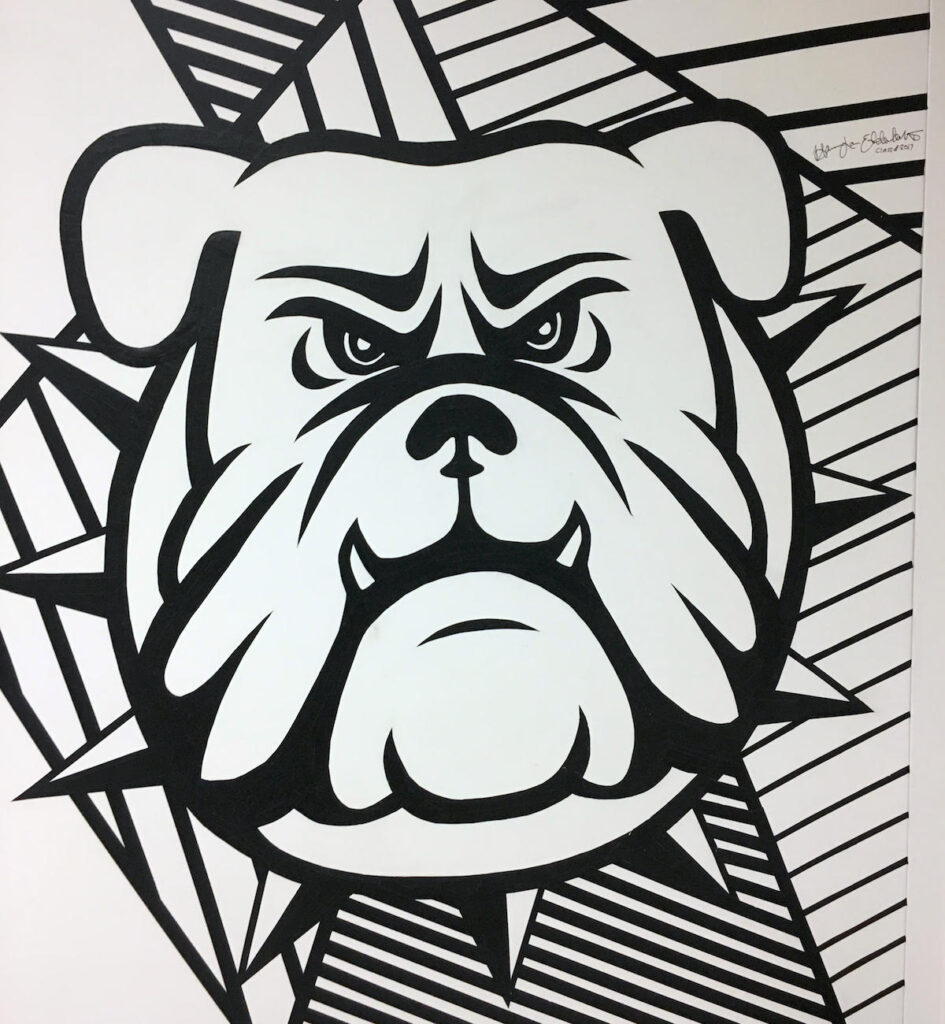
4. Provide some imagery to get students thinking.
Before your students start, be sure to do a bit of research and find some examples of high-contrast images. I gave students the first day to mark off the space they wanted to use and to come up with a high-contrast image they could enlarge. This planning step is extremely important so students can hit the ground running once you give them the tape.
5. Experiment with different tapes.
Since this was our first time creating tape murals, I wasn’t 100% sure which was the best tape to use.
So, I had three different tapes for my students to experiment with.
- Electrical tape
- Painter’s tape
- Gaffer tape (used in film/theater/photography)
I quickly realized the gaffer tape was the best tape to use. It stayed on the walls well and was easy to tear and manipulate into curved lines. Be sure to test the tape before beginning, as all surfaces are different.
6. Decide how your students will enlarge their images.
You could have your students print their inspirational images or look at them on their phones for reference while creating. Or, you could have them enlarge the images onto the wall with a projector.
We opted not to use a projector. The students had to measure and really work together to create accurate enlarged images. This method also allowed for the work to be authentically theirs.
7. Encourage your students to push the boundaries.
I encouraged my students to work together, be creative, and put an individual spin on their murals. Many groups added text and extended their inspirational images. Each mural became a beautiful piece of collaborative art.
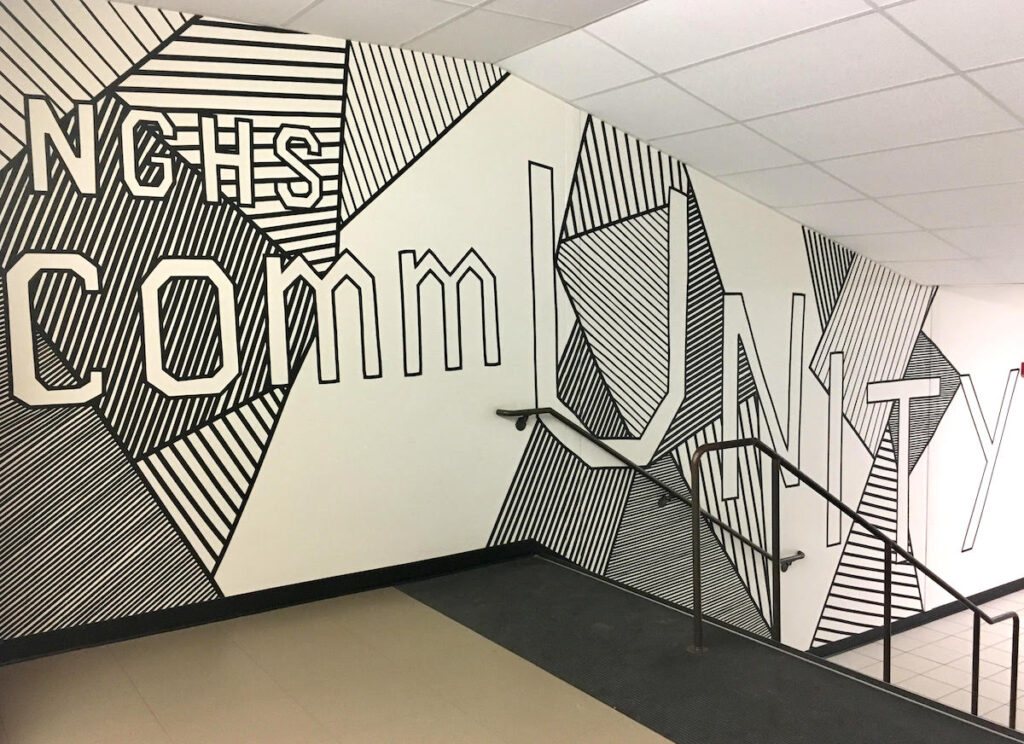
In addition, I had one group of students who wanted to incorporate our school’s yearlong theme of “commUNITY.” The senior student who became the leader of the group envisioned a massive mural. But, there was no way it was going to be completed in one week.
So after spring break, she asked if she could continue working on it during her lunch and after school. She got some of her friends together, as well as the other two students in her group. A month later they completed it. The school was so thrilled with it they chose to seal it and make it a permanent piece of North Gwinnett High School art!
I’m not convinced there is only one “right” way to do a lesson of this magnitude, but I do know for sure it’s something art teachers and students should explore. You can go big, you can go small, but until you go there you won’t know what magic might be created!
Have you ever considered having your students create collaborative tape murals?
Have your students ever made permanent murals and if so, what materials did they use?
Magazine articles and podcasts are opinions of professional education contributors and do not necessarily represent the position of the Art of Education University (AOEU) or its academic offerings. Contributors use terms in the way they are most often talked about in the scope of their educational experiences.