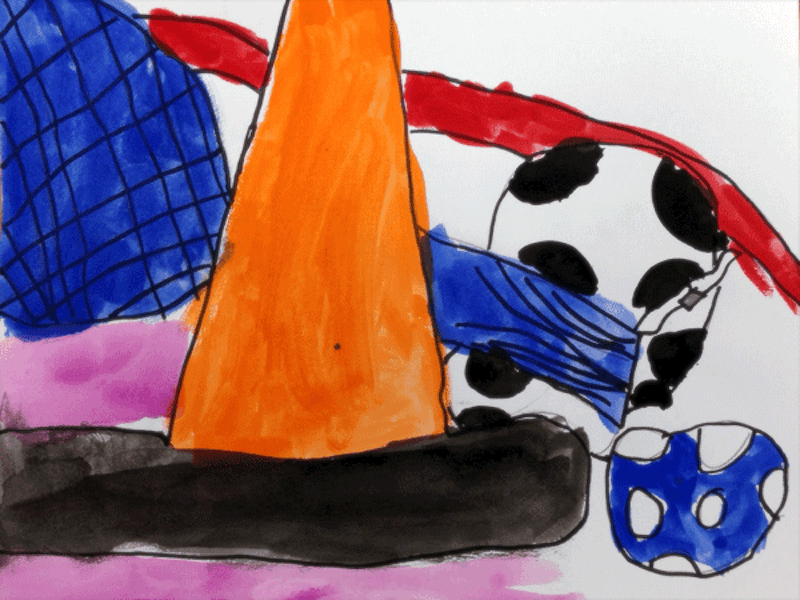
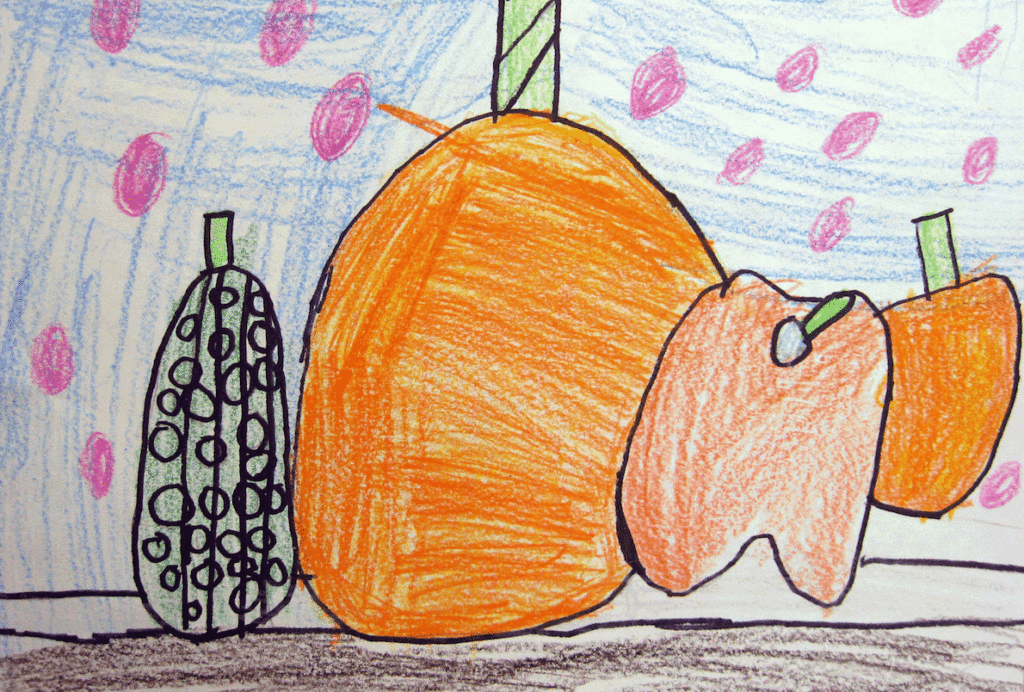
Sometimes it’s difficult to know when to introduce certain concepts to your students. This is especially true when a single class could contain students at three different stages of drawing development.
Surprisingly, one thing it’s never too early to introduce is drawing from life.

Although many students won’t (and shouldn’t be expected to) draw from life realistically until they’re approaching middle school, the act of practicing is beneficial.
This is because drawing from life isn’t really about drawing, but about looking. While having young students draw from life may or may not improve their drawing skills, it definitely improves their seeing skills. And, we know how important it is for artists to be able to observe!
If you’re wanting to try observational drawing with your young students, here are 3 keys for success.
1. Choose an Engaging Subject Matter

It’s no surprise that young students aren’t going to be into the traditional still-life objects. No skulls, vases, or old telephones, please!
Instead, you might want to consider some of these options.
- Sports Equipment
Ask your Phy Ed teacher to borrow things that are simple shapes like orange cones, playground balls, and baseball bats. - A Classroom Pet
Bringing a live animal into the art room is sure to get your students talking. If you have a school-approved pet in the building, it’s a perfect place to start. Be sure to check your school rules and your students’ allergies before bringing in an outsider. - The Great Outdoors
If it’s warm outside, head to the playground to draw from life. The kids will enjoy looking at something they know so well in a new way. - The Kids Themselves!
There’s no better time to start practicing self-portraits. Handing out mirrors for the first time is a special experience.
2. Simplify Your Set Up and Demo

Because you want the focus to be on looking, it’s essential to keep things simple.
Set Up
To set up your still-lifes, I suggest using just 3-5 objects to start with. If you have table groups, make an arrangement for each one so they can really see things up close. You can keep these on trays to easily store them from class to class.
Demo
When demonstrating, it’s important not to get too deep. Focus on shapes and contour lines. Depending on the age range, you may also want to talk about how to make an object look like it is behind another object by just drawing part of it.
3. Keep it Brief

I recommend spending just one 30-60 minute class period on observational drawing. At this age, it’s an exercise, not a path to a finished product. Although some of your students may come up with fairly representational pieces, that’s not the point. The point is that students are developing their observational skills, and having fun in the process!
Although it may seem daunting to introduce young students to observational drawing, it doesn’t have to be. Choose an engaging subject matter, simplify your presentation, and keep the exercise to one class period. Sprinkling in a few observational projects throughout the year will really help your students learn to see like artists.
When do you introduce observational drawing to your students?
Do you have any other tips to share?
Magazine articles and podcasts are opinions of professional education contributors and do not necessarily represent the position of the Art of Education University (AOEU) or its academic offerings. Contributors use terms in the way they are most often talked about in the scope of their educational experiences.


