Creating with clay continues to be a crowd favorite among students. One of the even more intriguing things about ceramics is its functionality. Upon showing your students a new technique or process, you probably start hearing them discuss how they will use their creations. Comments like, “I can’t wait to eat cereal out of this!” are not uncommon. Generation Z students seek a rationale and purpose when doing anything, so functional pottery fits right in with their mindset.
From mugs to bowls, there are many functional pottery avenues to explore with students. Creating candles is one more process you can add to your repertoire. Here is a step-by-step guide to try it out in your classroom.
Step 1: Gather your materials.
To begin the process, you will need a few materials.
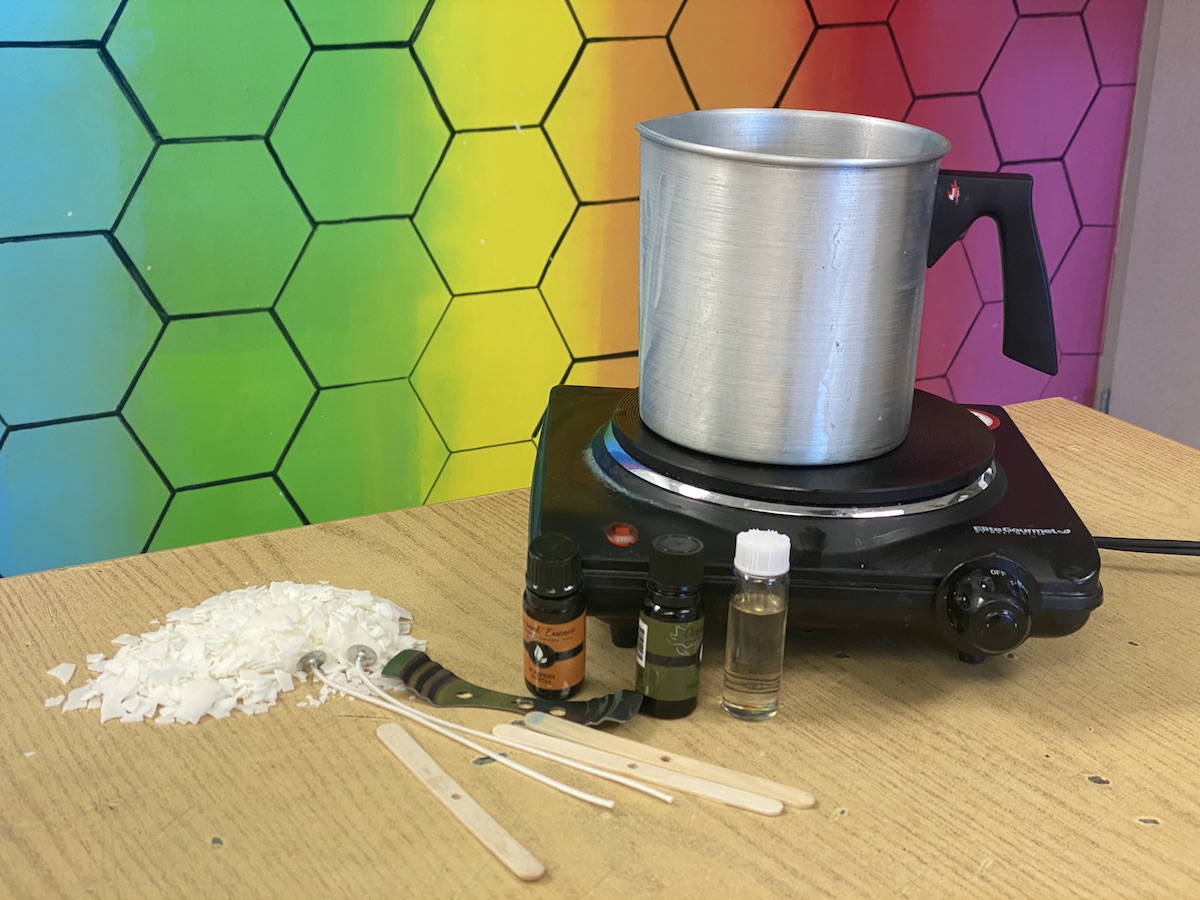
- Clay materials and tools
- Wax (soy wax is a great option)
- Wicks
- Electric burner or stovetop
- Essential oils (to add scent)
- Candlewick centering tool
- Wooden stick or skewer for stirring
- Candle dye (not required)
Step 2: Create clay containers.
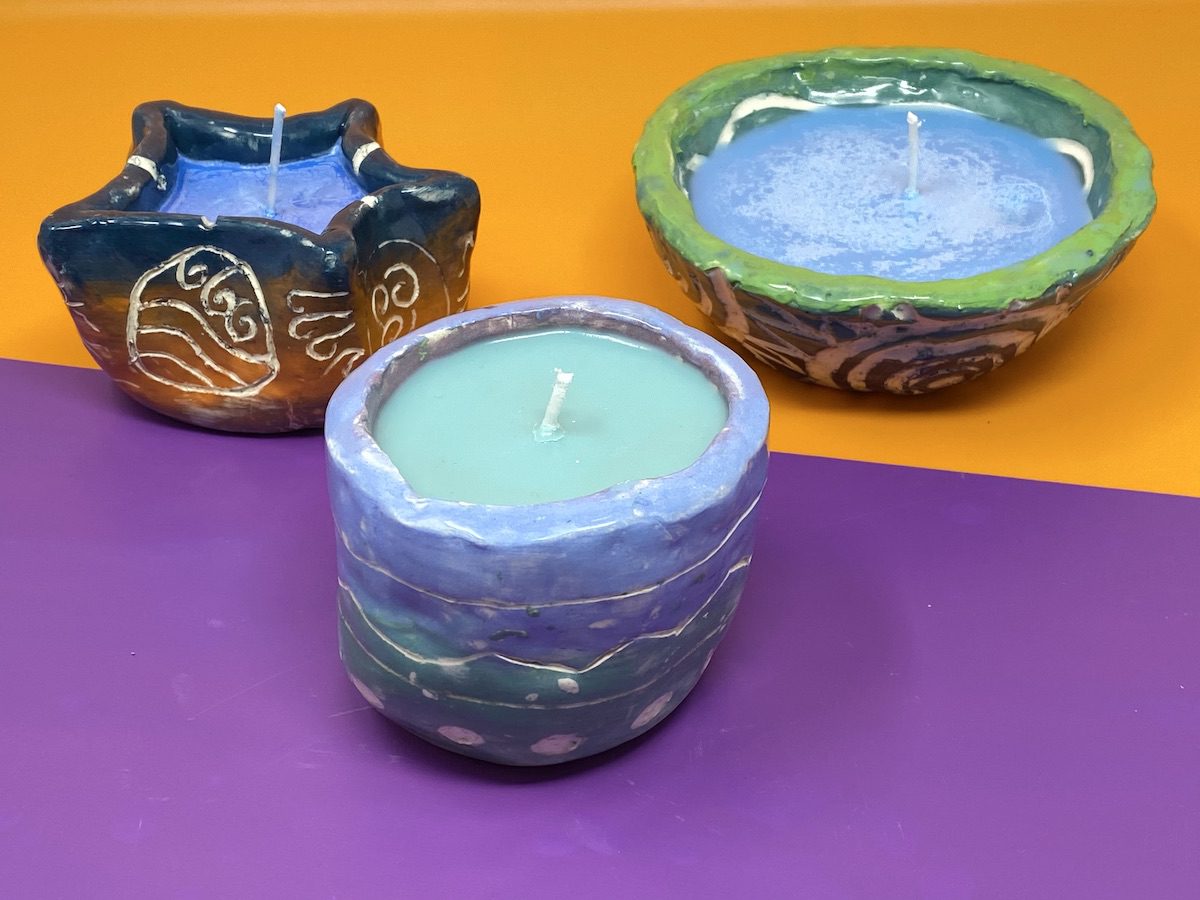
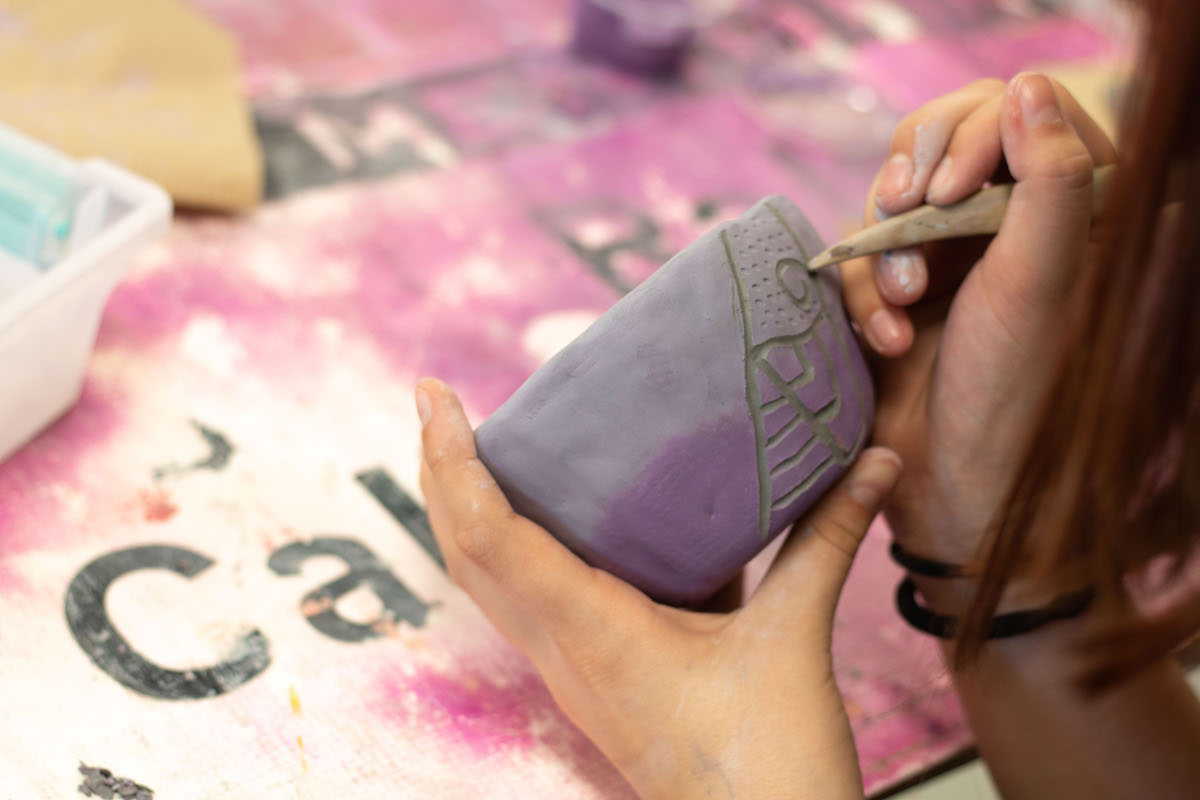
When creating a container for your ceramic candle, almost any technique will work! The important things to keep in mind are the vessel’s width and height, as this will determine how much wax you need and the length of the wick. Before your students get started, you might consider giving them a set amount of clay or dimensions to guide their piece’s size.
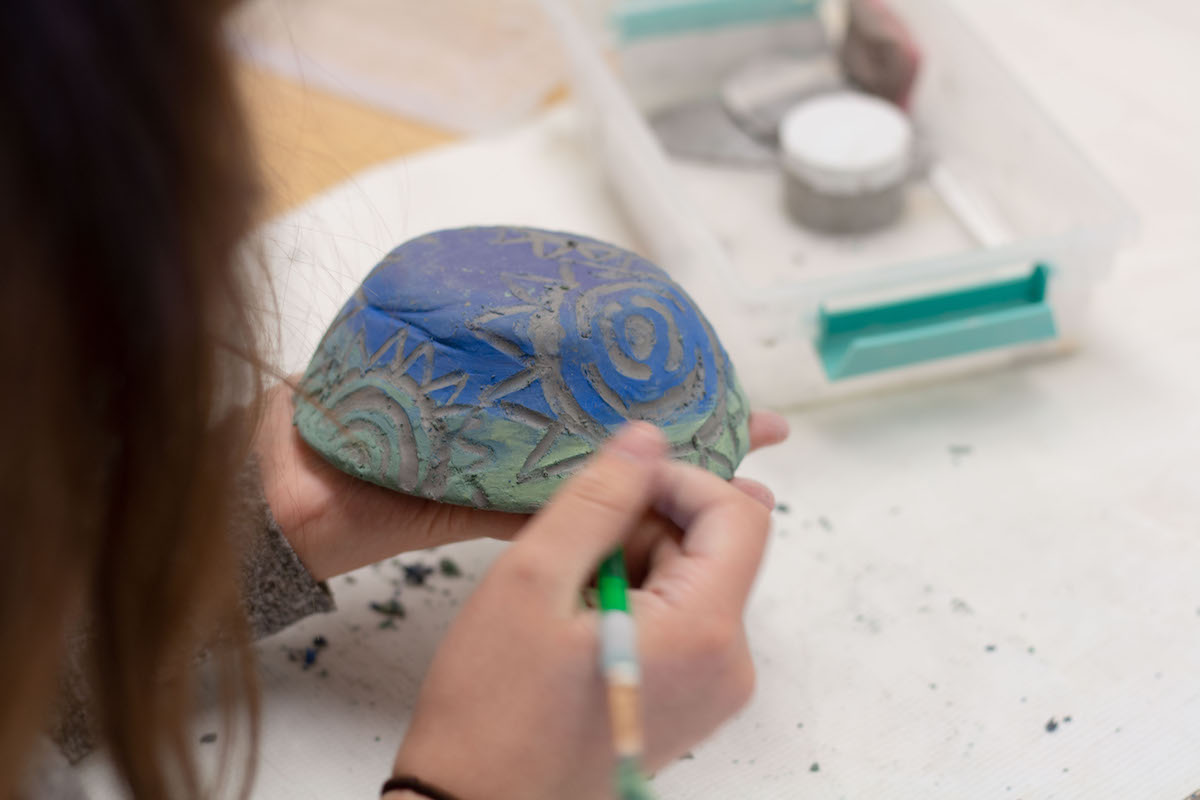
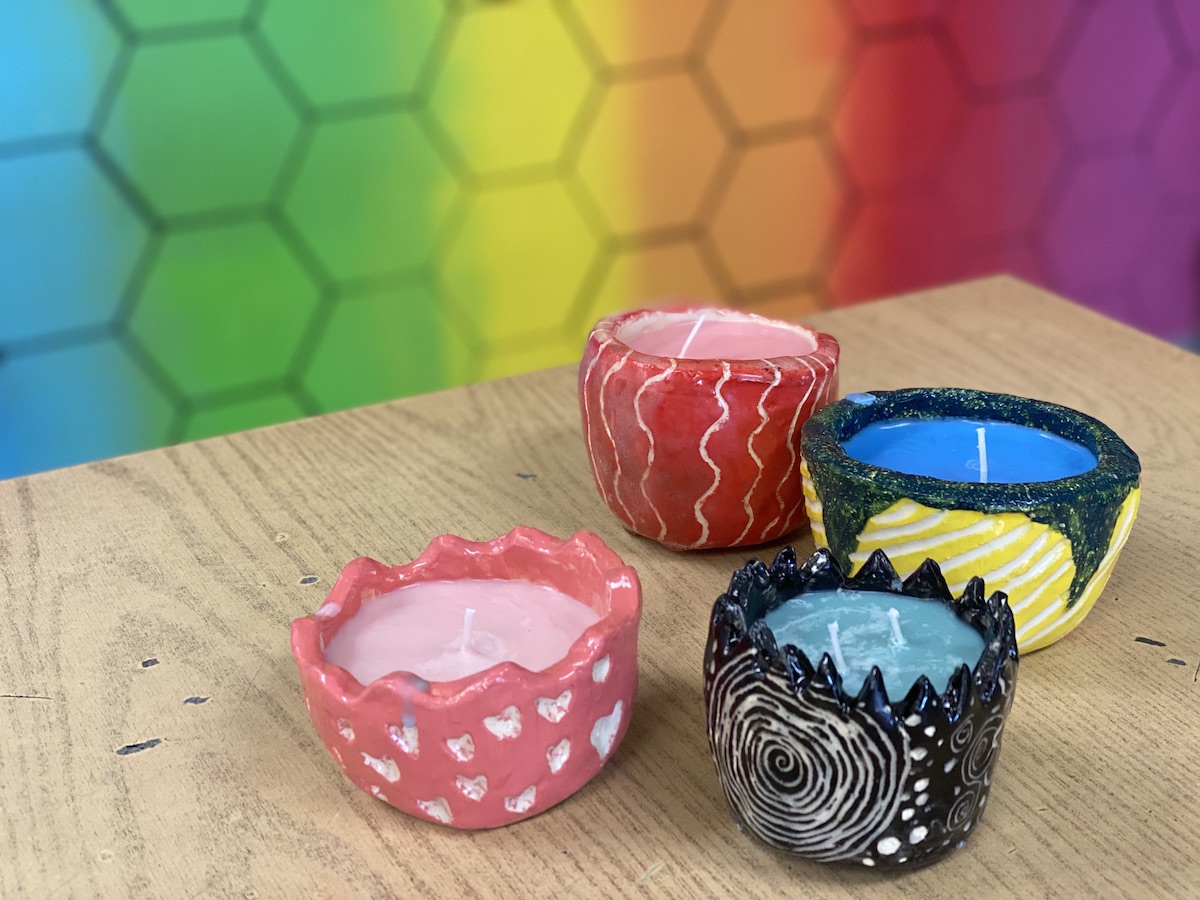
If you’re looking to expose your students to new ceramic techniques, you could treat this activity as a skill-building exercise. Often, these are mini-projects where students are working at a smaller scale. For instance, if you introduce students to hand-building, you could review how to create a pinch pot form. To take it further, challenge your students with a new surface treatment technique. Techniques like sgraffito or Mishima are great processes to explore.
When considering how to finish the ceramic pieces, just about anything will work! Unglazed pieces or those with an underglaze will allow for a candle to be poured inside. Glazed pieces inside and out will also work. A gloss glaze on the inside will make it easier to repurpose the container or create a new candle later.
Step 3: Finish the clay containers.
As students wait for their pieces during the final firing process, have them plan for the candle pouring. They will want to consider the scent and the color of the wax. You will need to provide wax dyes if students want their candle to be a color beyond white.
Smelling the scents for their candle is the best part! You can find a plethora of oils for scenting online or at a local craft store. Just make sure the scented oil is appropriate for candlemaking. The label will provide this information. Sometimes, you will find candle making supplies near soap making supplies. Not all soap making oils are compatible with candles, so make sure to double-check! Each student will have their own personal preference when it comes to picking out scents. However, you’ll find those that mimic foods, fruits, baking, or holiday scents typically are more popular as opposed to exotic scents.
Step 4: Pour the candles.
Wax melting and candle pouring will take several days per class if you only have one burner. Each pour will take five to seven minutes as well, so make sure your students are working on something else. Here are the steps to follow when pouring the candles:
- Plug in your electric burner (or stovetop burner) and turn to low heat.
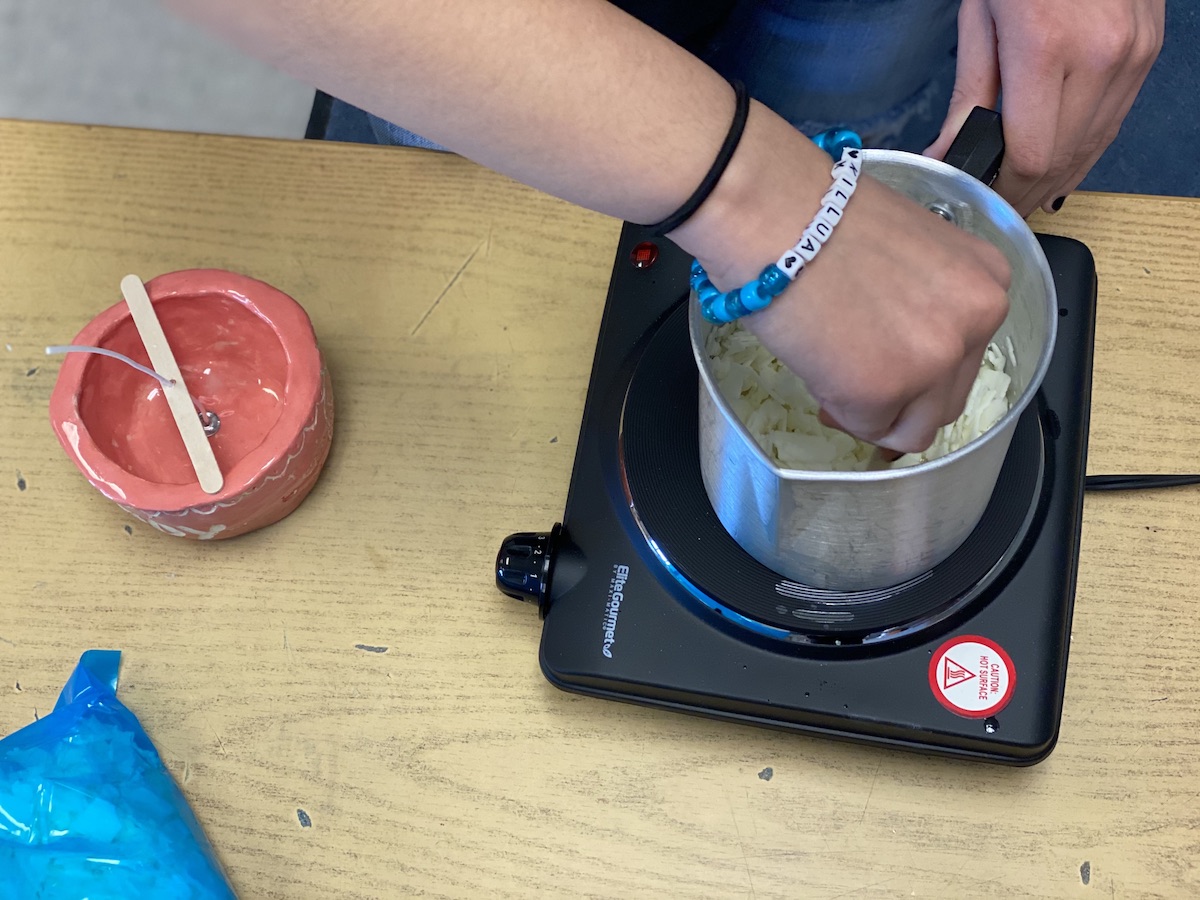
- Fill the pouring pot with soy wax. When the wax melts, it will look like there is less wax in the container. Do your best to eyeball how much wax your student will need based on their container size. If there isn’t enough, you can always mix more.
- Constantly stir the wax. Using a wooden skewer or craft stick, instruct students to keep stirring. It will take a couple of minutes for the wax to start melting, but it will go fast once it begins to melt. Keep stirring until the entire container is a transparent liquid.
- Use your thermometer before adding the fragrance. It’s important to ensure that the oil binds to the wax; it is best to add in the scented oil when the soy wax is around 180-185 degrees Fahrenheit. This leads to a stronger, move even scented candle. It’s important to keep stirring, so the scent doesn’t sink to the bottom. The recommendation is 1 oz of oil to 1 lb of wax.
- If adding a wax dye, quickly add the color and stir until it is a solid shade.
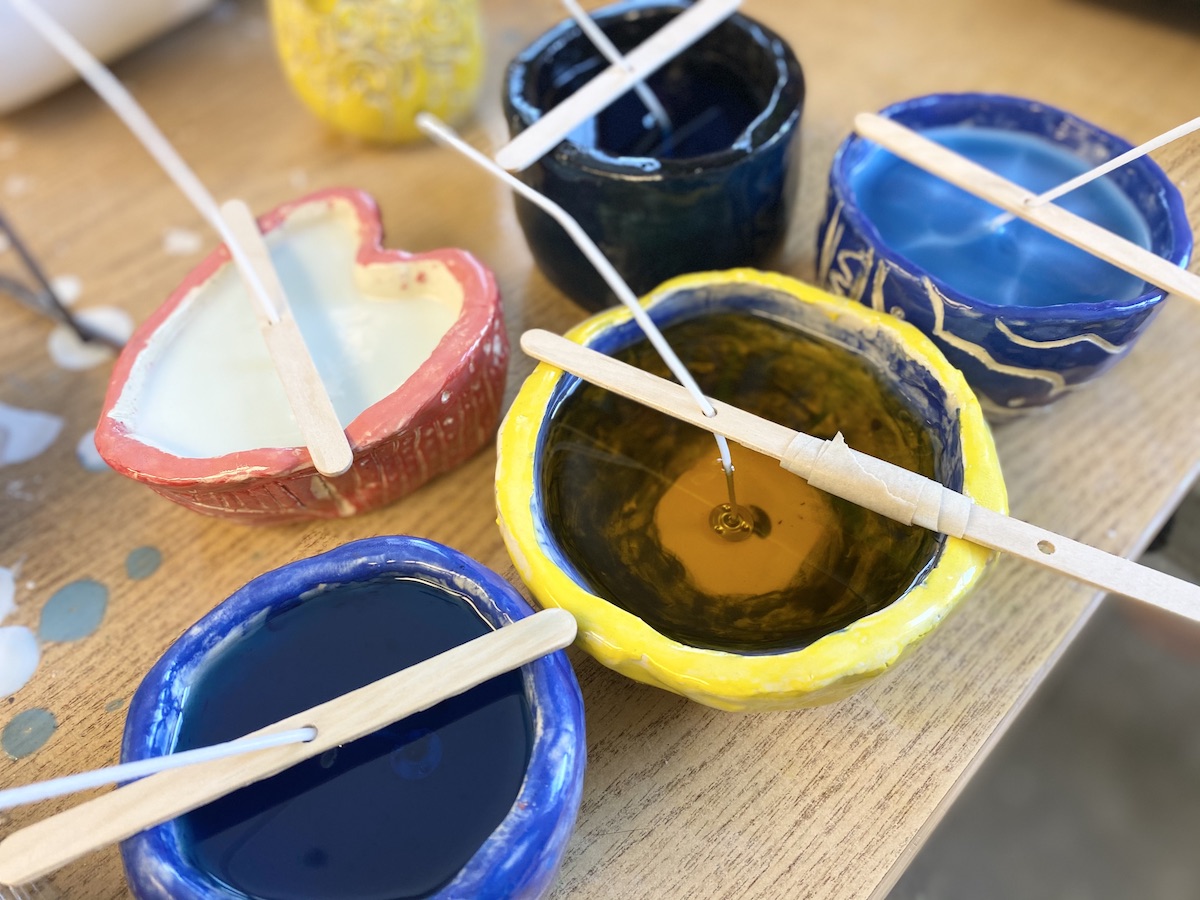
- Place the wick and wick holder in the center of the clay container, and start pouring the wax. The wick will probably move, so you can reposition as needed. If you mixed too much wax, have a separate container to pour the excess. You could create a mystery scent candle with several layers.
- Wait for the wax to dry. It’s important not to touch or move the candle as the wax is solidifying.
- Wait twenty-four hours before trimming the wicks and giving them back to your students.
Step 5: Send them home and test.
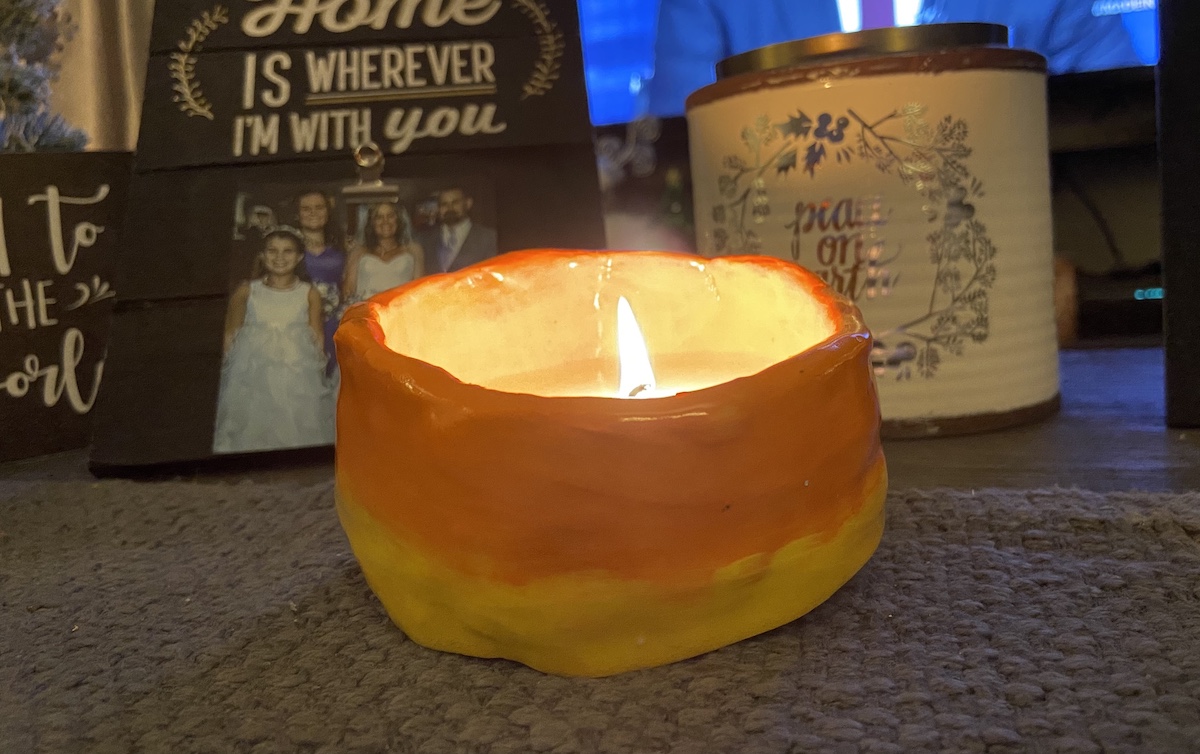
After twenty-four hours, your candles will be ready to burn! This is the part your students anticipate. They will really want to test them at school; unless you have a controlled area where you can take them outside, testing at school is not a great choice. Once students take them home, they can test them out and light them. Because students might live in homes where candle burning is not allowed, it’s important to note they can be used with candle warmers or as a scented decorative piece.
Candle making takes some planning and time, but it is an exciting and engaging process your students will look forward to! They’ll be proud of their success and the functional ceramic piece they’ve created.
Have you ever made candles with students? What tips would you add?
What’s your favorite functional ceramic lesson to teach?
Magazine articles and podcasts are opinions of professional education contributors and do not necessarily represent the position of the Art of Education University (AOEU) or its academic offerings. Contributors use terms in the way they are most often talked about in the scope of their educational experiences.


