Cookies are delicious and addicting! Who can resist a fresh-out-of-the-oven sugar cookie? Bakers can select the shape of their delectable sweet by using a cookie cutter. The result is even, precise, and scrumptious. Similarly, art teachers can select an assignment that results in uniform and predictable projects. But what if students need something different? What if changing the ingredients in your lesson planning can alter student outcomes for the better?
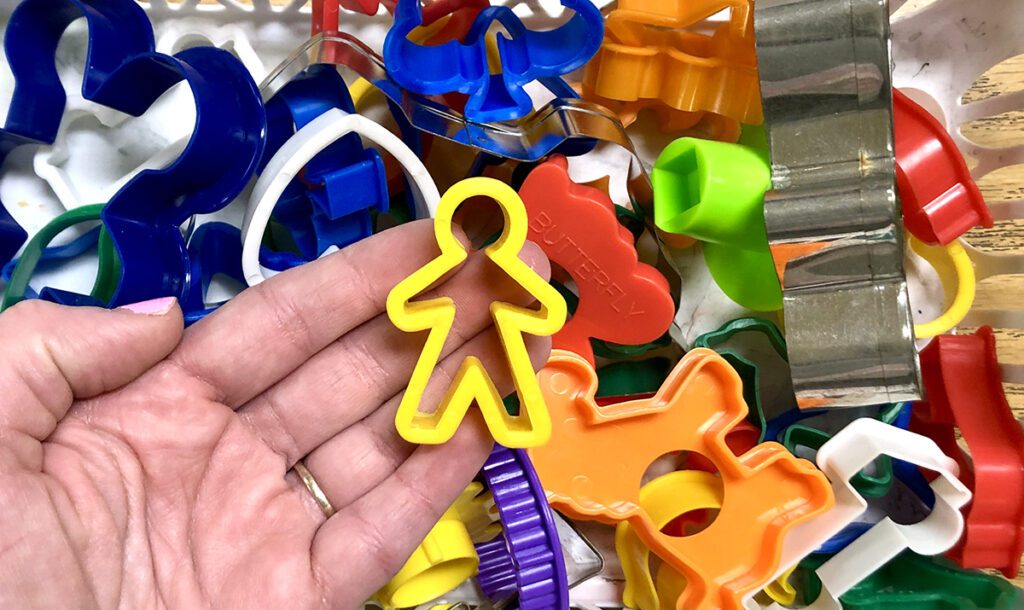
Cookie-cutter art can be very beneficial.
There are many instances where cookie-cutter art lessons are great for both your students and you.
Try cookie-cutter lessons when:
- Students are discouraged and need an easy “win!”
- You will be absent and need to leave precise instructions for subs or guest teachers.
- The focus of the lesson is learning craftsmanship or specific techniques.
- Students require extra scaffolding.
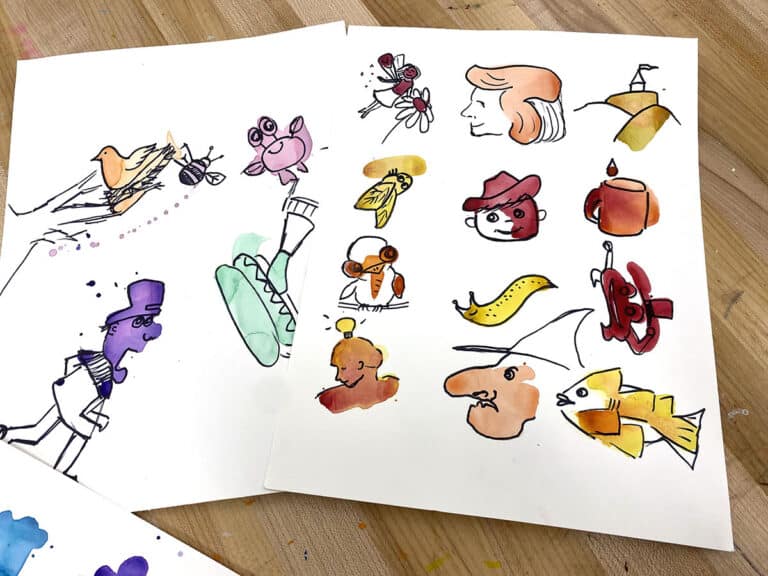
Are you looking for ways to get your students to create more diverse art projects? Read on for small ways to broaden how you design your lessons to encourage more originality!
Figuring out how to get students to be more original in their artwork is a big shift. Where does one start? Begin with a unit or topic you are comfortable teaching, and add one small step at a time from the list below.
For additional ideas on how to infuse choice in your classroom, watch these Packs from PRO Learning:
- Increasing Choice at the Elementary Level
- Planning for Choice at the High School Level
Here are six small changes you can slowly add to your existing lessons to break the mold.
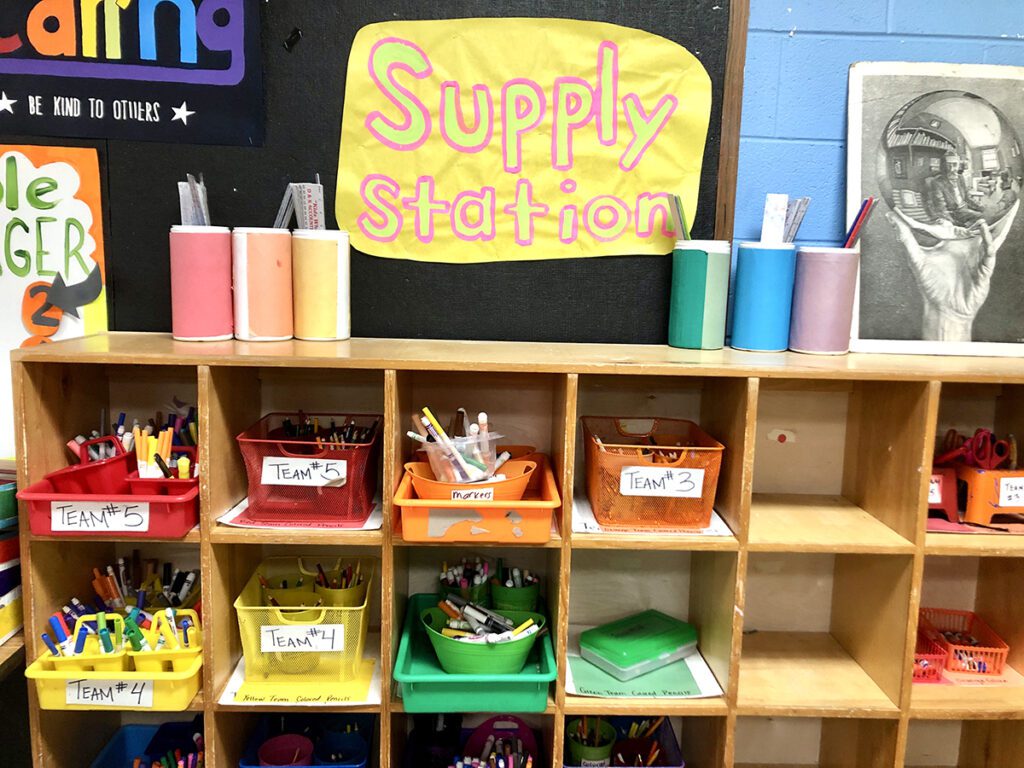
1. Give two mediums to choose from.
Instead of making all students use the same medium, provide multiple choices. Offering students a choice allows them to make their own decisions, explore options, and reflect on their interests. Additionally, choice increases ownership and pride in their work.
Let’s say you are doing an optical illusion lesson where students draw a checkerboard pattern. Review how to use markers and colored pencils. Allow students to select from black permanent markers or colored pencils to fill in their checkerboard.
2. Choose different brands of one art medium.
Experimentation is exciting to watch in the classroom! When students compare and contrast brands of art tools or materials, they are often surprised at the differences they discover.
For example, a RoseArt® crayon is more translucent than a Crayola® crayon.
3. Provide size options.
Allow a variety of sizes to provide additional choices. This can be with the size of the final piece or with individual artwork components.
If your class started a landscape unit, students can make two mini landscapes as a diptych, one large landscape, or draw a series of spheres. Provide a variety of circular items, including bottle caps, empty wipe containers, and tape rolls. Students can select whatever circle sizes they want to trace as long as they fill the page.
4. Make a two-dimensional or three-dimensional project.
Depending on the topic, students can choose to make a two-dimensional artwork or sculpture. This one may be better suited for the end of the year once students have a wider variety of skills under their belt.
For example, if your students are learning about recycling materials to make art, provide a collage option and a paper-making option. All students tear recycled paper and sort by color. Set up two stations: one where students create a collage and one where they blend their own paper pulp. Watch the video below for a quick and low-mess paper-making activity.
5. Allow students to diversify one element of art.
Identify the key element of art students will focus on for the lesson. Select two options for the students to demonstrate that particular element.
Let’s go back to the optical illusion lesson where students draw a checkerboard pattern. For “line,” students can use straight or wavy lines. For “color,” students can select an analogous or complementary color scheme.

6. Prepare a digital option.
Many students are tech-savvy. Play to their strengths and adapt a digital lesson for them. Anytime you bring a technology component into your lessons, ensure you follow district and school policy for student safety. Websites like Securley allow the teacher to see all student screens.
If you are doing an animation lesson, students can make a physical flip book with a pad of sticky notes or a digital one on Google Slides.
Adapting your lessons to push originality can seem like a scary task. Take it step-by-step and lesson by lesson. Just like picking up a new workout routine, repetition and patience are key. Start simple by allowing more than one choice of art materials. As you get more comfortable with choice, add in more complex options. Students can create a flat artwork or sculpture or experiment with a physical or digital product. You got this! Students are great at adapting, so let’s give them more variety!
How do you promote originality in your art lessons?
What do you think about cookie-cutter projects?
Magazine articles and podcasts are opinions of professional education contributors and do not necessarily represent the position of the Art of Education University (AOEU) or its academic offerings. Contributors use terms in the way they are most often talked about in the scope of their educational experiences.