Note: Be sure to review all resources and preview all artists before determining if they are appropriate to share with your students.
As the school year winds down, keeping students engaged can be a challenge. The natural instinct is to keep things simple with one-day “make and take” projects for those shorter attention spans. However, consider going the other way! A collaborative, large-scale paper mache project could be the perfect way to close out your year. Keep reading to see how you can clean out your closet, use up leftover art supplies, and create a school community installation that will last for years to come!
Take on a big project to make your job easier.
It may seem counterintuitive, but one big project can be easier than several smaller projects. Plus, working collaboratively helps everyone achieve something great with less work and more fun.
Let’s look at the benefits of doing a large, collaborative project at the end of the school year:
- Strengthens your community of artists.
- Demonstrates to administrators and students that you remain engaged.
- Uses up scrap cardboard and miscellaneous materials.
- Gets students excited to come to art class and see the latest developments in the project.
- Saves time on prep and planning so you can tackle grading, generate next year’s supply order, and catch your breath!
- Sets you up for success in the fall with classroom or school decor made and ready to hang.
Break down a big project into small, manageable pieces.
At first, building a giant sculpture or collection of sculptures can feel overwhelming. As with all projects, the first step of choosing what to make can often be the hardest. Consider making a representation of your school’s mascot or pull subjects from major units throughout the year to activate prior learning. If you need more grand ideas to inspire your students and proactively decorate your room for the fall, construct giant art supplies and introduce Andy Warhol or Claes Oldenburg.
Regardless of the subject, follow these steps for success with your paper mache project:
- Brainstorm as a class to determine your subject matter.
- Gather materials such as scraps of cardboard, paper, newspaper, tape, and glue. Your students may surprise you with what they decide to upcycle!
- Sketch the final sculpture so everyone can work toward the same goal.
- Build an armature out of cardboard, wire, or thin scrap wood.
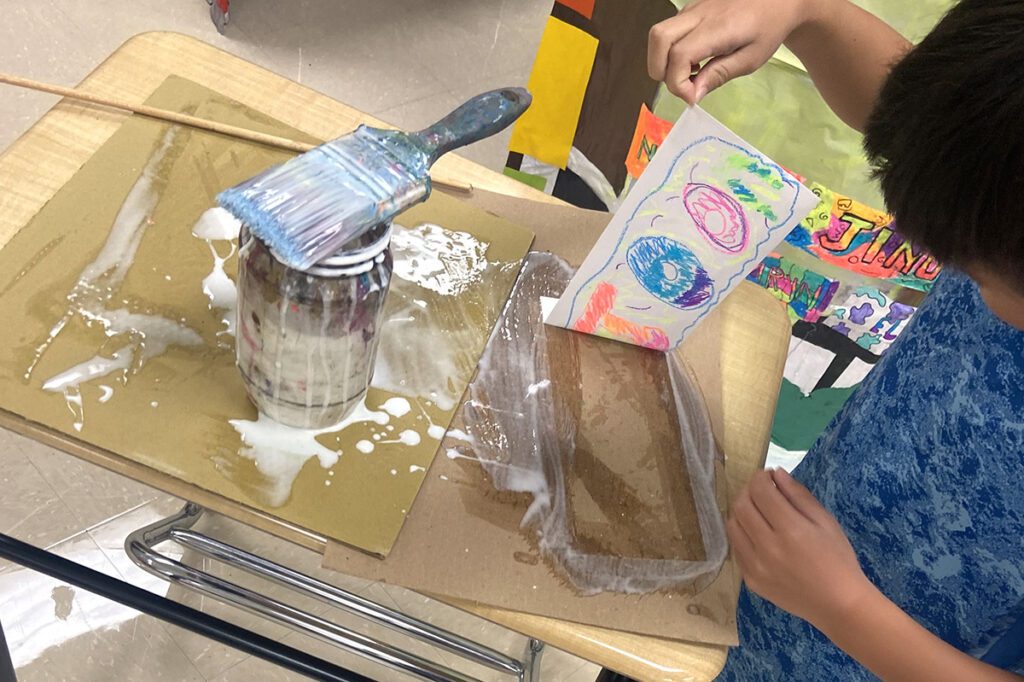
- Cover the form in paper mache.
- Paint and/or glue found objects, fabric, and collage materials to add more details.
- Display the finished work for students to enjoy now and see when they come back in the fall!
Try these tips to get maximum results with minimal work.
One way to streamline the process is to have all of your classes work on the same project. Every class can simply build off the work of the class before them—like an art relay. This will speed up production and save you the hassle of clean-up and storage between classes. If one gigantic project seems unwieldy, try making a Pop Art collection. Show students works by Andy Warhol or Claes Oldenburg for inspiration and make one sculpture per table. Save yourself time and prep work by using the Exploring Pop Art Collection in FLEX Curriculum. It has lesson plans and student-friendly artist bios, videos, and assessments ready to go.
Try these tips to smooth out the paper mache process:
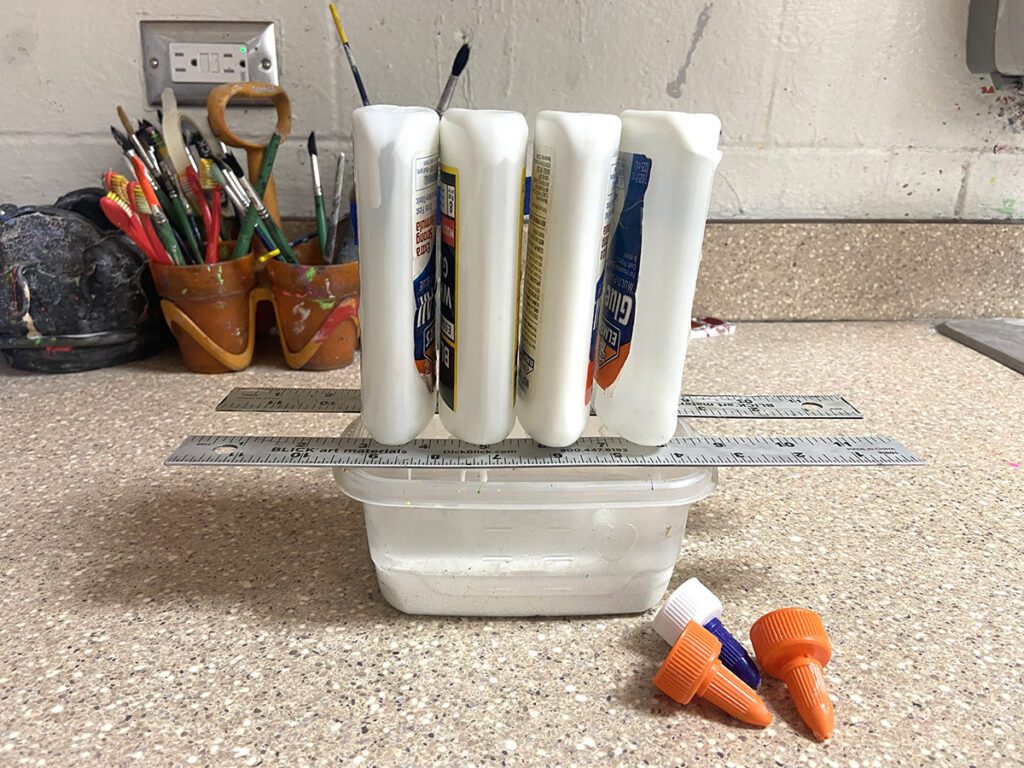
- Dump the glue from old clogged and nearly empty glue bottles into a bucket and then add water for a 50/50 mix.
- Crumple and twist your school’s butcher/bulletin board paper as an alternative to cardboard for an armature.
- Use different colors for each layer of paper mache so you can easily see what areas still need covering.
- Rip smaller pieces to wrap curvy, organic forms.
- Dip, then wipe using the classic “scissor fingers” technique (below) to remove excess glue.
- Allow students to choose tasks according to their preferences, if possible. For instance, some students love the sensory experience of glue-covered hands.
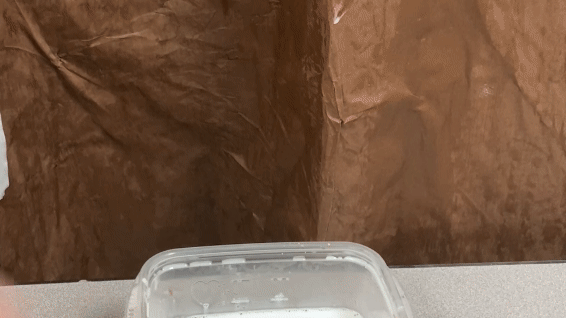
- Place paper as a drop cloth to protect the table or floor from inevitable glue drips.
- Recycle paper drop cloths at the end of the day as more paper mache paper!
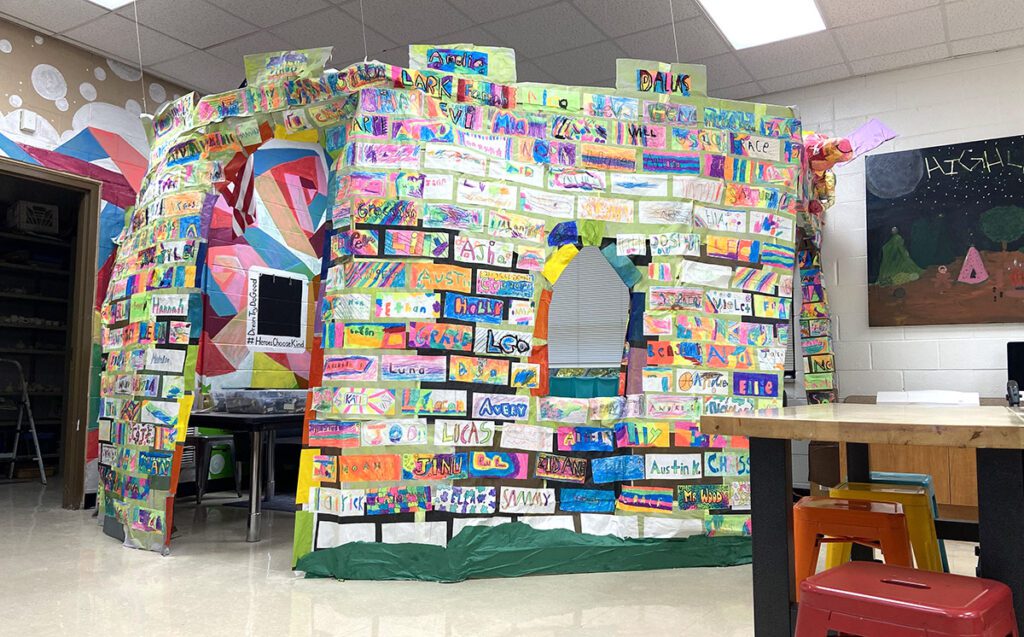
- Consider opportunities for students to have meaningful input. For example, each student can decorate a scale on a large dragon or design a custom brick for a huge castle.
A collaborative paper mache sculpture is a rewarding way to use up leftover materials, strengthen student bonds, and create a lasting installation to promote school spirit. Transform your classroom into a fun collaborative art studio and end the year on a high note. Just because a project is large-scale, does not mean it needs to be cumbersome to manage. Break the project down into smaller steps and use the pro tips above to streamline the process. Your next massive paper mache installation will provide you and your artists with smooth sailing to summer break!
What huge paper mache installation would transform your space?
How do you keep your students inspired during the final weeks of school?
Magazine articles and podcasts are opinions of professional education contributors and do not necessarily represent the position of the Art of Education University (AOEU) or its academic offerings. Contributors use terms in the way they are most often talked about in the scope of their educational experiences.