Screen printing in a classroom with 30 or so students can feel impossible. However, with solid planning, screen printing is a highly engaging medium that encourages collaboration and communication skills. Screen printing is a form of printmaking that pushes ink through a stencil on a mesh screen to create an image. It’s a method that empowers students to make functional and relevant art from t-shirts to posters. Plus, it’s a great bridge to layering in digital art practices.
Come explore what screen printing is and how to bring it to your K-12 art room!
Screen printing has been around for centuries and is generally credited to China in the Song Dynasty. The process gained prominence in the Western world in the early 1900s because it didn’t need a fancy printing press. The medium exploded in the mid-1900s with Harry Gottlieb’s expressive prints, Andy Warhol’s famous Pop Art images, and Corita Kent’s text-based works. Today, artists like Wendy Red Star blend traditional Indigenous symbols with contemporary themes. Screen printing remains a powerful medium for storytelling, dynamic imagery, and cultural expression.
Screen printing is a relatively low-tech printmaking option—you don’t even need a printing press or expensive chemicals. Start with a mesh screen, DIYed from an embroidery hoop or purchased specifically for screen printing. Create negative space on the screen to push ink through with glue, sticker paper, or emulsion. Play with shapes, colors, and layers to create graphic images that will hone students’ digital design-thinking skills.
Grab the stencil printing materials below to try screen printing:
- Stencils
Create using paper, cardboard, or acetate sheets. - Cutting Tools
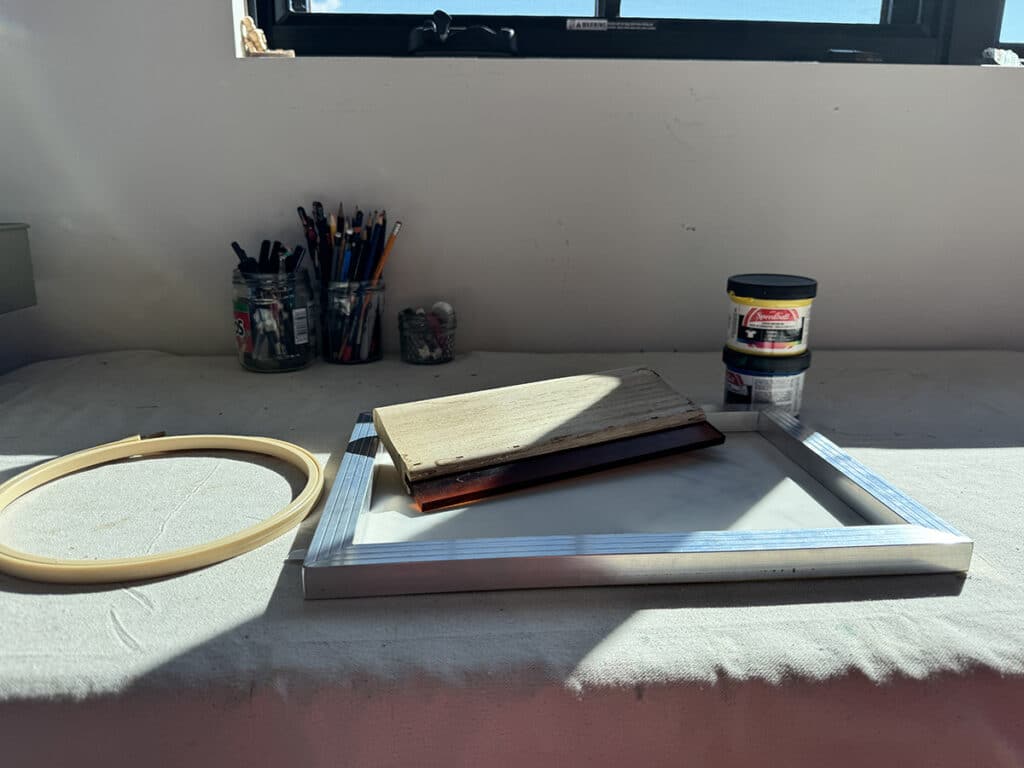
Cut out the stencil using scissors, craft knives, or laser cutters. - Screens and Frames
Stretch traditional screens over frames. Substitute embroidery hoops or stretched pantyhose. - Emulsion
Photosensitive emulsion creates a solid layer on the screen that ink cannot pass through. Ensure your brand does not require darkroom conditions. - UV Light
Expose the emulsion-coated screen so it hardens into a solid layer. If your budget doesn’t allow for a UV light, use the sun! - Screen Printing Ink
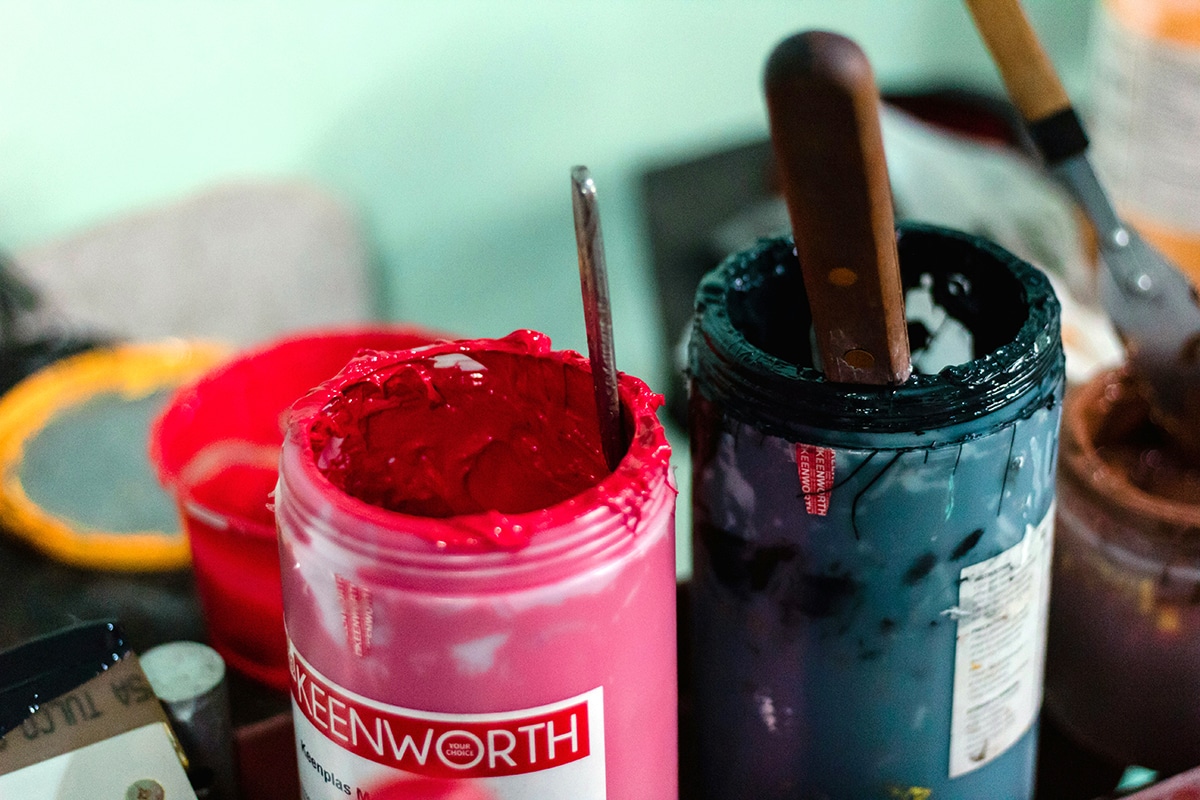
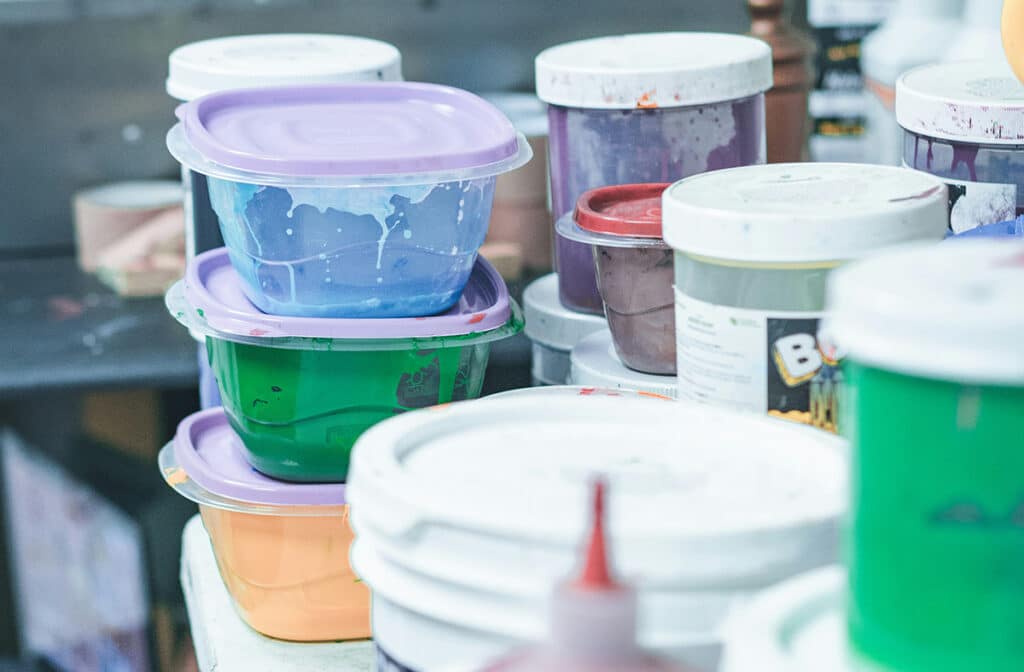
Use water-based screen printing ink or try acrylic paint as an alternative and fabric ink for textiles. - Image Materials
Sketch with paper or gather images of student artwork. Trace with permanent markers on acetate. - Scoop Coater
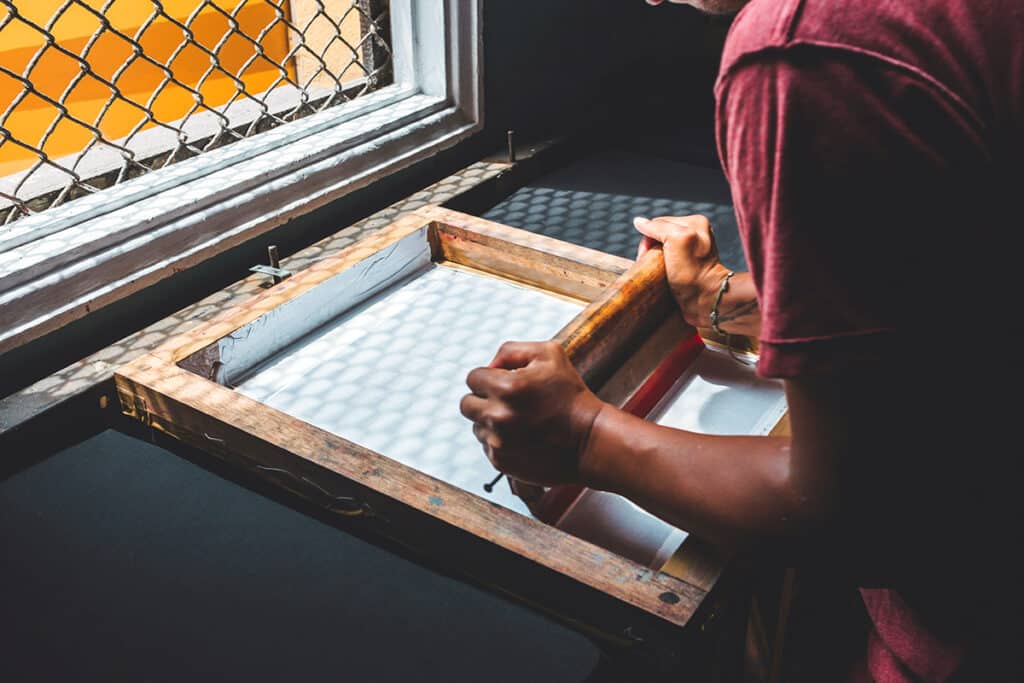
Apply emulsion evenly across the stencil or sub with a squeegee or piece of cardboard. - Squeegee
Pull ink evenly across the stencil or sub with a piece of cardboard. - Red Polyethylene Tape
Frame the printing area on the screen with this residue-free and reusable tape. - Paper or Fabric
Print on smooth, sturdy paper such as cardstock or fabric.
1. Create screens.
Coat the screens with light-sensitive emulsion. Let dry for 24 hours in a dark place while students move on to the next step. To save class time, you can also pre-coat the screens so they’re ready to go! Alternatively, skip the emulsion process and use stencils.
2. Plan designs.
Guide students through planning their designs. Break designs down into one to three layers to keep things simple. Encourage students to use high-contrast imagery to make the layers easier to see. Transfer each layer of the design to a separate sheet of acetate.
3. Expose screens.
Secure the first layer of the acetate design to the screen. Expose the screen to UV light according to the suggested time on the emulsion container. It’s a good idea to do an exposure test to ensure the timing is correct.
4. Wash out the screen.
Use warm water and a sponge to lightly wash out the image area of the screen. Scrub lightly so the rest of the emulsion stays on the screen.
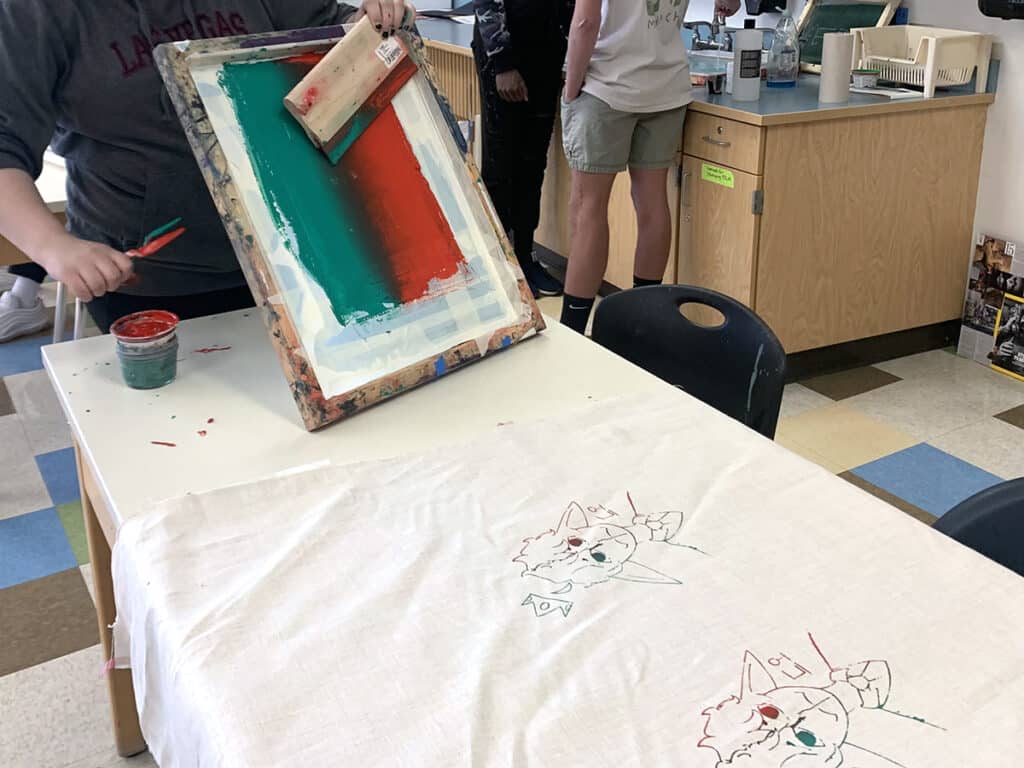
5. Prep your printing space.
Setup is key because the ink dries so quickly! Frame the area you want to print with red polyethylene tape on the screen. Cover the table with large scrap paper and make registration marks for the final image and paper and screen. This will ensure students align each layer correctly. Line up paper on the table and secure with tape. If you’re using stencils, place them on the paper. Carefully put the screen on top.
6. Apply and pull the ink.
Add a thick line of ink on the top piece of red tape. Use a squeegee and pull evenly down the screen to distribute the ink through the mesh. Gently lift the screen to reveal the print!
7. Let dry and repeat!
Carefully remove the paper and set it in a clean spot to dry. Repeat the process with more layers.
For more in-depth steps in a handy video format, watch the Pack, Getting Started with Screen Printing in PRO Learning.
Bookmark these quick and easy tips to streamline screen printing with large classes!
Teaching screen printing to a large class of students has a lot of moving parts! Stay organized and plan ahead to make the most of your class period. You’ll discover students’ engagement will skyrocket. Plus, you’ll know all the prep is worth it as soon as you see the excitement on their faces as they pull their first print.
Here are some pro tips for streamlining the classroom screen printing process:
- Share screens and stations to boost collaboration and provide extra hands for pulling prints.
- Pre-mix and pour ink in small cups so the entire bottle doesn’t dry out or spill.
- Turn it into a group project and provide pre-made screens with images. Students can customize their final print by choosing their imagery and layers.
- Cover tables with butcher or bulletin board paper, disposable tablecloths, or newspapers for easy cleanup.
- Pre-label bins and buckets for more easy cleanup, including labels like Clean Tools, Ink-Covered Tools, and General Waste.
- Cover clean tables with clean paper for drying prints.
- Provide a giant tub of water to throw inked screens in so the ink doesn’t dry and clog the mesh.
If you’re looking for a fresh way to hook your students and foster design thinking, try screen printing! Students will love this low-tech process that produces powerful imagery. Encourage students to play with layers for endless combinations and experiment with various surfaces for functional pieces. Streamline the process by pairing students together, prepping materials ahead of time, and labeling bins for easy cleanup. Turn your classroom into a dynamic printing studio and spark excitement with each pulled print.
What questions do you still have about screen printing in the art room?
Share a screen printing shortcut or hack!
To continue the conversation, join us in The Art of Ed Community!
Magazine articles and podcasts are opinions of professional education contributors and do not necessarily represent the position of the Art of Education University (AOEU) or its academic offerings. Contributors use terms in the way they are most often talked about in the scope of their educational experiences.