Imagine showing up to class and presenting your students with lipstick, aluminum foil, cola, and ink and telling them to make something. Talk about inviting curiosity into the art room with kitchen litho!
Kitchen lithography, also known as “kitchen litho,” is a printmaking technique that bridges the gap between traditional lithography and DIY artmaking. Traditional lithography usually involves expensive materials and a long process—not very conducive to a K-12 art room. Kitchen litho was first invented in 2011 and uses common kitchen materials like aluminum foil, cola, and cooking oil, making the lithography process accessible and eco-friendly. While there is a foundational recipe, there are many materials to try, making this a fun medium to experiment with with students!
Take K-12 kitchen litho to the next level with these neat variations!
Get started with basic kitchen litho concepts and take a look at traditional lithography in the Classroom Lithography Pack in PRO Learning. Once you have the building blocks down, it’s time to add in some fun twists! Playing with chemistry through variations in materials can affect the line quality, texture, and tonal range.
Compare different foil types.
Who knew there were so many types of aluminum foil? Use a combination of foils in a single composition to add variation in texture. Heavy-duty foil works well for areas with high detail and repetition, while non-stick foil is great for background elements or areas with subtler impressions.
- Standard Aluminum Foil
Easy to draw on and produces the most predictable results, with good ink retention and a balanced etched surface. - Heavy-Duty Foil
Withstands more rigorous drawing and etching processes, making it ideal for multi-layered or repeated prints. However, the thicker foil requires a longer etching time and results in slightly more prominent textures. - Non-Stick Foil
This foil type is notably challenging. The non-stick coating creates resistance, leading to lighter, softer impressions that lack crispness. However, it introduces a unique haze for ethereal or ghostly effects.
Explore alternative acidic solutions.
Combining different acids in the same print will introduce even more variations in tone. For example, using cola for the general etch and lemon juice for specific areas where you want darker lines or richer tonal values can add depth to a composition.
- Cola
The most balanced option with a consistent etch. It provides enough acidity to react with the foil without breaking down the surface too quickly. - Lemon Juice
This gives a stronger etch, resulting in darker printed lines and higher contrast. It works well for bold graphics or areas requiring defined tonal contrast. However, the acidic nature of lemon juice is harsher on the foil, which means shorter plate longevity. It can be a great option for younger students who lack patience or time. - Vinegar
This option creates a much more subtle etch. It’s less effective for deep linework but excels at achieving soft tonal effects, which are good for background washes or shaded areas. - Carbonated Water
This is largely ineffective as an etching agent. It only works for very faint markings.
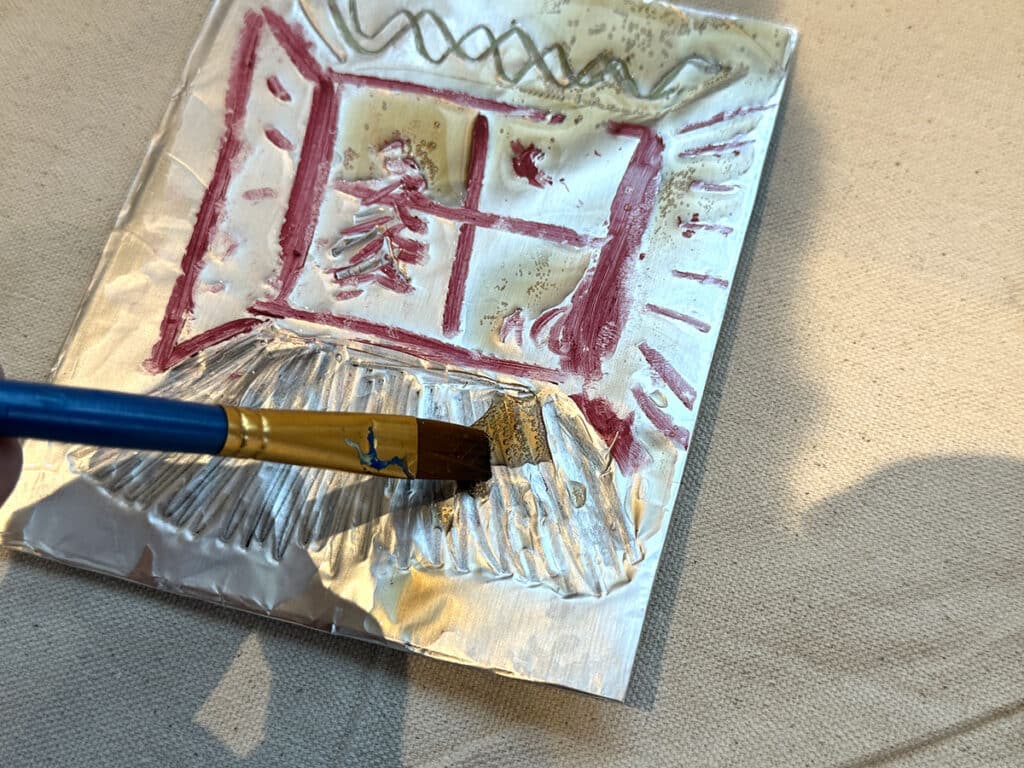
Substitute traditional drawing materials.
Create multiple line qualities within a single image by using a variety of drawing materials. Let your students experiment and see what they enjoy best!
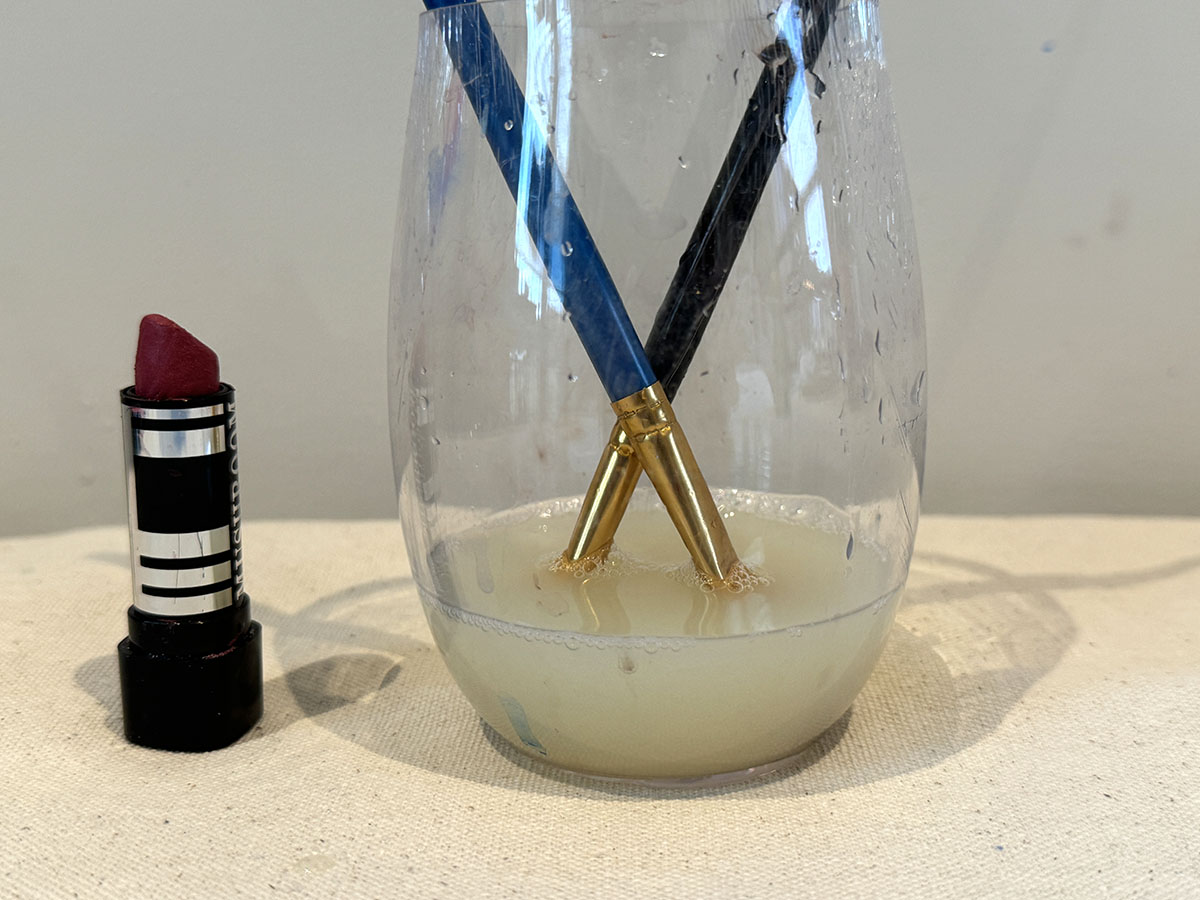
- Lipstick
The thick, oil-rich nature of lipstick produces rich textures and soft tonal ranges. However, it leaves a residue that is challenging to remove without impacting the plate’s surface. - Wax Crayons
These lack sufficient oil content to create effective resist marks. It can result in inconsistent printing and patchy ink retention. - Oil Pastels
Softer pastels produce darker, richer lines, while harder pastels provide finer details and more delicate transitions. Using a combination of the two allows for a dynamic range of line quality and value.
Test various cleaning agents.
Not only can you use several oils to clean the plate and materials, but you can also use them to enhance imagery! Use alternative cleaning agents to modify the surface characteristics of the plate and affect how ink adheres. Manipulate areas of a plate for intentional uneven inking to create a more layered look.
- Olive Oil
With a viscosity higher than vegetable oil, olive oil is more difficult to clean with and leaves a greasy layer that hinders ink adherence. - Coconut Oil
Proves to be a surprisingly good alternative with smooth cleanup. It leaves a slight sheen on the plate to exploit for subtle printing effects. - Mineral Oil
This is very effective at cleaning the plate quickly and provides a consistent surface for inking.

Make small changes for big discoveries in kitchen litho!
Small changes in materials can have significant effects on the outcome of a kitchen lithography print. Understanding how to manipulate the variables at each stage—drawing, etching, cleaning, and inking—gives artists the ability to push the process beyond its conventional boundaries.
- Layering
Try using multiple foil types and acids in one composition to introduce textural and tonal variety. This technique can produce prints that mimic the appearance of multi-plate lithography while using a single plate! - Multi-Stage Drawing and Etching
Draw on the foil using different materials for different line qualities and etch sequentially with different acids to achieve a layered look. - Controlled Resist
Use thicker cleaning agents, like olive oil, to strategically leave a thin resist layer in specific areas. This technique can create softer sections while allowing full inking in others.
The beauty of kitchen lithography lies in its accessibility and adaptability. Artists can explore countless material combinations to discover what works best for their aesthetic goals and body of work. The experiments shared here are just a starting point—there is much more to uncover in the realm of kitchen litho. Bring in a variety of materials, from lipstick to lemons, to intrigue your students and get them hands-on in the art lab!
What other oil-based drawing materials or acidic etching solutions would you want to try?
Share a favorite lithographer that students love!
What other questions do you have about bringing kitchen litho into the art room?
To continue the conversation, join us in The Art of Ed Community!
Magazine articles and podcasts are opinions of professional education contributors and do not necessarily represent the position of the Art of Education University (AOEU) or its academic offerings. Contributors use terms in the way they are most often talked about in the scope of their educational experiences.


