
Whether you’re moving into a brand-new building, renovating your current space, or simply imagining how to make your art room more functional, planning ahead can help bring your vision to life. The number of decisions to make can be overwhelming, but you’re the expert at what you do, and there are so many resources below to guide you every step of the way. From finding inspiration and choosing the right storage spaces to reviewing blueprints and organizing the move, each decision shapes how you and your students will use the space for years to come.
Make your dream art room come true with this four-step planning process and helpful guiding questions.
1. Find inspiration.
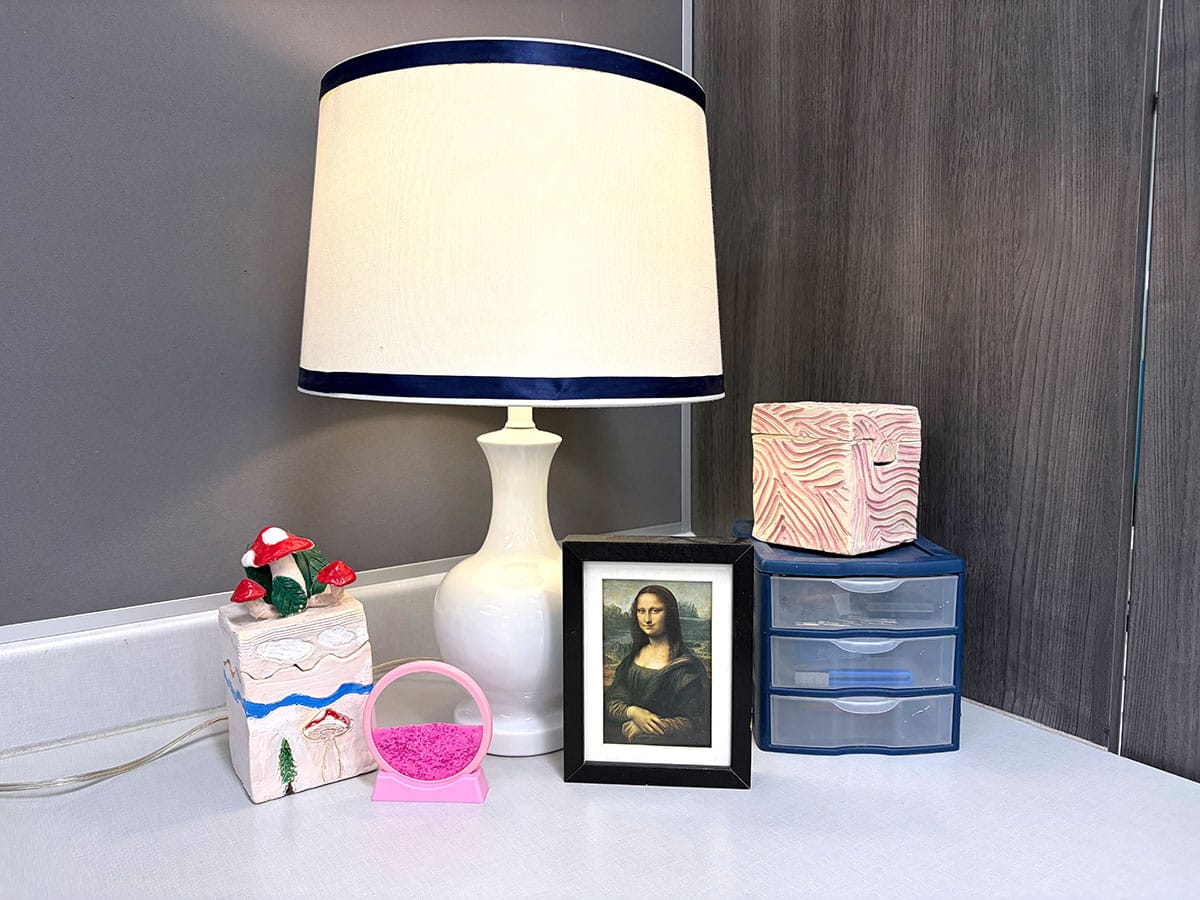
What do you think of when you picture your dream art room? Is it rainbow-colored and packed with decor, or neutral and minimalist? If you don’t have a clear idea, that’s okay! Start by looking at lots of inspiration and note what you like about each space. A great place to start, packed with tons of decor ideas, is to binge-watch Art Teacher Cribs on YouTube. This series features eleven different art rooms across the country, including elementary, middle, and high school. Create a vision board that captures your favorite parts, so you have reference photos to show your department, administrators, and architects.
2. Think about functionality.
Now that you have an aesthetic vision for your space, it’s time to think about practicality. Reflect on how you use the space you have now, and what works and what doesn’t. Consider how you will use a new space, especially if your program is evolving and you’re adding new courses or media, like a kiln room or darkroom. If you need help thinking through every area of functionality in your room, check out the Pack Rethinking Art Room Space in PRO Learning, along with the questions below. It’s also helpful to keep track of your wishlist and planning with a dedicated folder or notebook.
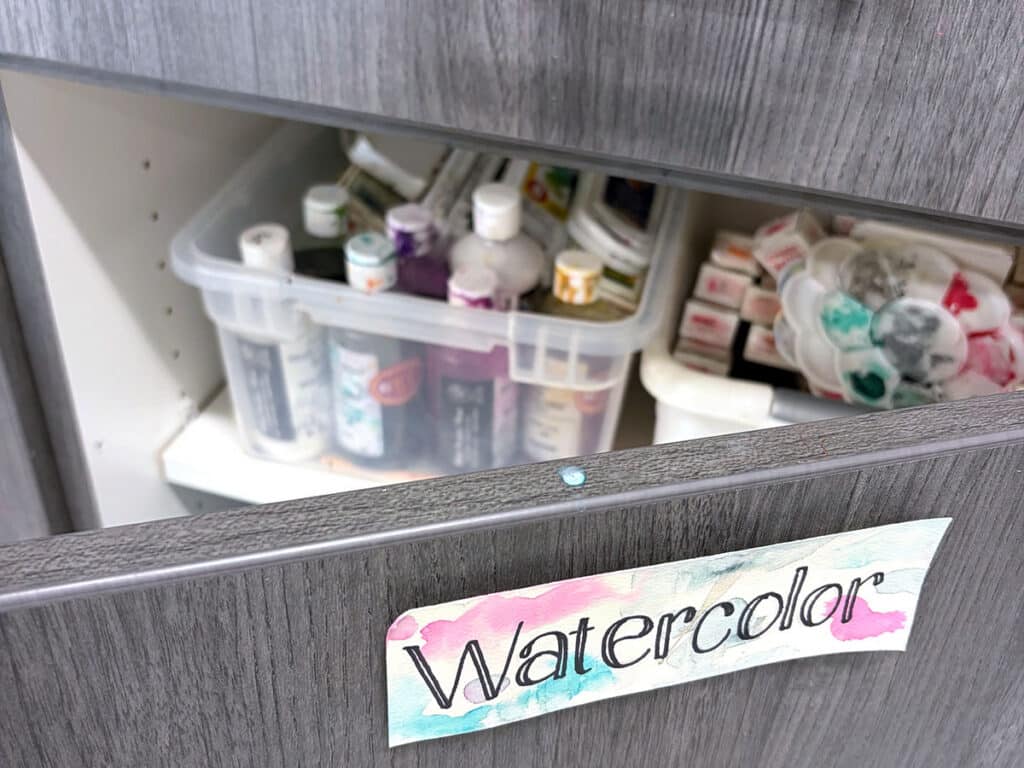
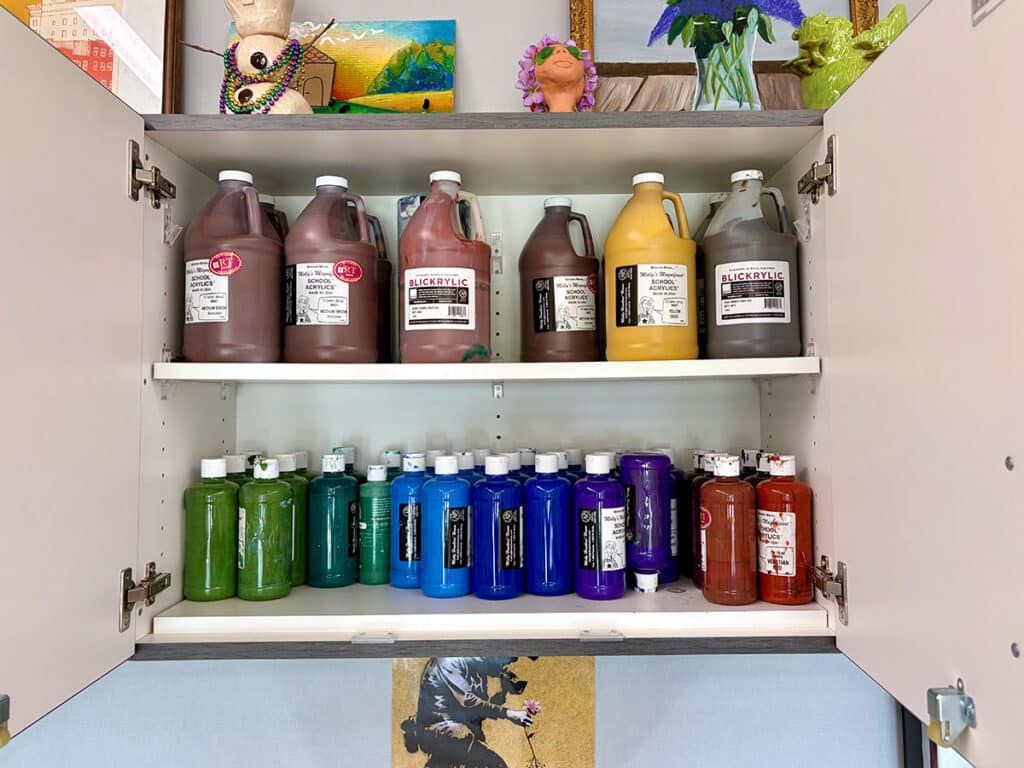
Use these questions when designing your storage spaces:
- Do you want to create supply zones?
- Do you want vertical or horizontal storage?
- What are the dimensions of the storage spaces you would like to keep?
- How many cabinets do you need to store student work based on your class sizes and types of media you teach?
- How many cabinets do you need to store supplies?
- If you use a specific paint or glaze bottle size, how many inches are there between shelves inside the cabinet?
- Do your classes have the potential to change in the future, and will you need to account for that change in your design?
Review these questions when designing your wall and countertop areas:
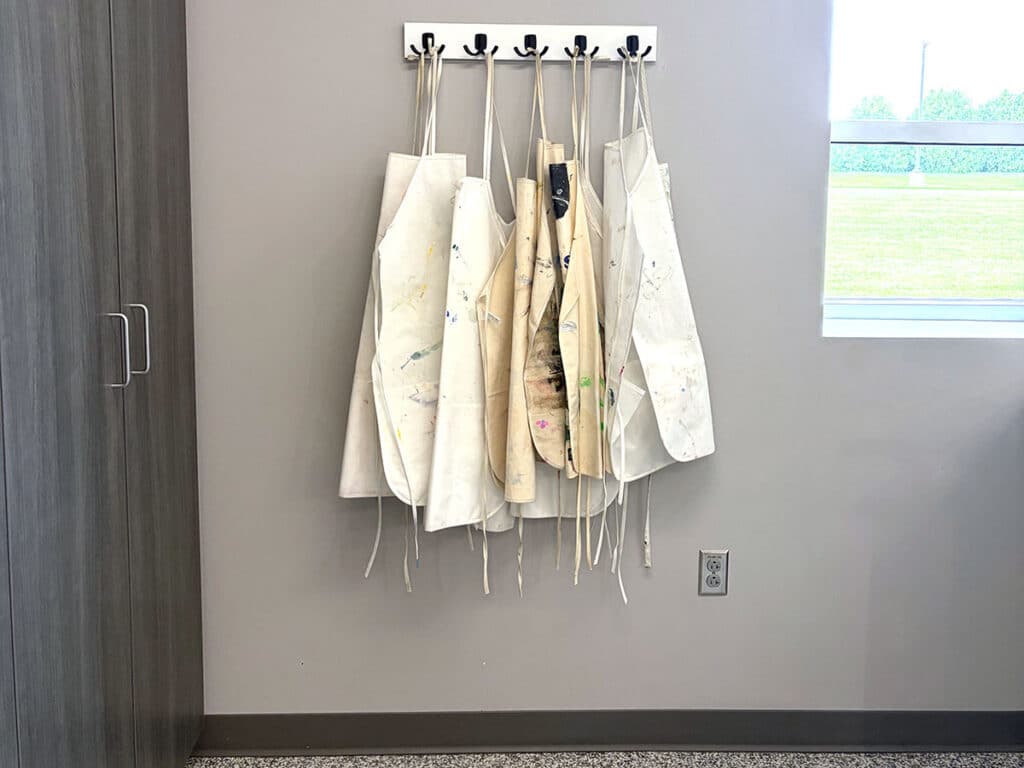
- How much wall space do you need for a whiteboard, bulletin board(s), and a projector screen?
- Where do you want to put the phone and important outlets?
- How much empty wall space do you need to hang things like apron racks, emergency signs, cell phone holders, and posters that stay up all year?
- What countertop depth do you need for the paper cutter?
- Is there enough counter space for materials?
Reflect on these questions when selecting your furniture:
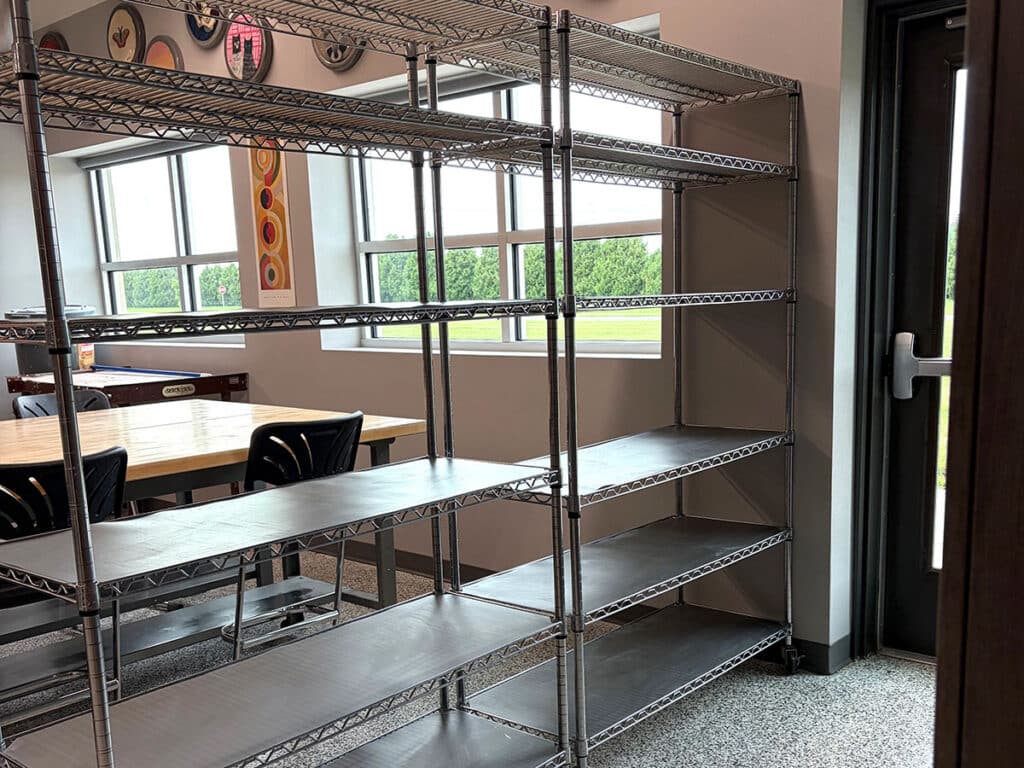
- What size and type of tables work best for your classes?
- Do you want stools or chairs with backs?
- What do you need for your desk area, and how much space does that require?
- Are the feet of your chairs plastic or metal?
3. Meet with architects.
You typically have a year or more to think about your dream room before you make any final decisions! When your school is undergoing a renovation, it involves many steps and groups of people. There will be meetings with various stakeholders, including your administration, school board, community committee, and, finally, teachers. You will likely be shown 3D renderings and blueprints. There will be a couple of meetings with architects, during which they present the initial plans and then return with changes based on your feedback.
Prepare for your blueprint meeting with these questions:
- What current furniture is moving with you, and how much will you need to replace?
- How many drawers do you need, and are they in a location that makes sense?
- Do you need accent lighting for drawing?
- Do you have ceiling panels to help buffer noise?
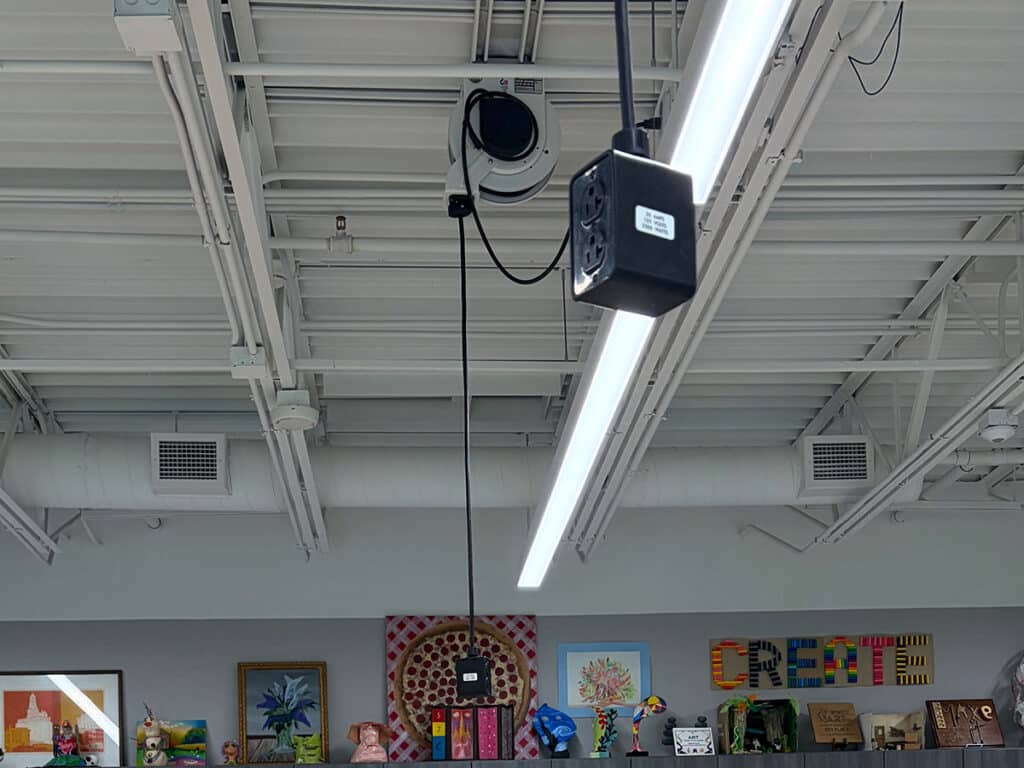
- Do you want drop-down outlets for hot glue guns or other tools?
- Is there space on the wall for paper towel and soap dispensers?
- How many shelving displays and storage cabinets do you need?
- If you get butcher block tables, does the district have a plan in place to regularly refinish them for you?
- Where are the phone jacks and specific outlets located?
- Will you have walls you can paint murals on, or will they be covered in wallpaper?
- What will your floor covering be, and will that work with the chairs you want?
Double-check the kiln room.
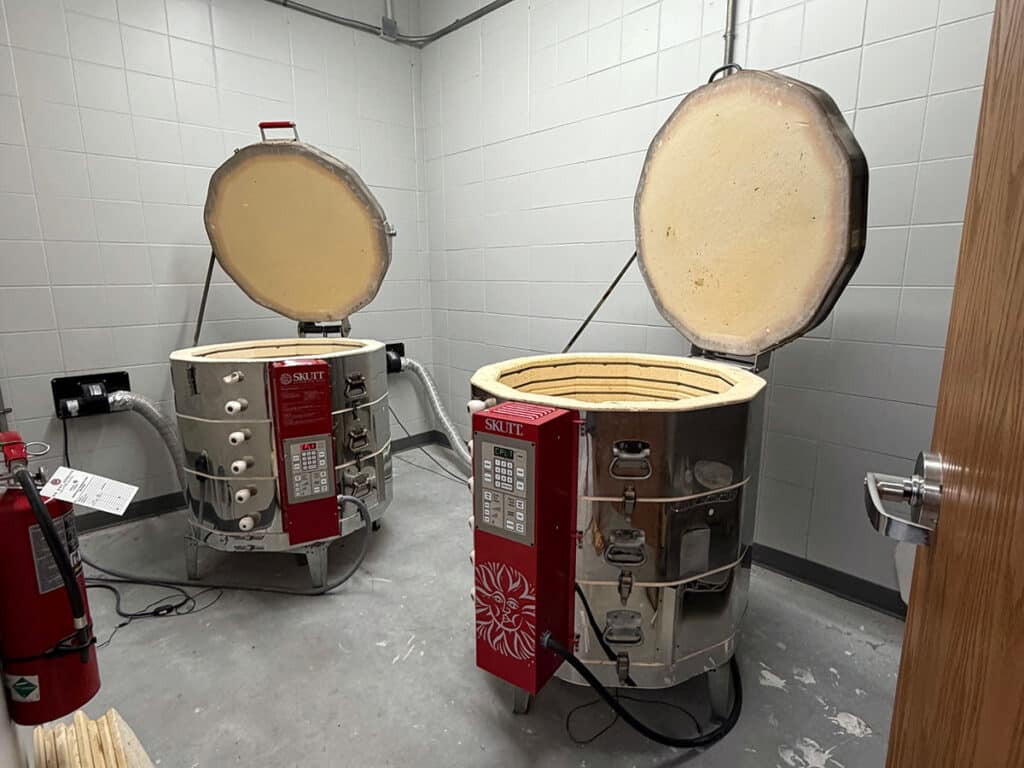
It’s worth the time to ensure your kiln room meets safety and practicality requirements. The kiln needs ample space around it for ventilation, especially if you have two kilns. If the heat is not properly accounted for, the kilns can shut off mid-fire. The kiln will also need separate electrical with a specific outlet. You will also want space for you to move around the kiln and roll carts in and out with projects on them. As you review blueprints, make sure the kiln is to scale in their plans. For more information on safety considerations, watch the Pack Critical Kiln Safety in PRO Learning.
4. Plan the move.
Just like moving to a new house, the more time you put into packing your boxes, the easier it will be to set up your new room. Ask for small boxes for your heavy items like glue, paint, and books, and plenty of packing material so nothing breaks during the move. Label every side of each box so it’s easy to find what you need without moving anything. To make the labeling process easier, you can purchase or make printable labels to stick on each side.
Make your transition smooth with these pro tips:
- Sort and get rid of any items you no longer need before packing
- Start early and pack supplies you no longer need as you go
- Use smaller boxes for easier moving
- Write an arrow pointing up for any boxes holding bottles
- Stick to only a few supplies of the same kind per box
- Try to keep boxes together that will go to similar places
- Set the boxes near the place they will go in the new room to make sure the overall layout and placement work
- Avoid stacking boxes, especially if they’re not sturdy

Renovating a classroom can feel like a lot of work on top of your regular teaching, but the four steps above will help you simplify the process and know what to expect. Remember, you’re the expert on your program and your students’ needs, so enter each meeting prepared to ask questions, share ideas, and advocate for the space you envision. With a clear plan and a little patience, you can create your dream art room where students feel inspired, supported, and excited to make art.
What is one unique or surprising thing you’d love to have in a new classroom?
What is one thing you couldn’t live without in your art room?
To chat about renovating your dream art room with other art teachers, join us in The Art of Ed Community!
Magazine articles and podcasts are opinions of professional education contributors and do not necessarily represent the position of the Art of Education University (AOEU) or its academic offerings. Contributors use terms in the way they are most often talked about in the scope of their educational experiences.