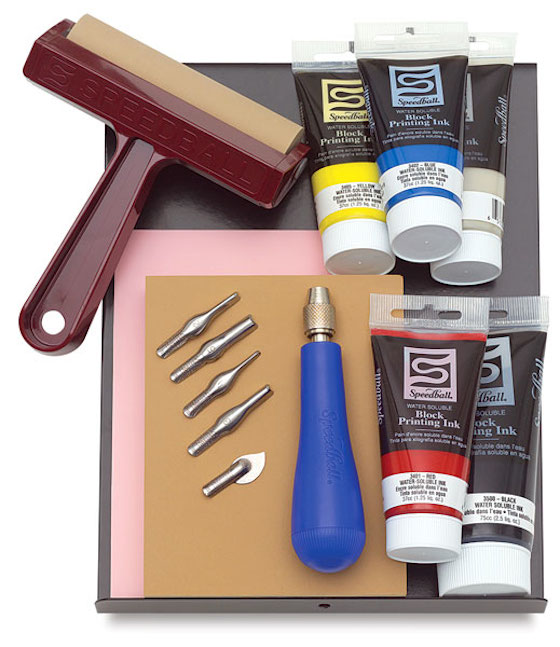
Printmaking can be intimidating for many reasons, one of which is the perceived high cost of materials. Ink? Brayers? Special Paper? Doesn’t that get expensive!? Well, today I’m here to bring you some relief. See what I did there?
Don’t get me wrong, if you have the budget for it, there are some awesome printmaking supplies out there. However, we know that art teachers are having to do more and more with less and less every year. Here are 5 ways to stretch your printmaking budget.
1. Invest in a few high quality materials each year
Instead of spending money on a cheap class set of something, say brayers, first invest in just two or three high quality brayers. Each year, add a few more. That way, you’re not wasting money replacing lesser materials every few years.
2. Think small
To allow for more students to experience printmaking, reduce the size of your printing blocks. Using foam? Instead of having each student create a 9” x 12” print, cut the sheets in half or quarters. Bam! You’ve just doubled or quadrupled the amount of students that get to experience printmaking.
3. Explore non-traditional methods and materials
While relief printmaking is certainly the most prevalent in schools, there are many other types to try. Try having your students use tempera paint and make monoprints using cheap transparency sheets. Or, have them use recyclables for stamping. You could even go on a leaf hunt this fall to create nature prints. If you’re set on relief, can you get a grocery store or butcher to donate styrofoam meat trays? Get creative!
4. Take Charge of the Ink
Whenever I set up my elementary room for printmaking, I make sure that I am in charge of doling out the ink. During the class period, students raise their hands if they think an ink tray needs to be refilled. If I agree, I will put a small amount of ink down. The goal is to have no leftover ink at the end of the class.
5. Set out only one color of ink, or choose ink colors that blend well together
Doing the above makes it so you don’t waste ink because it has become “dirty” looking. For example, if you set out blue ink and yellow ink, they may become mixed as students work, but that’s ok because you will have green ink!
Printmaking doesn’t require fancy equipment. If your budget is tight, all you need is a little creativity to bring the joy of printmaking to your students.
So, how do you stretch your printmaking budget?
Any other creative ideas out there?
Magazine articles and podcasts are opinions of professional education contributors and do not necessarily represent the position of the Art of Education University (AOEU) or its academic offerings. Contributors use terms in the way they are most often talked about in the scope of their educational experiences.