
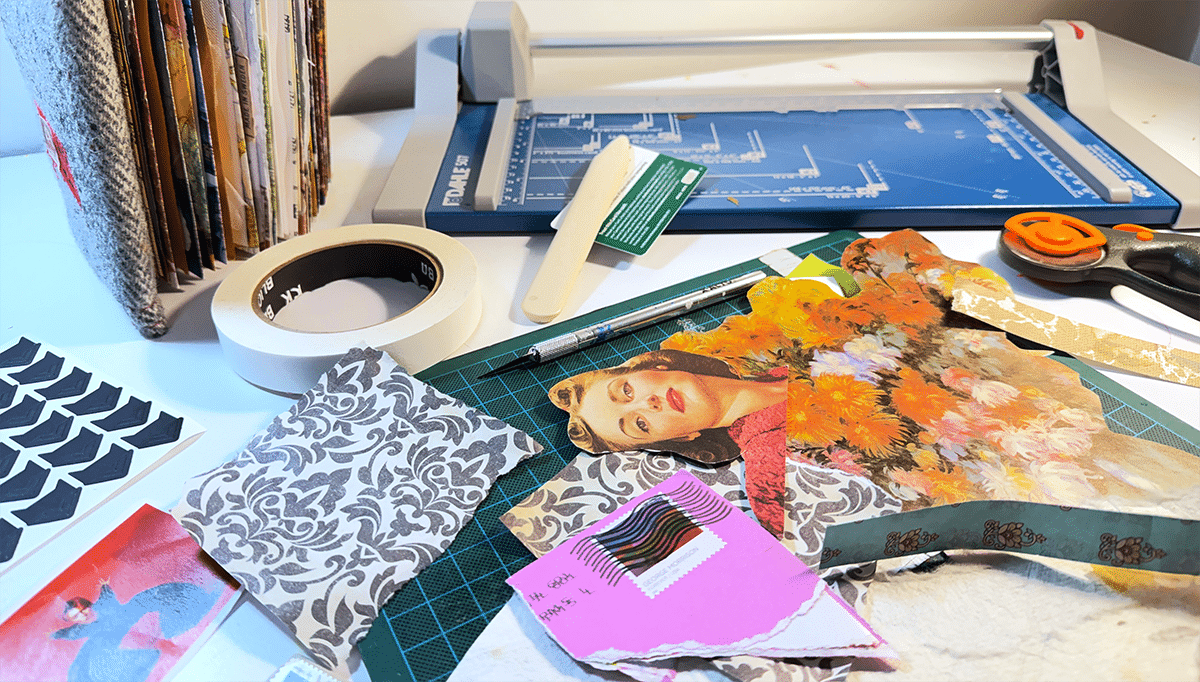
Collage is a fast, flexible, and endlessly adaptable medium for both classroom teaching and your personal creative practice. This collection of more than 55 tips and tricks will expand what collage can do—covering materials, surfaces, adhesives, tools, composition strategies, and time-saving classroom approaches. Nurture your creative practice, connect with fellow art teachers, and spark fresh ideas through mini-collage masterpieces!
Explore 55+ fresh, engaging ways to expand collage with practical tips and tricks you can bring directly into your classroom.
First, some context.
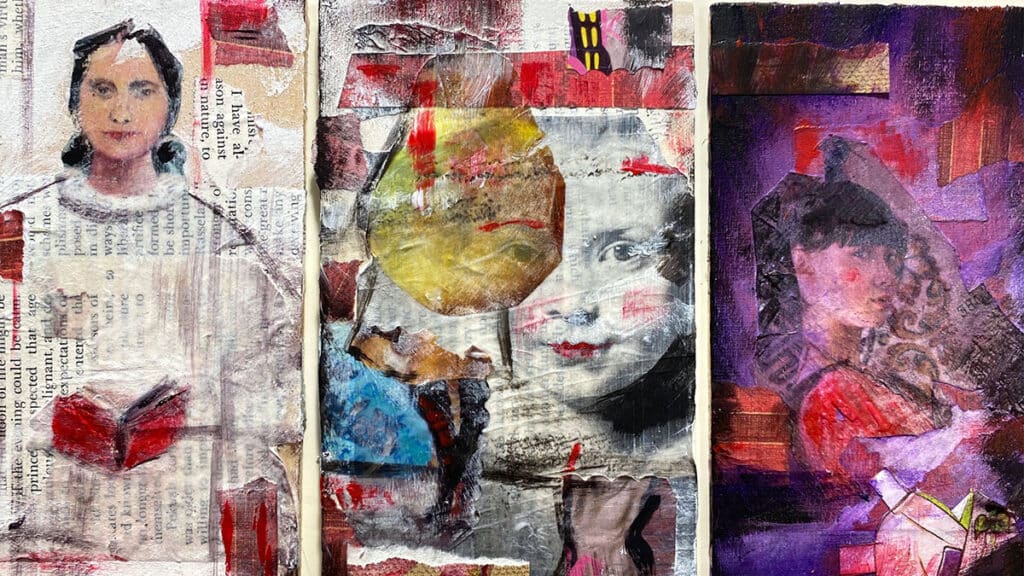
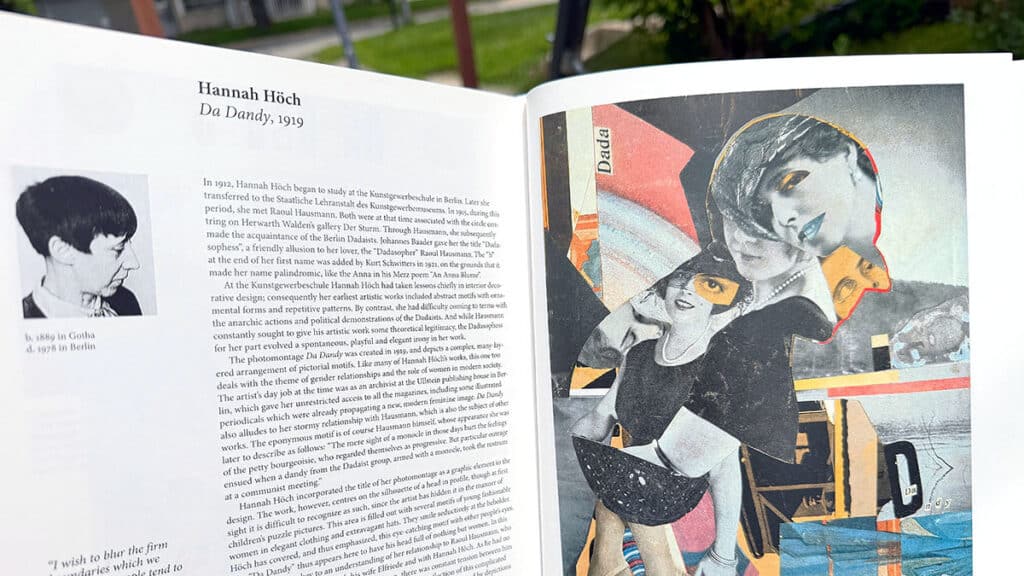
Collage is an artwork made by gluing different materials—like paper and fabric—onto a flat surface. The word collage comes from the French verb coller, meaning “to glue” or “to stick.” It emerged as a radical art form in the early 20th century through the work of artists Pablo Picasso and Georges Braque. They combined painted surfaces with found materials to challenge traditional ideas of representation. Hannah Hoch and other post-war artists used photomontage and collage to express political views. Since then, collage has evolved into a dynamic language of layering, juxtaposition, and reassembly.
Important artists in the history of collage were Henri Matisse, Robert Rauschenberg, David Hockney, Barbara Kruger, and Kara Walker. Each of these artists pushed the medium forward, expanding what collage could express in both material and meaning. Contemporary artist Hollie Chastain uses bold graphic elements, found materials such as paper scraps, and contemporary color palettes in her collages. Explore Kolaj Magazine for more contemporary collage inspiration and a broader understanding of how the medium is evolving worldwide.
Let’s create!
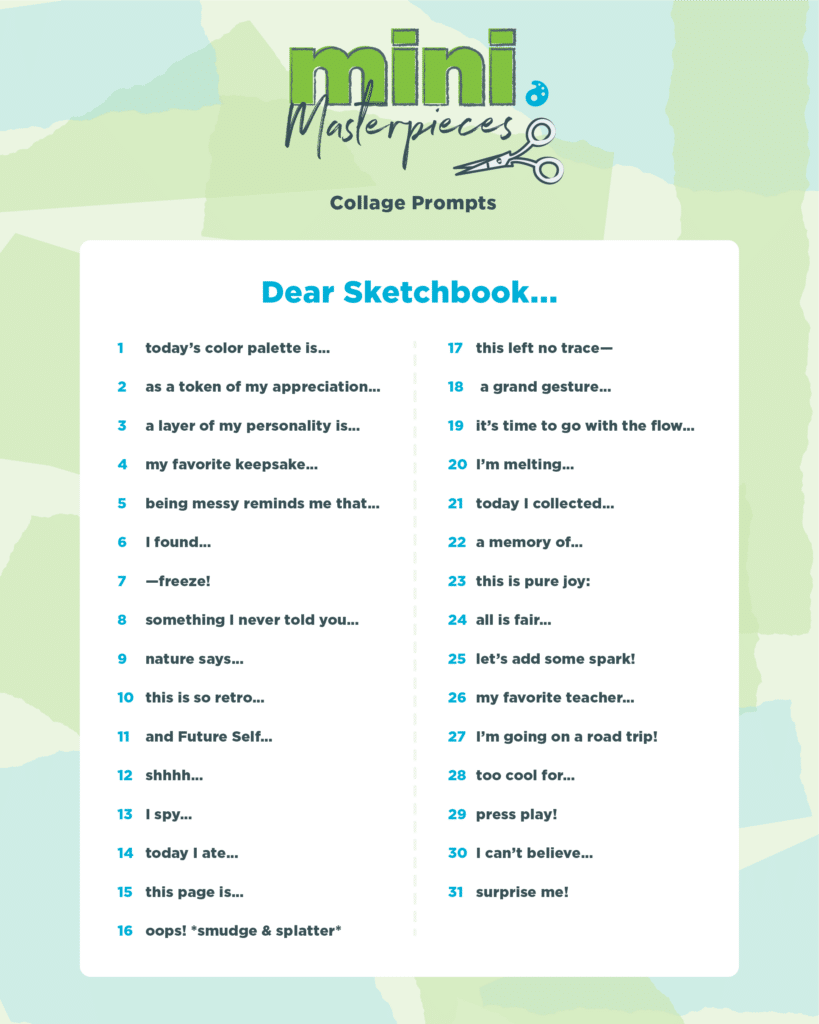
Mini art practices center on process, presence, and play. Small collages are a low-pressure way to engage with art and spark inspiration and generate a wealth of ideas. Try out the collage prompts below during this summer’s Mini Masterpieces challenge and then bring them to your students this upcoming year. Carve out a few intentional minutes each day to make small-scale artwork and reconnect with your own creative practice. Tap into new perspectives and get energized with art teachers Keisha Morales and Jackie Jablecki along the way!
Start with materials that inspire.
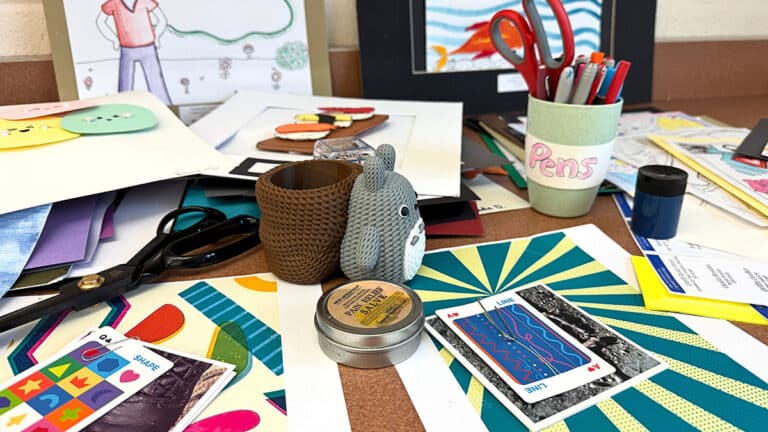
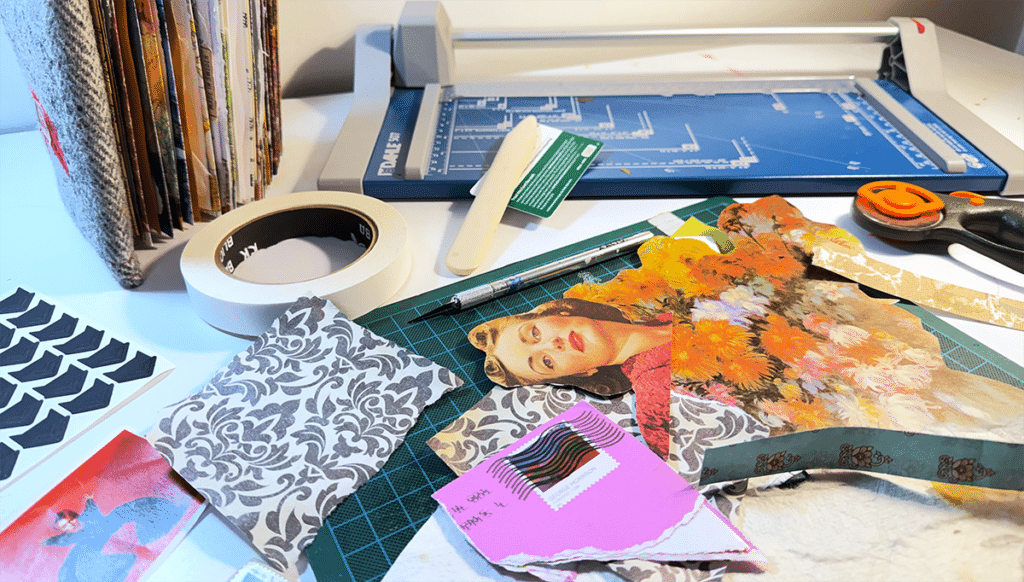
Curate your collection with intention to maintain inspiration from start to finish. Use collage materials that contain relatable subject matter. Mix glossy, matte, textured, transparent, and heavyweight papers to create rich visual contrast and depth. Build a collection of supplies that you and your students won’t be able to keep your hands off of!
Lean into aesthetically rich sources such as:
- Travel, architecture, and photography magazines
- Art history and artist books
- Sheet music
- Maps
- Photocopies
- Fabric scraps
- Ribbon
- Buttons
- Tissue paper
- Embellishments
- Washi tape
- Die-cut shape packs
Work on smart substrates.
You can glue to anything! The surfaces you need are already all around you at home and at school—it’s just a matter of noticing and gleaning them. Don’t worry about adhesion to unique surfaces; white glue will stick to almost anything. For furniture and other functional surfaces, a coat of heavy-duty polyurethane can add durability and help preserve the work.
Collage on almost anything, like:
- Wood
- Postcards
- Book covers
- Chipboard or tagboard
- Shipping boxes
- Food packaging
- Old playing cards
- Ceramic tiles
- Furniture
Explore pocket-sized galleries!
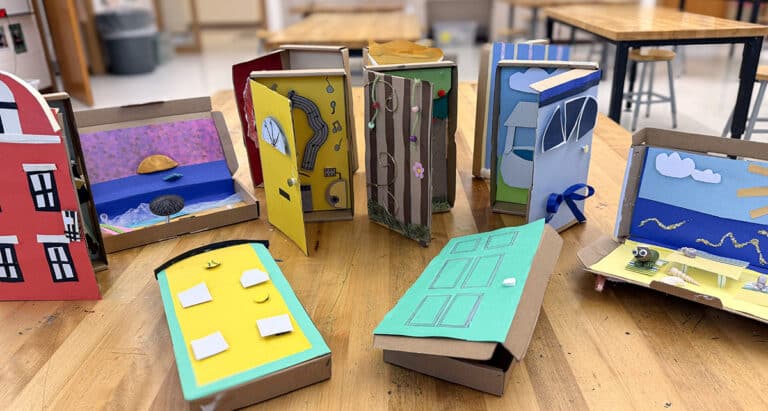
Think inside the box, and you will create a little cabinet of curiosity. Small-sized works invite delight and offer us a sense of play! Plus, they’re convenient to store and display due to their minimal footprint.
Collect these containers to build tiny treasures:
- Small mint tin containers
- Mini stretched canvases (4×4 or 5×5 inches)
- Cardboard jewelry boxes
- Wooden Brie/Camembert boxes
- Laptop boxes (Ask your IT department to save them!)
- Thrifted framed paintings
Have a professional edge.
Take your own work and your students’ to new levels by upgrading supplies and refining techniques. While white school glue will do the job well for younger and foundational students, substitute PVA for your advanced classes and personal work to increase the longevity of your collages. PVA boasts superior adhesion and smoothness, and has a neutral PH, which means it won’t break down or yellow over time.
Level up your collage practice with these tools and tips:
- Apply PVA archival glue to both surfaces (professional level)
- Paint acrylic medium on both surfaces (advanced level)
- Download the Best Options for Collage Adhesives from FLEX Curriculum
- Scratch or draw into thicker gel medium (sgraffito)
- Burnish with a bone folder for a tight, clean seal on smaller areas and edges
- Smooth with a scraper or burnishing tool for larger surfaces and thicker materials
- Remove parts of your design (decollage)
- Attach objects onto your work (assemblage)
- Trim edges with craft knives, metal triangles, and paper trimmers to create tidy edges
- Slice shapes with a craft knife on a self-healing cutting mat
- Cut with small paper-specific scissors
- Punch shapes with craft punches
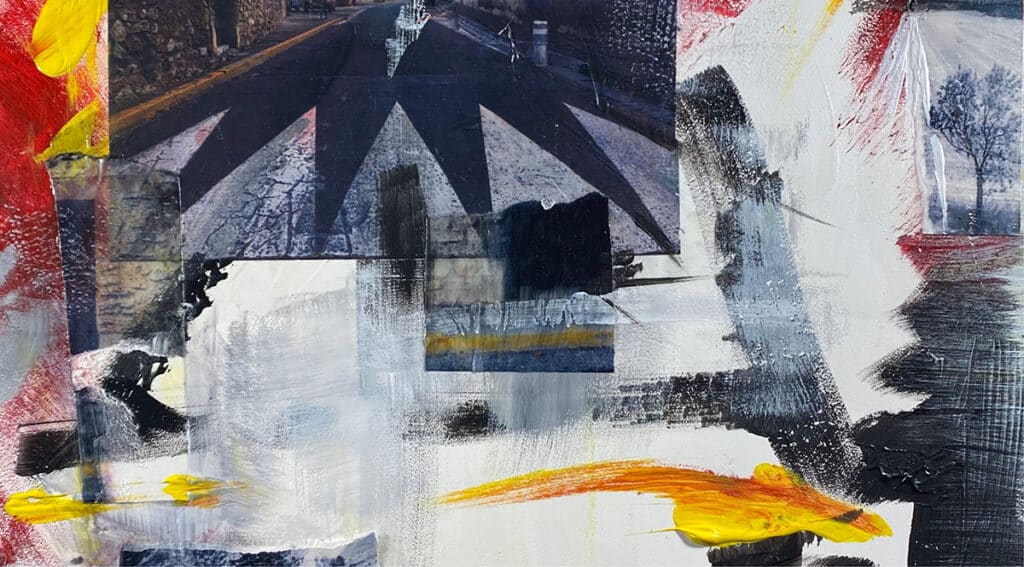
Add these clever hacks to your practice.
Budgets are not a joke. For classroom collage making, you don’t have to invest in expensive supplies to create strong, clean results. Plan ahead and start collecting the items below from your home, community, or colleagues to keep costs down and engagement high!
Make it work like a pro with these classroom tricks:
- Swap the bone folder for a gift card
- Thin white glue with water instead of using PVA or acrylic medium
- Collect gift wrap in lieu of scrapbooking or patterned paper
- Spread glue with flexible cardboard strips instead of brushes for no cleanup
- Protect work surfaces with dollar-store cutting boards instead of self-healing mats
Protect your brushes and work surfaces.
The art room sink is often the bane of our existence! We all know that glue plus brushes often equals destroyed tools. With a few handy tricks to prevent the glue from permanently ruining your brushes, work surfaces, and equipment, you can keep your classroom clean and your supply budget intact.
Keep the glue where it belongs with these best practices:
- Wipe glue or medium off your brush while you work so it doesn’t build up
- Keep extra brushes in water while you work
- Soak brushes in warm white vinegar to release the bond between bristles
- Only soak the brush, not up to the ferrule
- Remove dried adhesives from tools, tables, and cutting mats with a scraper knife
Take collage in new directions!
There are many directions to take in your work—and in your students’ work as well. Teach collage as a way to construct ideas and tell stories, as Romare Bearden did. And beyond storytelling, collage is also a powerful tool for teaching composition. There are so many ideas to keep your practice advancing!
Experiment with these ideas to expand your practice:
- Integrate collagraph prints
- Pull from your own photography as source material
- Layer travel ephemera into memory-driven compositions
- Print, laminate, and use the Collage Vocabulary Resource from FLEX Curriculum
- Design with intention using balance, rhythm, and other Principles of Design
- Build intentionality through the Meaningful Collage Collection in FLEX Curriculum
- Inspire your practice with curated collage books and resources
Tame the collage chaos with organization.
Without structure, collage scraps can quickly become overwhelming, and your space can look like a trash heap! At home, sort papers regularly; in the classroom, use simple systems to group materials by size and color. Stackable systems, such as trays, box lids, or horizontal desk files, are highly effective. If you want more support in organizing collage-specific supplies, watch the The Basics of Collage Pack in PRO Learning.
Move from scraps to systems with these methods:
- Sort papers by approximate size (small, medium, or large)
- Group papers by condition, color, or subject matter
- Discard tiny scraps and damaged pieces
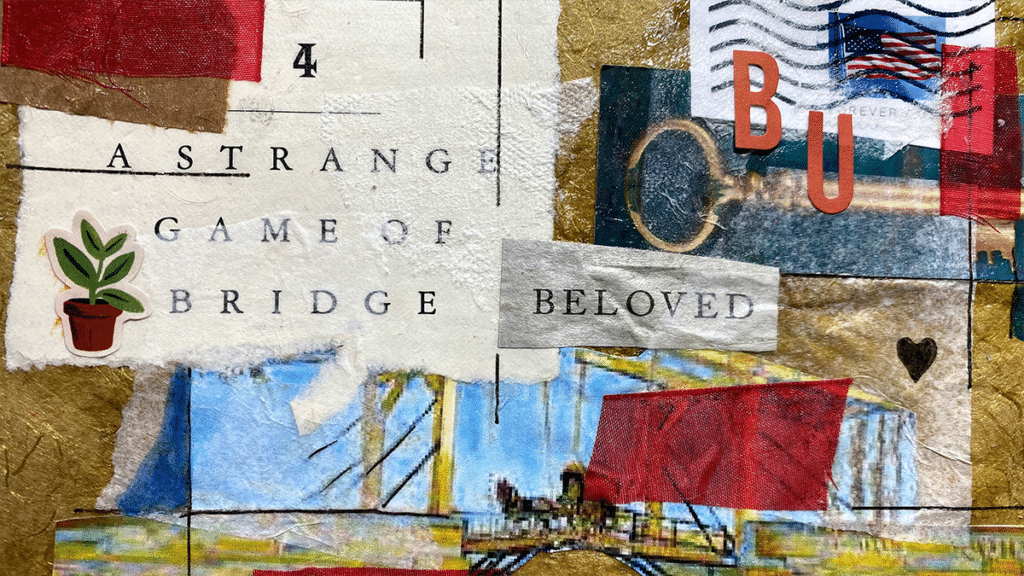
Start small and grab a handful of inspiring materials to make a fifteen-minute collage. Try a new adhesive, layer unexpected papers, or experiment with a different cutting technique. Share your work with friends, family, students, and The Art of Education Community—and then keep creating! Every collage is a chance to play, experiment, and discover new possibilities. The more you and your students make, the more your confidence, creativity, and artistic practice will grow.
What prompt in our Mini Masterpieces challenge has you most excited?
What is one collage tip you are definitely going to share?
To chat about collage with other art teachers, join us in The Art of Ed Community!
Articles and podcasts are opinions of professional education contributors and do not necessarily represent the position of the Art of Education University (AOEU) or its academic offerings. Contributors use terms in the way they are most often talked about in the scope of their educational experiences.