
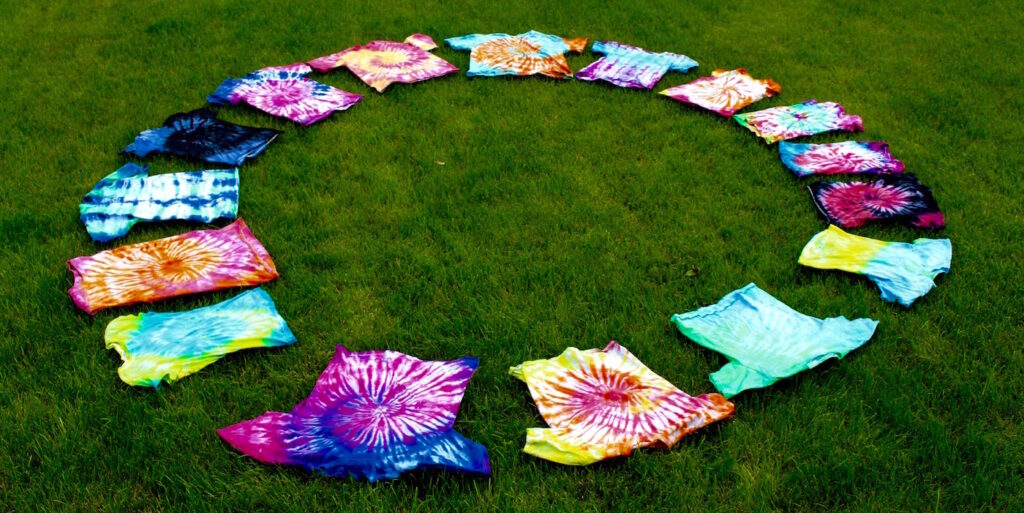
It’s no secret that I love tie-dye. I once even had a student tally the number of days I wore tie-dye in a row. Because my students know I love tie-dye, and they constantly see my successful products, they are eager to partake in the process with me.
Today I am going to share some tips with you that will make tie-dye a possibility in your classroom!
Step 1: Gather Materials
To begin the process you will need these materials:
- 100% Cotton T-shirt (anything containing 5% or more of polyester will not dye well)
- Soda Ash
- Rubber Bands
- Zip Ties
- Rack (to dye on)
- Plastic Bin (to catch the dye)
- Fiber Reactive Dye
- Ziploc Bag
- Sharpie Marker
Step 2: Prepare the T-shirt
When beginning the tie-dye process, it’s best to start with a freshly laundered garment to remove any oils and adhesive residue. If dying with a lot of students, make sure students write their name on the tag or collar with a Sharpie marker. It’s very important that your garment is the right material. Using a 100% cotton material is best, but other fabrics, like rayon, will work as well. Any material containing polyester will not yield desired results. Before any tying can occur, the shirt must be damp. This can be done by simply filling up a sink with water and having students submerge the shirts. Have students ring out their shirt before tying.
Step 3: Tie the Shirt
If you or your students are new to tie-dye, it’s best to keep it simple. I like to give my beginning students two design options. This allows for choice without overloading them with information.
1. Spiral Tie Dye Pattern
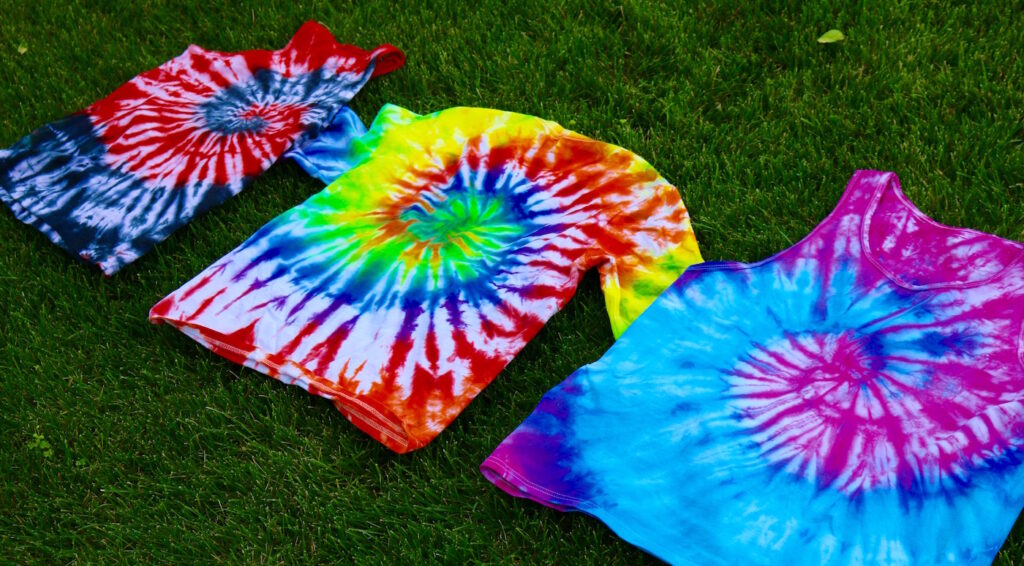
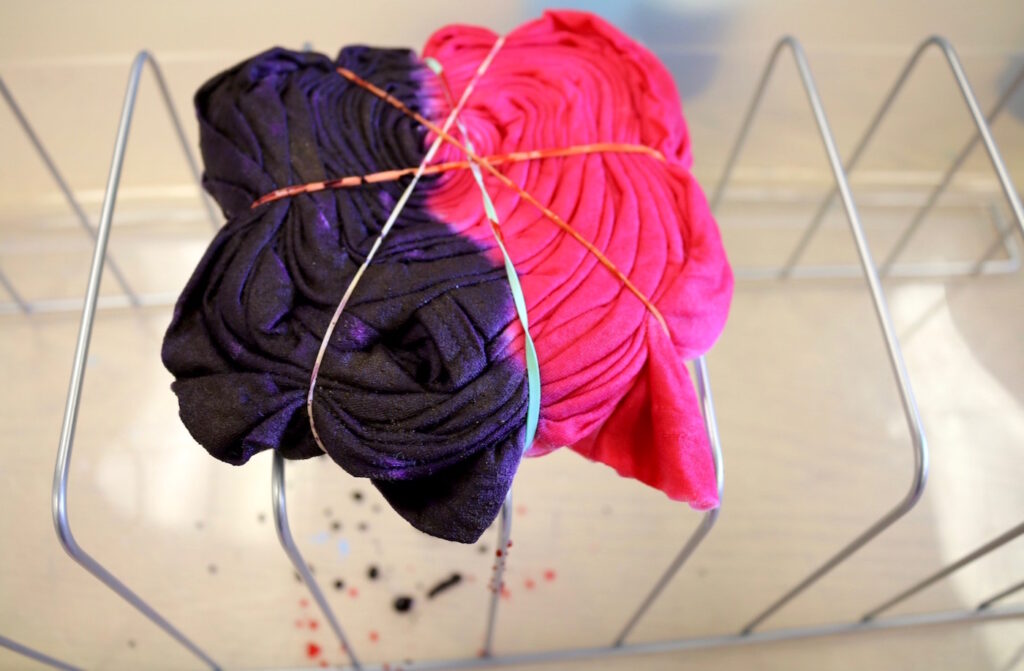
To achieve the spiral pattern, simply start by pinching your thumb and index fingers on the shirt and twisting. Twist until the folds in the shirt form a circle.
Use rubber bands to hold the design in place. Make sure your rubber bands are not too tight. If the circle becomes too taut and the folds become uneven, the results may not be as expected. Another option, when working with older students, is to use twine to hold the design in place.
2. V-Shape Accordion Tie Dye
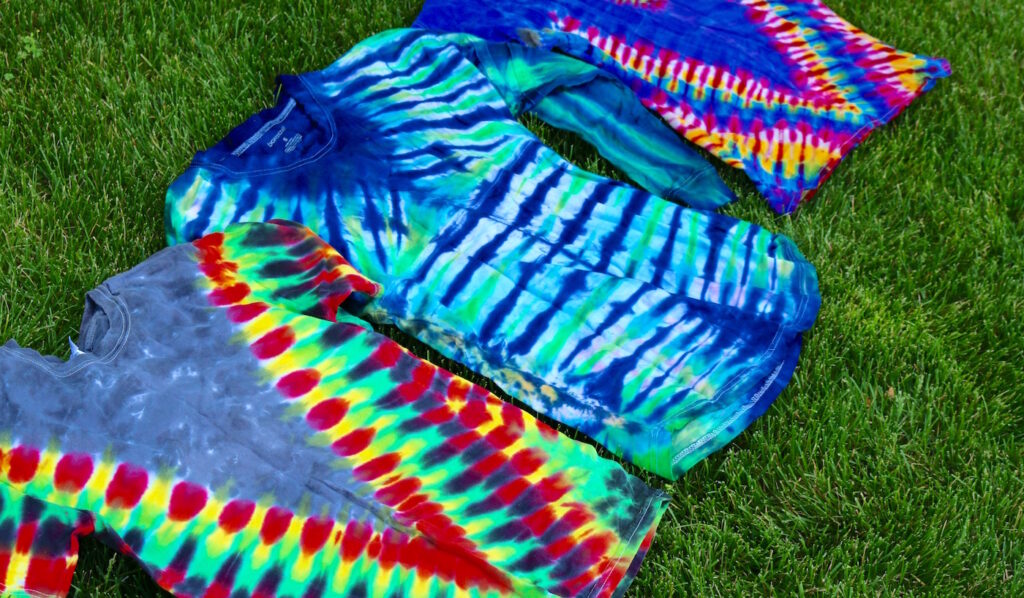
The V-shape fold design is one of my favorites, and students love it too! When my students see this design they think it is going to be very complicated, but it really isn’t. I always reassure my students by telling them if they can make a paper fan they can easily achieve this design.
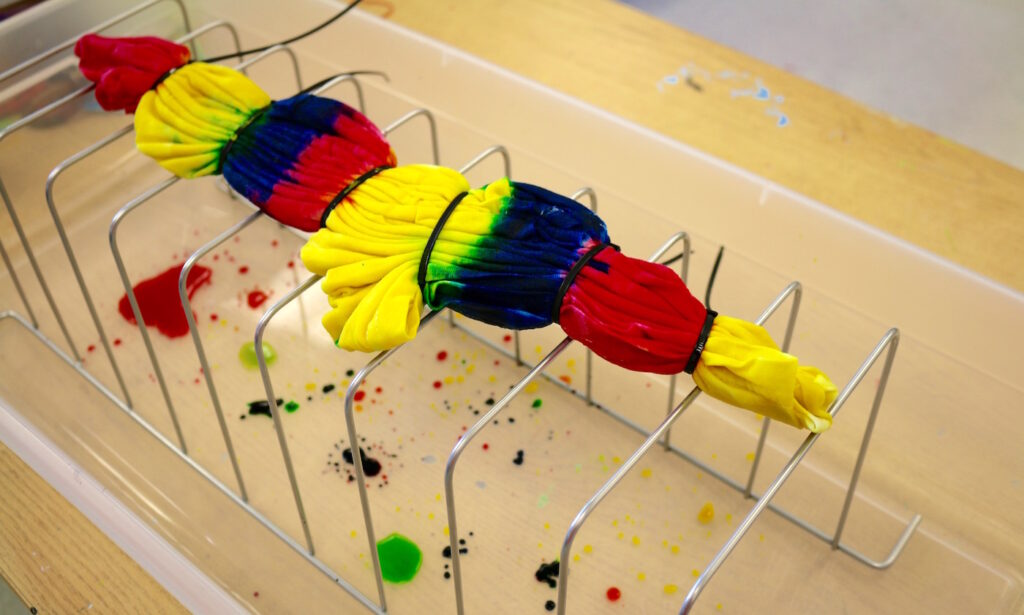
To begin this design, start by folding the shirt in half. Using a washable marker, pencil, or piece of chalk draw a diagonal line from the top of the shirt to the fold. Create accordion folds on the line, doing your best to keep the line straight as it will result in a more defined v-pattern. When folds are completed it is very important to not lift up the shirt. I’ve found that using rubber bands to hold this design is challenging for my students. Instead, we use zip ties which don’t disrupt the pattern and hold everything in place!
These patterns are a great start, but if you’re looking for even more ideas, be sure to check out the Tie-Dye Techniques PRO Learning Pack. You’ll learn how to tie shirts in over 7 different ways to achieve stunning results. Plus, you’ll gain invaluable tips for organizing and managing the process.
Step 4: Soak Shirt in Soda Ash
Before you apply the dye, take the tied shirt and soak it in soda ash for 5-15 minutes. Use one cup of soda ash per gallon of warm water. This mixture can be reused multiple times, but it is very important to wear gloves as soda ash can irritate the skin. This is a crucial step in the dying process as the soda ash changes the pH of the dye and allows it to react with the garment fibers. This allows the garment to have more brilliant colors.
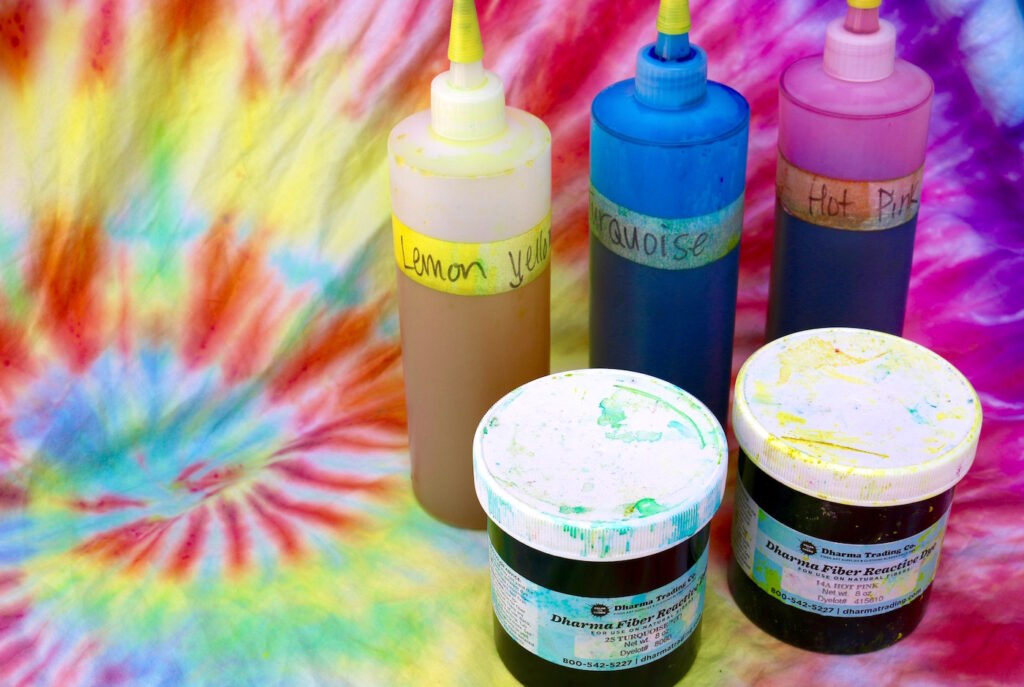
Step 5: Apply the Dye
When tie-dying with students, I recommend using a fiber reactive dye like Procion dye or even a tie-dye kit found at a craft supply store. Although using an all-purpose dye like Rit may be cost effective, the results will not nearly be the same.
Before applying the dye, you will want to make sure any excess water is squeezed out. If the garment is too wet, the dyes will run together. Set the garment on a raised rack inside a bin so the dye can run through and not soak the other side. If you are mixing urea into your dye and applying the dye outside, do not let the dye run into the grass. The urea mixed into the dye will kill the grass. For this reason, when I tie-dye with my students I often omit urea so we can dye outside and hose everything off at the end.
I like to have my students plan what colors they are going to use while the shirt is soaking in soda ash. That way, we can avoid any color disasters! A knowledge of color theory is certainly required for this step. I would recommend limiting students’ color choices to three to avoid any muddy colored shirts. When applying the dye to the spiral design, encourage students to work in halves or thirds, then flip the shirt over and apply the same colors on the other side.
To apply dye on the v-shaped design have your students work in stripes. Repeating the striped pattern will create an awesome effect!
Step 6: Let the Shirt Sit
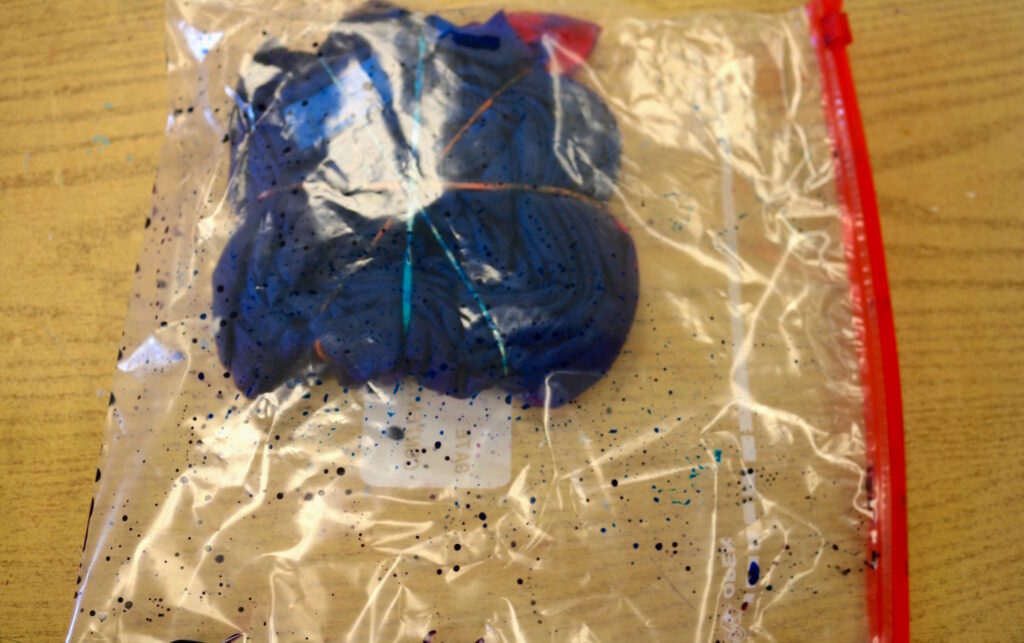
Before placing the shirt into a plastic bag, let any remaining dye drip from the rack. Once the dye is done dripping, place the shirt in the bag and let sit for at least 24 hours. The longer you let it sit, the brighter the colors will be. However, I would not recommend letting it sit for longer than 2-3 days.
Step 7: Rinse and Wash
Before washing the shirts in the washing machine, rinse them out. I typically take them outside and hose them off with the rubber bands or zip ties on first. Then, cut the bands and ties and hose them off again. Placing no more than 10 shirts at a time in the washing machine, begin washing them in hot water. Regular detergent can be used, but for best results I recommend using a synthrapol detergent. Once washed, shirts can be dried and worn!
Step 8. Wear and Enjoy
When all of these steps are completed, your students will have some beautiful, wearable pieces of art!
The tie-dye process does take some planning and can be a mess, but when done correctly it will be a process your students will never forget! They’ll be proud of their success. As they wear their tie-dyed shirt to school, they become a walking piece of art!
Do you tie-dye with your students?
What tie-dye tips and tricks do you have to share?
Magazine articles and podcasts are opinions of professional education contributors and do not necessarily represent the position of the Art of Education University (AOEU) or its academic offerings. Contributors use terms in the way they are most often talked about in the scope of their educational experiences.


