
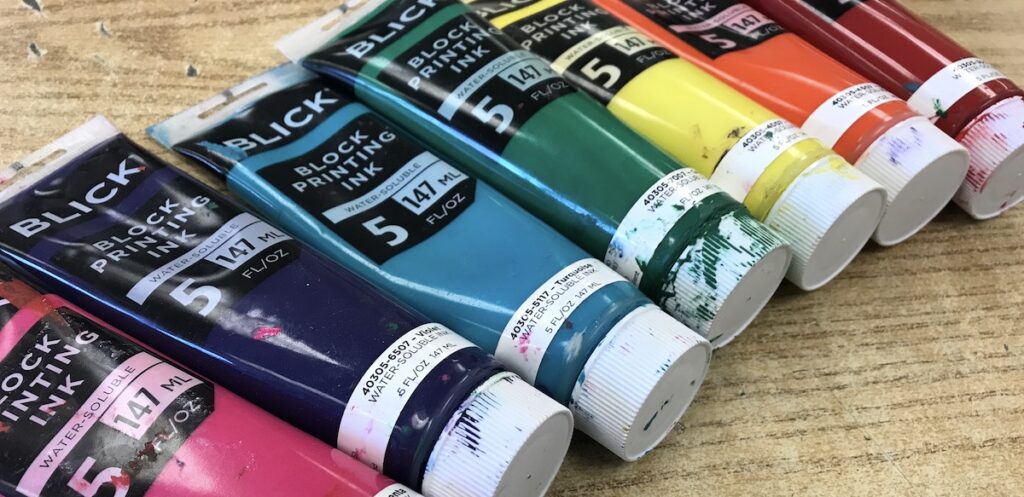
There are some mediums our students just love. Printmaking is one of them. As a college student, I loved the process. I remember spending hours in the printmaking studio working on lithographs, woodcuts, and aquatints. It was such an engaging, rewarding process, but I soon realized these were not processes I’d be able to use with my students. Can you imagine 30 middle schoolers working with an acid bath solution? Yeah, me neither!
One of the wonderful characteristics about printmaking is that there are a variety of ways to explore the same process. One of my students’ favorite ways to explore printmaking is through monoprinting.
Here are 5 different monoprinting techniques you can try with your students. Better yet, none of them require a printing press!
1. Tabletop Printing
It always seems that the messier the technique, the more enjoyable it is for students. Tabletop printing is just that. To get started you need a table, masking tape, ink, and brayer. Start by taping off two rectangles on the table, one for the paper registry and the other to create a clean border around your print. Squeeze the ink directly on the table, inside the smaller rectangle, and roll it out with a brayer.
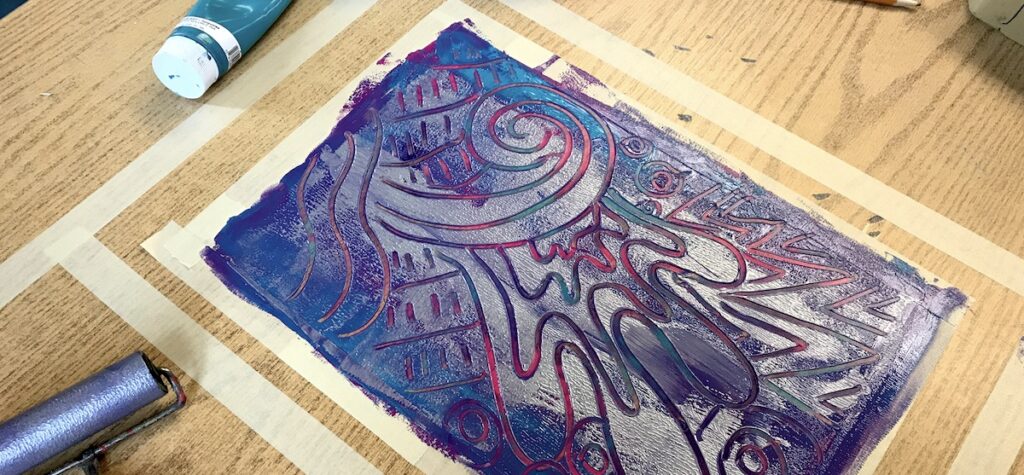
Once the ink is rolled out, students can draw directly into the ink. Dull clay tools, q-tips, and pencils work great for this process. It’s best to encourage your students to have a pre-planned design in mind, so the ink does not dry too quickly. If the ink does start to dry, use a spray bottle of water to spritz the surface. Before printing, remove the smaller taped off rectangle, place your paper on top and gently rub. Then, pull up the paper to reveal your print!

Note: If you don’t want quite the mess, you can try this same process with ink or paint by putting aluminum foil down first.
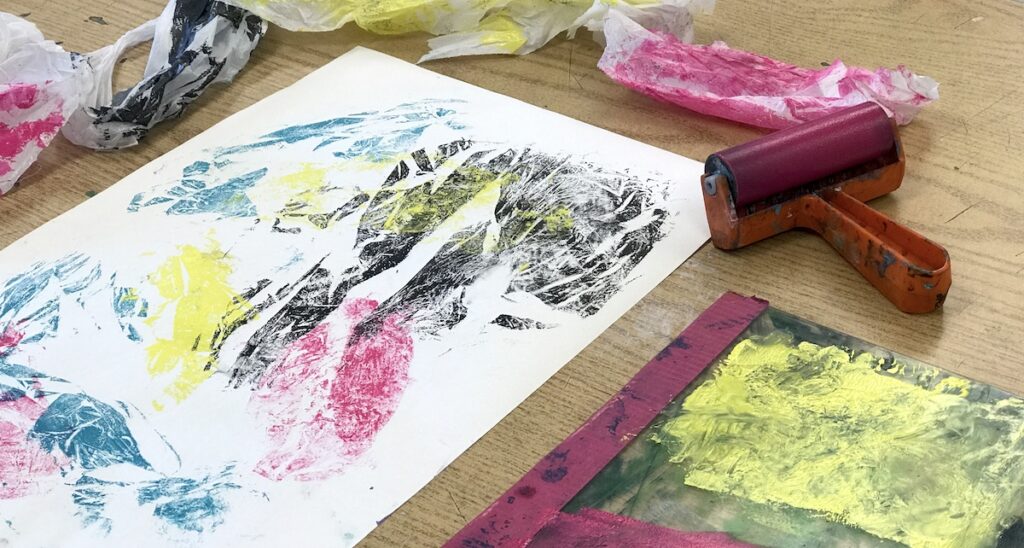
2. Trash Bag Printing
For this process, start by squeezing your ink onto your plexiglass or another surface you are using. Take pieces of cut up trash bags and put the bags directly onto the ink. Gently rub over the bags, just enough so they have collected some of the ink. Peel the trash bags off of the inking surface and transfer it, ink side down, to a piece of paper. Put another piece of paper or board over the top and use a barren to rub. Remove the top board or paper, carefully peel off the trash bags, and you will reveal a beautifully printed texture! This is a great process to combine with painted or Gelli printed backgrounds.
3. Gelli Plates
Using Gelli plates is an excellent way to introduce students of all ages to monoprinting. Because of the forgiveness of the plate material, students find this process gratifying. Students have the opportunity to use stencils, texture tools, stamps, and other materials to create one of a kind prints.
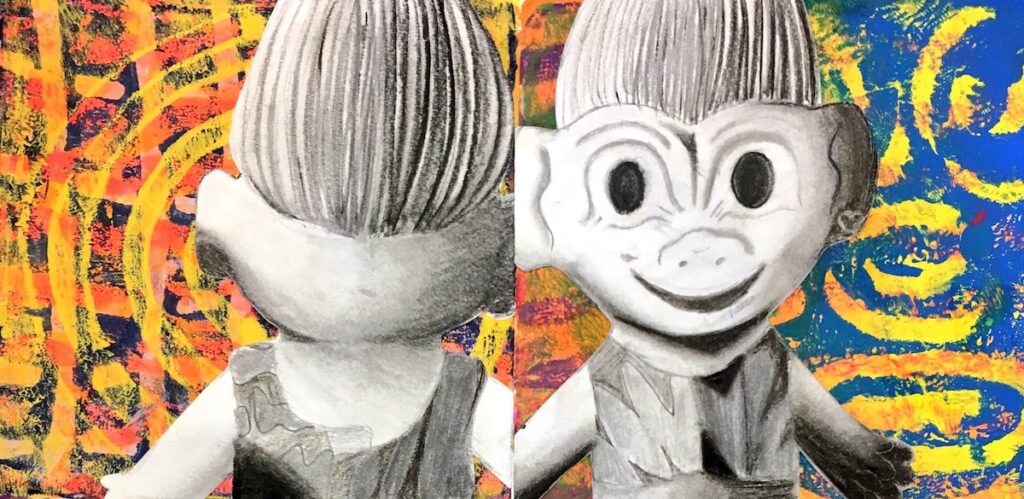
The best part about monoprints is that you can use them in combination with other mediums! The Gelli prints look beautiful on their own, but they can serve as a way to enhance other projects. For example, if you’re working on a collage project have students create monoprinted paper using Gelli plates. These prints can also transform any drawing project by serving as background.
If you’re looking for more monoprinting tips and tricks, check out the Getting Started With Gel Printing Plates Learning Pack. In the end, you’ll know everything you’ll need to get started with students right away!
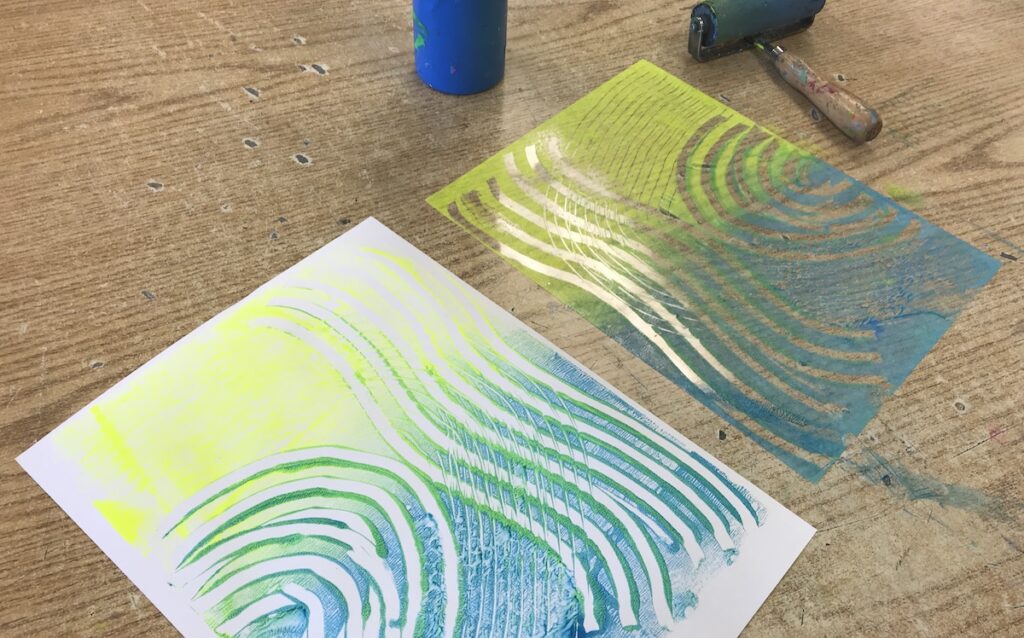
4. Transparency Printing
Do you have quite a few old transparencies laying around your classroom? Or are you looking for ways to recycle excess laminate from the laminator? Try printing directly onto the laminate or transparency surface. Acrylic paint or ink will work perfectly for this process. Using texture tools or drawing directly into the ink or paint is an easy way students can get successful results.
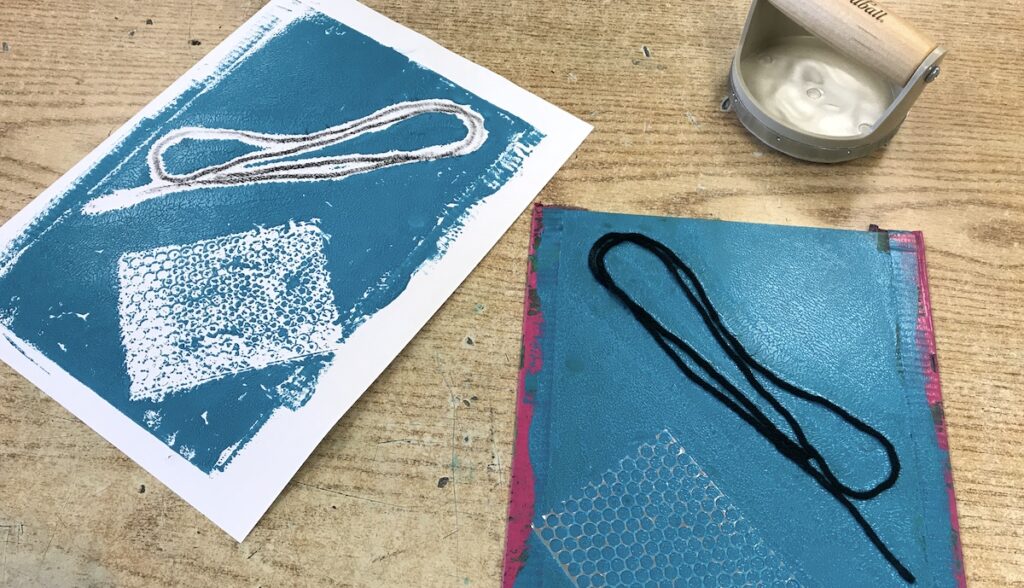
5. Plexiglass Printing
For plexiglass printing, start by inking the entire surface. Then, lay down a variety of textured items like doilies, lace, leaves, etc. You might choose to put different colors of ink on the texture materials to create a multicolored effect. Put your paper on top of the surface and use a barren to rub and print the design. If you have a ceramic slab roller, you can also use it to roll over the plexiglass with a piece of felt on top of the plate.
Monoprinting is a simple, yet effective way to get students started with printmaking. If you are looking to explore printmaking without the dangerous chemicals or tools, one of these five techniques will be a hit in your classroom!
What other monoprinting techniques would you add to this list?
How do you teach printmaking without a printing press?
Magazine articles and podcasts are opinions of professional education contributors and do not necessarily represent the position of the Art of Education University (AOEU) or its academic offerings. Contributors use terms in the way they are most often talked about in the scope of their educational experiences.


