Masks are such a great way to introduce your students to other cultures. They can also help students explore their own identities or celebrate people they admire such as fictional characters or personal heroes. Creating masks with plaster gives students the chance to work with new materials and ensures they’ll be able to enjoy their finished work for years to come.
Let’s dive into how to make creative plaster masks with your students.
1. Introduce students to a wide variety of masks.
When introducing your students to mask making, it is important to share many types of masks from a variety of cultures. Share the many uses for masks and talk about the similarities and differences between the masks you view. I like to show my students a slide presentation, so I can cover a lot of material at once. You might include masks used for special ceremonies, those used for a masquerade ball, and even masks worn by children for Halloween.
By sharing a variety of masks, your students will begin to get ideas for their own work.
2. Give students time to research and sketch ideas.
We all know our students may need a little push in the inspiration department from time to time. Give your students an opportunity to research on their own.
Give them a variety of resources such as:
- Computers
- iPads
- Books
- Magazines
It is important to remind students not to directly copy designs but to use a variety of images to design their own creative sketches. This would also be a good time to share information about copyright laws and originality.
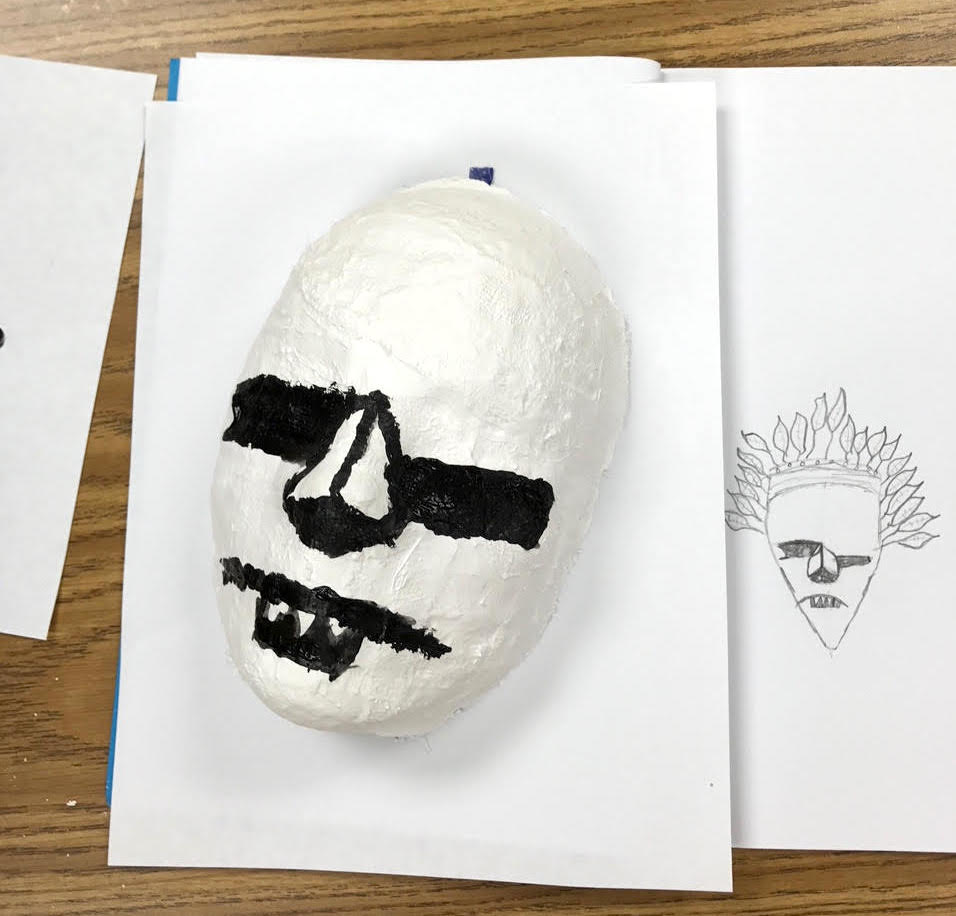
Have students sketch in their sketchbooks or on a sheet of paper you will collect. They can refer to the sketch when they begin making their masks. I even have my students list ideas for colors they want to use and what embellishments they may want to add.
3. Prep your materials.
It is important to have your materials ready to go so students can finish the plaster portion of the lesson in one class period.
Here is what you will need:
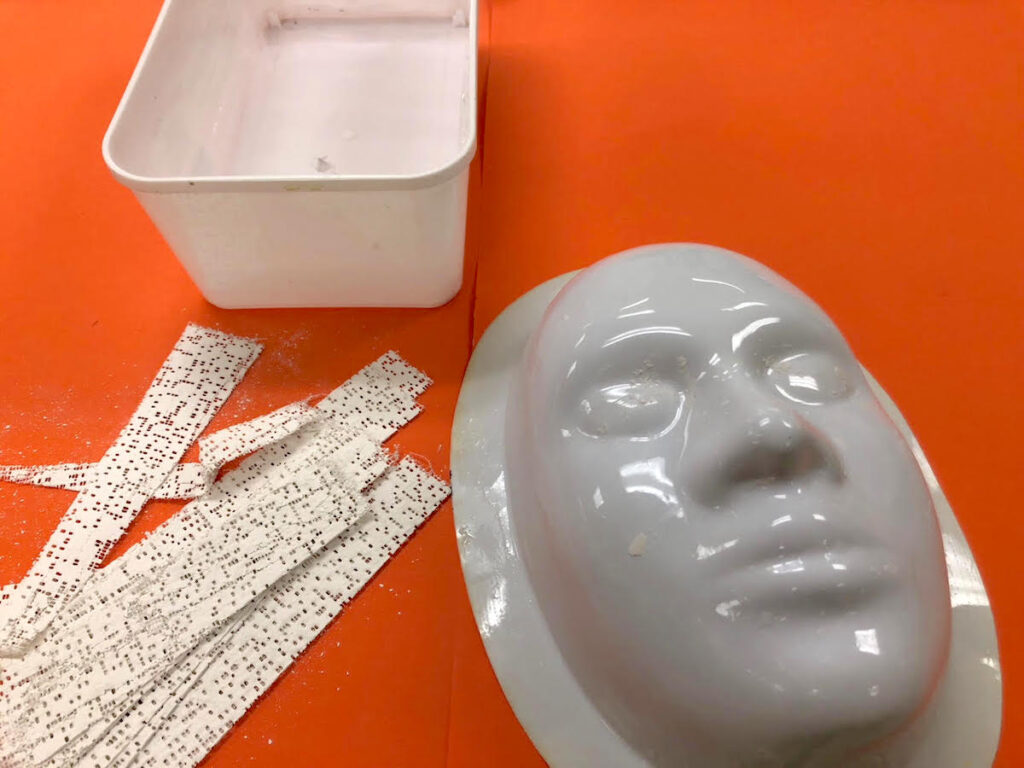
- Plaster gauze cut into one-inch strips
(Plaste’r Craft Modeling Material is a good choice) - Scissors
- Water containers
- Butcher paper
- Class set of face mask forms
- Acrylic paint
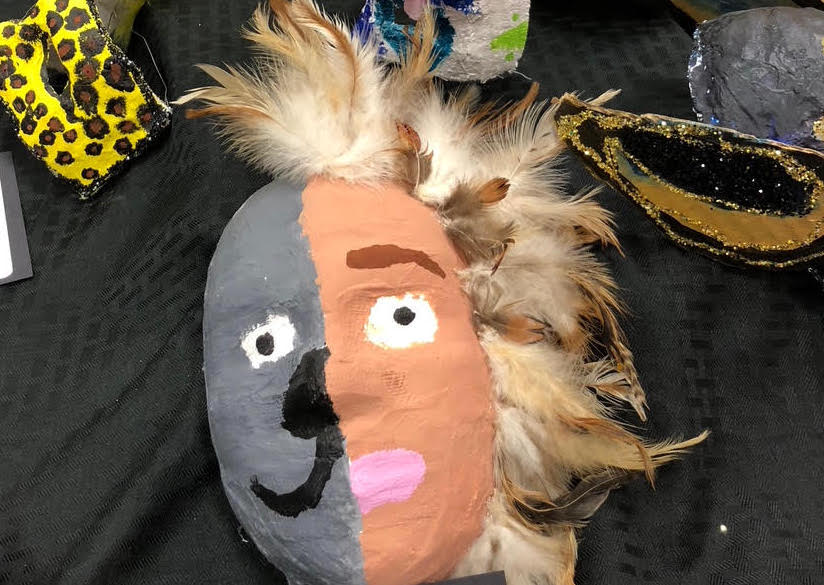
- Embellishments such as feathers, yarn, glitter, gems, sequins, etc.
- Hot glue gun
4. Demonstrate plaster techniques.
Before students begin, you’ll want to do a quick five-minute demonstration of how to use the plaster strips. If you haven’t worked with this material before, you simply dip a strip into a shallow container of water to activate the plaster. Then, you can add the strip to the mask form, similar to what you would do with paper mache.
Make sure you give your students the following tips:
- Hold both ends of the plaster strips when you dip it in the water, so it does not shrivel up.
- You can cut the plaster if you need a smaller piece to fill in a specific area.
- You can choose to make a mask with the eyes covered or uncovered. Leaving the eyes uncovered allows you to create a wearable mask. Covering the eyes allows you to paint designs in those areas.
- You don’t have to cover the entire face mask to make a full mask. You can play with angles and even make half masks.
- Three layers of plaster will ensure the mask is strong and less fragile.
5. Have students create their masks.
Once your materials are set up, and you’ve done your demonstration, students can begin the mask making process below. I recommend covering all tables in butcher paper for easy cleanup.
Day 1: Creating the Mask Base
- Give each student a face mask form. Place a pile of plaster strips and a large container of water in the center of each table.
- Have each student write their name on masking tape and stick it inside their face mask form.
- Let your students begin creating their masks with the plaster strips. Emphasize that they should add all of the plaster they want to add during this first class period.
- Clean up and make sure students place their masks in a designated area.
The masks usually dry well overnight. If storage is an issue, pop the masks off the forms the next day and place the masking tape with the students’ names inside of the masks themselves. Then, you can nest them to save space until the next class.
If you have time, you can also consider giving your students a day before painting their masks to practice blending and making values with acrylic paint. This will help their masks look more realistic.
Day 2: Paint the Masks
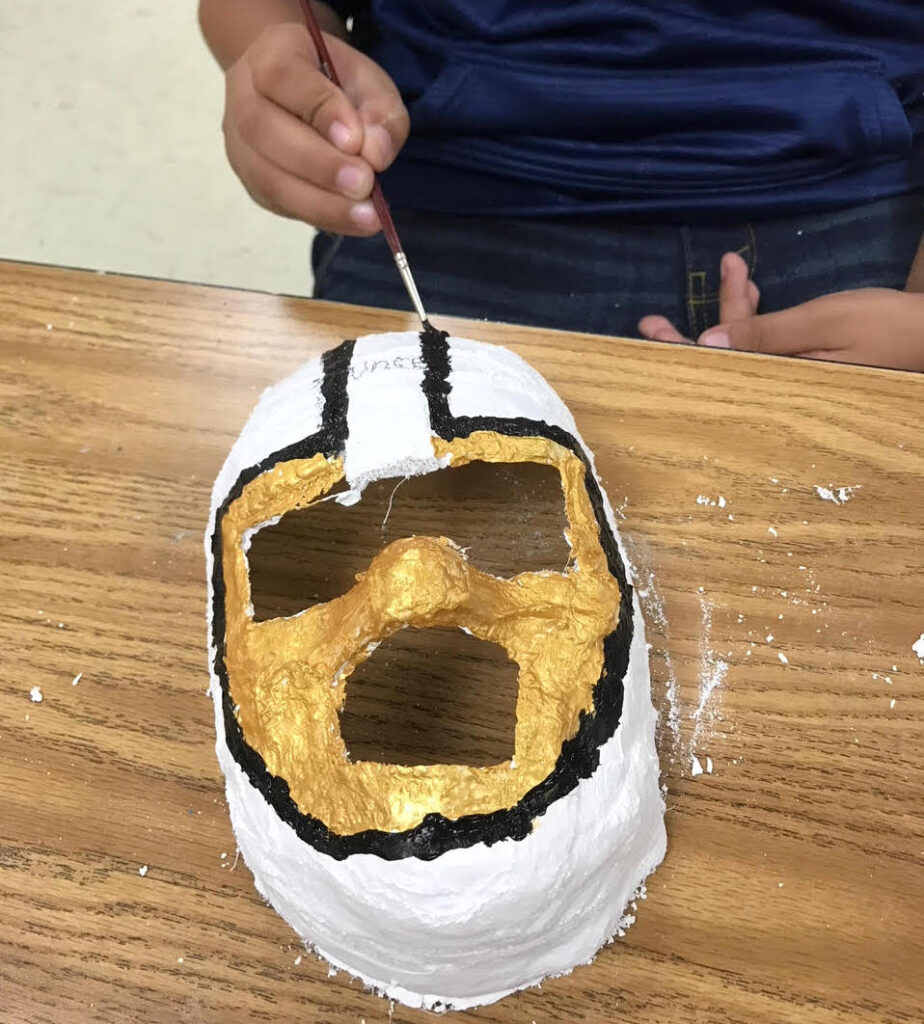
- During the second class, give students back their sketches and their masks.
- Let your students paint their masks. Remind them to do large areas first and the details last. If they need to lightly sketch on the mask with a pencil, that can be helpful.
- Have your students clean up.
Days 3 and 4 and Beyond: Add Embellishments
The following days will depend on how much class time you have available to dedicate to this lesson. On the third day, once the masks are dry, students can continue painting, adding details, and adding their embellishments. My fifth-grade students work on this lesson for about five class periods total.
Finally, have your students share their masks with the class.
Make sure to have your students share their masks with the class when they are finished.
Have students answer the following questions when they share:
- What inspired your work?
- What did you enjoy most about designing your very own mask?
- What would you have done differently?
Overall, this lesson is a great way to focus on creating masks while giving your students room to bring in their own ideas for their final piece. If you don’t have room in your budget for face molds and plaster, try similar techniques using paper mache and balloons! Another great tip is to send a note home to parents to let them know about the project. You might be surprised by the embellishment donations you receive!
What type of masks do you create with your students?
What other tips would you give for mask making in the classroom?
Magazine articles and podcasts are opinions of professional education contributors and do not necessarily represent the position of the Art of Education University (AOEU) or its academic offerings. Contributors use terms in the way they are most often talked about in the scope of their educational experiences.