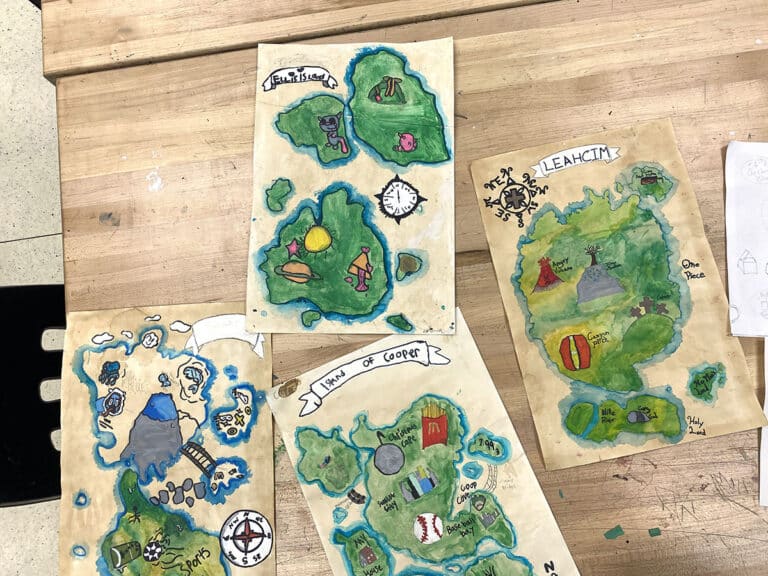
If you’ve never created a mural with your students, you might be thinking, where do I even begin? Unlike high school students, students in lower grades may need more guidance with planning and skill building to tackle such a big task.
It might feel like they need too much support to venture into the world of mural design. But, don’t let that scare you! Elementary and middle school students can absolutely complete a mural design in your school.
Follow these 6 steps to ensure your next mural project is a success!
1. Planning the Design
When working on a mural design with younger students for the first time, it’s wise for you to have a clear direction. Many students will never have experienced creating a mural, and it can be difficult for them to grasp the big picture.
If possible, you will want to allow for some student voice. You may ask students to create drawings around a theme or help with color selection. As the lead designer, you can use their ideas to create a cohesive whole.
2. Drawing Your Design
Before you start painting, make sure you have a solid plan in the form of a completed sketch that scales to the wall on which you’ll be working. Personally, I find it helpful to create a digital drawing to expedite the planning process.
Another thing to consider at this point is the wall surface itself. If it needs to be primed, now is the time.
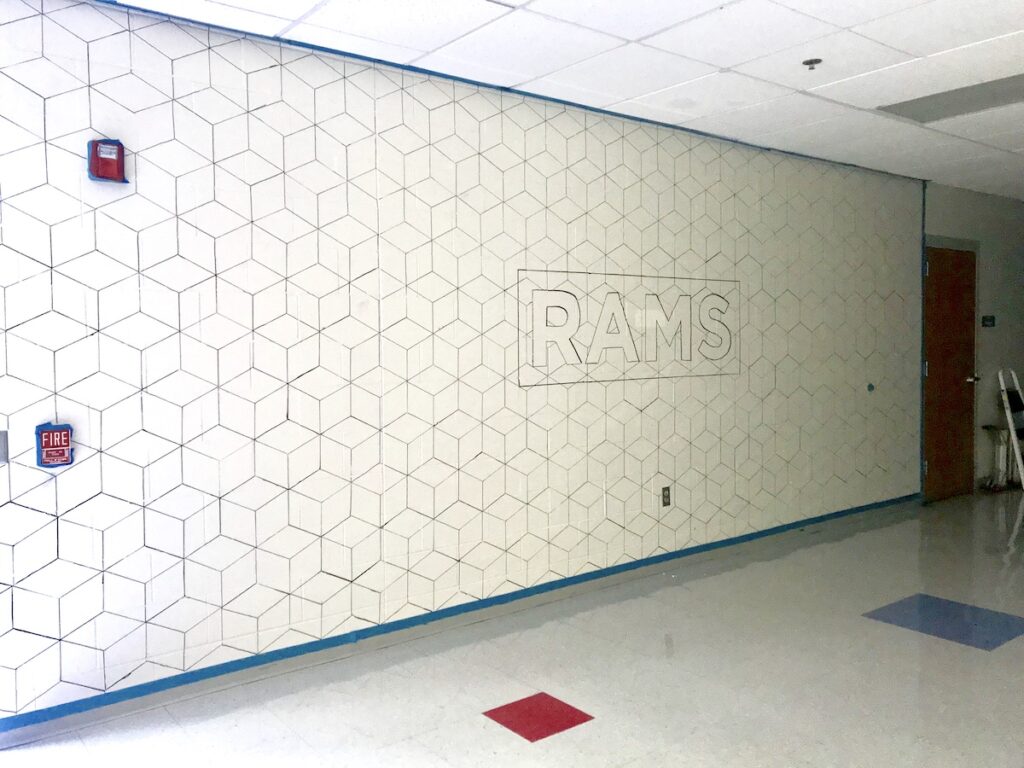
Here are 3 tips for getting your design onto the wall.
- Don’t be afraid to use your projector. This can help you enlarge and trace your image with ease.
- If you are using a repeating shape or pattern, consider using a stencil to expedite the process.
- When drawing on the wall, make sure you use a drawing material that is easy to see. I recommend a dark graphite stick or a permanent marker. Both go onto the wall easily, can be covered up, and guarantee no design outlines will be lost.
This article is a great place to start when planning a mural project. If you’re looking for even more in-depth information, you will want to check out the Mural Painting PRO Learning Pack. High school art teacher and mural expert, Matt Christenson, will take you through the process in full detail from start to finish.
3. Selecting the Right Type of Paint
Unfortunately, if you are creating a mural in your school building, chances are you’ll be painting on a cinder block wall. Although not always ideal, you can still make this surface work for a mural.
The most difficult part in choosing materials is selecting the right type of paint. If you will be painting directly on a wall, it is best to use wall paint instead of acrylic. While it does come with a sheen, gloss paint will be most durable. However, semi-gloss will also work well. You might also think about getting a paint you can easily wipe clean. As students walk past the mural in the hallway, things like pencil marks can appear and will need to be cleaned off.
4. Preparing Your Paint
If you are mixing custom colors, make sure to make large batches. You don’t want to run into the problem of not being able to match a color halfway through the project. That said, write down your “paint recipes” just in case you do run out!
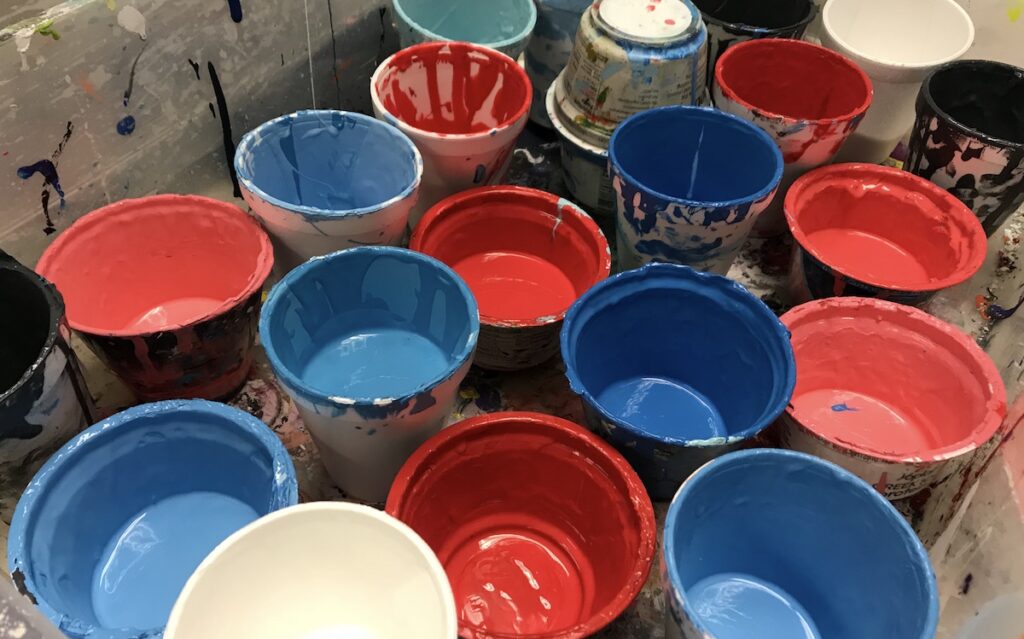
Using small containers to distribute paint to individuals or pairs of students generally works well. At the end of each day place them in a large plastic container sealed with a lid. This will save the paint for the next day, and you won’t have to refill colors as often!
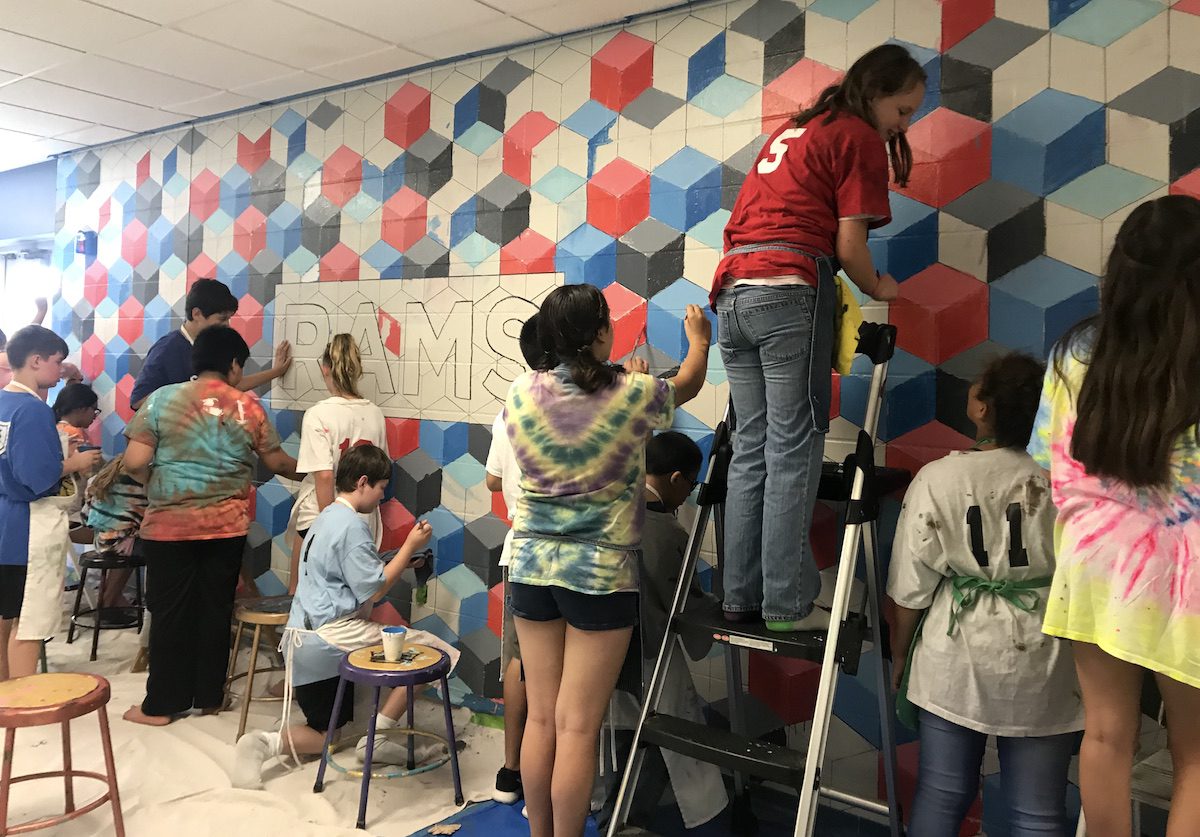
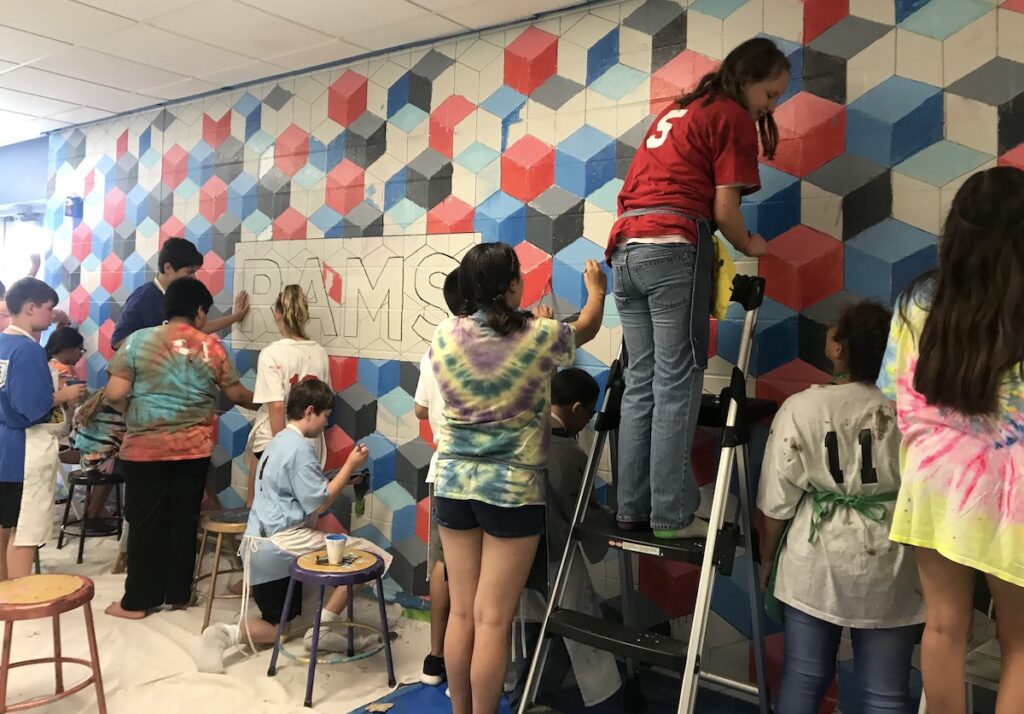
5. Starting Off Slow
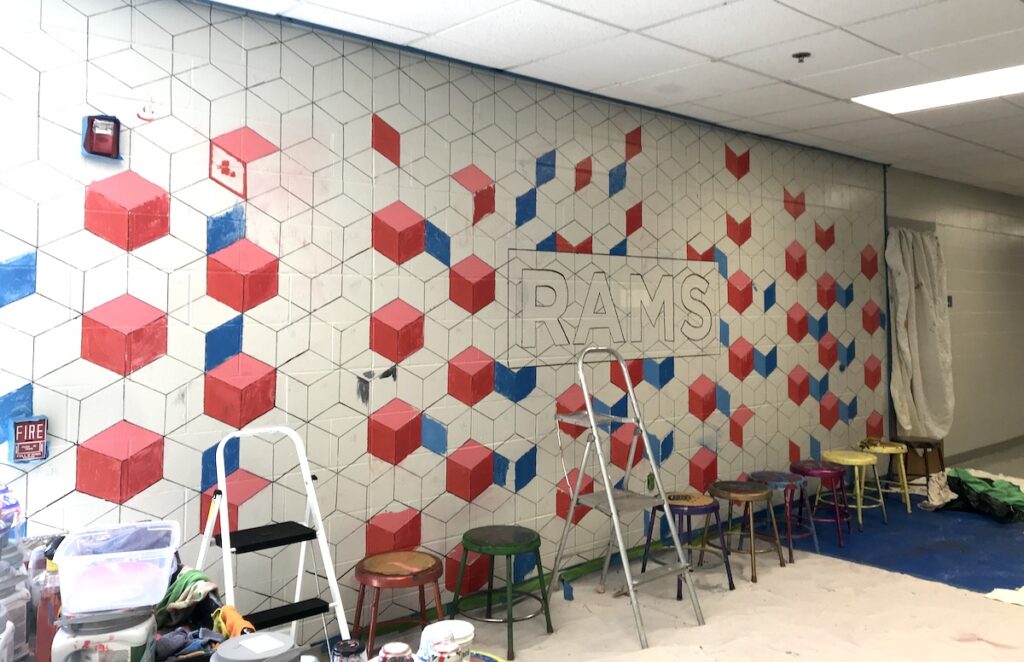
As you begin painting with students, be methodical about how you are going to work with the colors. Label the wall with the color each space should be to avoid mistakes. Then, instead of introducing all of the colors at once, try using only one color per day or class period. This method will cause less confusion and allow you to keep track of how many coats have been added to each space.
6. Enlist Help for Final Touchups

After your mural has at least two coats in all areas, it will need some touchups. Having too many students help with this step can be overwhelming. Think about having only a handful of students help with any necessary outlining or fixes. It’s even better if you can enlist the help of some of your former students. Contacting high school students you trust and who have a higher skill set will save you a great deal of time. Students might even be able to earn service hours by volunteering their time.
Working on a mural with your students for the first time can be overwhelming. This experience provides students an opportunity to take ownership in their school building and serves as a constant reminder of the teamwork and collaboration used to create such an amazing work of art. Try using these six tips to make your mural creating experience a success.
What tips do you have for creating a mural with your students?
Do you have an awesome mural you’ve created with your students to share?
Magazine articles and podcasts are opinions of professional education contributors and do not necessarily represent the position of the Art of Education University (AOEU) or its academic offerings. Contributors use terms in the way they are most often talked about in the scope of their educational experiences.