Watercolor is an appropriate material for all ages. It might even be the first type of paint students are introduced to. It is a versatile medium that can do many amazing things. It is also one of the most accessible materials to our students outside of the art room. A basic set of watercolors doesn’t have to be pricey, so let’s teach our students all of the amazing things watercolors can do!
Using watercolor goes beyond just exploring basic techniques, but for art teachers who haven’t had formal training in the medium, it can be difficult to figure out what to do next. Here are six ways you can take watercolors to the next level and go beyond just teaching watercolor techniques.
1. Compare and Contrast Paint
Have you ever had a student use so much watercolor on a painting, it looks like acrylic paint? Chances are you have. Many times students might be used to using more tempera or acrylic paint, so they treat watercolors in the same way. Students need to understand the difference between paint media. So, as you introduce your students to watercolors, let your students use tempera or acrylic paint alongside to see how they compare. Analyzing artwork by comparing acrylic paintings and watercolor paintings will be an excellent activity to show how specific paint yields different results.
2. Teach Your Students How to Layer
Layering watercolors, also known as glazing, is one of the best features of the medium. However, our students often overwork a painting and rush the process. When introducing your students to the medium, it’s essential to emphasize the importance of thin, transparent layers. After all, that’s how you achieve, the rich, full-dimensional quality of watercolor. But, how do we get our students to slow down and show a little patience with the medium? Easy, have your students work on multiple paintings at once! Doing this will allow students to work on one painting, while they wait for the other to dry.
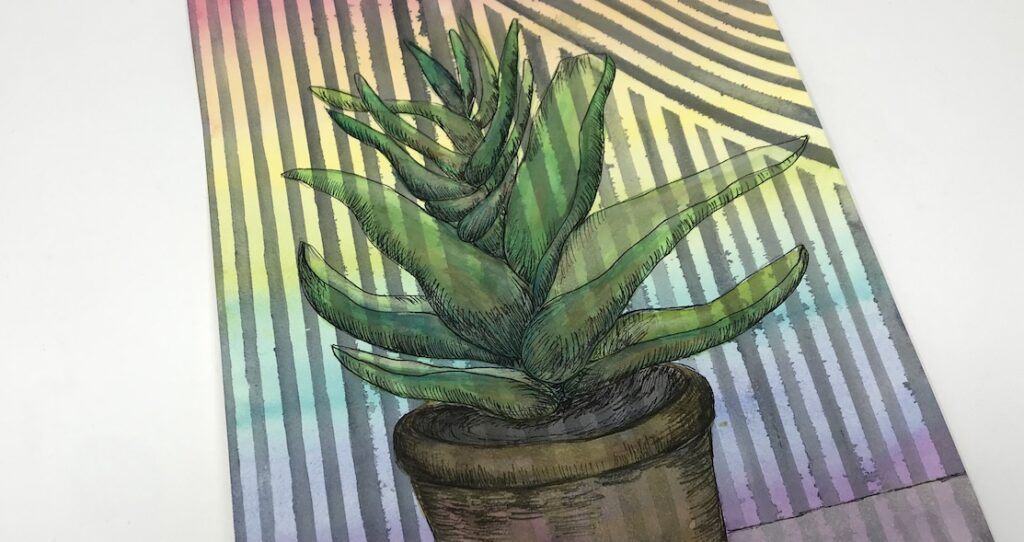
Another easy way to get your students to understand the process of layering watercolors is by creating a contrasting background and subject. For example, the above photo focuses on using the masking tape resist technique in the background. The plant on top of the background is built up with thin washes and layers. Notice that the background still shows through the plant, but you can still see the plant. Practicing in this manner will ensure your students are building up layers without sacrificing opacity.
Find out more about watercolors in your classroom with Watercolor Painting Basics PRO Learning Pack.
3. Complete an Artist Study
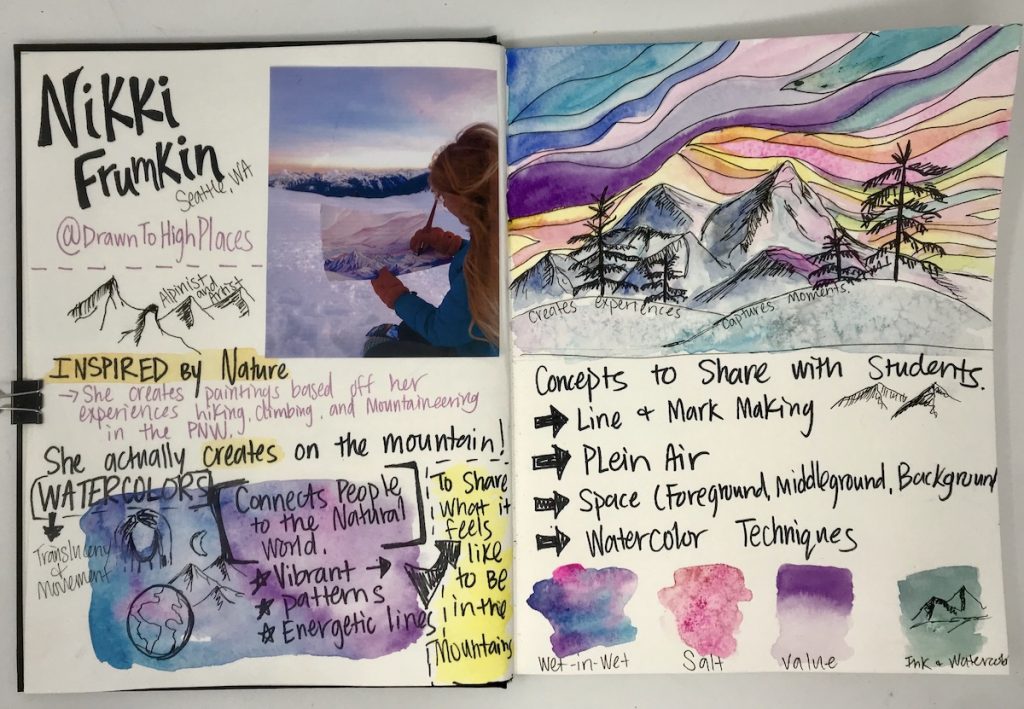
There are so many wonderful watercolor artists for students to explore. From the master painters to contemporary artists, there is an artist out there who will pique the interest of our students. So, let them find a watercolor artist of interest. Use this download to help students get started.
![]()
While investigating, encourage your students to keep these two things in mind; 1). What is the subject you are drawn to? 2). What techniques interest you the most? This will help narrow down their focus to discover an artist they enjoy. To take it even further, introduce your students to visual journaling and have your students practice and explore in the same way as their chosen artist. Here is a list of 10 watercolor artists to help get your students started.
4. Invent New Watercolor Techniques
Okay, I know we said we wanted to go beyond teaching only watercolor techniques to our students, but they are a crucial part of the process! To take watercolor techniques a step further, allow your students to create their own techniques. You know that cabinet, closet, or drawer of art materials you might use someday? Get out some of those materials and let your students’ imaginations run wild!
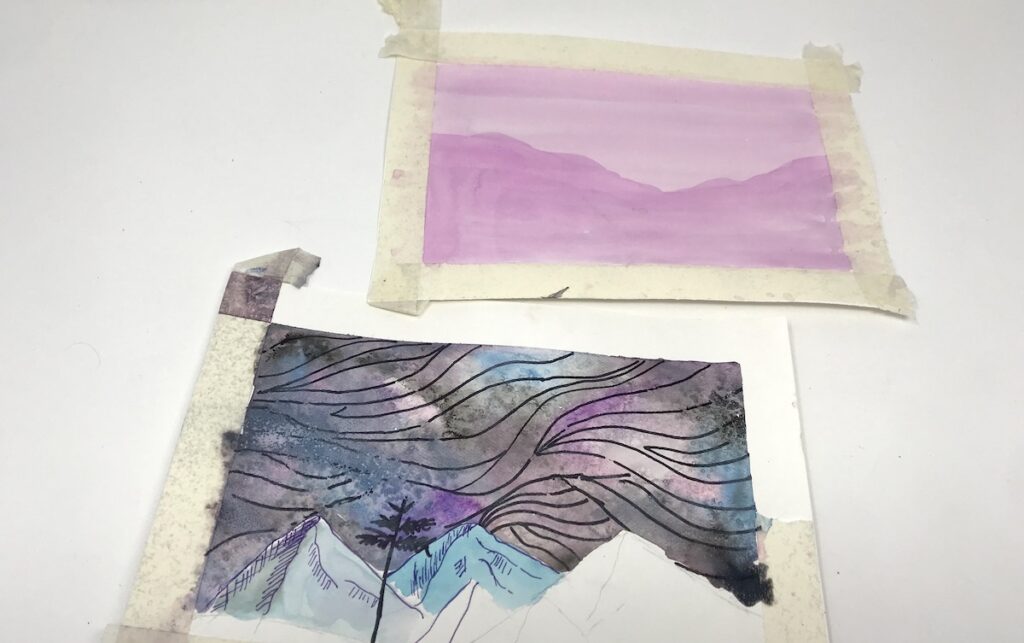
5. Use Drawing Materials
Have you ever seen a completed watercolor painting and it just seems like it’s missing something? Because of the transparent qualities of watercolor, sometimes paintings need a little extra detail added to make it look complete. Now, that doesn’t mean you must use a harsh black permanent marker. Try using one of the following materials to get the finished look you want.
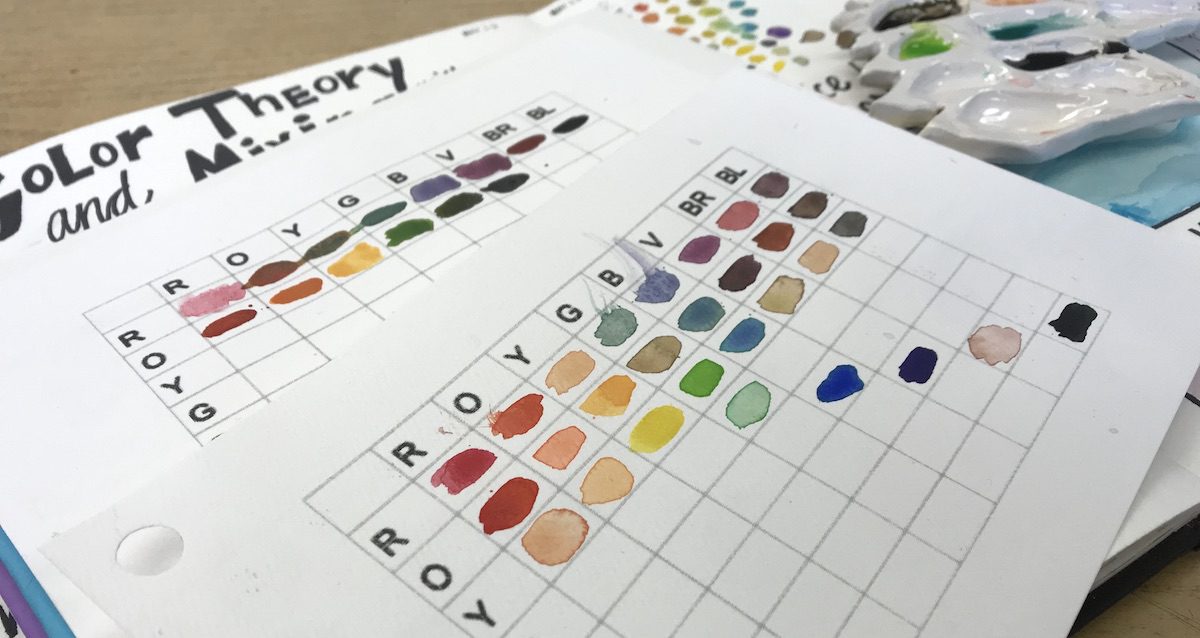
6. Color Exploration

It doesn’t matter how many times you’ve taught the basics of color theory to your students; there are always a few who can’t remember how to mix certain colors. It’s frustrating, but that just means they might need a little more practice. Mixing colors with heavier-bodied paint like tempera or acrylic is messy and time-consuming. Using watercolor to practice color mixing is an excellent solution. It’s not as messy, students can practice using the medium, and it’s a much quicker process.
Teaching watercolor doesn’t have to stop at watercolor techniques. If you’ve struggled with what to do after your students explore techniques, try out one of these ideas to take the watercolor process a step further. It can be difficult for students to understand the medium after only spending a few days working with it. By introducing them to more concepts, they’ll be creating amazing watercolor paintings in no time!
What’s your favorite thing about working with watercolor?
When using watercolors, what do your students struggle with the most?
Magazine articles and podcasts are opinions of professional education contributors and do not necessarily represent the position of the Art of Education University (AOEU) or its academic offerings. Contributors use terms in the way they are most often talked about in the scope of their educational experiences.


